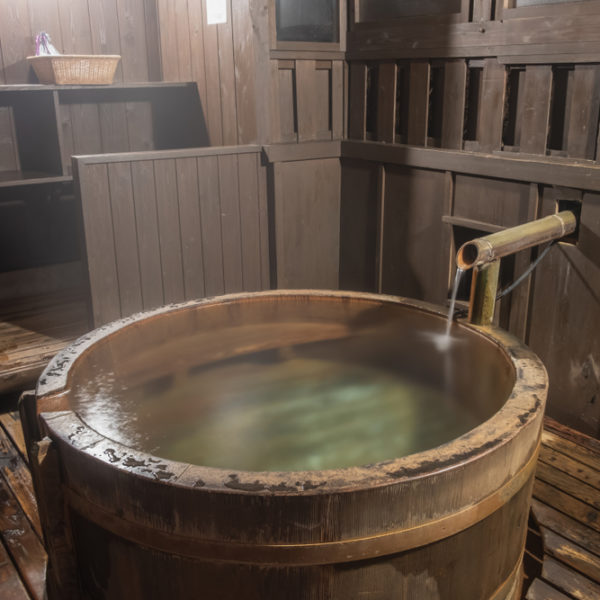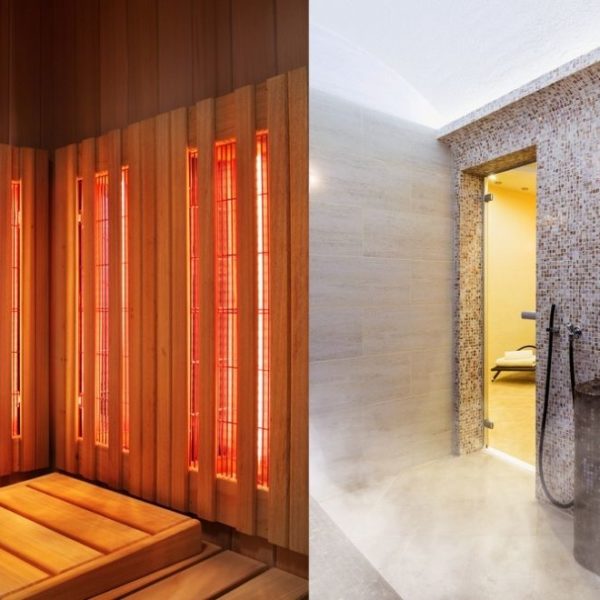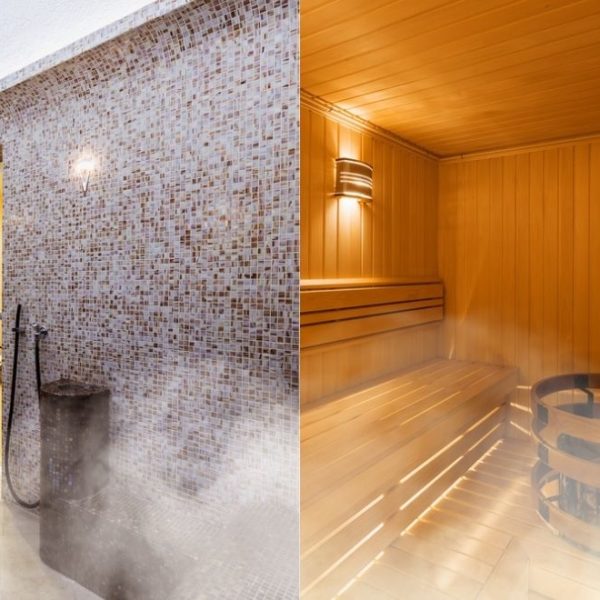
There’s nothing like a sauna to relax and unwind after a hard day or a vigorous workout. The only thing better is a sauna in your own home!
If you’ve got under-utilized space to play with, you could make that dream a reality. Yes, we’re going to show you how to build a sauna in your basement!
We’ll walk you through all the equipment and materials you’ll need. And we’ll take you through the whole process step by step.
So if you’re ready for an exciting new project, step this way …
Tools and Equipment
- Laptop or computer – or if you prefer, paper and pencil
- Timber for your sauna frame – lengths of 2 by 4 will suit most designs
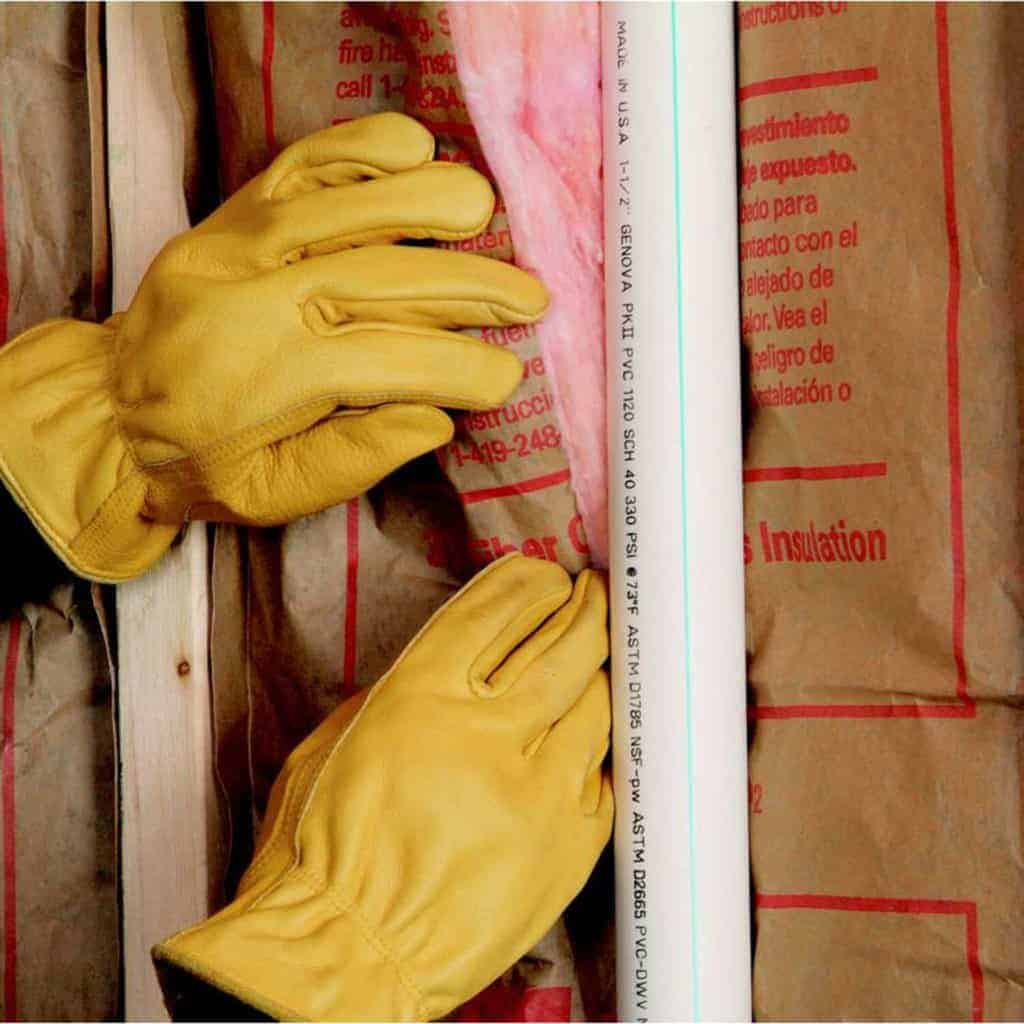
- Rolls of fiberglass insulation
- Rolls of thermal barrier (the stuff that looks like silver bubble wrap works well)
- ½-inch plywood
- Cedar boards with tongue and groove edges – long enough to cover the full length of each wall and the ceiling
- Flat cedar 2 by 4 planks – for the benches
- Sauna door
- Sauna heater
- Your choice of lights
- Your choice of flooring
- Wiring
- Stapler
- Saw
- Nails
- Hammer or nail gun
- Mounting brackets (optional)
- Screws
- Electric screwdriver
Step-by-step guide for Building a Sauna in Basement
Step 1: Plan your sauna
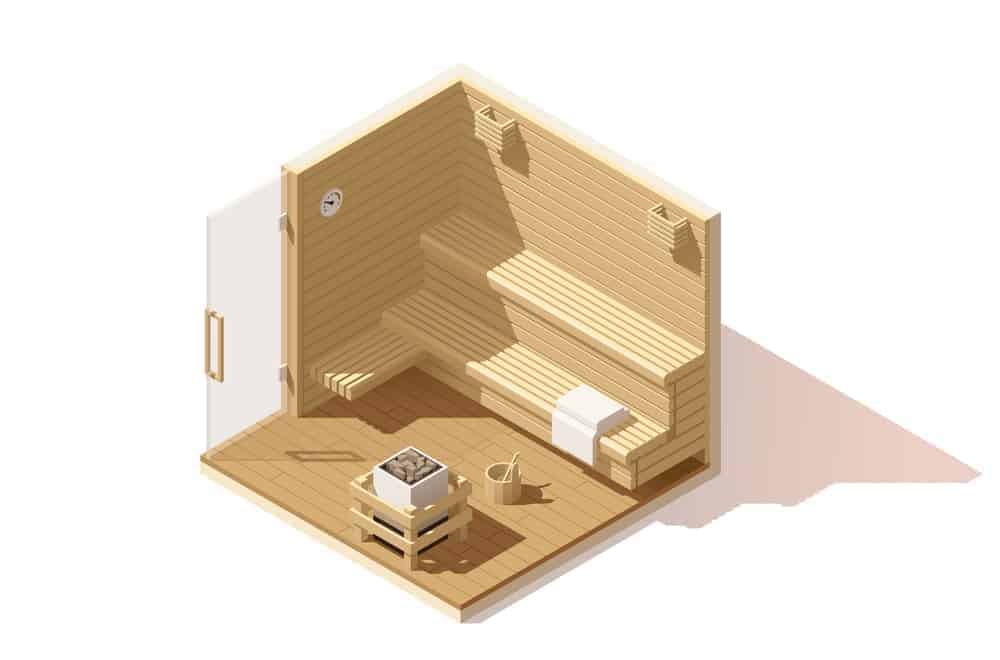
To begin with, plan your sauna. Decide how large you want it to be – how many people will need to be able to use it at once? Where in your basement will it go? Do you want it to have a window?
Draw out a plan to scale, and mark up all the measurements. You’ll use this to calculate how much of your materials you’ll need, so take your time to get it right. This is also the time to decide how your sauna will be ventilated, and where your air intake and outtake will go.
Now work out the quantities of 2 by 4 timber you’ll need for the frame of your sauna. This YouTube video shows the sauna frame being built, so you can see how it’s constructed.
Multiply the width of each wall by its length to get the surface area. You’ll need enough plywood, fiberglass insulation and thermal barrier to cover this area.
You’ll also need enough cedar tongue and groove planking to cover the walls and ceiling. The planks need to be long enough to cover the full width without a join.
This is also the time to plan how many benches you want, and how large they will be. That will allow you to get a good fit, and to buy the right amount of planks.
Decide whether you’re going to buy or make your sauna door. If you’d prefer a door with a lot of glass, a ready-made option will be easier. But although we don’t have space to cover it here, you can also make your own door.
Lastly, calculate the total volume of your sauna by multiplying its width by its length by its height. Add one square meter for each door and window.
This measurement will determine how powerful your sauna heater needs to be. Generally speaking, you should go for 1kW of heating power for every cubic meter of volume.
Pro tip: Positioning your sauna in the corner of your basement will allow you to cut costs by utilising two existing walls.
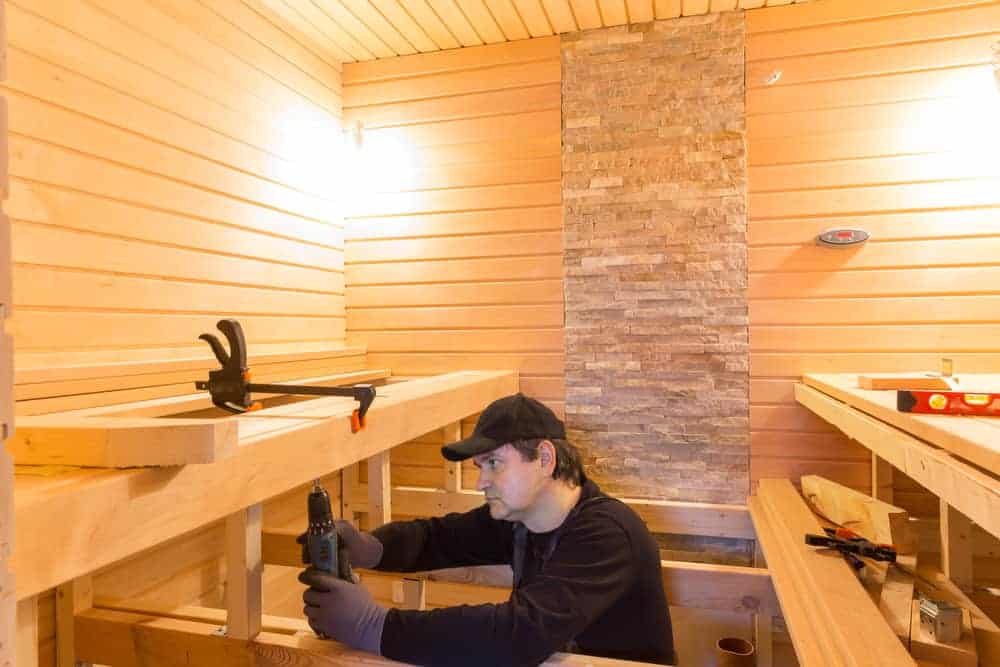
Step 2: Build the sauna frame
Now it’s time to use your 2 by 4 timber to build the frame for your sauna. You’ll need this frame to attach the insulation to later.
Leave a space 4 inches deep between the wall of your basement and the sauna wall. Remember to leave a space for the door too! You should also have a gap of 4 inches between the basement floor and the bottom of the door.
It’s a good idea to build the frame on the floor and then move it into position. Use your 2 by 4 timber to create the structure, then add plywood to cover the back.
This is also the time to install the wiring for your sauna heater, and any additional wiring required for lighting.
The diameter of the wiring you need will depend on the size of your heater. The larger your sauna, the more powerful your heater will need to be, and the bigger the wires. Counter-intuitively, wiring is numbered so that the lower numbers represent the largest wires.
If you’re not experienced with this kind of work, it’s a good idea to hire a competent electrician. Getting it wrong can be a dangerous experience for you and future sauna users!
Pro tip: You’ll make your life much easier if you choose your insulation before you build your frame. Position the verticals just far enough apart to fit the insulation.
Step 3: Add the insulation
You’ll need insulation rated R-25 for any exterior walls, and R-11 for the interior walls.
Start by unrolling the R25 insulation and stapling it in place between the vertical timbers of your frame. Fiberglass is a good choice for this. You want it to cover the whole wall area as well as the ceiling.
When your first layer of insulation is in place, it’s time to add the R-11 thermal barrier. The material that looks like bubble wrap covered in aluminum foil works well here. Use your staple gun to staple it in place.
Pro tip: Wool is a great alternative for insulation, and it’s also environmentally friendly. If you choose wool, go for panels rather than rolls. They’re easier to work with. But whatever you do, avoid polystyrene insulation. It won’t cope with the heat of the sauna.
Step 4: Install the cedar planks
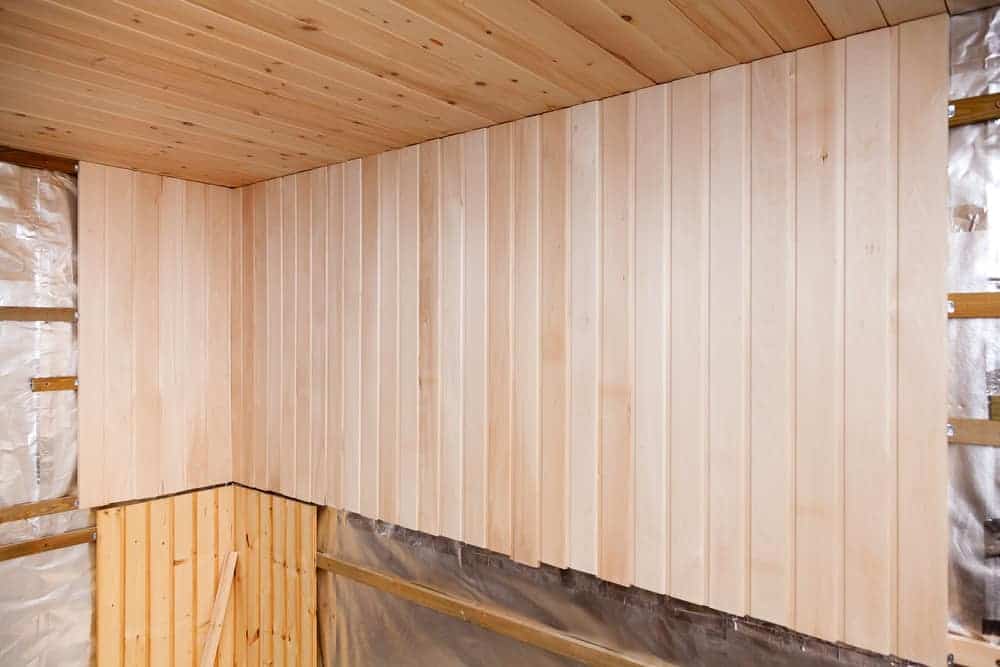
It’s now time to add the cedar tongue and groove planks to your walls and ceiling.
Choose planks that have been well cured and have a long tongue – that’s the lip at the edge. When the sauna heats up the wood will shrink. A long tongue will ensure the planks stay together firmly, and avoid users seeing any aluminum foil underneath.
Cut each plank to the correct length, and nail it in place. Remember, you want each plank to cover the full width of your wall.
Pro tip: Use nails with small heads or, for an even neater finish, use mounting brackets. These slot over the tongue of the wood. They have a hole for a nail, so you won’t see any nail heads in your finished wall.
Step 5: Install the heater
Now it’s time to install your heater. Make sure you buy one specifically designed for a sauna. These will get hotter faster than a conventional heater.
As noted above, you’ll need to calculate the volume of your sauna to get the right power output. Too high, and you’ll be spending money needlessly. Too low, and you’ll spend ages waiting for your sauna to heat up.
You’ll already have installed the wiring, so this is just a case of connecting up the heater. Follow the installation instructions step by step, and take your time. Depending on the style of heater you have, you’ll probably need to layer the rocks on top of the heating elements.
Step 6: Add the flooring and door
You can use a wide range of different products for your sauna floor. Cedar planks will give you a uniform look with the walls and ceilings. Some people prefer stone or ceramic tiles.
You can even use vinyl, although you’ll need to be prepared to replace it more often. And the high temperatures can cause difficulties for adhesive, so be sure to use the click-and-lock type.
When the flooring is down, screw the sauna door into place. You’ll find this easier with someone to help you.
Step 7: Make the benches
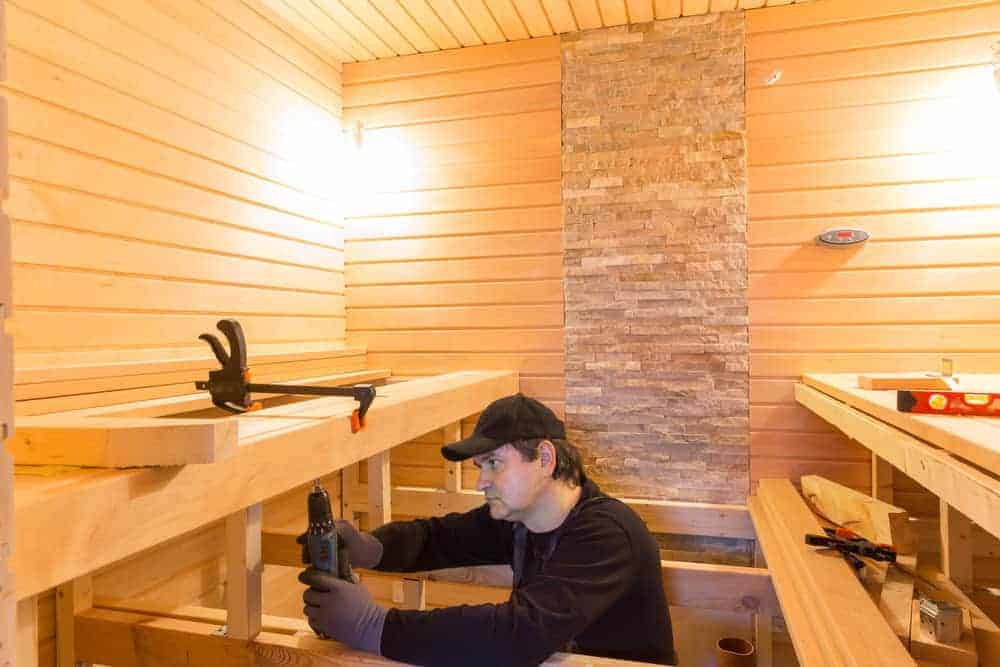
Now that the sauna is kitted out, all that’s left is to add your lighting and benches. You could even combine the two. LEDs stuck to the edges of the benches are a great design feature, as well as creating a warm glow.
For the benches, use six pieces of flat 2 by 4 to create a 20-inch wide seating area. Lay four of these with the widest surface facing up. The other two go on their ends on either side. Add a support across the bottom at right angles for strength. Now use other pieces of 2 by 4 to act as the uprights.
Most people will have their benches running the full length of at least one wall.
Pro tip: Creating two benches at different heights will create warmer and cooler places for sauna users to sit. Because hot air rises, the taller bench will provide a hotter zone. Position the lower one next to it, so that it can double as a step to reach it.
Ready to build your own sauna?
That brings us to the end of our step-by-step guide to building a sauna in your basement! We hope it’s given you a helpful overview of the process.
Don’t skimp on preparation. Taking your time to produce a detailed plan will mean the build goes quicker and more smoothly. And measuring carefully in advance means you won’t have to interrupt work because you’ve run out of materials!
Good luck with your project. We hope you’re soon enjoying relaxing in your very own basement sauna!