A beautiful floor is an essential part of any bathroom makeover – and tiles are a great choice. Hardwearing and moisture resistant, they look smart too. But getting someone to lay them for you can be expensive.
Why not give it a go yourself? It isn’t as difficult as you might think. Just follow our easy guide on how to tile a bathroom floor.
Let’s start by looking at what you’ll need…
Tools for Tile a Bathroom Floor
- Tiles – the right amount to cover your floor, plus an extra 15% to account for those you’ll need to cut
- Thin-set mortar – either ready-mixed or the stuff you mix yourself
- Tile cutter (or a wet saw, if you don’t have one)
- Tile scribe
- Tile nipper or tile saw
- Tile file or fine sandpaper
- Tile spacers
- Grout
- Grout float
- Spirit level
- Set square
- Chalk line (that’s a piece of string covered in chalk dust)
- Notched trowel
- Large sponge
- Large bucket
- Sheet of paper
- Scissors
- Cloth
- Masking tape
- Silicone sealant
- Cement board, utility knife, hammer, and roofing nails – if you need to reinforce the floor (see step 2)
How to tile a bathroom floor
Step 1: Choose your tiles
When it comes to bathroom tiles, there’s a lot of variety out there. So before you head to the shops, consider what kind of tiles will work best in your home.
Tiles made of ceramic or porcelain are a classic choice. They look good and are easy to keep clean. Just make sure you choose an option that’s designed for use on floors. They’ll need to be hard-wearing enough to cope with the weight of people walking over them.
Stone is another great option for bathrooms. It’s luxurious but can be pricey. Just bear in mind that if you don’t have underfloor heating, it can get cold in winter. It will also need to be sealed with a polyurethane finish to cope with the moisture levels.
It’s possible to get vinyl tiles too, often designed to look like stone or ceramic. They’re much less expensive, and because they’re self-adhesive, they’re easy to lay. But they’re not as durable as ceramic or stone.
If you’re using vinyl tiles, you can skip most of the steps in this tutorial. Just follow the manufacturers’ instructions and check out step 4 to make sure they’re correctly aligned.
Step 2: Get the floor ready
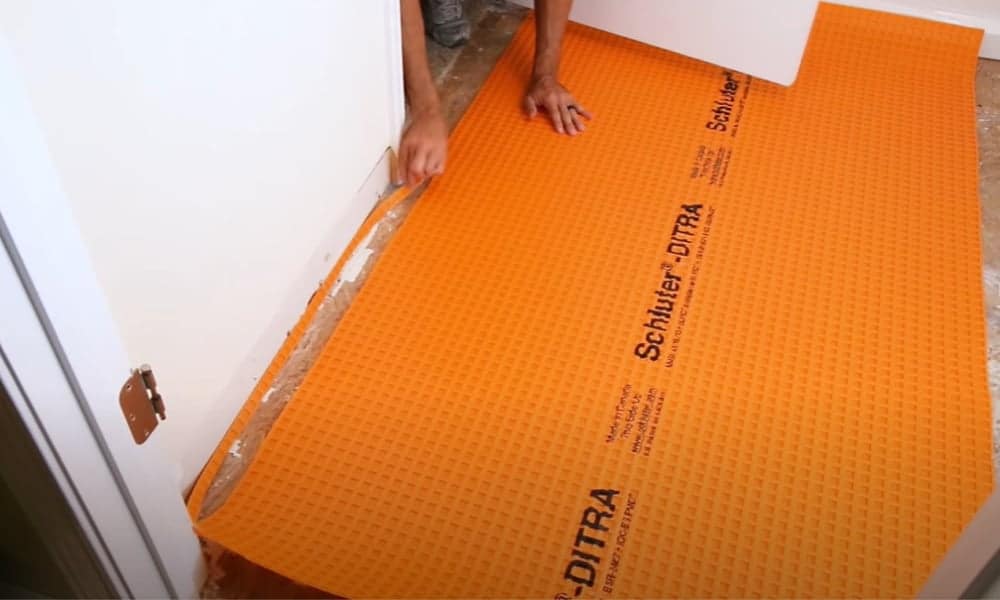
Start by making sure your floor is nice and clean. Give it a thorough vacuum, using the nozzle to get rid of dust from corners and tight spaces.
Now check that it’s ready to have tiles attached to it. For that, it needs to be flat, solid, and secure. Together with the sub-floor, it also needs to be at least 1.125 inches thick.
If the floor and sub-floor together aren’t thick enough, reinforce the floor with cement board. Use your utility knife to cut it to size. Now place it in position and hammer in roofing nails along the edge to hold it securely. Mix a small amount of mortar in a bucket and use it to cover the joins.
Step 3: Establish your reference lines
Your tiles need to be straight, even if not all your walls are. Start by identifying the wall that’s most obvious when you enter the room. That will be the wall that has the longest area of continuous tile.
Use your set square to establish a 90-degree angle from that wall. Now run your chalk line at that angle across the room.
Use your set square again to find 90 degrees from your chalk line. Now run a second chalk line at that angle. That will give you two reference lines to help you lay your first tile.
Pro tip: You can add more reference lines if you like. These will make it easier to check that your tiles are straight.
Step 4: Decide on your tile layout
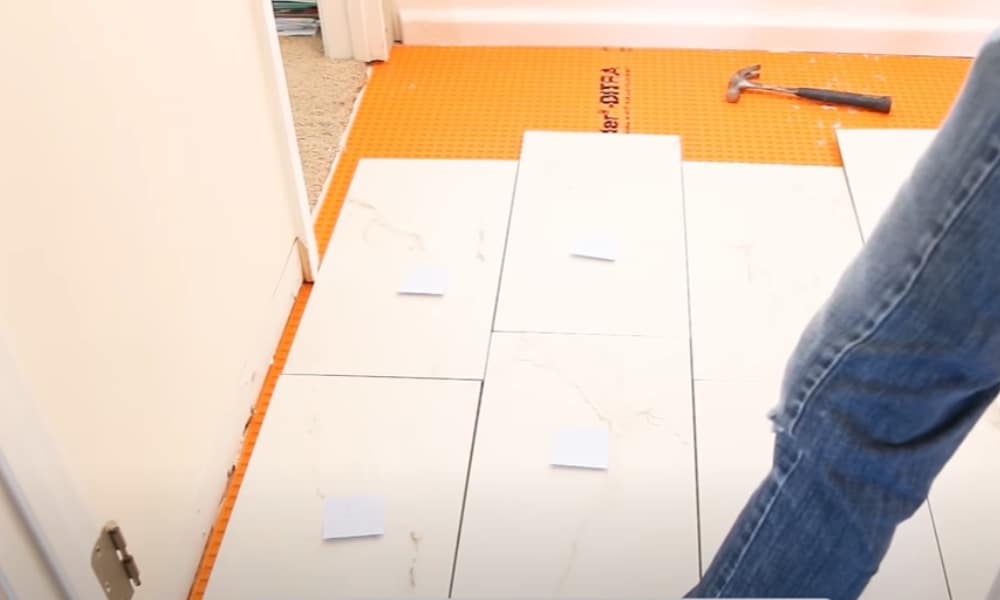
Run a single line of tiles along your reference lines – one vertical line and one horizontal. Use the tile spacers between each tile to ensure they’re evenly spaced out.
This will allow you to see whether you’ll need to cut a tile. If you do, use your tile cutter or wet saw to cut it to size. Position the cut tile furthest away from the door to the room.
Step 5: Mix the mortar
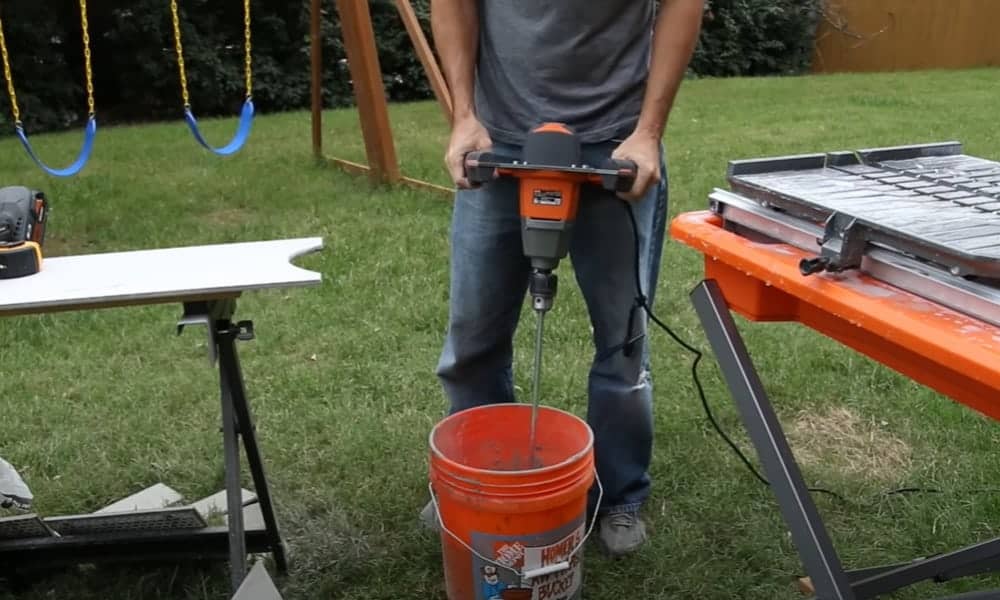
If you’re using ready mixed mortar, you can go straight to step 5. Otherwise, get one of your buckets and mix up the mortar inside. Follow the manufacturer’s instructions to see how much water to add.
You want the mixture to be a mud-like consistency, but not so thick that it won’t stay on the trowel.
Pro-tip: Thin-set mortar will dry out if it sits for too long, so don’t mix up too much in one go. Aim to mix no more than you’ll be able to use in an hour.
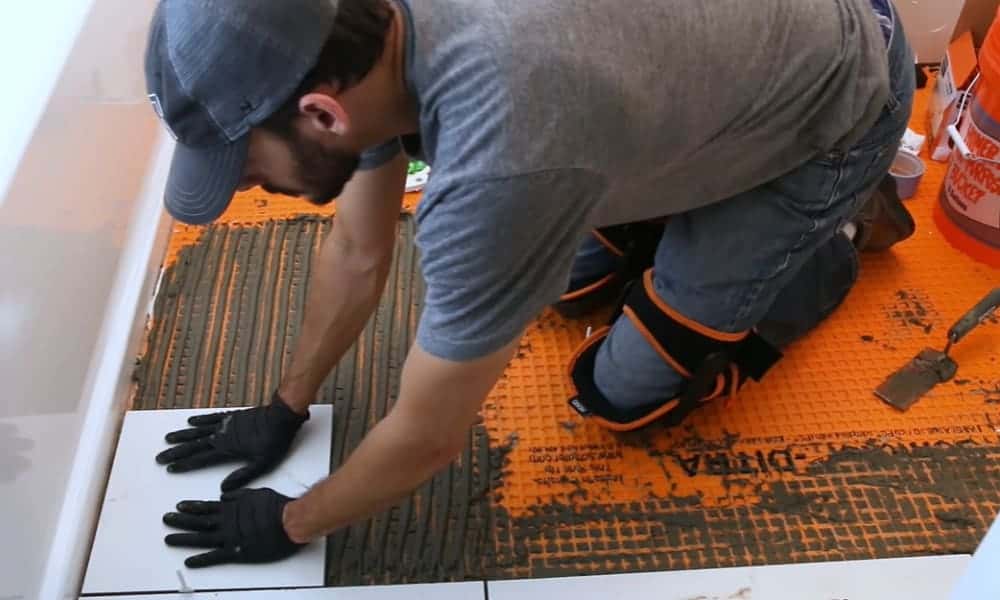
Step 6: Lay the tiles
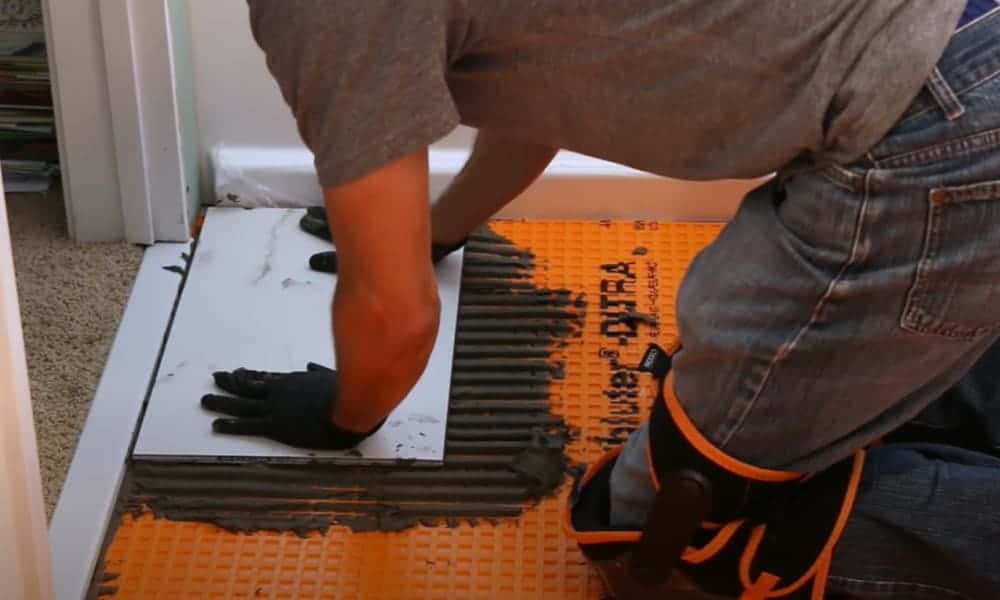
Start at the corner and lay a small amount of mortar on the floor using the notched trowel. Use firm, sweeping movements to spread it quickly and evenly.
Lay a few tiles on top of the mortar, positioning the spacers between them so they’re evenly spaced. Press down on the tiles firmly, so that there aren’t any air bubbles between them and the mortar.
Now use your spirit level to make sure the tiles are even. If they aren’t, add or remove some of the mortar until they are.
Pro tip: Remember to check that the tiles are positioned evenly from left to right and from back to front.
Step 7: Make a template to tile around obstacles

You’ll need to cut tiles to fit around obstacles, like the base of a WC or sink. To deal with irregular shaped cuts, cut a sheet of paper to the same size as one of your tiles.
Now cut a series of parallel slits on the side of the paper that touches the obstacle. Make the slits a few inches long, with about a third of an inch between them. You want them to run from the edge of the paper, away from the obstacle.
Place your paper “tile” next to the obstacle and fold back the slits so that it sits flush with it. (Remember you’ll need to leave a small gap next to the last tile for the spacers.)
Now take a pencil, and draw around the obstacle on the paper. Cut along the line, and you’ll have a paper template for the cut you need to make on your tile.
Step 8: Cut your tile to fit around the obstacle
Place your template on top of the tile and draw around it. Use your tile scribe to score along the line on your tile. Do this several times.
Now take the tile nipper and carefully remove the unwanted part of the tile. Be especially careful when you’re working near the scored line. Alternatively, you can cut around the line using a tile saw.
Use your tile file or sandpaper to smooth the cut edge of the tile. Then wipe it over with a damp cloth to remove any tile dust. It’s now ready to lay.
This helpful YouTube video from DIY specialists Wickes takes you through the whole process.
Pro tip: Take care that the template doesn’t move while you’re drawing around it. You can tape it in place to prevent that happening.
Step 9: Add the grout
Once all the tiles have been laid, leave them in place for at least a day before grouting. The mortar needs this time to set properly.
Remove the tile spacers and thoroughly wash the bucket you used for your mortar. Now mix up the grout in your clean bucket, according to the manufacturer’s instructions. Add a small amount onto the gaps between the tiles. Work it into the joins using a grout float.
Take a damp sponge and wash off any surplus grout before it hardens.
Pro tip: Use a diagonal motion to work the grout right into the gaps between the tiles. Use the same diagonal motion to wash away the excess grout. That will prevent you from washing away the grout from between the tiles.
Step 10: Seal the edges of the room
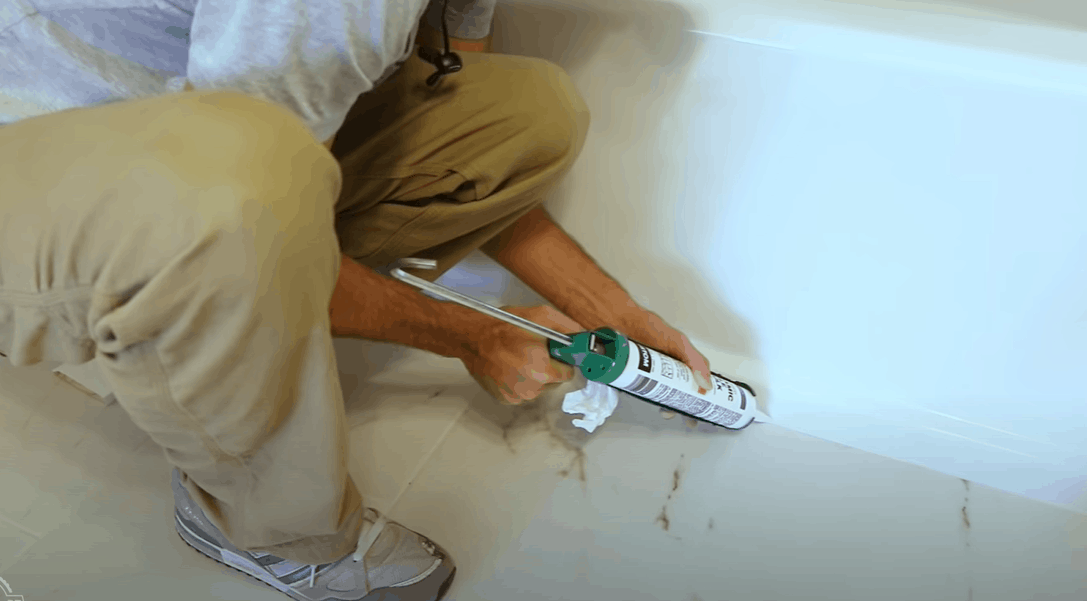
Run one strip of masking tape along the edges of the tiles and a second along the bottom of the wall. Now take the silicone sealant and carefully run it along the gap between the two pieces of tape.
Run a damp sponge lightly over the top of the sealant to remove any excess. You can buy sealant finishing tools for this – but we think a sponge and a light touch work just as well.
Extra tips
Take your time as you’re laying the tiles and use your spirit level regularly. A long level is particularly helpful, as you’ll be able to lay it over several tiles at once. Remember to place the level across the tile, and from the front to the back to avoid creating a sloping floor.
If you’re starting with a brand-new bathroom, you can tile the floor before adding your basin and WC. That will mean less cutting is required to tile around the bases. But your shower stall should always be installed before any tiles. When it’s in place, tile around it and seal it carefully.
The moist bathroom air means it’s a good idea to provide some extra protection for your grout. You can buy spray-on grout protector that will improve its durability.
Ready to start tiling?
That’s everything you need to know about how to tile a bathroom floor. When it’s finished, you’ll have given your bathroom a whole new lease of life.
If you’re just starting out on your project – good luck! And if you’ve tiled your bathroom before, please comment and share your top tips for success.