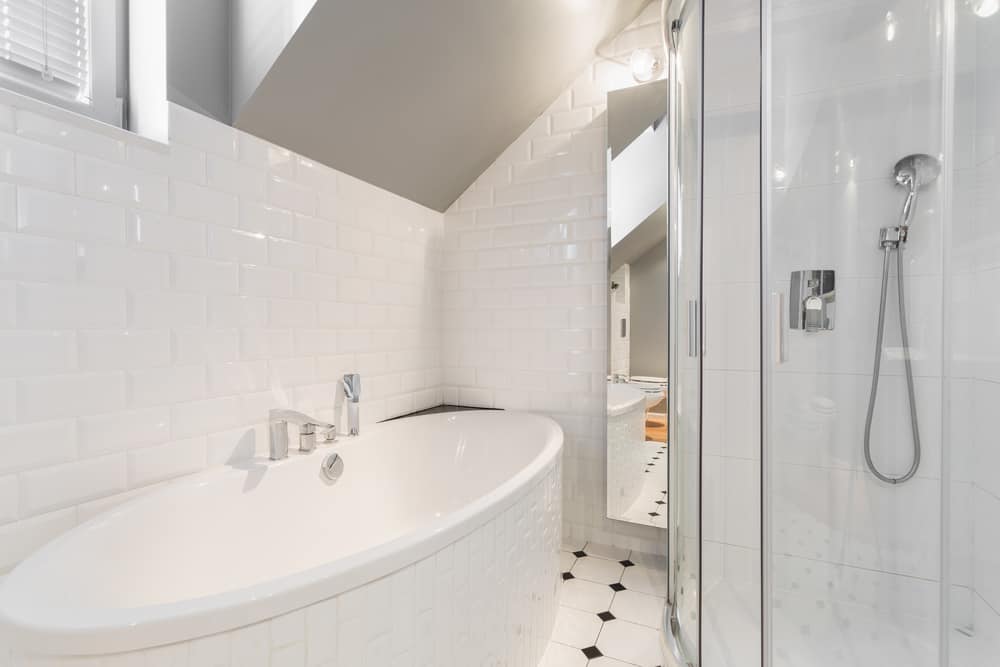
Kim Kardashian once said she can’t shower in a soiled bathroom. Every time she needs a soak and rinse, she starts by scrubbing down the walls and floors. I have friends like that too, but it seems strange, because you just have to wash the bathroom again when you’re done showering.
Still, your pre-shower or post-shower cleaning routines don’t get all the dirt out. You need a more thorough system to remove stubborn stains and smells. So today, let’s explore some simple but effective techniques as we discover how to deep clean your bathroom.
De-cluttering
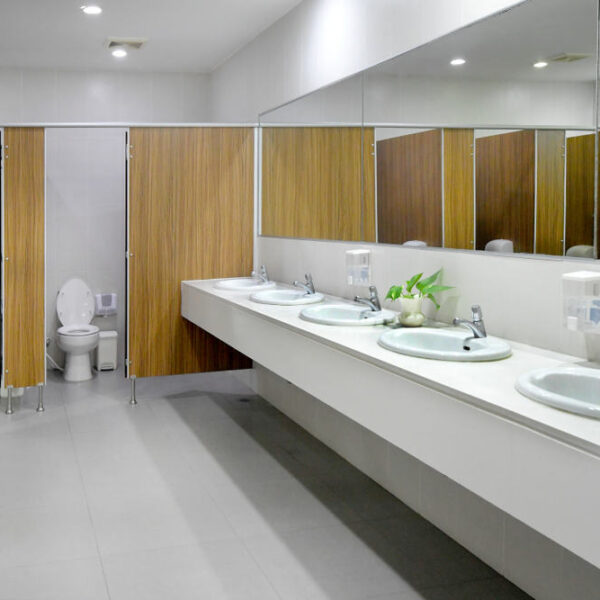
Untidy rooms look dirty, even if there isn’t a germ in sight. Bathrooms are no different, so your first step is to get rid of the mess. Besides, clearing all the clutter will fully expose your bathroom surfaces, making it easier to spot neglected areas.
This is important, because you probably clean your bathroom daily, or even weekly. It’s not necessarily a proper clean – maybe you just use your shower head to rinse the walls and floors before and after you use the bathroom. But once a month, you need a deeper clean.
The night before your deep clean, soak your taps, faucets, and shower heads in vinegar. Fill a plastic bag with enough vinegar to submerge the section you want to clean, secure the bag with a string, rubber band, or shoelace, then leave it overnight.
Next day, get a bucket or storage container and remove everything from the bathroom. This includes towels, washcloths, soap, beauty products, anything that isn’t glued down. You can have separate boxes or buckets for various items (e.g. cosmetics vs medication or detergent).
Don’t sort the items yet – you’ll get to that later. For now, just put everything in its designated bucket, giving yourself space to work. Next, gather your cleaning supplies. Decide whether you want to use commercial soap, home-made cleaners, or a mix of both.
Bathroom cleaning supplies
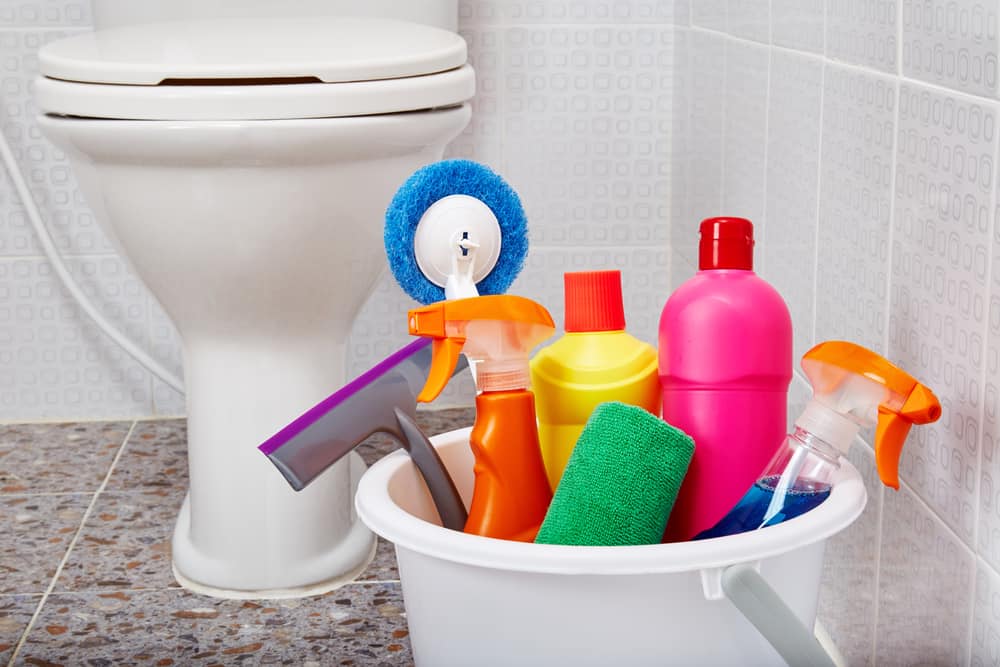
Here’s a list of some items you may need for your bathroom deep clean. It’s not a comprehensive list, but it covers most of the basics.
- Microfiber cloth cleaners (any old rag will do, but lint-free microfiber is ideal)
- Paper towels for the toilets
- Gloves
- Enzyme cleaners
- Bleach
- Detergent of your choice
- Toilet brushes
- Old toothbrushes (for hidden spots)
- Squeegee
- Toilet plunger
- Scouring pads of your choice
- Vacuum cleaner with brush attachment
- Vinegar
- Baking soda
- Hydrogen peroxide
- Essential oils
- Sponges
- Glass cleaners
- Spray bottles
- A playlist of ‘cleaning songs’ or favorite podcasts
Start with dry cleaning
A lot of us skip this step, but it has two key benefits. It prevents streaks and muddy smudges and it shows you where the trouble spots are. Walk into your now-empty bathroom with a microfiber cloth and look around. You want to give the whole room a quick dusting.
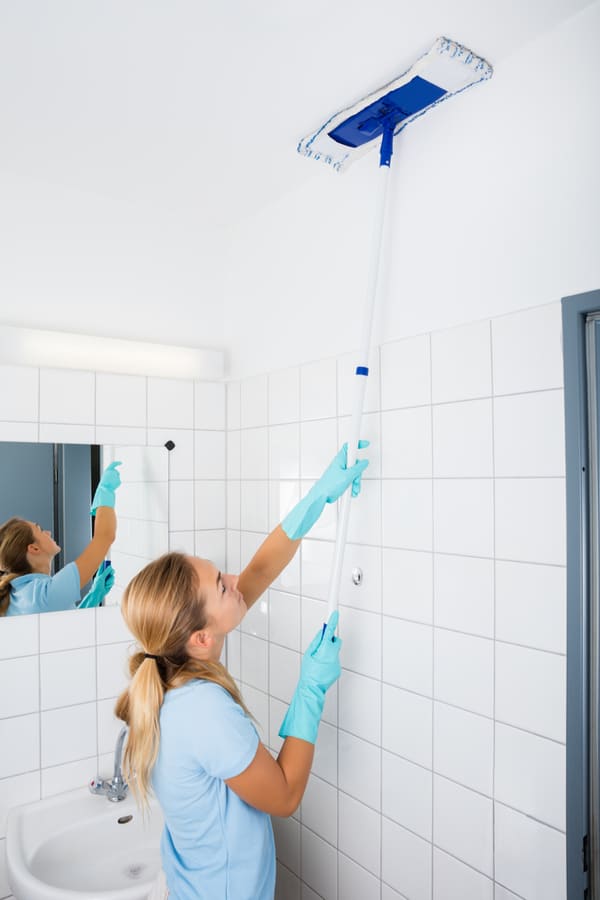
Start at the top with a long-handled broom or a mop. You can also use a long stick that has a rag tied to one end. Wipe the ceiling, getting rid of any cobwebs and accumulated dust. First, pass your broom around the corners and bathroom fan blades, then sweep the ceiling in an S-pattern.
According to Melissa Maker of Clean My Space, the S-pattern cleans more effectively than circular motions, because with circular motions, you’re continuously passing your dirty rag over areas you’ve already cleaned. The s-pattern prevents streaks for a more thorough clean.
Once you’re done with the ceiling, sweep down the walls, or dust them. Work from top to bottom, left to right. This ensures you don’t miss any spots. Methodically dust every surface in the bathroom – sink, tub, shower, taps, toilet lid, cistern, mirrors, windows, and baseboards.
You can use a dry mop to dust the floor as well, or a vacuum cleaner with a brush attachment. While you work, note any stains or spots. If you like, you can highlight them with chalk or a temporary marker, just to make sure you don’t overlook them later.
Alternatively, clean them as you go. They’re small spots, so it’s easy. Use a cleaning paste of baking soda and white vinegar (or hydrogen peroxide) to attack those spot stains. This cleaning paste works on any surface, and is mild enough to be color-fast, so you can use it on anywhere.
Follow with a damp pre-clean
Put your chosen cleaning solution into a spray bottle and spritz your now dust-free surfaces in the same order – top to bottom, left to right. You may not have to pre-spray the bathroom walls and ceiling if you’ve already removed visible spots, but you can spray the more stubborn stains.
Mostly, you want to spray the bathtub, shower walls, mirrors, glass surfaces, and counters. Let the pre-clean spray sit for a few minutes. When you’re pre-spraying the toilet, get under the rims, inside the cistern, and the floor directly around the toilet.
The cistern matters, because it accumulates a lot of dirt and gunk, which then soils your flushing water and stains your bowl. So if you’re busy scrubbing the bowl but ignoring the cistern, your toilet will never really be clean. You could use bleach, but only for non-ammonia cleaners.
As your pre-cleaner soaks into your surfaces and loosens dirt, return your attention to those buckets of gunk you took out earlier. Toss out any empty bottles or cans, and carefully dust everything else with a damp cloth, then lay them in the open air to dry.
Sponge down the dirt
Come back into the bathroom and decide on the order of your cleaning. Some people prefer to start with the toilet, because it requires the most elbow grease, so seeing it sparkle will psychologically boost your mood and motivate the rest of your cleaning.
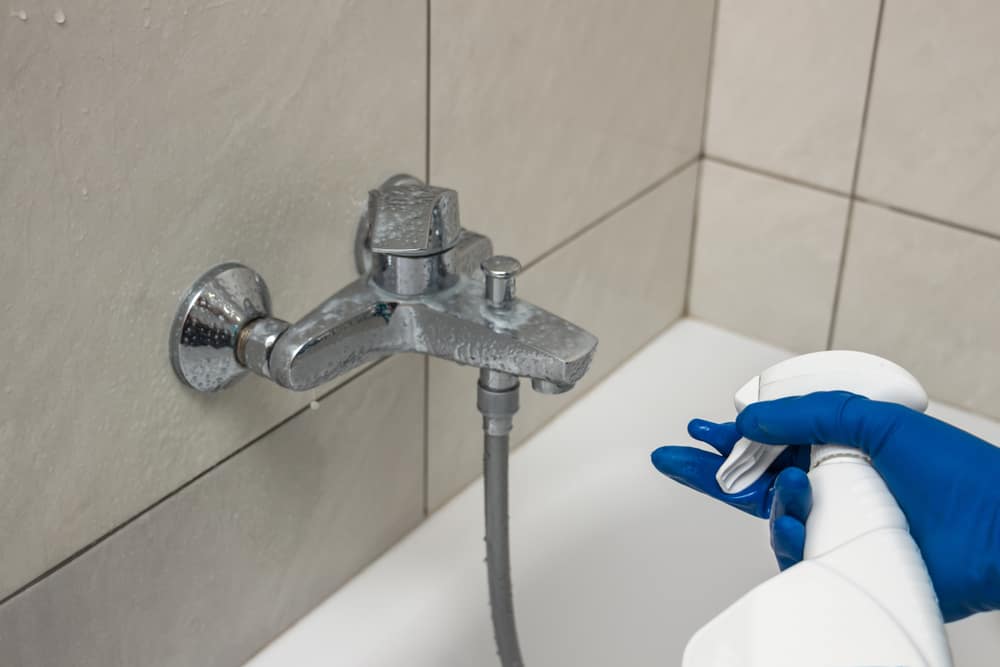
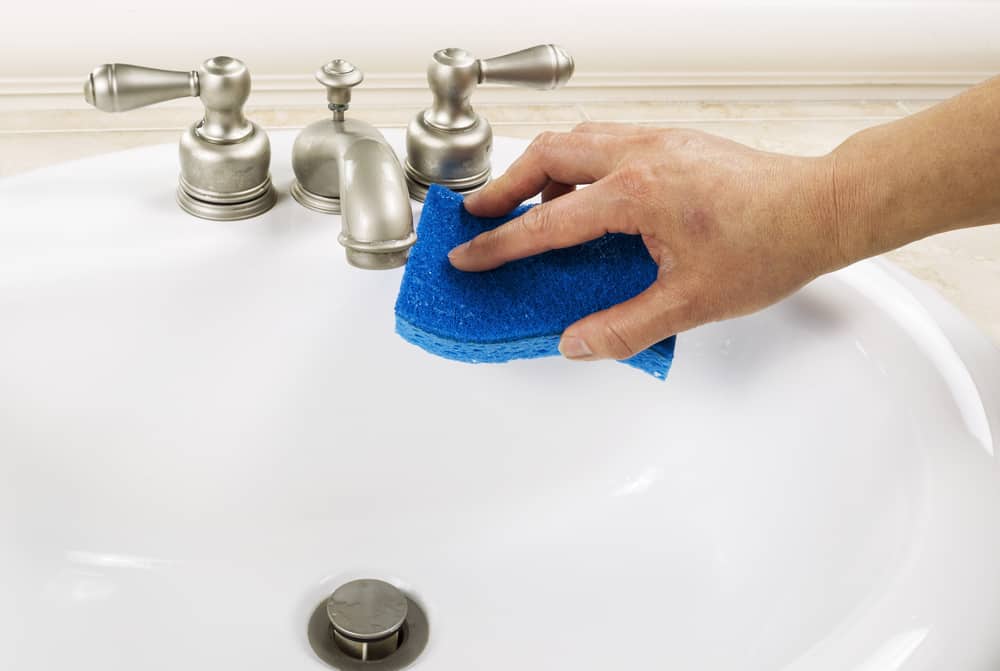
Others prefer to do the shower first. You’ll probably need your shower head or sink faucet for the rest of your cleaning activities, so it helps to rinse off the vinegar. Run the water to unclog any gunk, and use a soft brush to clean surface dirt off the shower head and faucet spout.
If the taps themselves are fogged or grimy, use the same paste of baking soda mixed with vinegar or hydrogen peroxide. Apply the paste with an old toothbrush, then scrub off the dirt before rinsing. Focus on the spout rather than the tap, which will still get dirty while you work.
After all, you’ll continually touch it with soiled hands, so taps, handles, and door knobs should be the last things you clean. That said, clearing your water outlets ensures you’re using clean water for the rest of your bathroom deep clean, instead of re-soiling them with dirty water.
Using a sponge or rag dipped in clean water, wipe down the surfaces you had pre-treated. Start with the walls, cabinets, and counters. If there are any areas with fast dirt, use a scouring pad to get rid of the stains. Use s-patterns, cleaning top to bottom, including baseboards.
At this stage, open any cabinets and drawers, soaping, wiping, and drying them as needed. The drying stage is important because it prevents the buildup of moisture that could lead to mold and damp. If you hadn’t taken out your bath linens, toss your shower curtains in the wash.
They’re made of delicate material and may tear in the washing machine, so put in a towel or washcloth as well. You can use laundry detergent or plain baking soda (without detergent). Add some vinegar to your rinse cycle. It gets rid of any moldy smells.
Spritz the shower and bathtub
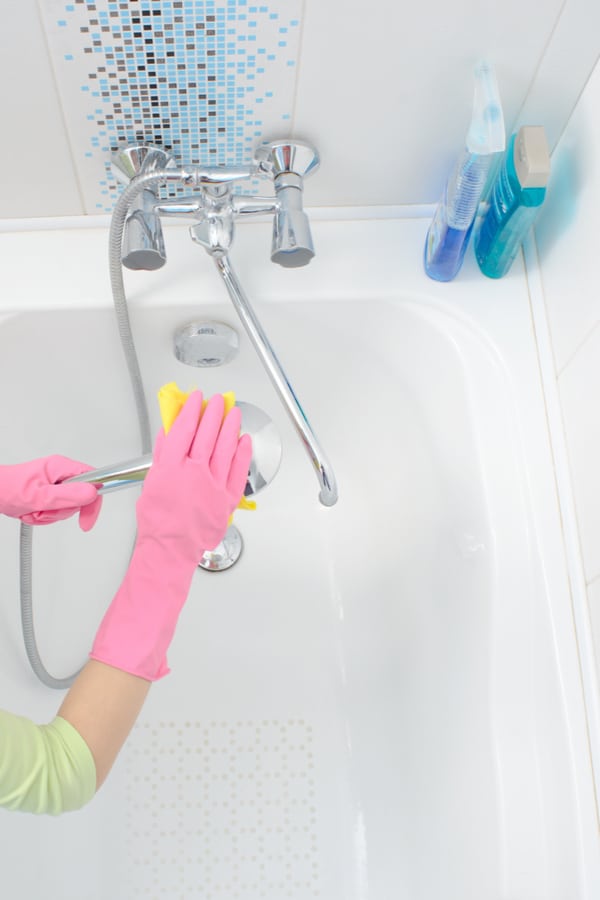
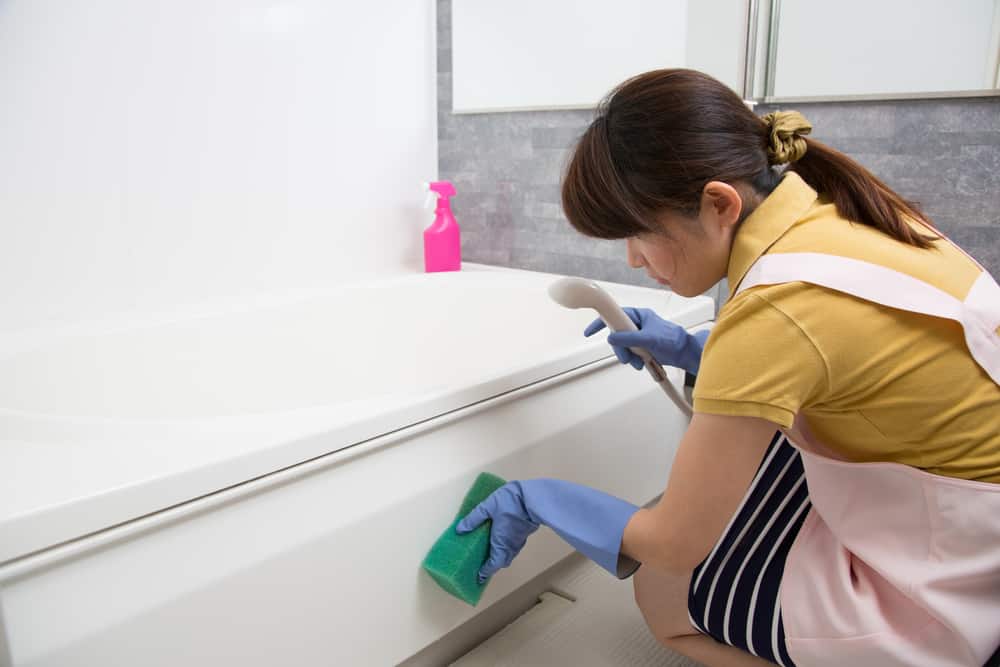
Pre-treatment has probably loosened the dirt on your tub sides and shower walls, so use a soapy sponge to scrub the sides of the tub, both inside and outside, then rinse them using your shower head. If there are any rings of dirt or discoloration, scrub them with a toothbrush and detergent.
You could also use vinegar and baking soda paste for those orange stains. If that doesn’t work, scrub a little harder with a pumice stone or steel wool. Pay special attention to spots around the drain or bath faucets that may have rust marks and drip stains. Scrub them all off, then rinse and dry.
Give your shower walls the same treatment. Scum marks are likely to be dissolved by your pre-treatment spray, so use an old toothbrush to clean your tile grouting, soap dish, and accessory bowls. Scrub the shower floor as well. Run the shower for a few minutes to build up steam.
The steam will further loosen dirt, then you can rinse your walls with clean water and wipe them dry with microfiber rags. Once the walls are clean, wipe down the shower taps and shower heads, as well as the taps and soap dishes in the bathtub. Replace your shower curtain.
Check any windows or shelves near the tub or shower, and pay special attention to corners and window sills. These areas are often forgotten, especially the fastenings and door handles. If there’s any hidden dirt, clean it off with an old toothbrush and some soap.
Ideally, you should replace your toothbrush every three months. But instead of throwing it out, move it to your cleaning cabinet and store it with your cleaning supplies. This way, you’ll always have one handy for those corners and crevices where dirt likes to hide.
Finish with the toilet
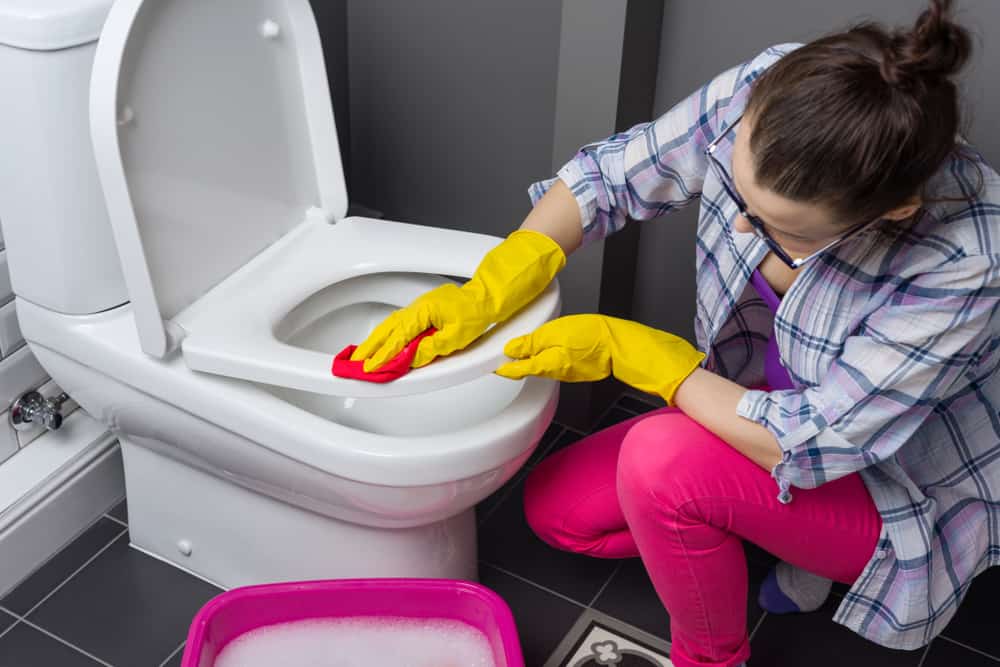
You’ve already dusted off the surface dirt, and the cleaning agents under the rim have done their work. Sponge down the outside parts of the toilet, including the s-curve, toilet bowl lid, and cistern cover. Rinse off and wipe down. Take off the cistern lid and scrub its internal surfaces.
Focus on any dirt deposits that have settled on the bottom and sides, cleaning them with a toothbrush and soap, or with your vinegar and baking soda paste. Rinse it out, or wipe with a damp cloth wrung out of water. You should also clean the floor around the toilet.
Step back a bit and check for any seams, screws, or crevices in the toilet that may have brown stains. Clean them with a toothbrush and soapy water until everything is spotless, then rinse and dry the area. Enzyme cleaners are especially good for those sticky gunky bits.
Now lift the toilet lid and clean the toilet seat, both above and below. If there are spots with stains and urine splash-back, treat them with your enzyme cleaner. Now scrub under the rim of the toilet. If there are any stains at the bottom of the toilet bowl, grab your toilet plunger.
Use it to pump the bowl, getting rid of excess water and uncovering more of the toilet bowl’s surface. You can then scrub that surface with a toilet brush, steel wool, or even a pumice stone until all those icky brown marks are gone. Flush the toilet to rinse off soap and dirt.
Now clean the floor around the toilet, then proceed to scrub, rinse, and wipe the rest of your bathroom floor. Once the floor is done, take one last lap around your bathroom. You’re looking for forgotten spots like flush handles, light fixtures, switches, and drains.
Wipe those spots with baking soda and vinegar to get rid of grime. For the sink drain and shower drain, sprinkle baking soda or drain cleaner and wait a few minutes. As you wait you can bring back your bathroom items, repositioning them in your cabinets and drawers.
Now, pour some vinegar down the drains, and follow up with boiling water. The last item to clean is your sinks and counters. Scrub off any stains, rinse with hot water, clear the drain, and dry the sink surface with microfiber cloth. Bleach, rinse, and drip-dry your toilet brush.
Winding up
Once your bathroom is spotless, don’t just dump your cleaning supplies. Throw away your disposables, and toss your sponges and washcloths into the washing machine. Add vinegar to the final rinse, and dry your tools completely to prevent them from get mildew.
After all that scrubbing and deep cleaning, you’ll probably have worked up a sweat, so you can reward yourself with a long, hot shower or a soothing soak in the bath. You’ll still have to clean it after you’re done, but that’ll only take a few minutes. Tell us how it worked out in the comments!