Do you wonder why your faucets have stopped running, and those that do run, give out splashy water? Does your shower come in trickles when you already have your face covered in soap lather? I know how frustrating it is when you cannot get enough water pressure to rinse your dishes properly.
This article, therefore, is a response to help you in the resolution of the above difficulties. Here, you will get a step-by-step DIY guide on how to drain a water heater, thereby removing all the debris clogging your faucets.
Steps on How to Drain Your Water Heater
Whether you use a gas or an electric water heater, the steps involved in draining them are the same. You can follow the instruction below to empty your water heater effectively.
Step 1
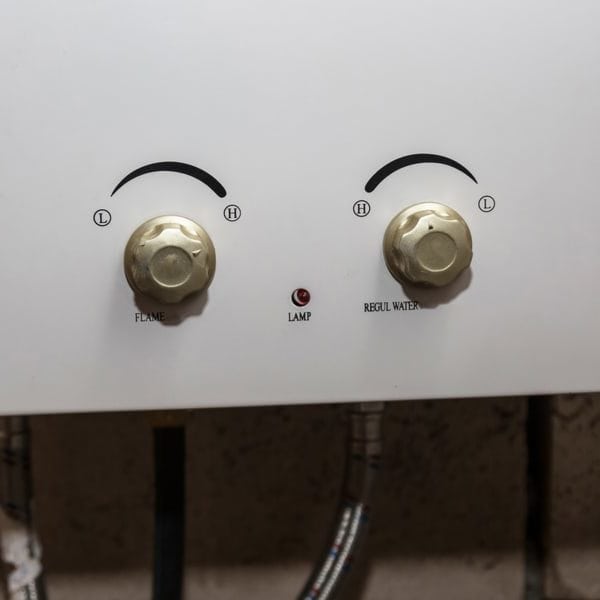
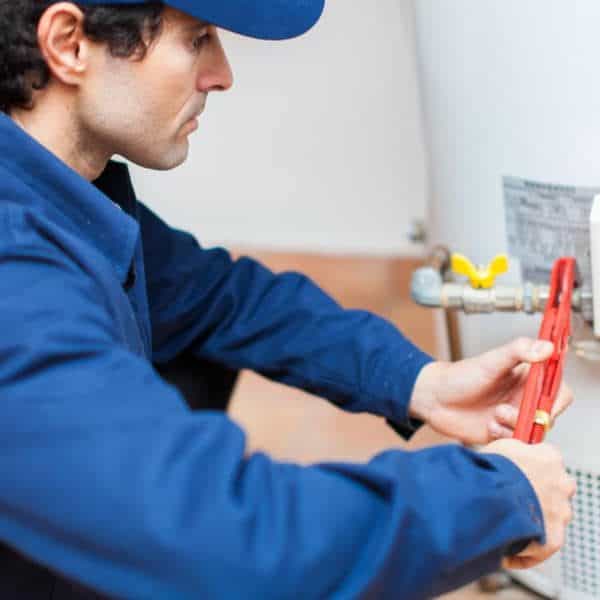
Start by turning off the water heater. It is not advisable to drain the water heater while it is in operation. In the case of an electric water heater, turn off the switch which supplies power to the water heater.
This switch could be a wall switch above or just beside the tank. For a gas-powered water heater, turning the switch to “Pilot” will stop the water from heating.
Step 2
Wait for the water in the unit to cool before you start draining. How long you would have to wait depends on the size of the water heater. The wait may last from a couple of hours to half a day. Waiting for the water to cool is a cautionary measure as you do not want to sustain burns trying to drain scalding hot water from the tank.
Step 3
Turn off the cold water supply to the tank. You can do this using the valve on the pipe that supplies water to the water heater or by cutting off the main water supply to the house. Ensure the water pressure is off by turning on the water faucets to check for hot water.
Step 4
At this stage, open the pressure-relief valve. It is normal to hear a hissing sound as you do this. Remove one end of the hot water pipe above the tank to allow air into it to ensure that the water drains when you open the drain valve.
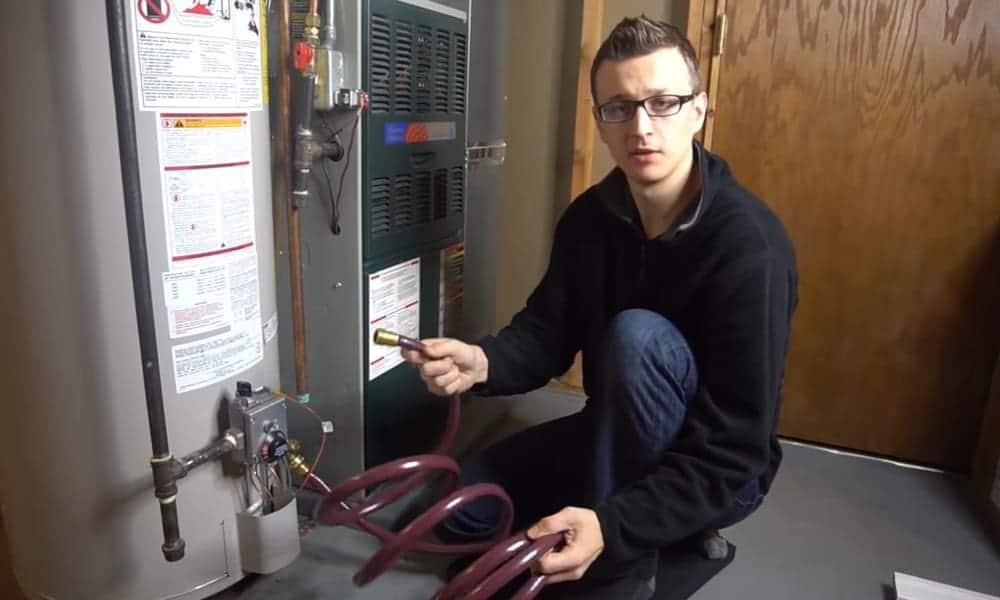
Step 5
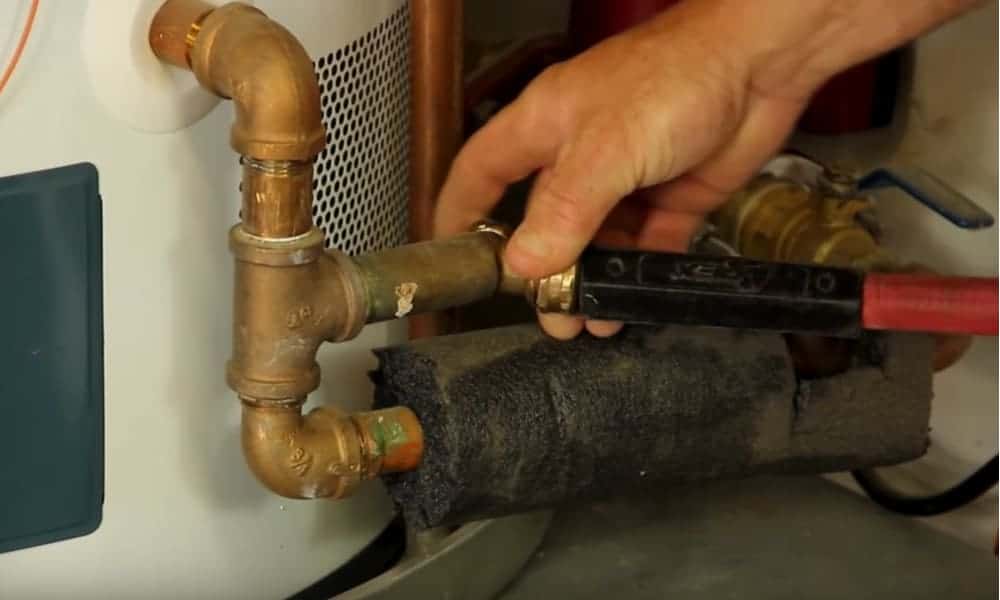
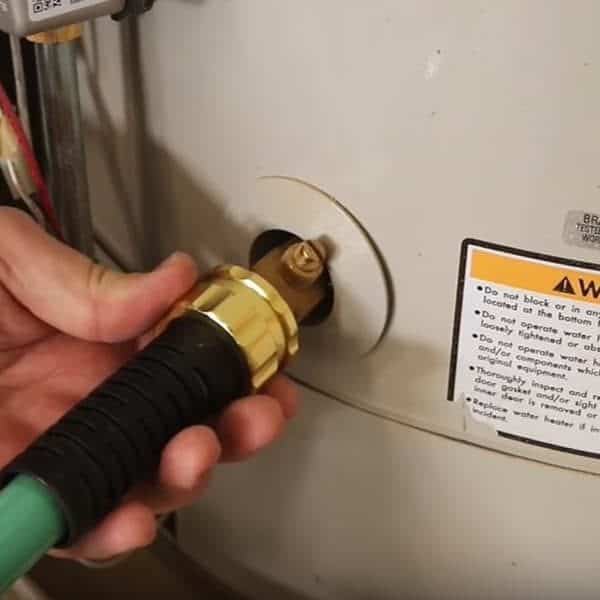
Attach a hose long enough to channel the water to the nearest drain to the drain valve located at the bottom of the tank. Lock it tightly with the help of a wrench and open the drain valve.
You may want to drain the water into your lawn if you have no drain in your basement, especially if the hose is not long enough to reach the nearest drainage outdoors.
In this case, the water should not be hot, and you have to place a mesh above the lawn to trap the water heater sediment and prevent it from making a mess of your garden.
Step 6
Take an assessment of where your water heater sits side by side the ground level. The reason is to ascertain if gravity is enough to drain the water out or whether you will need to make use of a pump to drain the water.
To do this, attach a short hose between the drain valve and the pump, then attach a longer hose to the second end of the pump. This second hose will channel the water to the drain outside or the lawn as the case may be.
Step 7
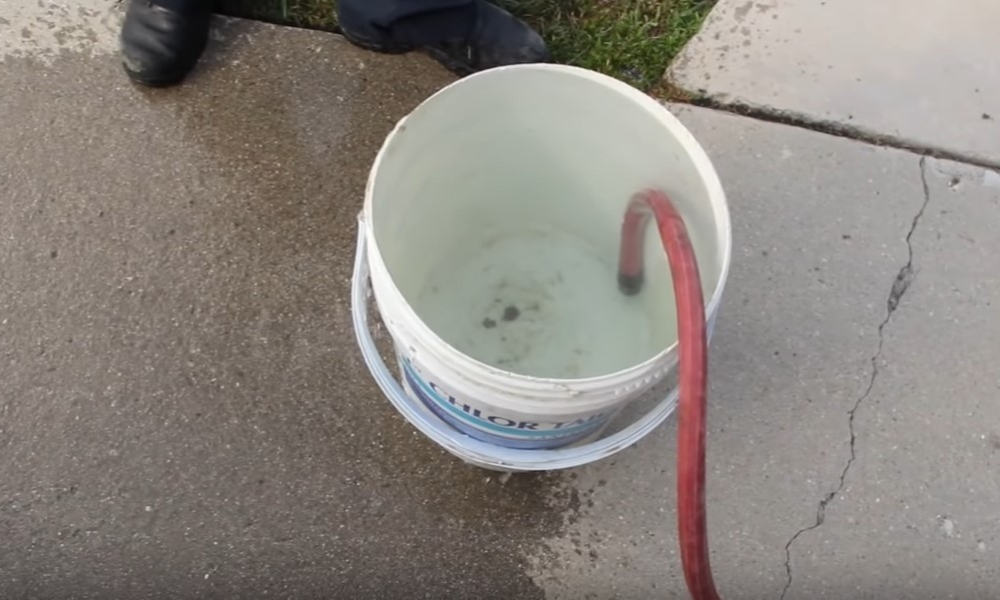
Drain some of the water into a bucket so you can assess how much sediment is in the tank. The assessment will help you decide how much flushing you need to do after draining the water from the water heater.
The debris captured by the mesh screen you used while removing the water will also give you a rough idea of how much flushing you need to do.
Step 8
Flush the water heater as many times as you deem fit based on the amount of sediment you observed. To flush the water heater, switch off the pressure relief valve and turn on the cold water supply.
Fill the tank with water and drain it through the same process as before. Do this until there is no sediment left in the tank. You will know this from each sample of water you capture in the bucket or on the mesh screen each time to drain.
Step 9
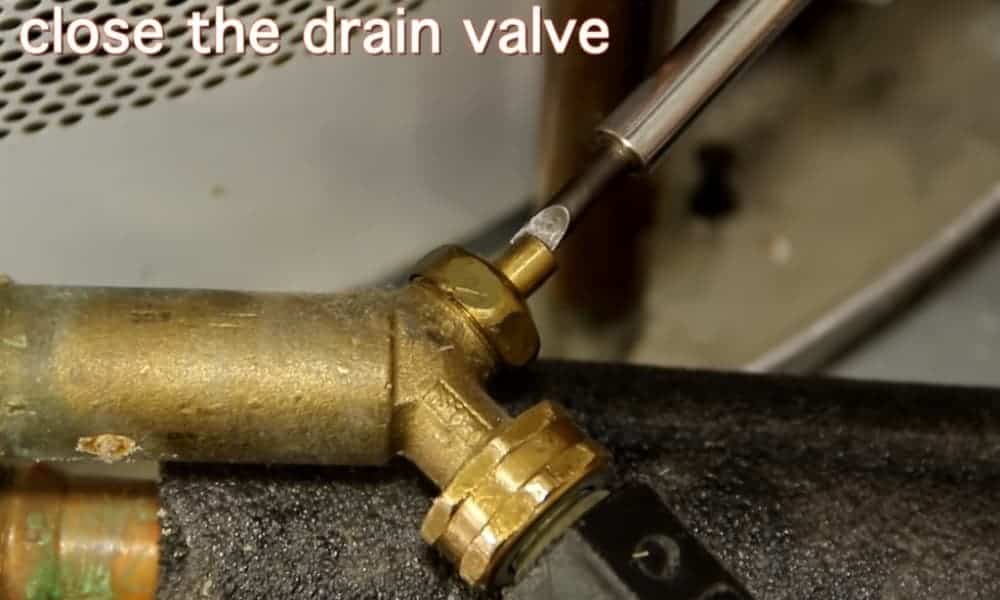
Disconnect the drain pipe and close the drain valve. Restore the hot water pipe and tighten it with the help of a wrench. Open the hot side of a faucet in your house and leave it to run until the air in the lines are out, and only water is coming out of the tap, then turn off the faucet.
Step 10

Relight the water heater by switching it off “Pilot.” Turn on the switch if it is an electric water heater. Check the drain valve for possible leakage.
Close it with a cap to stop any leakage or replace it with a new one. Within a few hours of the relighting the water heater, you will have hot water back in your plumbing system ready for use.
Why do you Need to Drain Your Water Heater?
The essential reason you have to drain your water heater is to remove and flush out any accumulated debris or dirt sitting at the bottom of the water heater tank. Aside from the clogging of the faucets, you also need to drain your water heater because the debris or sediments attack the metal walls of the tank and shorten the useful lifespan of the water heater. It also contaminates the entire plumbing system over time.
The manufacturers of most water heaters advise that you drain your water heater at least once in a year. However, the number of times you should empty your water heater in a year depends on the nature of the water supply from your municipal water lines. You may have to drain your water heater more times than the manufacturers’ recommendation.
You know that your water heater is responsible for the supply of water to all the faucets and points you use hot water in your house. However, before the water heater supplied any drop of hot water to any location of use, it first received cold water from the main water supply to the house.
Water is not entirely pure. It comes into the tank of the water heater carrying some debris that may be insignificant, yet not so trivial when they settle at the bottom of the tank and build up over time. This debris could be in the form of dirt, sand, or mineral suspended in the water supply.
Enough quantity of this debris gets stirred up when water comes into the tank and travels along with the hot water to the faucets, showerheads, washing machines, dishwashers, and virtually all the different points water is used in the house. This debris or sediments end up blocking the faucets either partially or totally.
Not all sediments clogging your faucets are debris brought into the tank through the cold water supply. In the production of a water heater, manufacturers install defective plastic deep tubes or pipes that supply water to the water heater tank. Over time, these tubes disintegrate and settle at the bottom of the tank. The cold water supply stirs the particles of this tube and sends then to the faucets and other water use points in the house.
In the case of a broken or disintegrated tube or pipe, you may have to consider the replacement of the water heater entirely. This consideration is necessary because some of the particles of the disintegrated plastic tube may be too large to pass through any drain pipes if you opt for draining the water heater. This challenge is one of the reasons the use of a tankless gas water heater is now more conventional.
Before I take you through the steps you can follow to drain your water heater, one occurrence you should expect is the likelihood of leakage. The drain valve may not close securely again after you have opened it to drain the tank. You should put a cap over the drain valve if it starts leaking, or better still, change it entirely. This issue of leakage after draining the water heater mostly occurs with plastic valves.
Conclusion
From the preceding discussion, it should be clear to you why occasionally the water coming out your faucets is sputtering and why water does not come out of some at all. These faucets have been either partially or clogged by debris sent into the plumbing system from the water heater.
A temporary solution to this may be to loosen the faucets and remove the particles blocking the flow of water. However, these faucets can only work for sometime before they get clogged again by other particles. A more permanent solution to relieve you of the frustration of water trickling off the faucets when you need a high-pressure rush is to drain your water heater and flush out the debris or sediment accumulation inside it.
I have also made an effort to present here a simple and exhaustive DIY detail to guide you in draining your water heater. It will excite me if you try the suggestion above and send me some feedback. Please, feel free to ask questions where you face challenges with the process.