When you check your electric water heater, you will notice two thermostats on the unit-one at the top, and one at the bottom. Each of these devices controls two different heating elements.
If you turn the hot water tap and cold water runs out, then the upper thermostat is damaged. But if the water is hot that becomes later becomes cold, then you have a damaged lower thermostat.
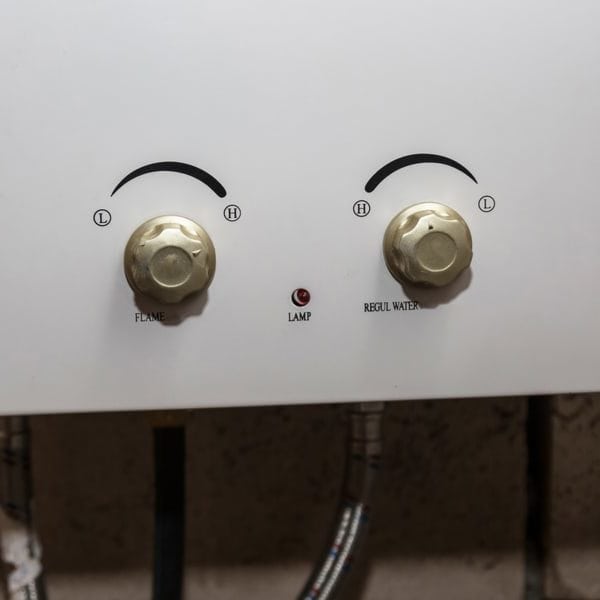
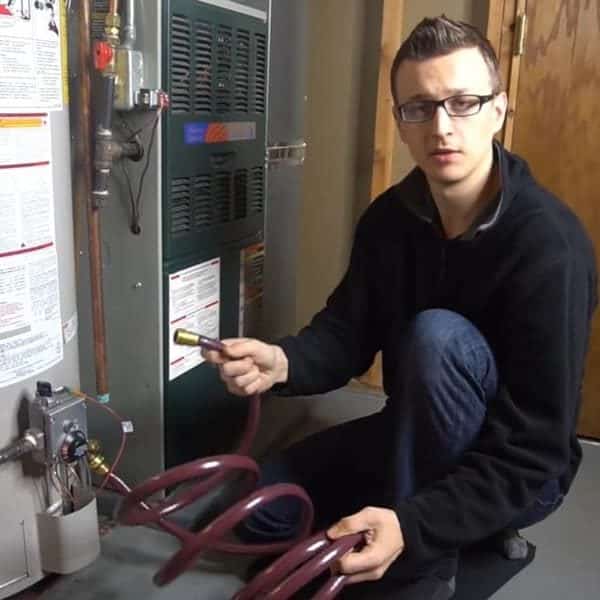
However, you will need to know how to test a water heater thermostat to find the faulty unit. As soon as you complete this task, you can fix it. Whether you’re using propane tankless water heater or any other types, the thermostat works great to regulate the temperature. But first, let us see how a thermostat works.
How Does A Thermostat Work?

Normally, an electric water heater has three main features. They include a heating element, a thermostat and a switch to prevent the unit from excess heat.
You can use a thermostat to produce heated water to suit different purposes. For instance, the level of heat required for washing might be different from the one needed for showering. Furthermore, it controls the current that moves to another thermostat or heating element.
An electric heater with a storage tank of at least 30 gallons comes with two heating elements with a thermostat on each of them. The thermostat on top acts as the primary one while having a high limit switch. But the lower one detects any change in the temperature of the water.
Both thermostats (on the same water heater) do not have the same features. They even do not work at the same time.
The high limit switch is found on the location as the upper thermostat. It also has a button that stops it from working, especially when the water goes above 170F. To restore it to default settings, press this button.
To set the thermostat on a water heater, you will need to adjust both thermostats to similar temperatures. Alternatively, you can adjust the upper element to a lower temperature thereby allowing the one underneath to activate first.
For water heaters that have smaller tanks (a maximum of 30 gallons), a single thermostat and heating element handle temperature control. But they use a high limit switch like the larger water heaters.
How to Test Water Heater Thermostat
If you want to test a thermostat on an electric water heater, you will also need to check the heating element. This is important, especially as open and grounded heating elements result in inaccurate tests.
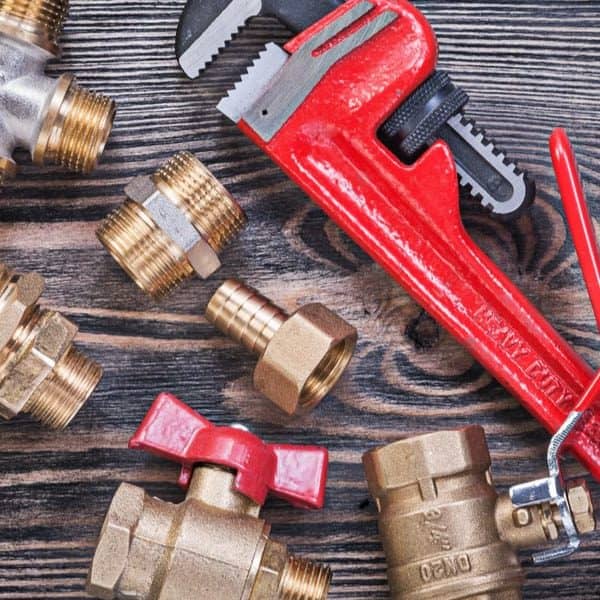
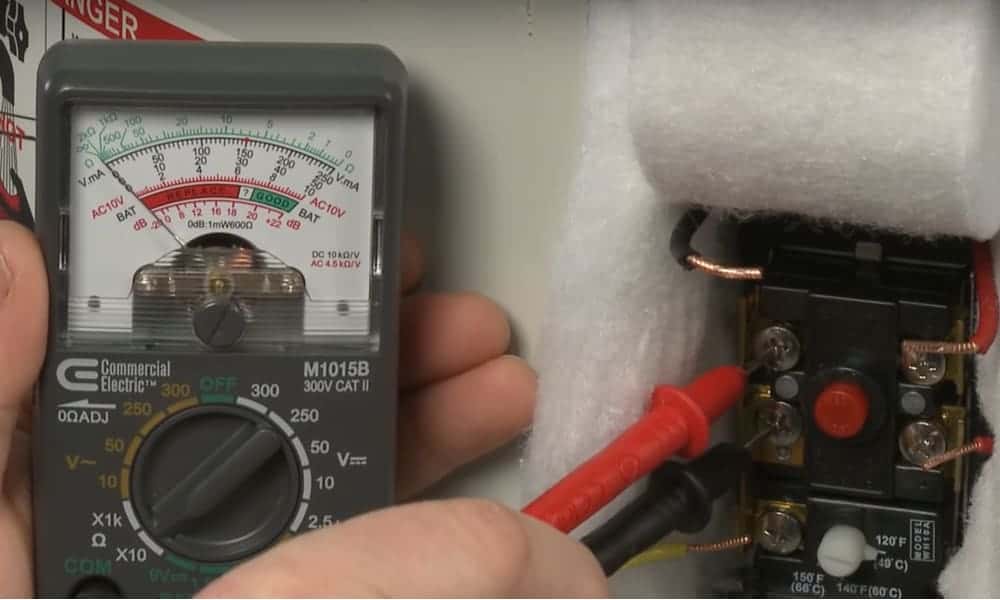
To look for faults, you will need to use a screwdriver. You will also need to check the water heater thermostat with digital multimeter tools. Now let us get started with the following steps on how to test a water heater with multimeter.
- Move to the thermostat terminals and check if it is supplied with power. If it is, you will have a reading of 240V on terminals 1 and 3. But if there is no reading, check its power source. Also, check for current on the high limit switch.
- Disable the lower thermostat by rotating its dial to the least setting. Next, turn up the temperature of the upper thermostat to look for faults.
- Place the prongs of the multimeter on the terminal 1 and blue wire of the heating element. This will help you detect if power is supplied between the upper heating element and blue wire.
- If the tool reads 240V that means there is power on the setup. Next place the prongs on terminal 2 and the blue wire of the heating element. But if there are no readings that means the thermostat is faulty.
- Move to the lower thermostat on the heater. Adjust the dial on the upper thermostat to the minimum setting while you set the other thermostat to the highest level.
- Head back to the terminal 1 and red wire of the bottom heating element. Place a probe on both of them to detect power. If it reads 240V, then there is power in the setup.
- Place the probes on terminal 2 and red wire of the bottom heating element. If you have no readings, then you will need to swap the thermostat for a new one.
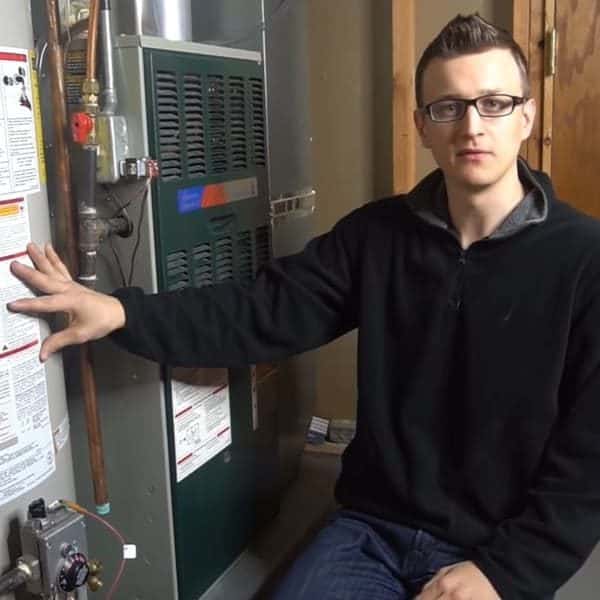
How to Replace a Faulty Thermostat on an Electric Water Heater
Changing the thermostat on an electric water heater is as easy as installing an electric switch. After knowing how to test a thermostat, you can even handle the repairs without emptying the storage tank. However, you must turn off the power supply and check the wires for voltage before anything to prevent possible accidents.
For extremely hot water, you will need to change both thermostats on your heater. Even if the problem is caused by a single thermostat, it is recommended you change the two thermostats since they are affordable.
Before changing the current thermostat, it is advised that you purchase a new one of the same brand. If you can’t find such an item, look for a suitable replacement from another manufacturer.
Remember to add a non-contact voltage tester and screwdrivers on your list.
Deactivate the Power Supply
Shut off the power supply by switching off the breaker that is connected to the water heater. Normally, water heater breakers consist of two separate single-pole switches with a 30 amp rating. But some models offer more amps.
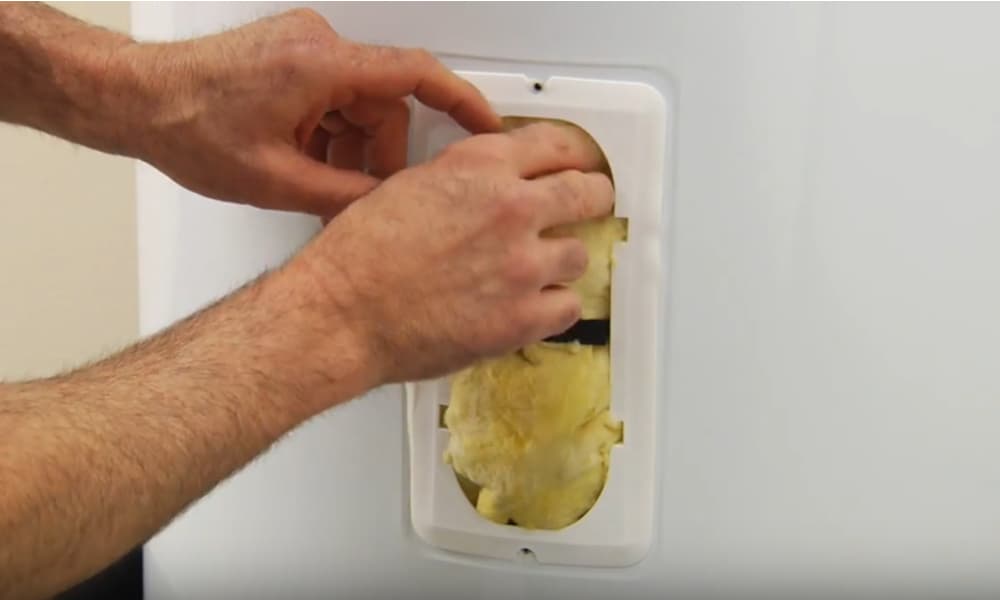
Take out the panel that protects the thermostat and heating element of your electric water heater. Since some models have screwed panels, you might need to work with a screwdriver. Ensure you remove the insulation at the back of the panel but avoid touching the wires.
Make sure there is no current in the thermostat to avoid electrical shocks. At this stage, you can use a non-contact voltage tester to check the screw terminals and wires.
Pull out the Faulty Thermostat
Snap a picture of the connections on the thermostat. The picture will serve as a guide after you have learned how to test a thermostat. You can also make a quick drawing if you are up to it.
Unscrew both screw terminals on the thermostat. Then pry out each wire on both of them. After that, free the thermostat from its attachment clips and remove it from its chamber. Use minimum force to prevent any damage to the clips. Use minimum force to prevent any damage to the clips.
Set Up the New Thermostat
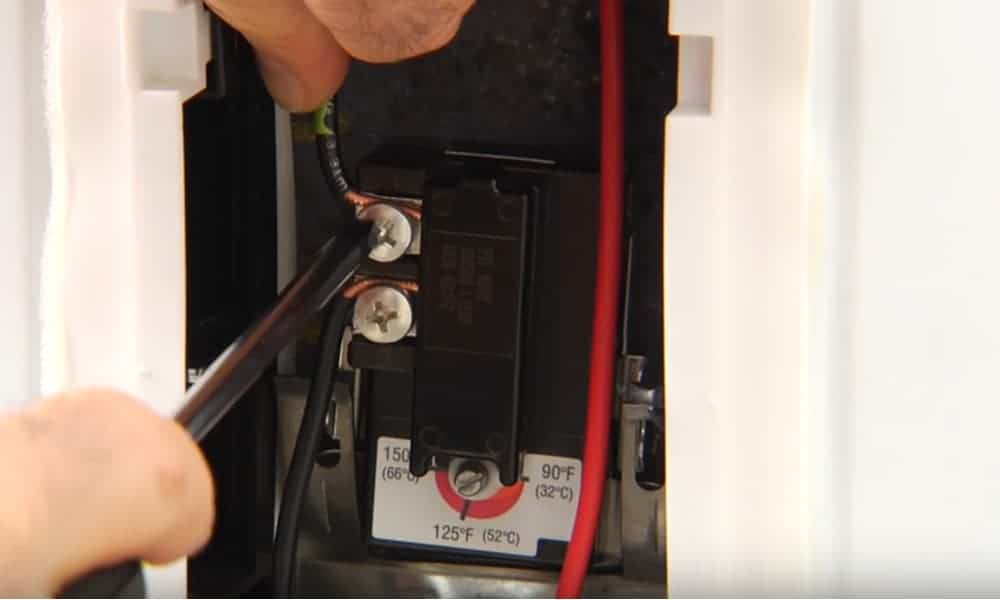
Fix the new thermostat into its corresponding clips. Make sure it rests correctly on the surface of the storage tank. Attach both circuit wires to the corresponding screw terminal. Lock them by tightening the screws.
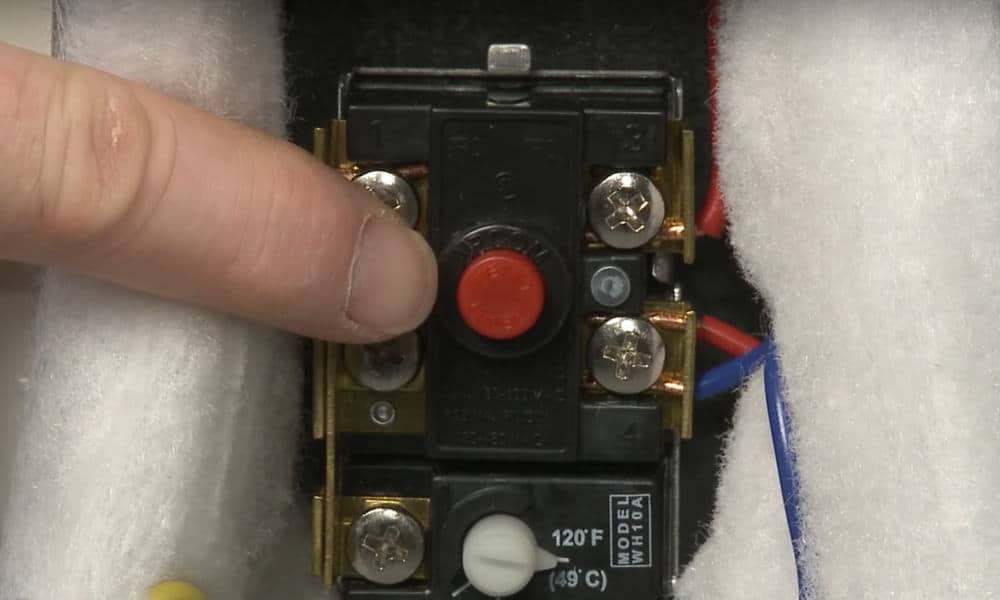
Adjust the temperature on the thermostat to your preferred setting. Here, you will need a flat blade screwdriver. It is suggested that you set the temperature to 120°F.
Add Final Touches
Replace the chamber panel and insulation of the thermostat. Reconnect the circuit to its power source by activating the circuit breaker. Switch on the water heater for two hours, then run the hot water faucet to see if the water is well heated.
How to Troubleshoot a Defective Thermostat on An Electric Water Heater
Troubleshooting the thermostat on your water heater might look difficult. But with this guide, you can handle this task without contacting a professional.
- Head to the circuit breaker and turn off the power to the thermostat. This step is vital because it protects you from electrical shocks. If you are working with a two-pole breaker, both breakers will go off at the same time.
- Pull out the two panels that protect the thermostat. Under the cover lies insulation that matches the opening. Remove and set aside for future installation.
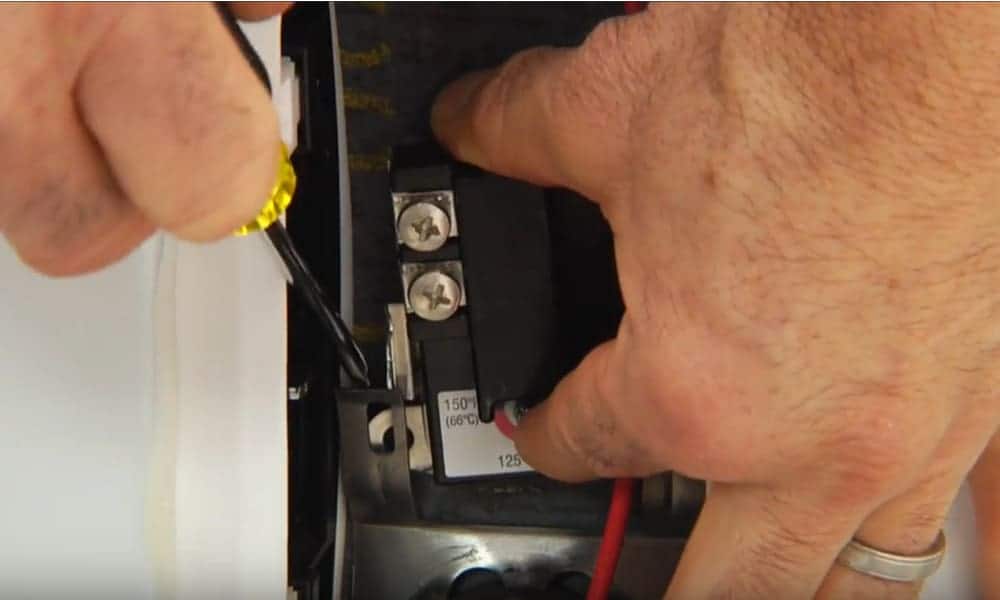
- Locate a plastic panel on the thermostat and heating element. Underneath the panel lies button. Press it to ensure it is in perfect condition.
- Check for a “snapping” movement as you push the button. If you feel any, switch on the power and allow it to run for some minutes.
- Confirm if there is no power on the unit especially if you want to still work on the unit. To do this, wave a non-contact voltage tester near a pair of wires at the top. If you don’t notice any lights or beeps on the meter, then there is no electricity on the thermostat.
- Work on the unit as if there is a power even when you detect no readings on the tester. Gently pull out or unscrew the plastic cover on the thermostat. Avoid placing your fingers deep into the unit to prevent possible accidents.
- Bring out a voltmeter and set it to a minimum of 240 volts. Place the test lead on all the upper screws. If you have a reading then the power is turned on, switch it off and check again. There must be no power on the unit.
Wrap Up
An electric water heater has a thermostat like a tankless water heater. Luckily, testing and fixing a faulty thermostat requires a few tools, such as a multimeter and a pair of screwdrivers. You don’t even need any special skills to solve this problem. You just need to follow these easy steps.
- Turn off the power
- Test the unit.
- If there are any problems, pull out the current thermostat and install a new one. It’s advised you check the unit for any current to prevent any shocks while you’re working.
We hope you enjoyed this article. If you have any comments, you can drop them in the space below.