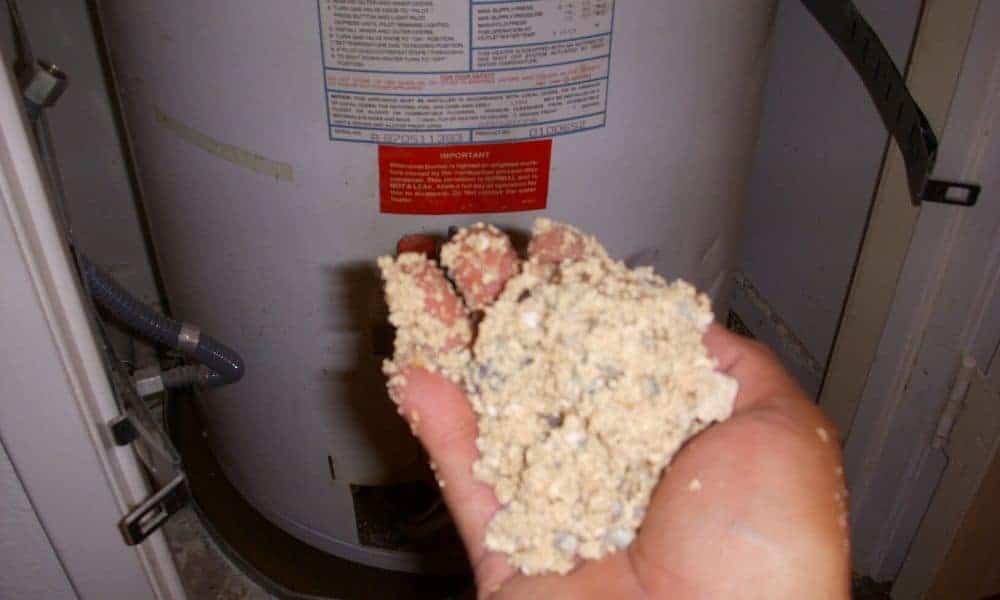
Ever wondered how to flush your water heater? This routine task, although unpleasant, is necessary to clean the debris that has amassed beneath the tank, which is more a big problem if you continuously use hard water. It’s much easier to remove the debris when it’s little than allowing it to pile up, as this will hinder its heating efficiency.
It is good practice to flush your water heater at least once a while as it helps to prevent the accumulation of muck on the bottom. Follow these steps to guide you on how to flush a water heater to remove sediments.
Steps on How to Flush a Water Heater
These steps are proven to guide you through the process of tackling water heater flush.
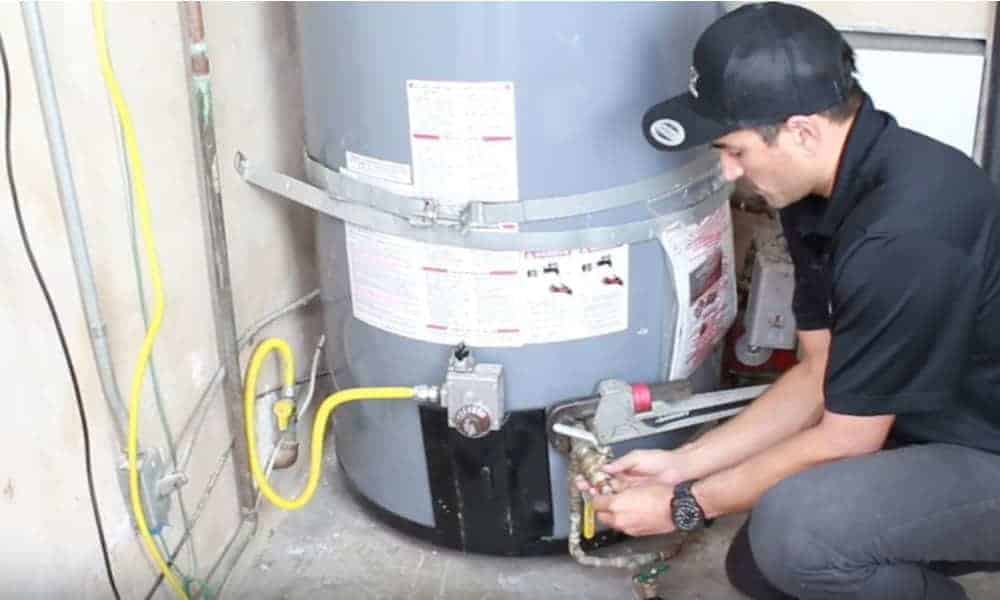
Step 1: Find the Circuit Point or Thermostat Button (Electrical or Gas)
The first thing is to do is to disconnect electricity from the circuit point. You will find an ash box with a metal handle fixed to the wall. It is positioned at the rear end of the house or where tools and equipment are kept.
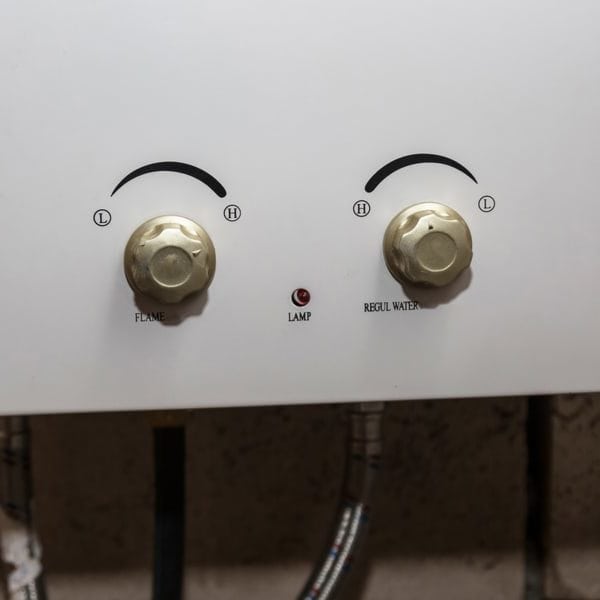
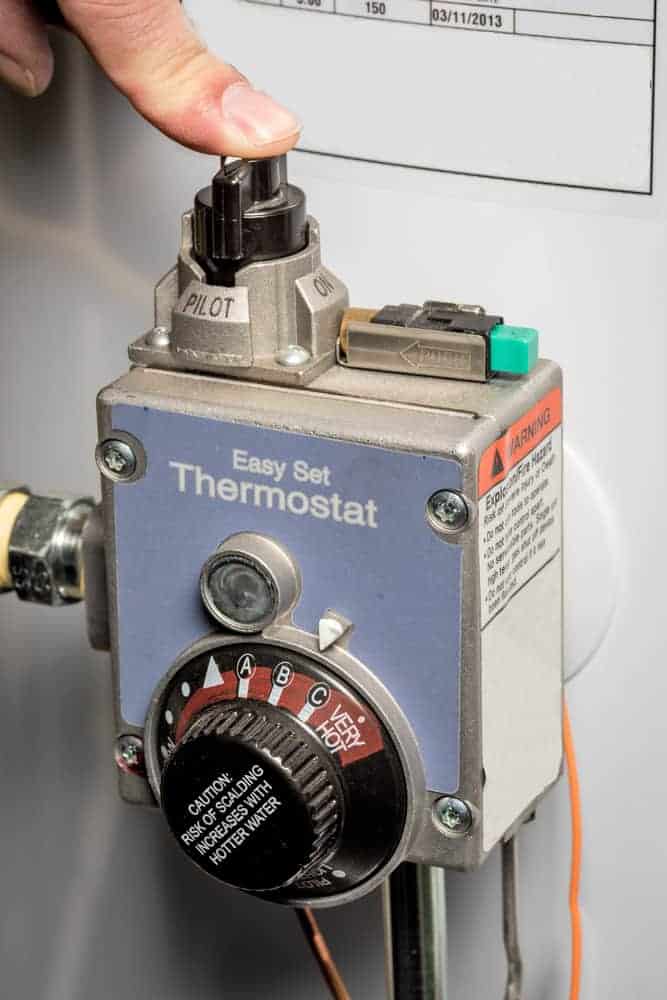
A thermostat controls your heater. You can find this heat control device at the back of the water heater at the point of connection with the tube. The instructions are clearly spelled out on the ozone colored button for switching off and on or the automatic pilot phase.
Step 2: Switch to ‘Pilot’ on Gas Heater or Disconnect Electric Fuse
It would be best not to disconnect the fuse that supplies power to the whole house. Just detach the one linked to the heater. Look for the circuit breakers that cut the power whenever there is a breach in connection and switch off the one that controls the electric water heater.
Try to locate the particular circuit breaker that’s in charge of the kitchen zone and heater by noting the amperage or voltage on it. The main difference between the major circuit breakers and smaller ones is their voltage values.
While the major ones have 240 volts, you see the smaller ones with about 60 volts. Try to spot the difference and if you still can’t, just blackout the entire house for the period of work.
You should also note the difference between the fuse box and the breaker box to know what to switch off. Inside a fuse box, there are pipes with iron edges and circular shaped item topped with crystals.
Well, you are required to detach the heater fuse to cut electric power from it. The metallic points of the fuse might be heated, so be careful not to touch with bare hands.
Step 3: Stop the Cold Water Flow
The turn off regulator might be either a gate valve or a ball valve. Well, anyone it is, you will find it positioned at the side of the tube that supplies cold water. This tube is passed above the tank, and a ball tap valve is affixed on top of it.
In gas water heater, once you position the thermostat button to ‘Pilot,’ then you can allow the supply of propane. The reason is that, in water heaters powered by propane gas, the pilot point is the point of no activity.
However, you could turn off the heater like an hour before removing the water from the tank. That’s if you still wish to utilize the water.
Step 4: Turn on the Hot Water Tap on Your tub
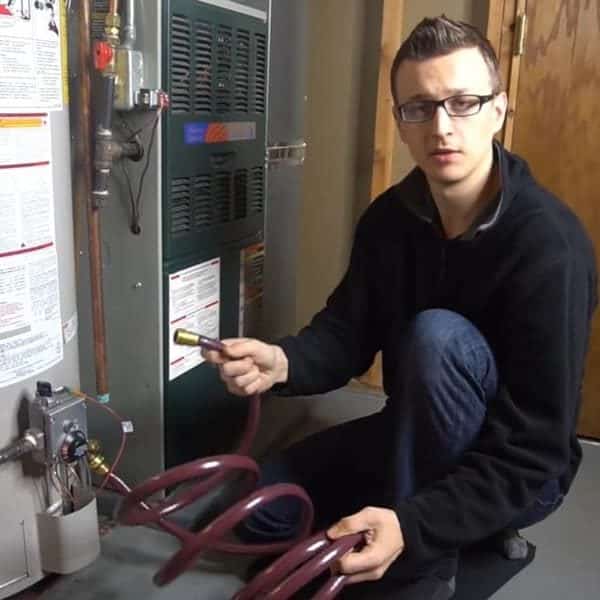
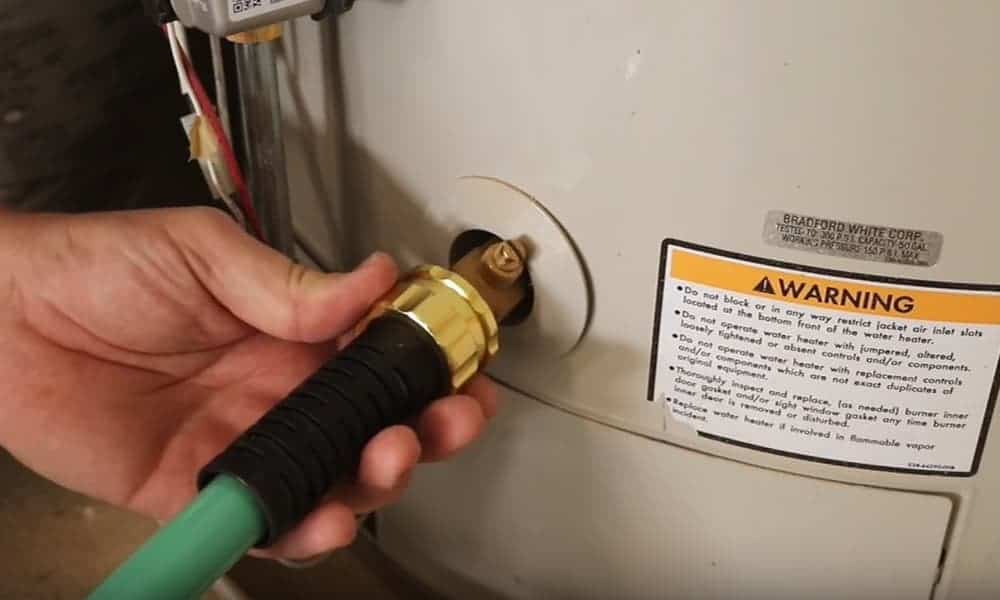
Just like when you close one end of a tube to prevent the water in the tube from pouring out, this activity helps to avoid the formation of bubbles in the tubes. Fix a long pipe to the drainage valve beneath the heater tank. It resembles a tap mouth at the bottom of the heater; that is an oval opening where water escapes from.
In some heaters, you’ll have to take out a cap from the drain valve to see it. Afterward, allow the water to drain through a pipe or use a container to throw it out elsewhere.
If the water is still too hot, allow it to cool or use a metal bucket. Do not fill to the brim to avoid the risk of burnt by hot water.
Step 5: Channel the Drain Pipe to A Proper Place
You can channel the drainpipe to your lawn or garden to water the crops or grass. But this has to be cool water, so it doesn’t harm the tender plants, so let the water chill before draining. Your driveway is another option in case you don’t have a lawn or garden. Better still, why waste water and money when you can use buckets to store the water for later use?
It could help save money on the flush water heater cost as well as the trouble of inferior pipes or tubes which present leaking problems. To avoid spoiling the whole place with water, cover the tube with a bathroom cloth to reduce pressure.
Step 6: Turn On the Drain Pipe Valve to Expel Water from the Heater
Try to open the pressure relief valve to aid smooth passage of water. You will find this component at the top end of the water unit.
But keep in mind that before you open it, you should place a container underneath the discharge pipe to collect any spills. This item will prevent water from causing a mess on the floor.
As a reminder, always ensure that the water is not overheated when draining as it can melt the rubber components of the drainage system.
Step 7: Examine the Water after Flushing
Some minutes after, you must have flushed for some time, run the water from the heater into a transparent bucket, and examine it. The tank is clean if there is no more debris at the bottom of the bucket or suspension in the water. But if you can still see the dirt at the top or bottom of the bucket, you should rerun the flush.
Turn on the water into the tank, or the heater to enable you to wash out the debris completely. Then drain the water again and examine it once more, if you still see sediments, you should flush till you are satisfied that there is no dirt. Let’s now move to the final phase.
Step 8: Round-off on How to Flush a Water Heater
Once you are satisfied that the heater tank is clean, detach the tube or pipe and remove the bucket. Then turn off the drainpipe valve and close the tap on your tub that you opened initially. You can now restore the supply of water to the heater and allow filling up and normalizing the pressure.
Now release the relief valve to let off bubbles or air pressure to prevent excess capillary action when hot water mixes with cold water. After letting off the bubbles, you should restore the relief valve to its normal state and turn on the hot water faucet.
Make sure you don’t put the power back on without replenishing the water in the heater, so it doesn’t melt the plastic.
Then turn on the water inflow and fill the cold water part too then test both to ensure they are working. Check if the hot water is operating at full steam, and cold water is okay as well, then restore the power supply and switch off the basin tap. Wait for about 30 minutes, and then turn on the faucet on the tub to check if it’s working correctly.
Final Word
If you have taken these eight steps on how to flush a water heater, you are in for a smooth experience with your heater. Be it how to flush water heater electric or gas, this guide points out the rudiments of flushing your water heater.
However, try to apply precautions like
- Turning off the power supply from the circuit box before anything
- Ensure you allow water to cool before removing water from the heater
- Channel the water to the appropriate disposal point.
If there is anything you will like to contribute or ask, you can kindly leave a comment below.