Is your kitchen faucet leaking and in need of urgent replacement? The kitchen faucet is about the most used part of the kitchen, and this is not surprising as it supplies something as useful and in constant demand as water. Over time, even the best faucets wear out or develop faults that make a replacement necessary.
It may also be that you want to replace your kitchen faucet to something more functional and better looking. In this article, we expose you to the ten steps to remove and replace a kitchen faucet.
Tools and Supplies for changing Kitchen Faucet
The tools and supplies you need to change your kitchen faucet include:
- Channel-locking pliers
- Adjustable wrench
- Basin wrench
- Bowl or bucket
- Plumber’s putty
- New kitchen faucet
- Penetrating oil
How to Replace a Kitchen Faucet
These are the step-by-step guides to remove and replace a kitchen faucet:
Step 1: Turn Off the Water Supply
Just like in every plumbing activity, you first start by turning off the water supply to the part you want to work.
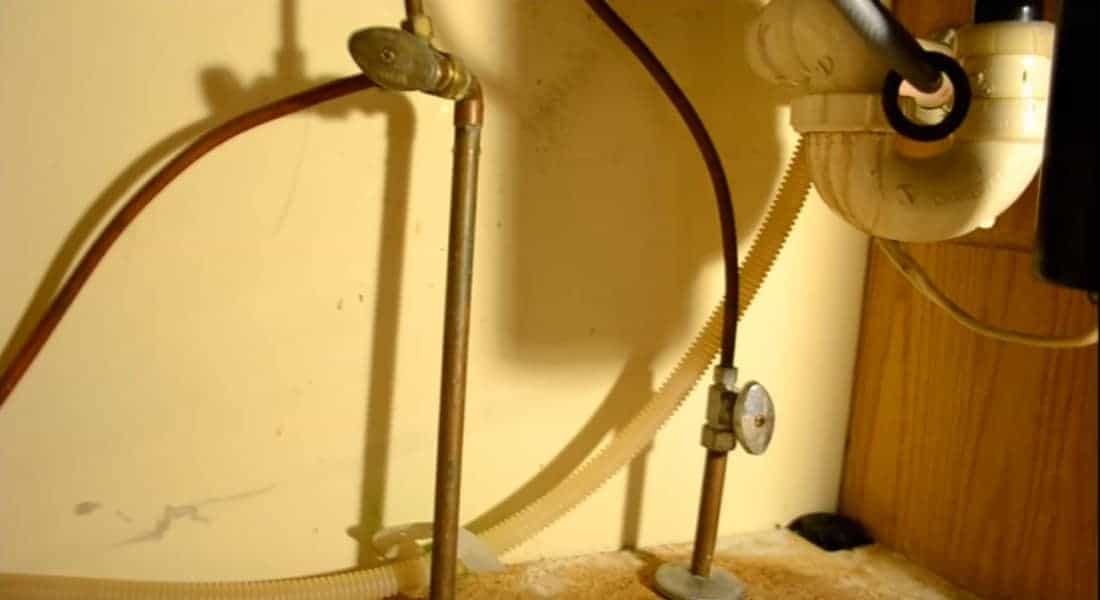
There are two shut-off valves located within the cabinet right under the kitchen sink. Each of the valves controls the hot or cold water supply.
In cases where they are no longer present, you can turn off the water from the central water supply to the house and then open the faucets for the residual water to flow out.
Step 2: Open the Faucet to Relieve Built-up Pressure
Opening the kitchen faucet relives the built-up pressure inside it. A small quantity of residual water may drop out from the kitchen faucet, but it should not be more than that.
If you notice that the trickling of water from the kitchen faucet is continuous, you should know that that is a sign that you have not turned off the valves completely.
Step 3: Set a Bowl under the Sink Basin to catch Residual Water
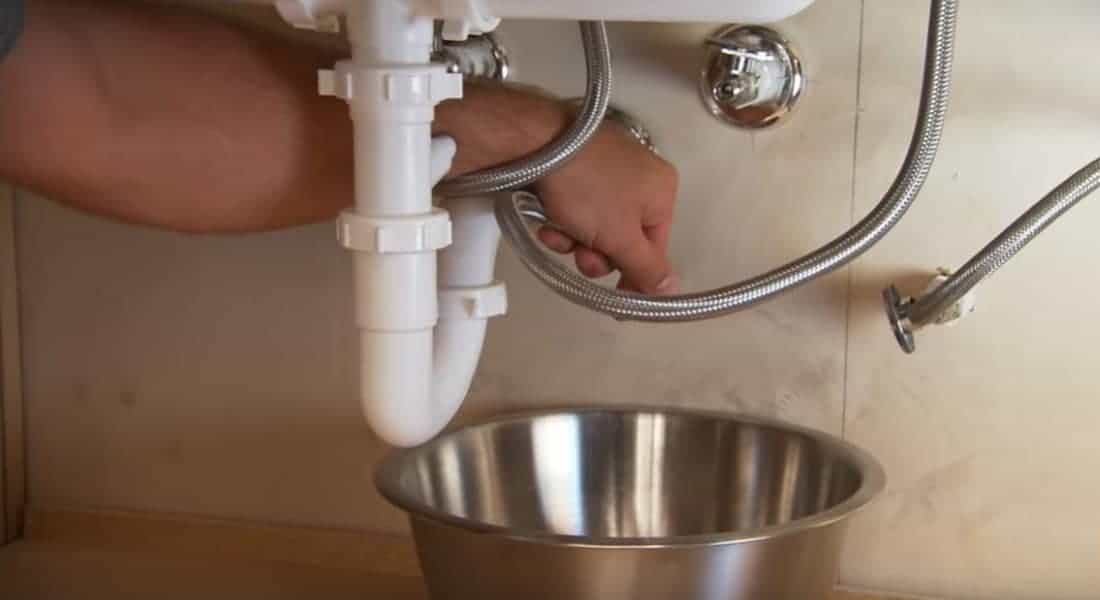
You will notice water dribbling out of the tubes while you are unscrewing the water supply tubes from the shut-off valves.
There should be some residual water left in the pipes even though you have closed the shut-off valves. Use a bowl or a bucket to catch the water to prevent it from spilling on the floor.
Unscrew the nut attaching the hot and cold water supply tubes to the shut-off valves and the tailpiece of the kitchen faucet.
Hold the shut-off valves still with a wrench while you unscrew the nut to prevent it from turning along with the supply tube nuts.
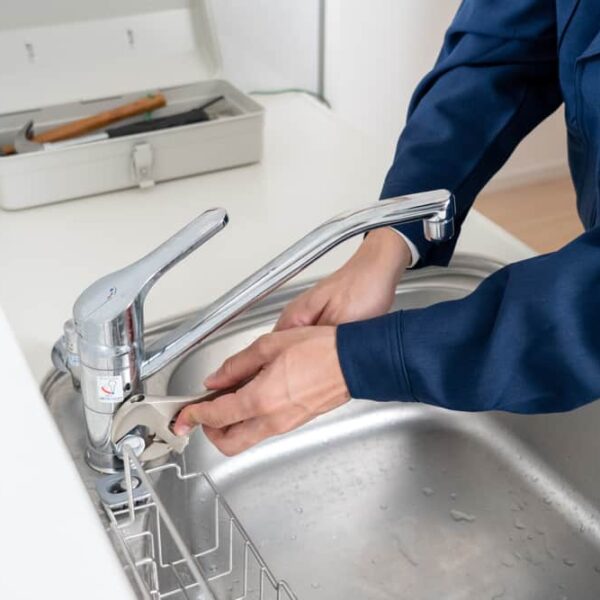
Step 4: Lose the Nuts used to Secure the Faucet
High up under the sink basin, there are nuts used to secure the kitchen faucet on the sink basin. Lose these nuts with the help of a basin wrench.
The basin wrench is more effective in removing these nuts as there is not enough room between the sink basin and the wall for the use of a regular wrench or spanner.
Just like in most nuts, set the basin wrench on the nuts and turn anticlockwise until the nut is loose enough for you tom take is out with your hand.
You should expect that some nuts will not bulge no matter the force you apply to it, probably because they have developed some rust between the threads of the nuts and bolts.
Drop some penetrating oil on the nuts and allow some time for the oil to take effect before you attempt loosening the nuts again.
We will advise that to avoid time wastage, drop some of the penetrating oil on these nuts a day before you go about removing your kitchen faucet.
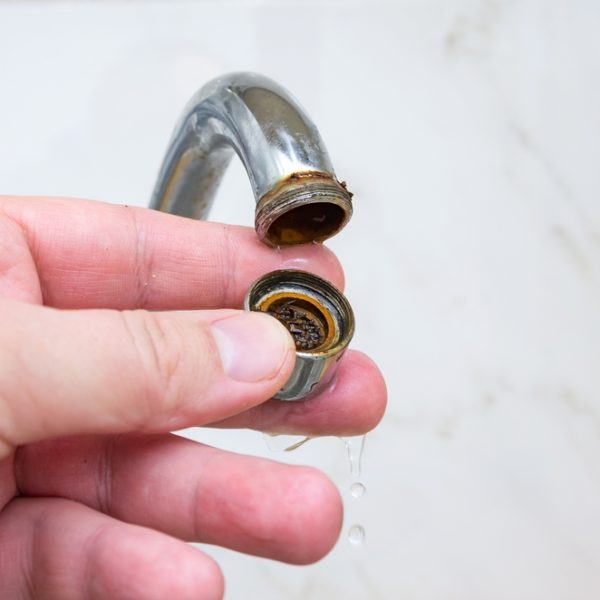
Step 5: Pull Out the Faucet
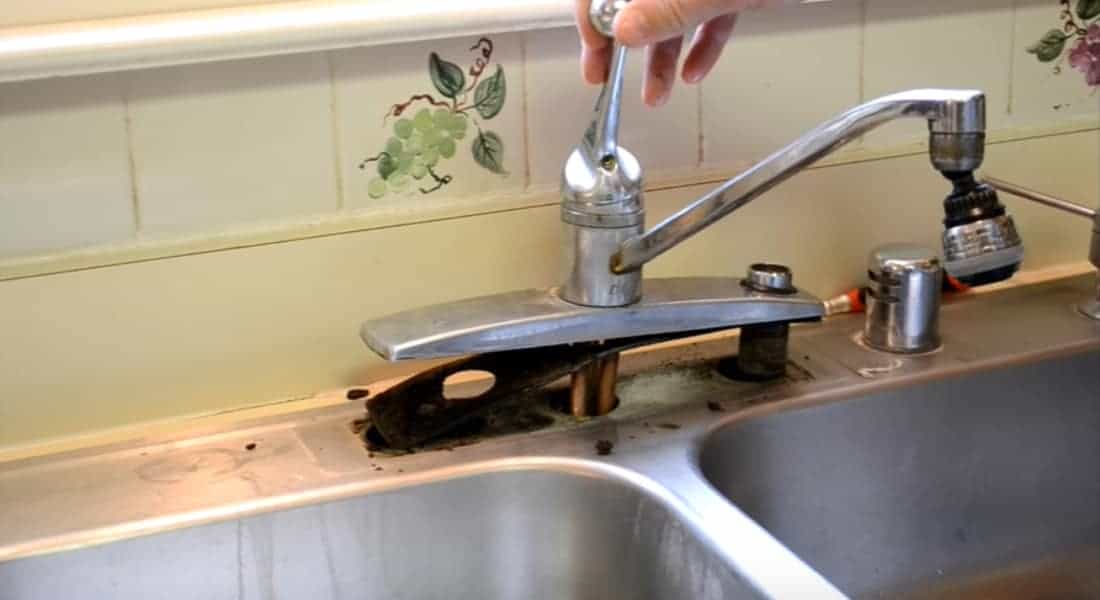
Having removed the nuts securing the kitchen faucet to the sink basin, wiggle out the kitchen faucet up the sink basin.
Apply as much force as is reasonable if you find that the seal or gasket used for the faucet sitting has hardened on the sink basin.
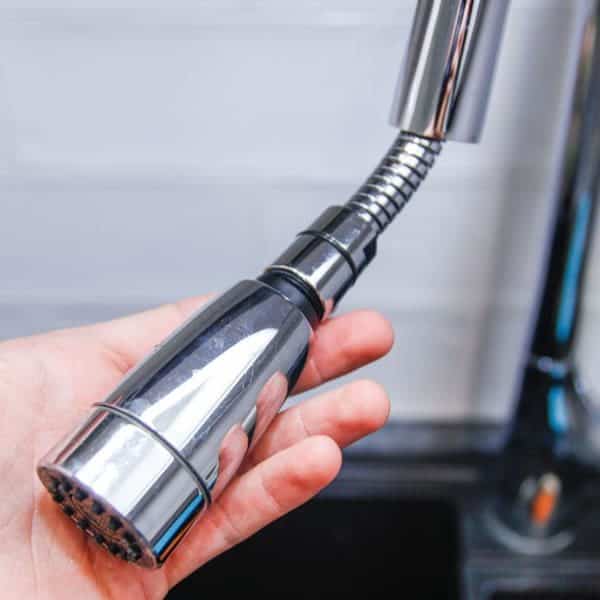
If the kitchen faucet is the model that comes with a sprayer, loosen the nut used to secure it to the sink basin and pull it out.
Step 6: Clean Off the Mark traced on the Sink Basin by the Kitchen Faucet
Considering that the kitchen faucet has sat so long on the sink, and was cushioned probably with a putty, there should be a dirty mark left on the sink basin when you pull out the kitchen faucet.
Use either a dishwasher or any other cleaning agent, along with a towel to clean off this dirt and make the place ready for the installation of a new faucet.
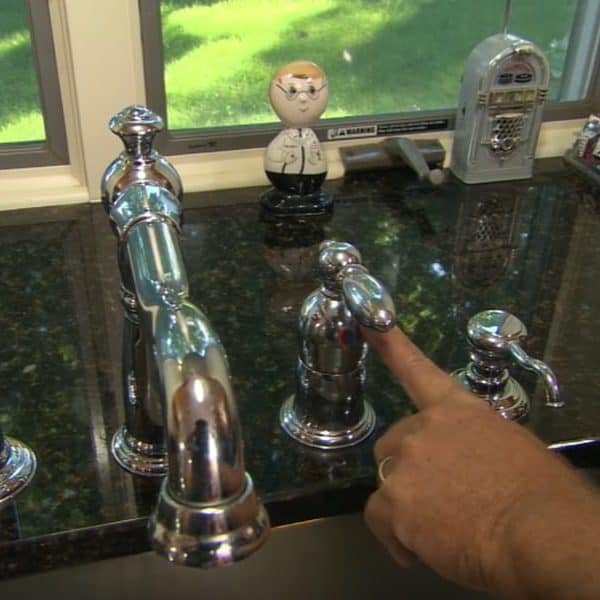
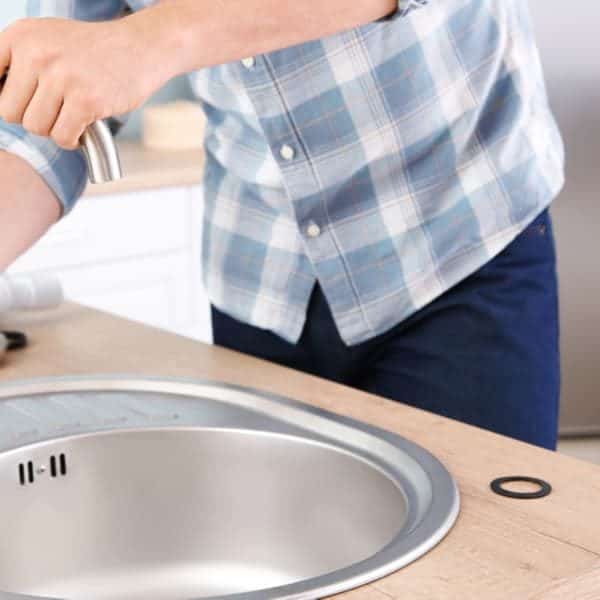
Step 7: Seal the Base Plate of the new Faucet

You must have ensured that the new kitchen faucet will match the holes that you pulled out the old one.
Some faucets come with a gasket that is used to cushion its contact with the sink basin. Set the gasket on the lip of the base plate before attaching the hoses to the faucet.
Where there are no gaskets, you can use plumber’s putty for the same purpose as the gasket.
Apply the putty around the lip of the faucet’s base plate before you set it on the sink basin.
Read the instruction manual that came with the kitchen faucet if you find any part of this step confusing.
Step 8: Put a Weight on the Spray Hose under the Sink
For faucet models that have pull-out spray, you need to attach a weight to the hose under the sink.
This weight will ensure that it draws back the sprayer into position after you have pulled it out for use.
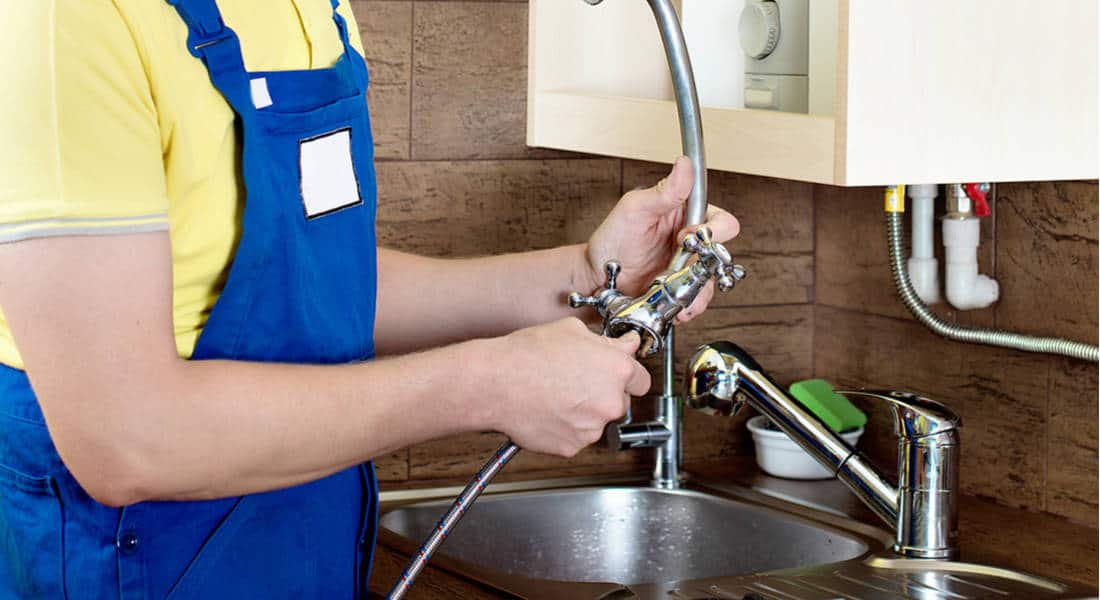
Step 9: Attach the Water Supply Tubes to the Faucet
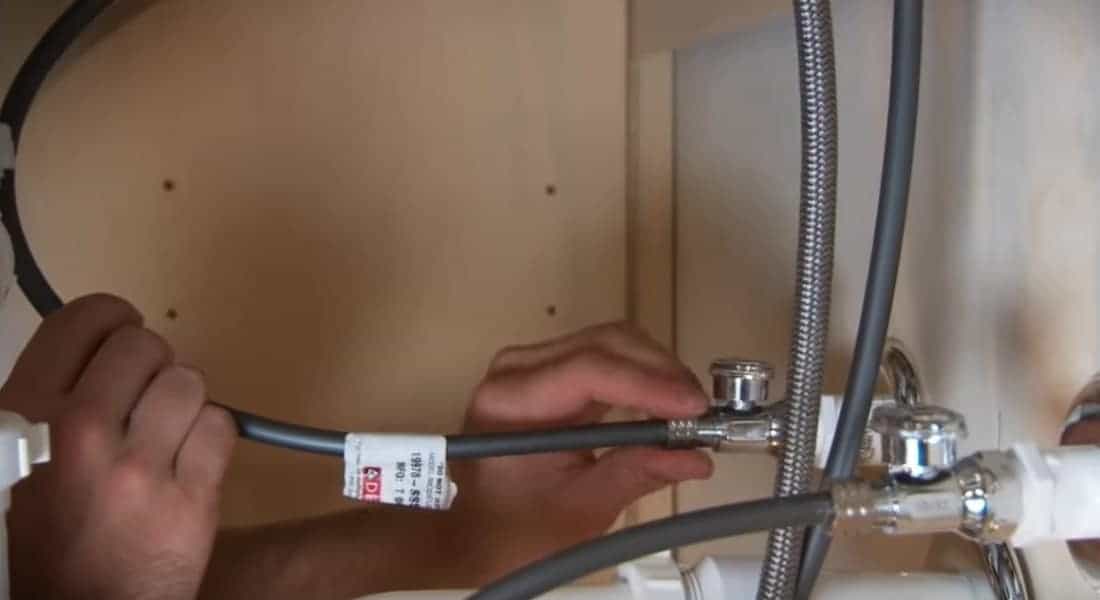
You may need to buy new tubes if you think the present ones are old. Secure the supply pipes to the shut-off valves and the tailpiece of the faucet with the use of nuts.
Remember to fix the hot water supply tube to the left and the cold water tube to the right.
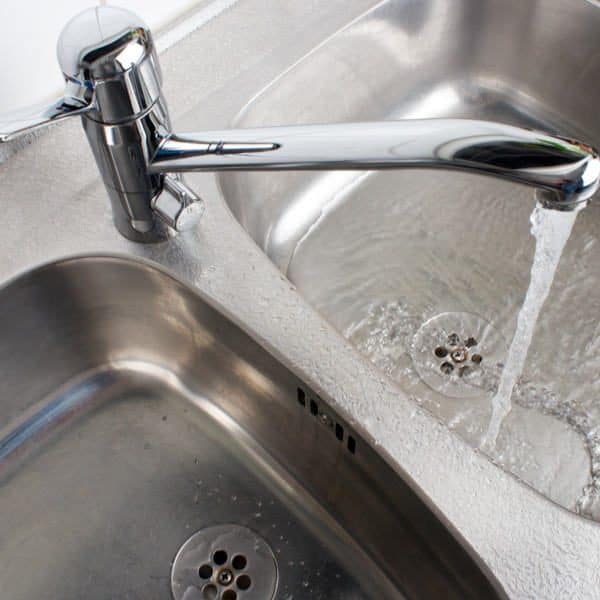
Step 10: Open the Water Supply
Allow the water to flow for some time to dispel the air within the newly installed faucet.
You will notice initially that the water comes out splattering out of the new kitchen faucet.
This spattering would adjust to a regular flow within a short while if you did everything accurately.
While you wait for the water flow to normalize, you should also inspect under the sink for possible leakages in any of the tubes or connections.
You may need to tighten up connections or change the leaking piece entirely if the leakage does not stop.
You do not want to mop the floor each time you use your kitchen faucet.
Conclusion
We believe there are simple tasks homeowners can perform themselves without engaging the help of professionals.
Changing your kitchen faucet is one of the simplest of them. Doing this yourself will not only save you the cash you pay professionals, but also gives you a sense of pride.
You can achieve both aims through this DIY guide on how to remove and replace your old or faulty kitchen faucet.
It will excite us to have your feedback. Feel free to ask questions on parts of this article you find confusing, and don’t forget to share with your friends.