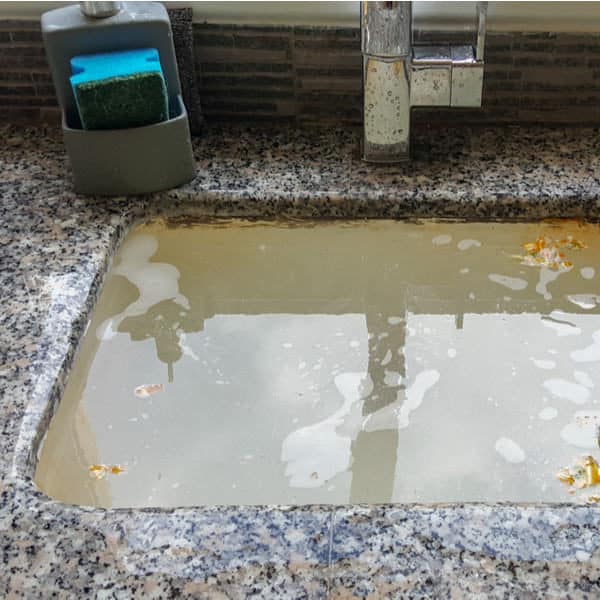
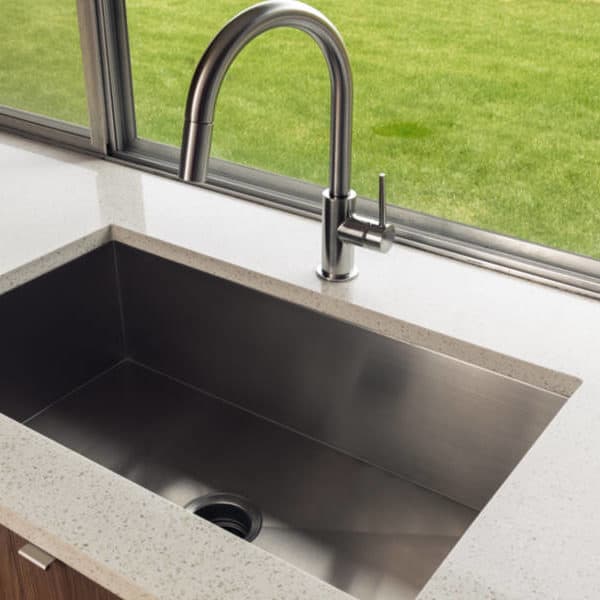
Do you have a bowl under your kitchen sink drain to catch dripping water? We know that you understand that a container under the sink is not a plumbing design anywhere, not even in hell.
As homeowners ourselves, we correctly understand how irritation builds with the rising level of water in the bowl. We have seen frustration overflow from keeping an eye to ensure the bowl does not overflow.
In this DIY guide, you will learn the ten steps to remove a kitchen sink drain and install a new one to replace it.
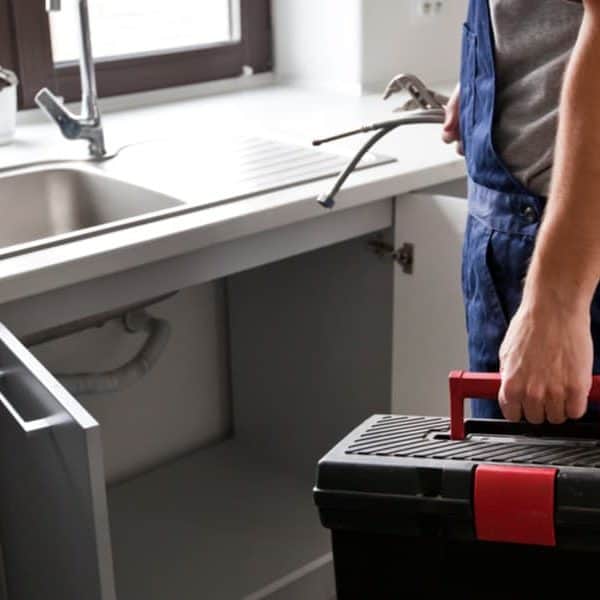
Tools and Supplies
- A basket or wrench
- A pair of pliers
- A kitchen sink drain kit
- Some penetrating oil
- Plumber’s putty
How to Remove a Kitchen Sink Drain
Apply the following steps to remove your leaking kitchen sink drain and install a new one that will save your bowl for a more prestigious duty that catching drain water.
Step 1: Shut Off Water Supply
Reach for the shut-off valves in the sink cabinet to turn off the hot and cold water supply to the kitchen sink faucet.
This step may not be necessary as the part of the sink you will be working on does not deal with the water supply tubes.
However, turning off the shut-off valves is something a novice in plumbing should get used to doing.
This precaution will ensure you do not make a mess of your work even when you turn on the water faucet unknowingly, especially if you have installed a touchless kitchen faucet.
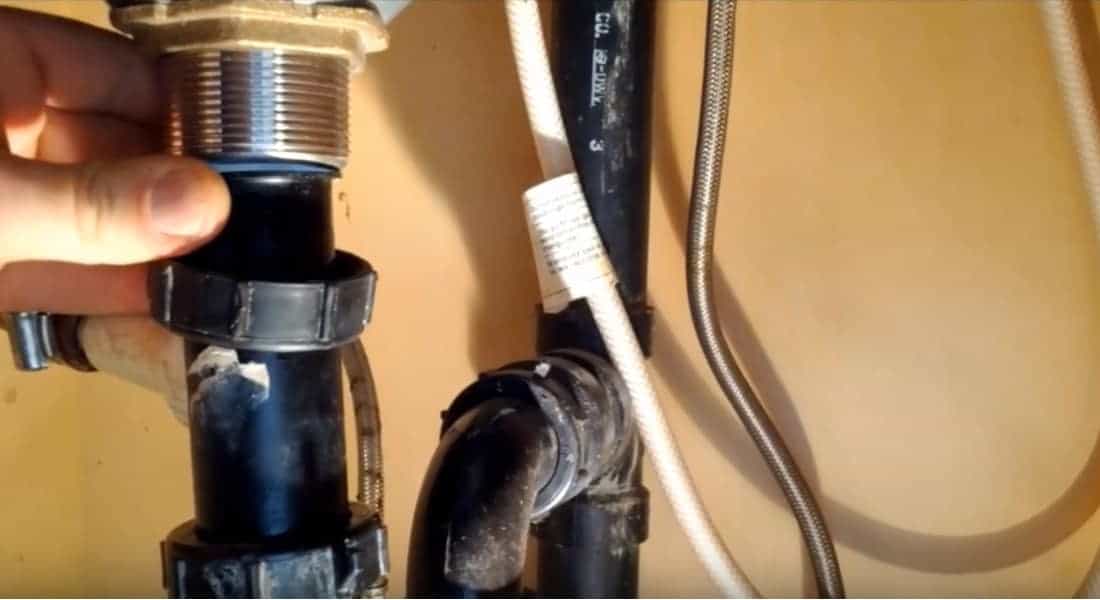
Step 2: Loosen the Drainpipes from the Drain’s Tailpiece
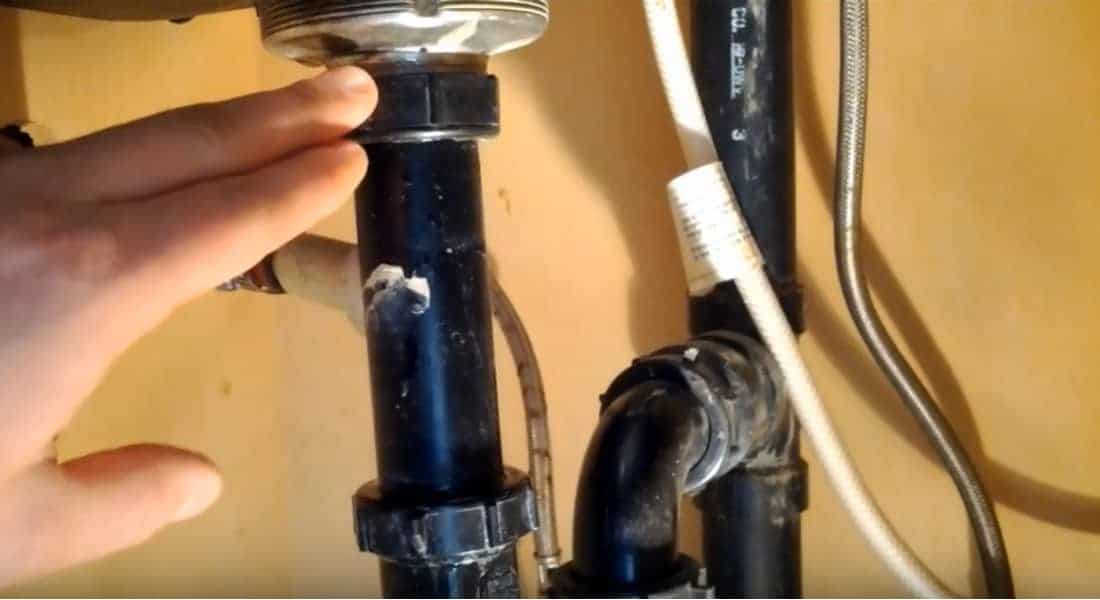
There is a connector ring that holds the P-trap and the tailpiece from the sink drain together.
Secure an adjustable wrench on this connector and loosen it through an anticlockwise movement of the wrench.
Once you have loosened the tight grip of the connector with the wrench, you can use your bare hand to disengage it faster from the tailpiece.
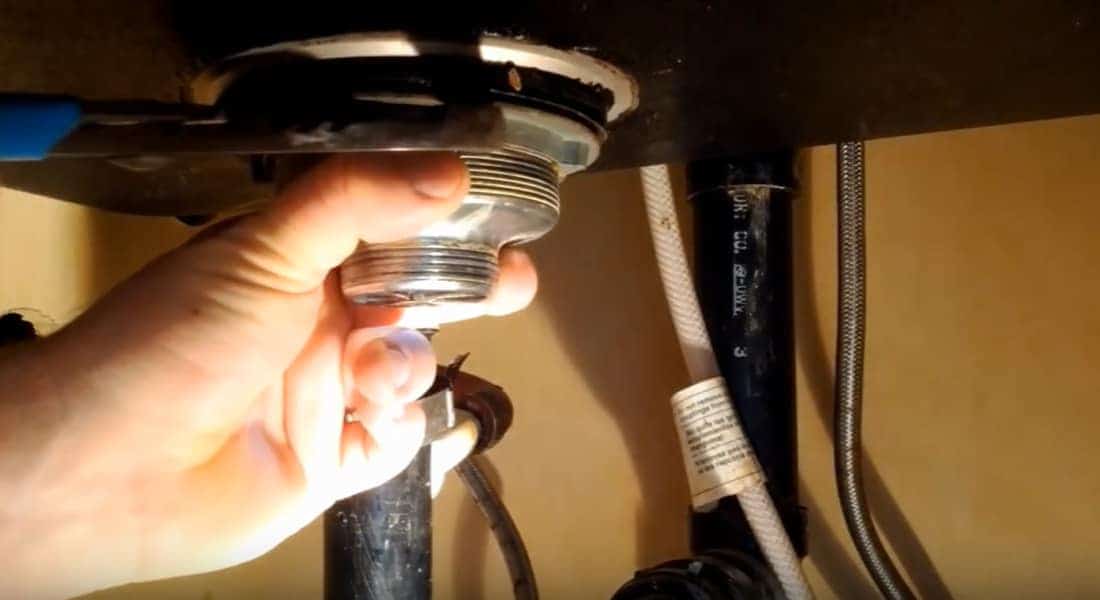
Step 3: Disconnect the Tailpiece
Some tailpieces have threads that lock in with the threads on the sink drain strainer. You can remove the tailpiece by turning it counterclockwise to unscrew it from the bottom of the drain strainer.
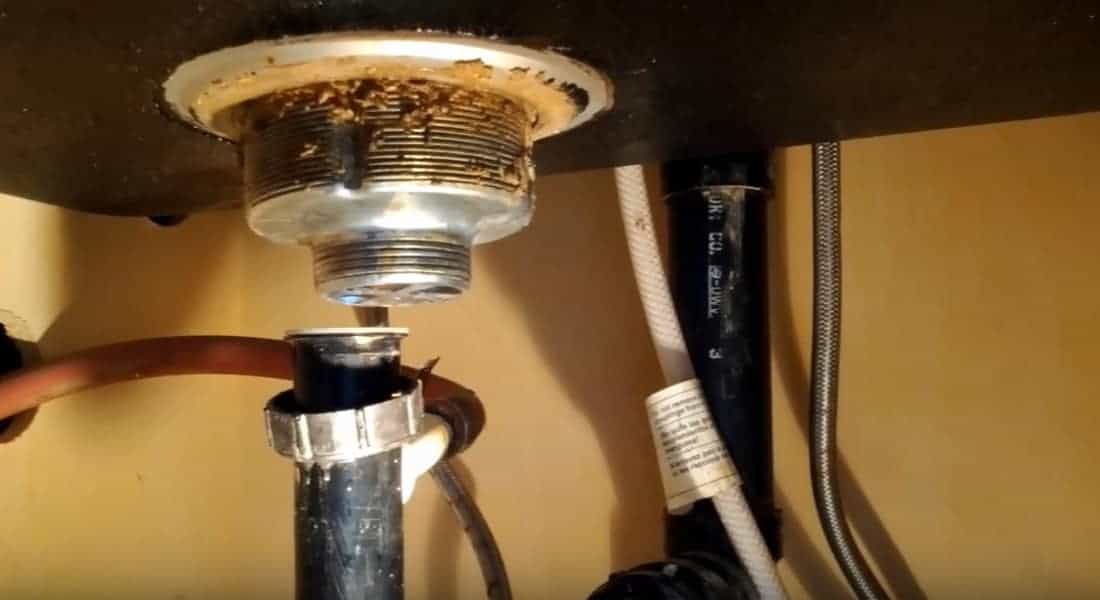
Step 4: Unfasten the Sink Drain Lock Nut
There is a locking nut, also known as basket nut, used to secure the kitchen sink strainer tightly under the sink.
When this nut is tight enough, and the sealing components like the plumber’s putty and the rubber washers are in good shape, the sink drain is not supposed to leak.
So, if your sink drain is leaking, it could be a malfunction of any of the sealing components, or the lock nut not been tight enough.
Step 5: Make use of Penetrating Oil
The lock nut is a metal component, and the likelihood of it getting rusty in a humid environment like the kitchen sink is not improbable.
If you find loosening a rusty lock nut, as stated in step 3 daunting, then you can spill the right quantity of penetrating oil to weaken the lock.
Allow the oil enough time to seep into the threads of the nut before you put a wrench to it.
We advise that you apply the penetrating oil on the lock nut the night before this project to save the time you will spend waiting.
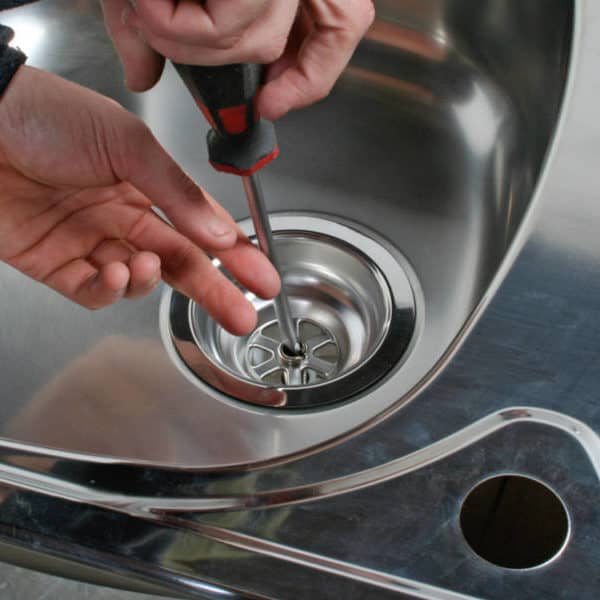
Step 6: Remove the Basket Strainer
Once you have disengaged the lock nut, and have taken out the friction protection and the rubber washer sealing the bottom of the sink’s drain hole, you can then remove the basket strainer.
You may have to give it a little push from under the sink to break it off the dry plumber’s putty. Only apply as much force as is reasonable to avoid pushing the whole sink basin off the countertop
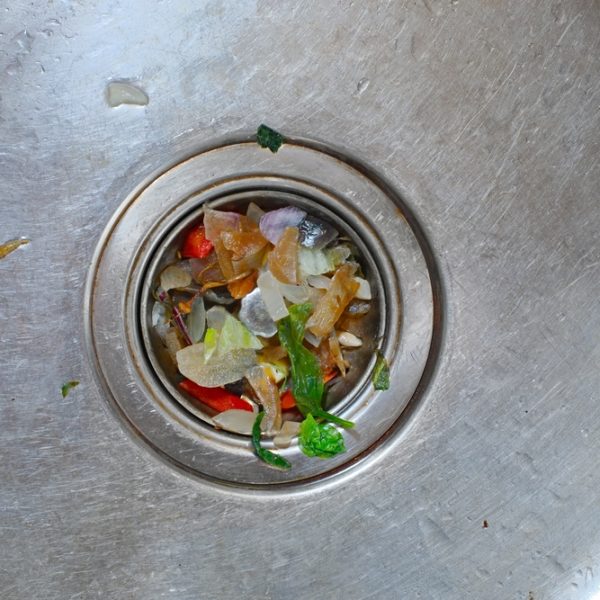
Step 7: Clean the Hole left by the Old Drain Strainer
Expect that the hole left by the drain strainer will be dirty from scraps of dry putty and some amount of gunk. Scrape off the putty with a putty knife and wash and dry the hole in preparation for the new basket strainer.
Step 8: Install the New Drain Strainer
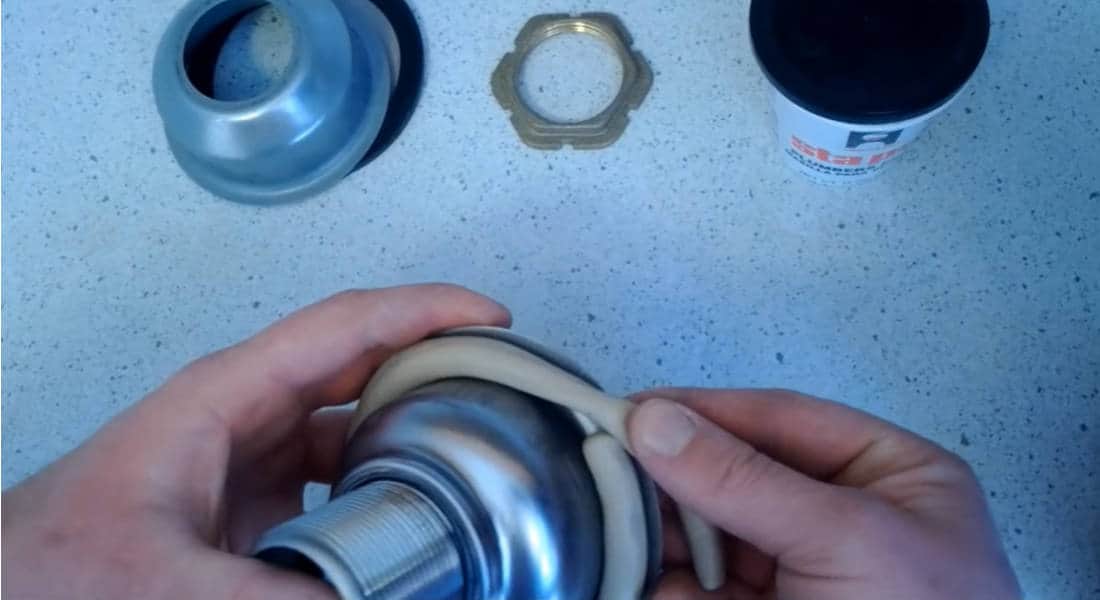
Turn the new sink drain strainer over and apply some plumber’s putty around its body.
Put the drain strainer down the sink’s drain hole and press it down to achieve an even seal with the putty between the sink and the drain strainer.
Do not press the basket strainer so hard such that the entire putty is squeezed out. Clean off excess putty squeezed out as you pressed the drain strainer down the hole.
Step 9: Seal the Underside of the Sink’s Drain Hole
Crawl into the sink cabinet and put a rubber-seal washer over the bottom of the drain strainer.
Also, put a friction-protection band over the rubber washer before you secure the drainer strainer tightly with a lock nut.
You should grip the drain strainer with a pair of needle-nose pliers to prevent it from turning round along the wrench while you are fastening the lock nut.
Step 10: Link the Drain Strainer with the Drainpipe
Once you have secured the basket strainer tightly to the sink’s drain hole, connect the tailpiece to the base of the drain strainer.
We advise that you use a brass tailpiece over plastic types for reasons of durability.
Secure the drainpipes to the bottom end of the tailpiece with a ring connector.
Carefully tighten up this connector with a wrench to avoid cracking it or the drainpipes.
Step 11: Test the System for Leakage
Turn on the shut-off valves and turn on the faucet. Allow the water to drain over a reasonable length of time during which you inspect the joints for any leakages. You should tighten up any component you find leaks.
Conclusion
A leaking kitchen sink drain is not what you can learn to put up with for long. You can try, but you will soon tire from taking out bowls of water from under your sink. This guide will help you to remove your leaky sink drain and install a more functional one.
We would like to know how helpful this guide has been to you. Send us your questions and do not fail to share this information and subscribe to get updates on our other DIY guides.