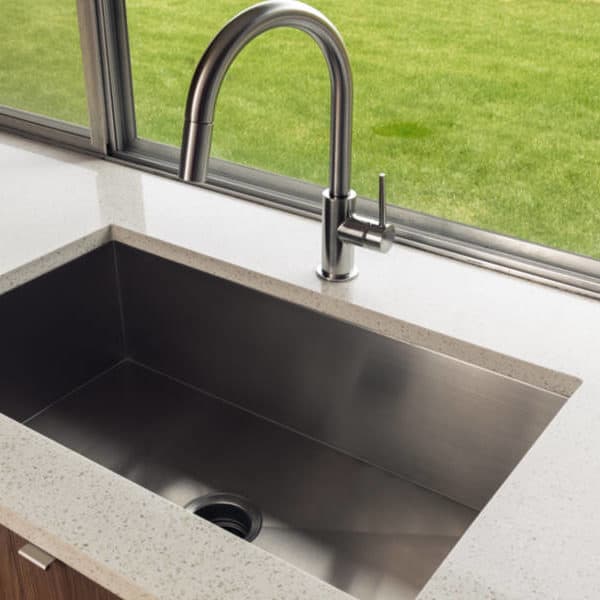
Do you desperately want to give your kitchen a facelift, and you think changing the sink would add the touch?
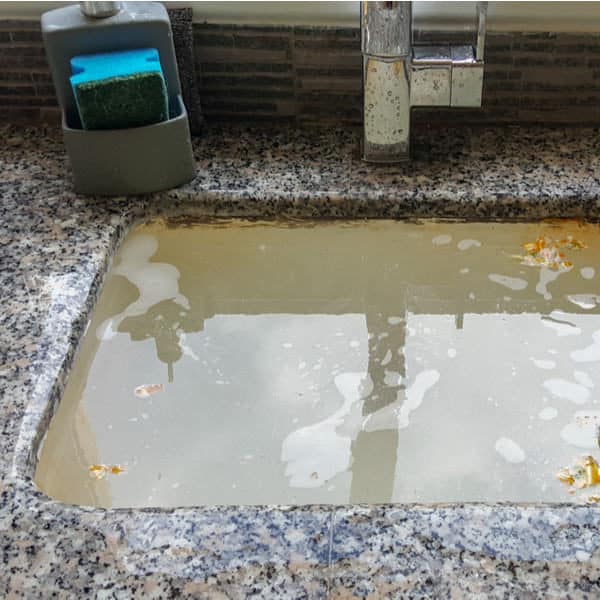
We agree too that having the glimmer of a new stainless-steel basin in your kitchen has its effects. It becomes essential to replace your kitchen sink when it gets disfigured, and for some reason, cannot lap well on the countertop.
In this article, we will go through ten steps to replace a kitchen sink all by yourself without breaking a sweat.
Preliminary Information
Based on the installation style, there are two types of kitchen sink. They are:
- Top-Mounted Kitchen Sink: The process of installing this type of sink involves lowering it into position from the top of the kitchen countertop.
- Under-Mounted Kitchen Sink: The installation of this type of kitchen sink involves fastening the basin in securely below the countertop.
There is just a slight difference in the installation process of the two types of kitchen sink. We will show you the details of the installation processes for both kinds in this DIY guide.
Tools and Supplies
- Adjustable wrench
- Screwdriver
- Bucket or bowl
- A pair of pliers
- Utility knife
- Caulk
- Putty knife
- Plumber’s putty
How to Replace Your Kitchen Sink
Here are the steps you need to follow if you want to replace your kitchen sink.
Step 1: Turn Off the Water Supply to the Kitchen Sink
Almost every plumbing work starts with ensuring the water supply to the part you want to work on has been cut off. The reason is to ensure that water pressure does not interfere or disrupt the work in progress.
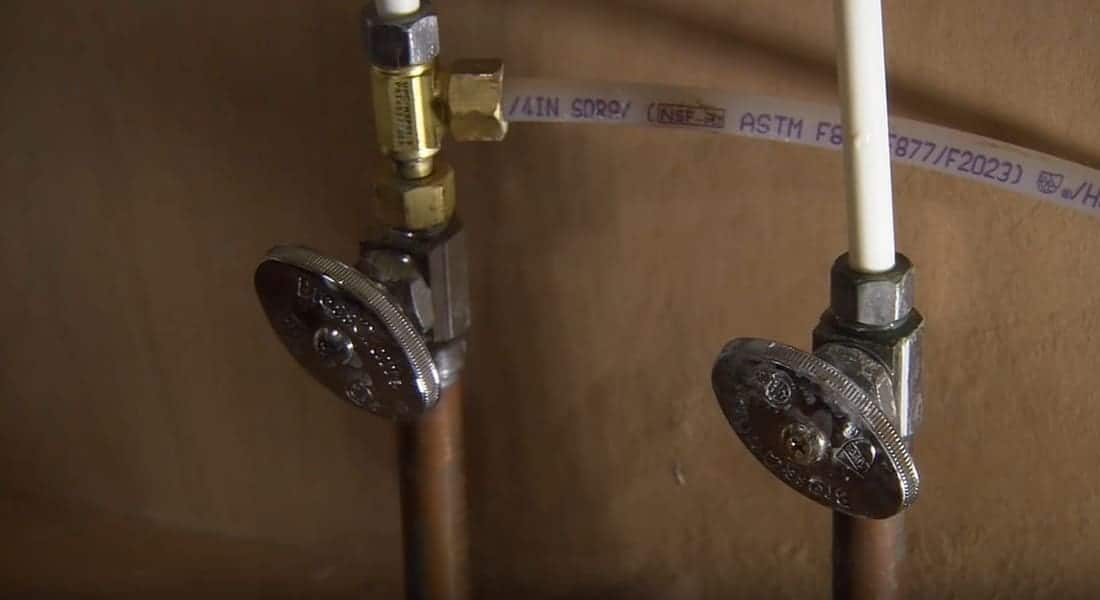
You will locate the shut-off valves used to control the hot and cold water supply to the kitchen faucet located inside the kitchen sink cabinet. Turn them off to stop the water supply. If these shut-off valves are not present or not functional, you should turn off the main water supply to your home.
Once you have turned off the water supply, you should relieve the water pressure in the pipes by turning on the kitchen faucet. It will only take a few seconds for the remaining residual water to drain.
Step 2: Disconnect the Water Supply Pipes under the Kitchen Sink
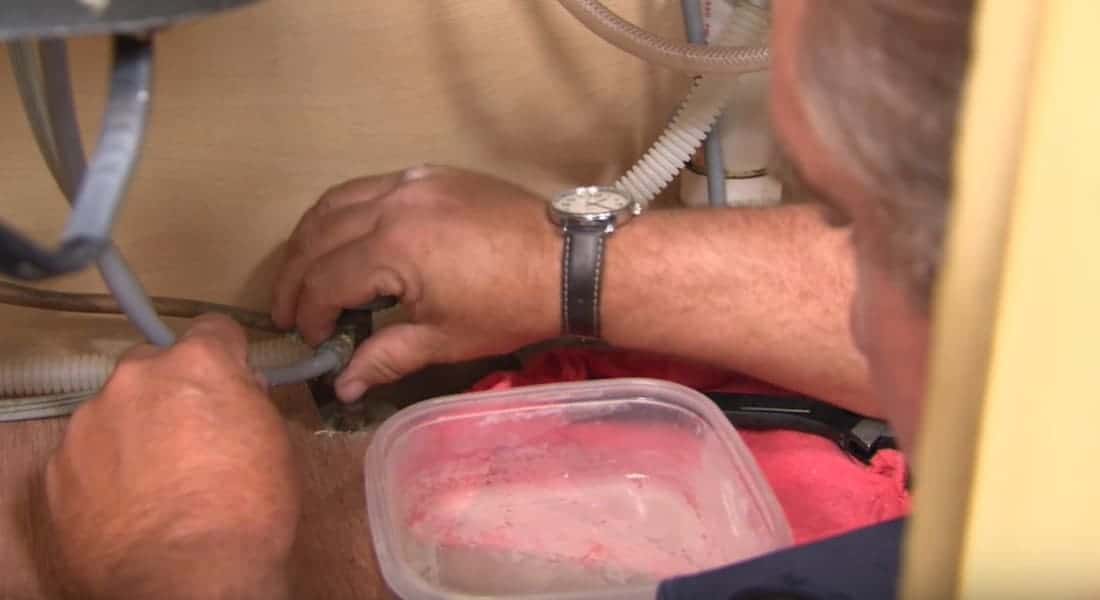
There will be some residual water left in the supply pipes connected under the sink. While you go about the disconnection, use a bucket or bowl to catch the water to avoid making a mess from the spills.
Use an adjustable wrench to loosen the metal connectors used to fasten the water supply tubes. Supply tubes made of copper may not withstand the turning force from the wrench without twisting in the process. Therefore, you must hold the tube in position before you start unscrewing the connectors.
Keep all the small pieces like nuts safely to avoid misplacement. You may need to label them or take a video of the disconnection process so you won’t get confused as to where each part fits when you get to the reconnection stage.
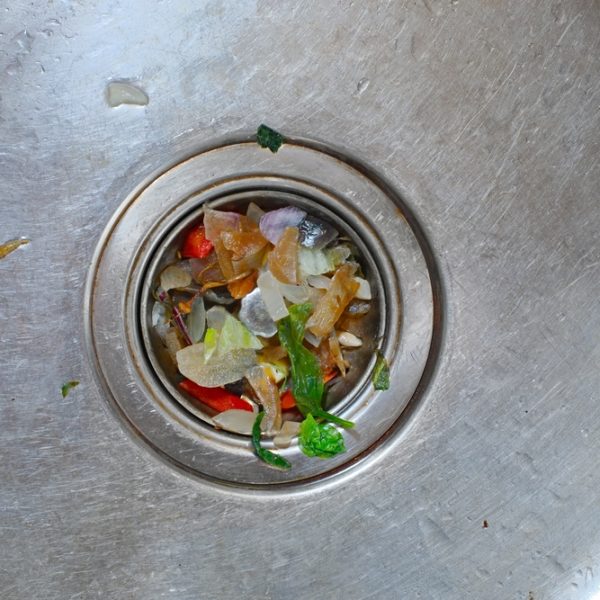
Step 3: Disconnect the Kitchen Sink’s Drain Pipes
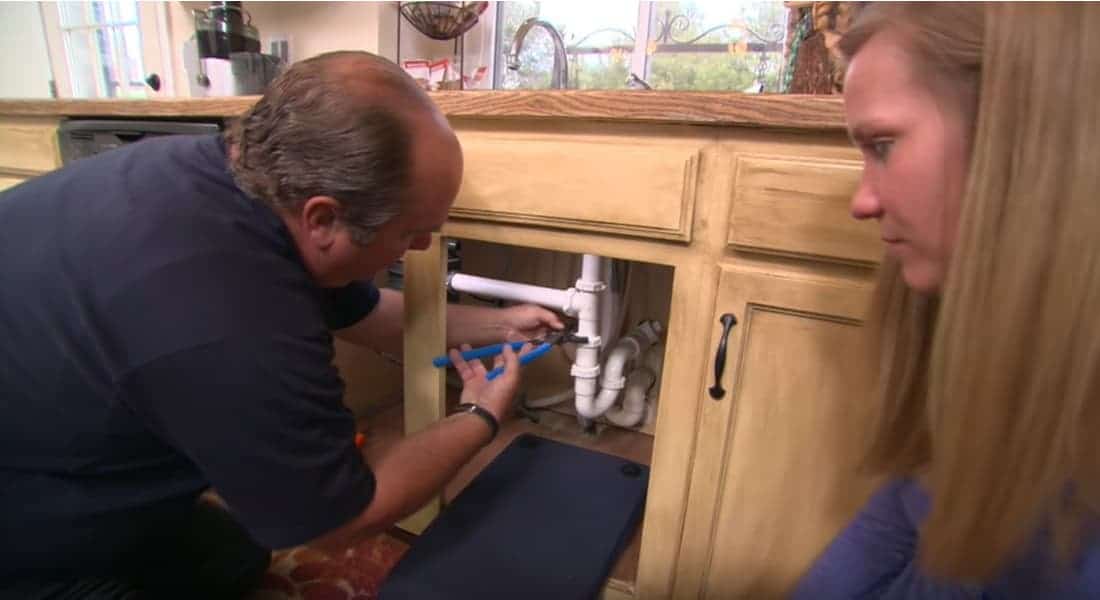
Use a pair of pliers to loosen the connectors used to fasten the drain pipes from the sink. Turn the pliers anticlockwise a few times, and the tubes will separate.
Note that the sink drain pipes made of plastic will break under the pressure of the pliers. In such cases, you should use your hand to loosen the connectors. Just like when you were loosening the water supply pipes, you should remember to put a bucket or bowl under the drainpipe to catch the residual water left in the tube.
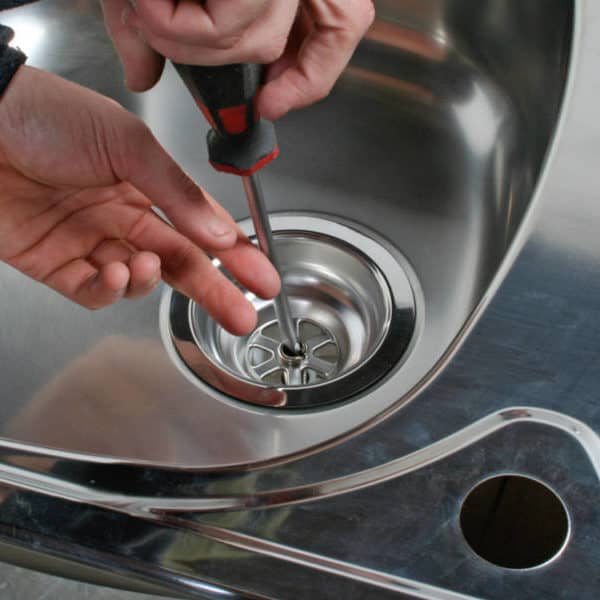
Use a pair of pliers to unfasten the drain hose of the dishwasher. If you have a garbage disposal unit, use a screwdriver to disconnect it. Use the manual for the garbage disposal unit or check the manufacturer’s website to guide you in the disconnection.
Step 4: Loosen the Old Sink off the Countertop
The action to take at this stage depends on whether your kitchen sink is a top-mounted or an under-mounted type.
Top-Mounted:
Loosen the clamps around the edges of the underside of the sink. To do this, you will need either a screwdriver or a wrench, depending on the clips.
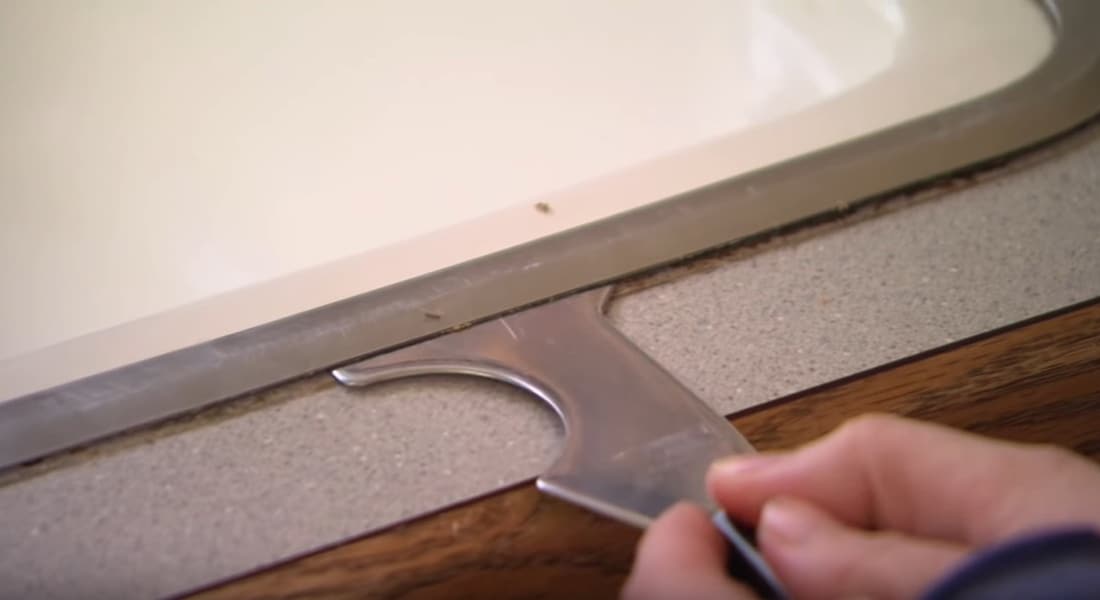
Use a utility knife to cut the caulk around the edges of the sink. The caulk is the seal between the sides of the sink basin and the countertop.
Lift the sink basin off the countertop. You may need to give it a little push from under to enable you to grab it at the rim.
Scrape off any caulk left on the countertop with a putty knife and wash the surface clean and dry it with soap, water, and towels.
Under-Mounted:
Place a piece of wood across the sink in a way that it extends over the sink basin to the countertop.
Pass bar clamps through the sink’s drain holes and secure one end of each brace to the piece of wood across the sink basin.
Secure the second end of the clamp below the drain. You can use straps as an alternative to the clamp.
Tie the straps on the wood, drop them through the sink drains and tie them together under the drains. The reason for clamping or strapping the under-mounted sink basin is to prevent it from falling while you are unscrewing the clips holding it to the countertop.
Use a putty knife to cut the caulk sealing the sink to the underside of the countertop.
You can use a caulk remover but ensure you allow it the length of time recommended by the manufacturer to soak into the caulk. Unfasten any clips securing the sink to the countertop. Gently remove the clamps or straps to enable you to remove the sink basin through the cabinet.
Step 5: Mount the New Sink
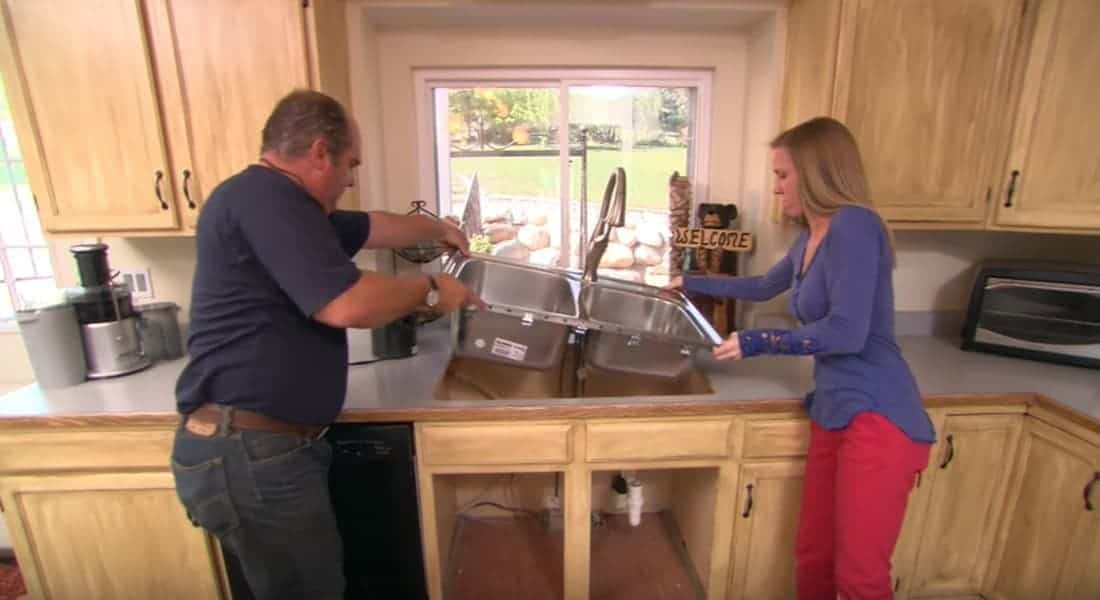
Top-Mounted:
The new sink should be placed in an upside-down position, and then run a silicone caulk around the perimeter of the edges.
Set the new sink basin into the hole left by the old one and wipe off the excess caulk between the countertop and the sides.
We advise that you measure the length and width of the old sink to enable you to buy the right size.
The reason is to save you the stress of going back to the supplier because it is too big to fit into the space left by the old sink or too small to cover it.
Use a screwdriver or wrench to fasten the clamps to the underside of the sink basin.
You may need to buy a new set of clips if the old one is rusty and cannot secure the new sink to the countertop tightly.
Under-Mounted:
Run a silicone caulk close to the top edges of the perimeter of the new sink.
Carry the sink basin through the cabinet and set it properly against the underside of the countertop.
You may need someone to help you hold the sink basin in position while you fasten the clips that will attach it tightly to the underside of the countertop.
Step 6: Replace the Kitchen Faucet
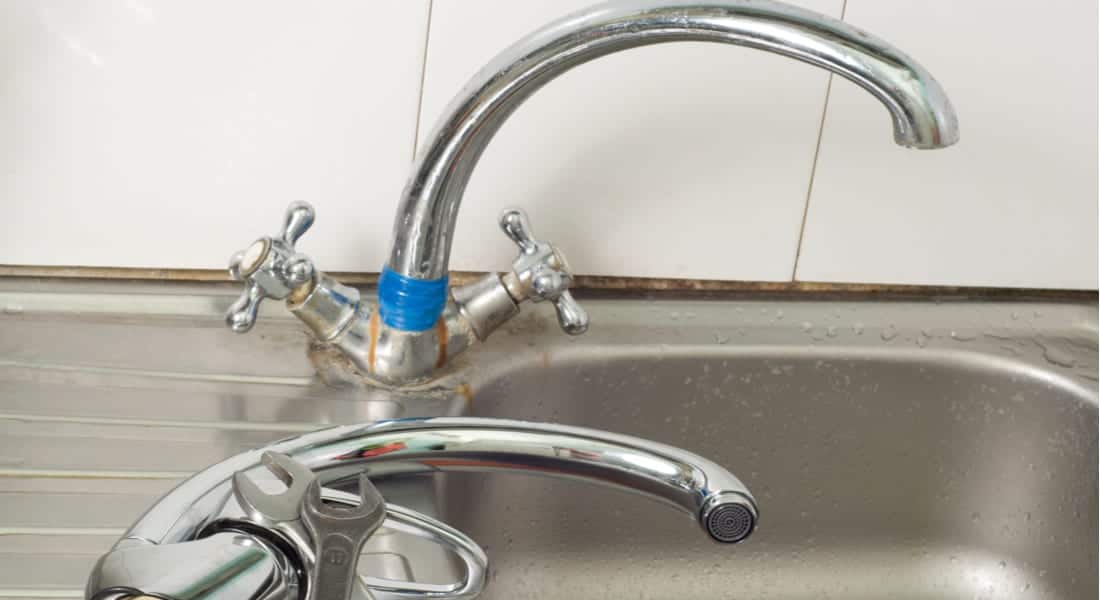
Put the tailpieces of the kitchen faucet through the hole provided on the sink. Connect the tailpieces to the hot and cold water supply lines. For detailed information on this, check our ten steps to remove and replace a kitchen faucet.
Step 7: Seal the Drain
Spread the right quantity of the plumber’s putty around the rim of the drain strainer. Place the drain strainer into the drain and press it down. Clean excess putty. Fasten the flange cushioned with a rubber gasket over the bottom of the sink’s drain.
Step 8: Reinstall the Dishwasher and the Garbage Disposal Pipes
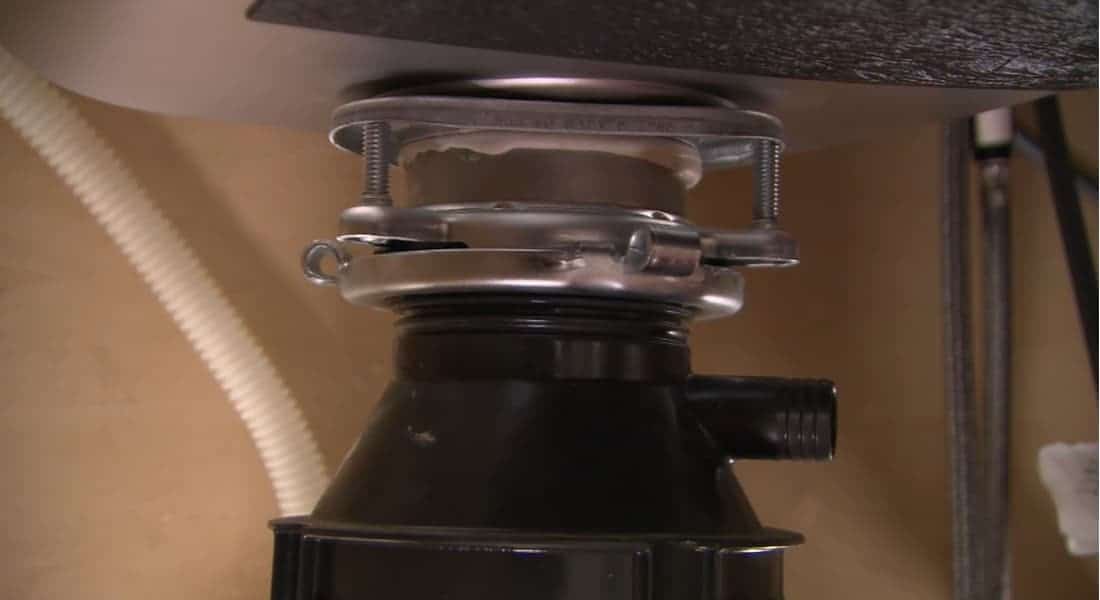
If you removed garbage disposal earlier, fasten it under the drain. Attach the dishwasher to the garbage disposal or the pipes. Use the manual of the garbage disposal unit or check the manufacturer’s website for information on how to do this.
Step 9: Reconnect the Drain Pipes
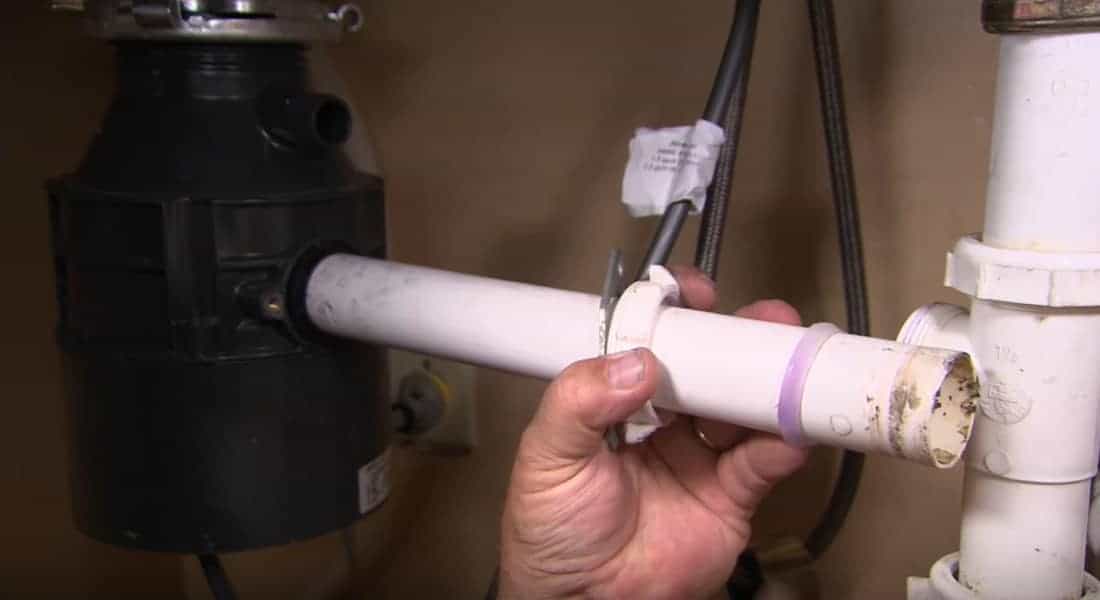
Use a pair of pliers to reconnect the drain pipes with the sink. For drain pipes made of plastic, you should use your hand for tightening the connectors to avoid the pipes breaking under the pressure of the pliers. Remember to connect the tube running between the drain pipe and the garbage disposal unit if you have a garbage disposal unit installed.
Step 10: Test for Leakage
Open the water supply of the system and turn on the faucet. If there is any leakage in the pipes, turn off the water supply and seal the leakage. You may need to change the leaking components entirely if the leakage cannot seal. Remember also to test the garbage disposal unit if you installed any.
Conclusion
Changing a kitchen sink is a simple plumbing exercise that you need not engage a professional to do it for you. Here, we have shown you the different kinds of kitchen sink based on their peculiar installation processes. We have also gone ahead to give you an exhaustive ten-step DIY guide that will guarantee you save your money.
However, if you find these steps challenging, engage a professional to forestall bringing chaos to your home by your own hands.
Tell us what you think about this guide and feel free to send us your questions. And don’t forget to share across your social media platform, someone might find it useful.