Did you notice a considerable drop in the temperature of the water supplied by your water heater? Every home needs hot water to carry out various house chores.
However, it could be frustrating when your water heater produces lukewarm water that cannot serve the intended purposes.
While several factors can affect the effective functioning of your water heater, a faulty element is one of the most prevalent causes. Although professional home electricians can troubleshoot and fix the problem, hiring one will set you back in some dollars ranging from $75 – $250. Thus, the need to know how to test water heater element and replace the faulty ones.
In this article, we will show you step-by-step DIY guides on testing water elements with the use of a digital multimeter with no professional background in electrical works.
Tools Needed
These are some of the tools you should have handy before you commence your water heater element testing:
- Hand gloves
- Screwdriver
- Safety goggles
- Digital multimeter
Causes of Failure of Water Heater Element
Here are some of the possible reasons why your water heater element stopped working:
a). Accumulation of Mineral
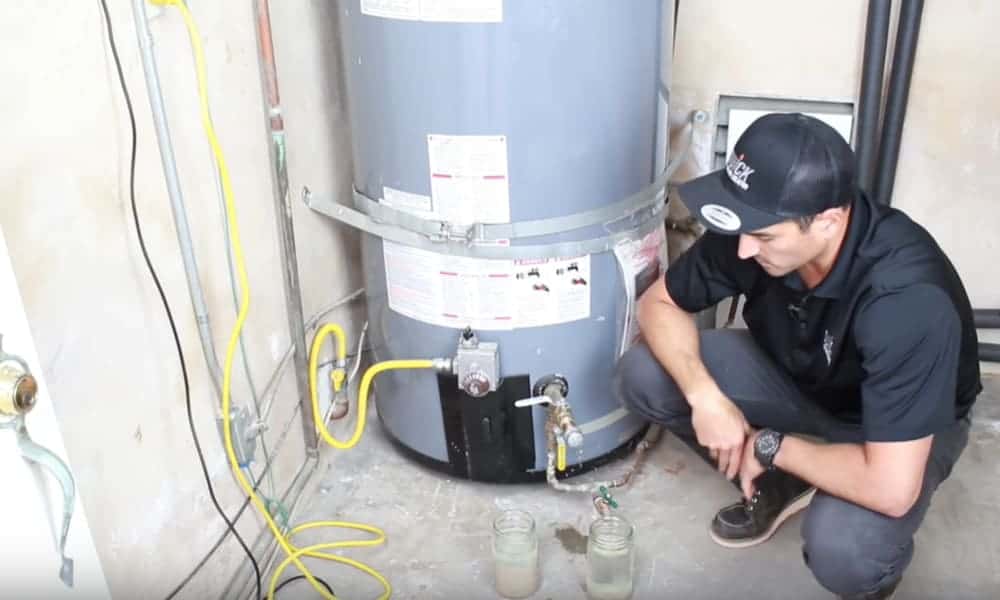
Water heater elements have a limited working life due to the constant processes they undergo to give out hot water. These elements get weakened easily if there are mineral deposits in the water. The continuous process solidifies the minerals.
In some situations, the lower elements are wrapped with the mineral sediments which might cause the element to fail eventually. A good measure you can take is by turning off your water heater and flushing your water heater every year. Check our previous post to learn how to flush a water heater.
If you can do this, the sediments will be removed, and the life of the elements will be lengthened.
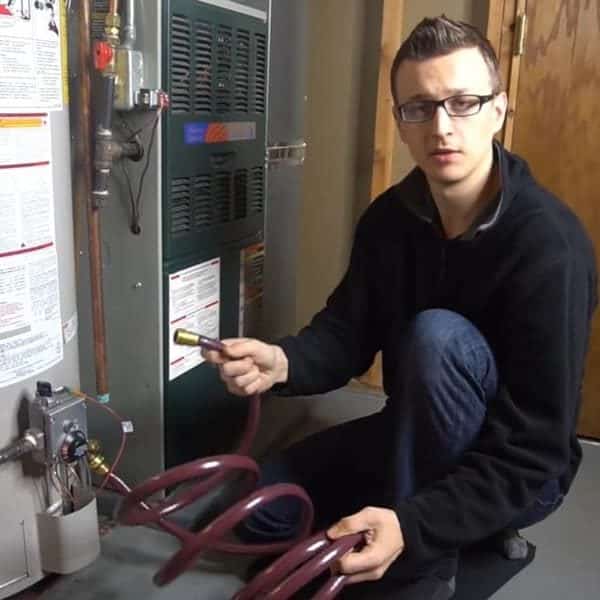
b). Trapped Air Pockets
All water heater elements must be operated immersed in water. The heat generated by an element can burn through its copper if not transferred to the water.
There is a need to bleed a line on the water to extract trapped air and sediments in the tank either once or twice a year. If this is not done, the trapped air ‘Air Pockets’ will make the upper element to burn as it isn’t immersed in water. This can cause a failure of the water heater.
c). Malfunctioning Thermostat
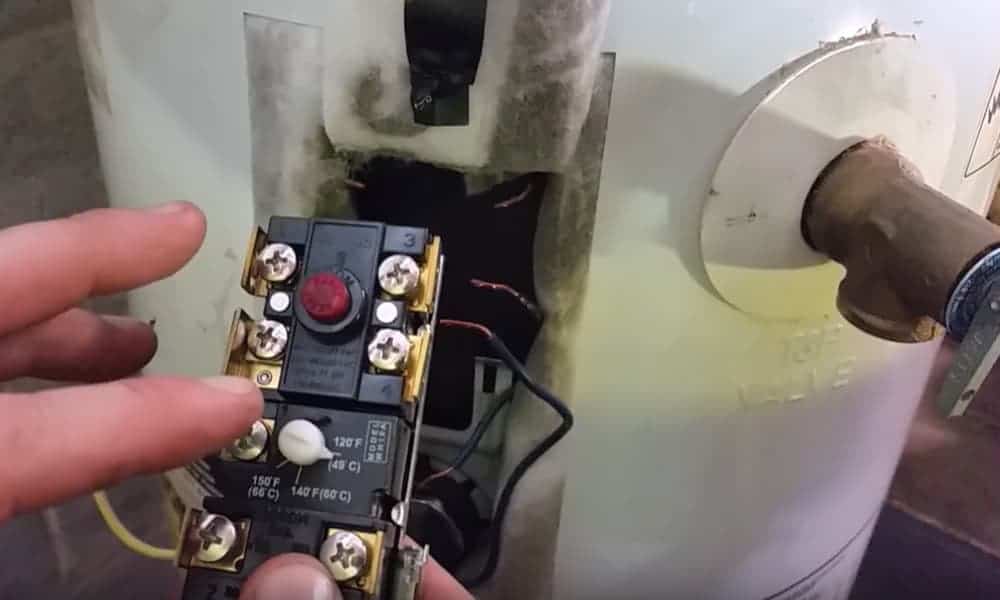
The function of a thermostat is to tell the elements when to heat the water concerning different temperature levels.
Whenever the temperature exceeds normal, the high limit switch on the thermostat is triggered, and the power will be shut down.
A malfunctioning thermostat will fail to control the heat supplied to the water heater element, which eventually causes it to burn.
d). Power Surge
An element can also get burnt as a result of a sudden increase in voltage caused by a power surge or lightning. Each element has its own voltage rating, and any voltage above the required will burn the element.
e). Breakage of Heating Element
In an electric water heater, there might be a loss of hot water when the heating element inside the tank breaks. Perhaps, the element might get burnt down, and the water cooling down slowly.
But if there is only cold water, it means the second element has failed. Aside these three, a tripped circuit nor a blown a fuse might cause the heating element to trip off. Checking the fuse box is also expected in this regard.
f). Bad Wire Connection
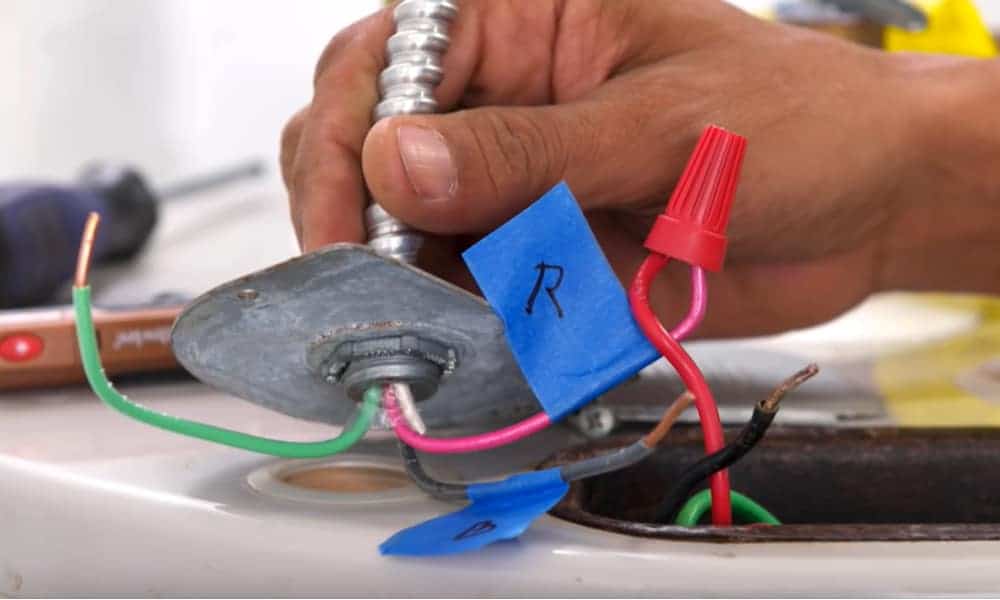
Elements receive electricity from heavy gauge wires. An element might stop working if a wire slips of a terminal as a result of a bad connection. Problems such as arcing could also be caused as a result of this poor connection.
You should be careful attention to anything that can damage your water heater element, and ensure to steer clear of it.
Steps on How to Test Water Heater Element
Here are the procedures for testing water element:
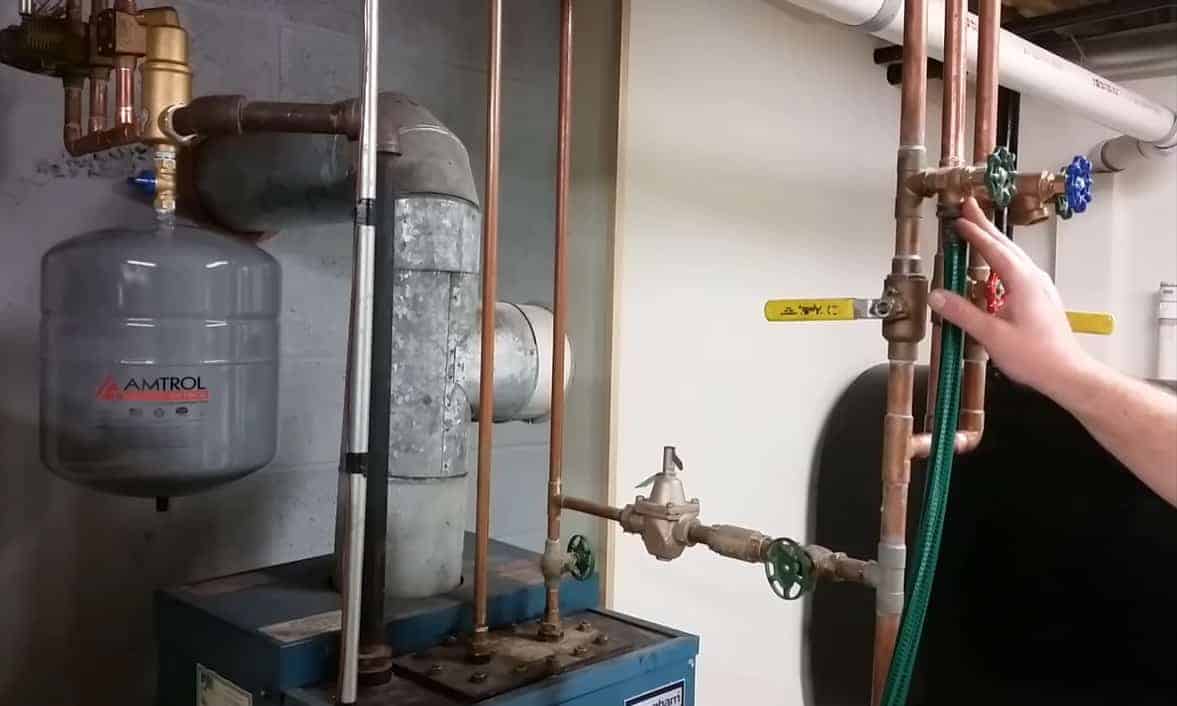
Step 1: Disconnect from the power source

This is a very critical step in testing the water element. Locate the circuit breaker at the central electric panel that connects your water heater. It is usually situated in the metal box attached to the wall.
Most electrician marks each breaker with the name of the gadget it powers. Identified the one marked with “hot water heater” and switch it off. If you are not sure of the breaker that works for your water heater, just power off the entire power source to ensure safety.
Step 2: Open the metal box cover
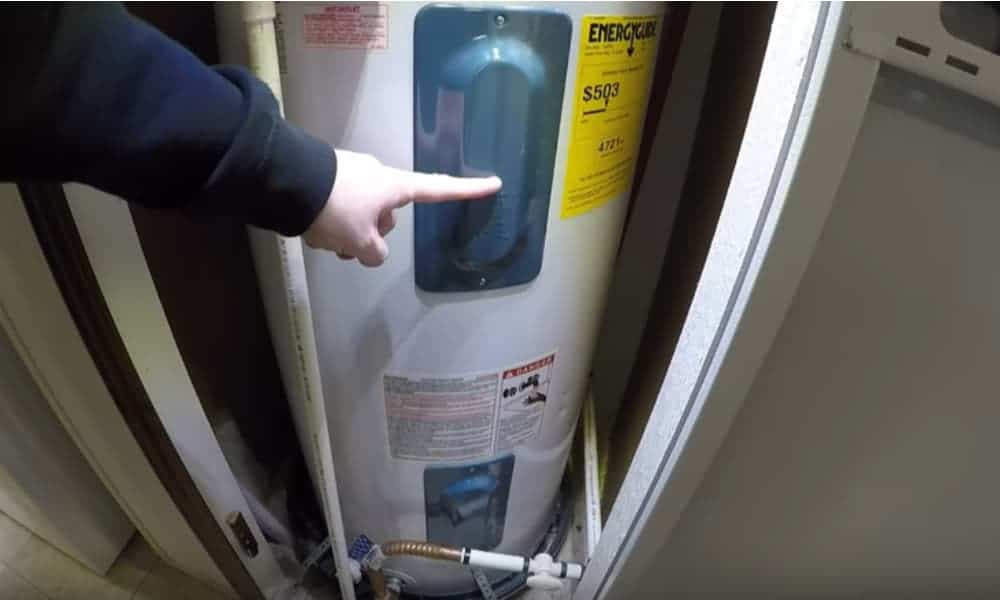
Flip the metal cover for the box opened. There, you will see the panels held in place with screws to your water heater’s side.
Most water heaters come with one or two panels depending on their sizes. Unscrew the metal plate using a Philips head screwdriver. Ensure that the screws do not fall off to tiny places within your home.
Step 3: Detach the insulation
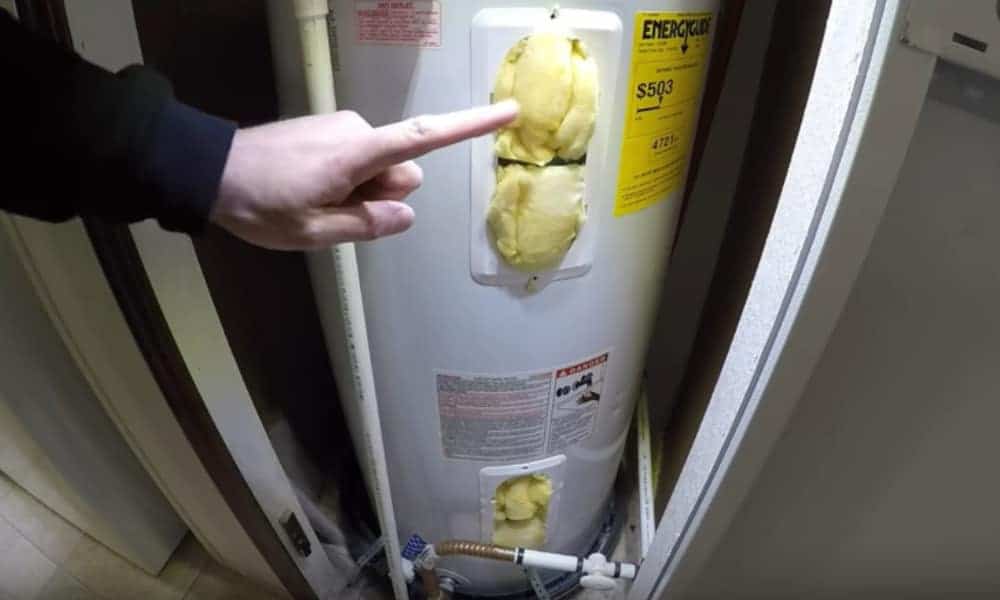
Your water heater will have a layer of cellulose or fiberglass insulation below the metal cover based on its age. Disengage the insulation and keep it aside.
Use your safety glove and goggles while removing the insulation. Check the thermostat to see if it has a plastic cover.
Pull out the tab to remove the thermostat plastic cover, as well. However, this is an optional procedure as some thermostats do not come with removable plastic cover.
Step 4: Confirm that the power is off
You should double-check to confirm that the power has been disconnected. Place a noncontact voltage detector close to the wire that connects the element and the thermostat.
A beeping sound or flashes of light from the voltage detector indicates that the water heater is still connected to the electric supply. Ensure that the power is completely disconnected before you continue with the work.
Step 5: Locate the endpoint of the elements in the open panel
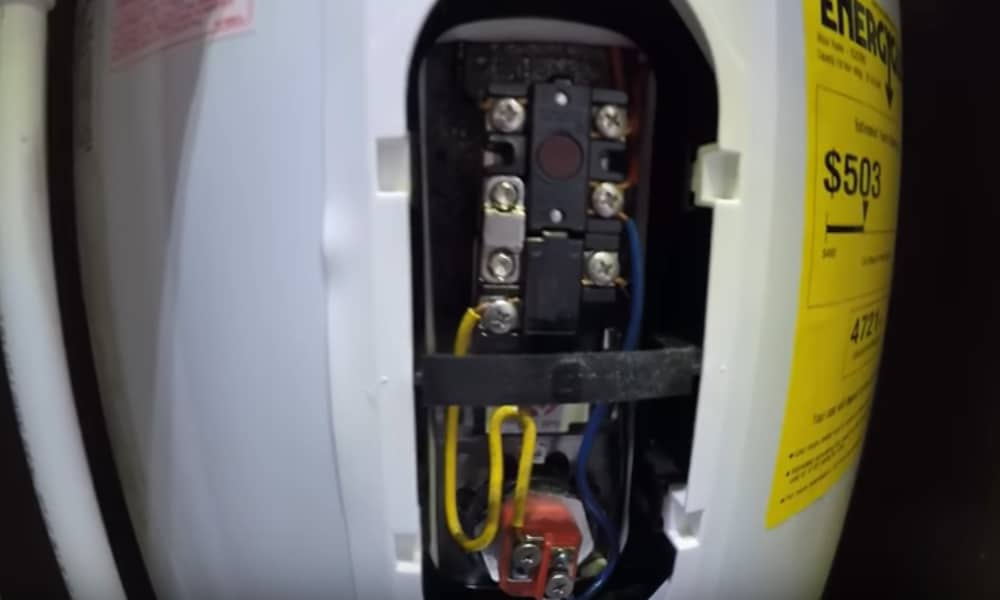
Depending on the size of your home, your water heater will most likely have one or two elements. You can’t see the elements themselves as they extend deep inside the open panel of the water heater.
However, you will be able to see their endpoints. An element is around 1 inch long, and it’s attached to a plastic plate with the aid of screws.
Step 6: Note the reading of your water heater element
Set the multimeter dial to the lowest or Rx1k, that is, resistances times 1000Ω. Look closely at the base of your water heater tank. You will see the inscribed wattage and ohms.
If your water heater is 3500-watt, the multimeter will read 16Ω while 4,500-watt will register between 12 – 13Ω. For water heater with a 5,500-watt element, you will get between 10-11Ω.
Step 7: Use a digital multimeter to read the water heater element
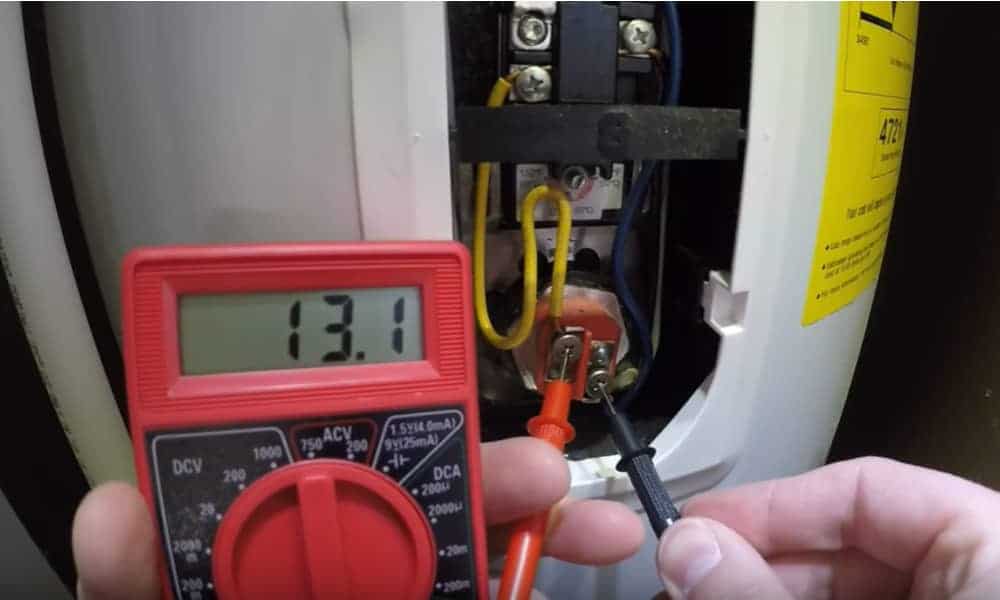
Place one of the multimeter probes on a screw attached to the face of the element. You can do this by unraveling the loose end of the metal element. The water heater element has no terminal, so you don’t have to worry about which one to test first.
However, ensure that it’s the element alone you are testing and not the other electrical parts that connect to the elements. Connect the multimeter prongs to the tip of the element screw.
Check the readings on the multimeter and see if it correlates to the ones specified above. If the resistance reads very low, like 1Ω or doesn’t read at all, that shows the water element is faulty, and you should replace it.
If you are not familiar with how to use a digital multimeter, here is a video that will show you the necessary procedures.
Check the reading for the second water heater element too. There are cases where both elements and faulty and need replacement.
Step 8: Reattach the disconnected parts
Reconnect the wire to the water heater elements’ surface. Also, cover the exposed panel, and use the plastic to cover the thermostat. Tighten the replace wire and reinstall the loosened screws.
Fix the insulation back, and turn the circuit breaker on. You will have to wait for few minutes for the water to heat up if you replace a faulty element.
How to Replace an Electric Water Heater Heating Element
Replacing a water heater element is quite a simple task. You can watch the video on how to do that.
Conclusion
Now that you have understood how to test the water heater element, you should be able to troubleshoot a failure in this vital home equipment.
Remember, you only have to follow the following procedures:
- Turn off the power
- Open the metal cover to gain access to the element
- Detach the insulation
- Read the resistance of the water element with a multimeter
- Replace the element if faulty
- Put all the disconnected parts in place
If you have a unique question we have not covered in this guide on how to test the water heater element, kindly post it in the comment section below. Our team is available to answer your request.
And feel free to share this article with your friends across all social media platforms.