If you are planning to buy a new toilet, you’ll want one that looks great, works well and is comfortable to use – but before any of that, you’ll need pay attention to the toilet dimensions to make sure it’s going to it in your bathroom.
To do that, you need to know which measurements to check – and to help, in this post we explain everything you need to know about how to measure toilet rough-in.
What is “rough-in”?
Before we talk about how to measure rough-in, let’s take a step back and ask a more basic question – what is “rough-in”?
Rough-in is the distance from the bare wall behind the toilet to the center of the toilet drainpipe, also known as the toilet flange.
This measurement is important since not all toilets are the same size. If the amount of space between the drainpipe and the back wall doesn’t match the model of toilet you’ve bought, you have a problem because the toilet and its tank won’t fit.
If that happens, you’ll either have to make changes to the wall or to your toilet’s plumbing, neither of which will be cheap.
Far better is to purchase a toilet of the right size so you can just fit it without any fuss, and that’s why you need to know how to measure the rough-in.
In fact, when you start looking for a new toilet, choosing one of the correct size should be your first consideration before you start thinking about style, color or anything else. This means you need to measure the rough-in before you even start shopping for a new toilet.
What are the standard Toilet Rough-In sizes?
The standard toilet rough is 12”. However, you can’t just assume that you should buy a toilet for a 12” standard rough because 10” and 14” are also possible.
If you buy a 10” toilet for a bathroom designed for 12” or 14”, you will still have enough inches of clearance, so it would be possible to fit the toilet, although it wouldn’t necessarily be an elegant piece of plumbing.
If you buy a two-piece toilet with a separate bowl and tank, it may also be able to make them fit somehow, although again, “making them fit” is hardly a desirable situation.
Conversely, if you buy a toilet that is larger than the space available, there will be no way to fit it at all, so it’s much better to measure the rough-in before buying a toilet to avoid this kind of complication.
So now let’s talk about how to measure rough-in in different situations.
1. How to measure rough-in with no toilet installed
The easiest way to measure rough-in is when there is no toilet installed. All you have is the wall and an open drainpipe, and if that’s what you have to work with, here’s how to do it:
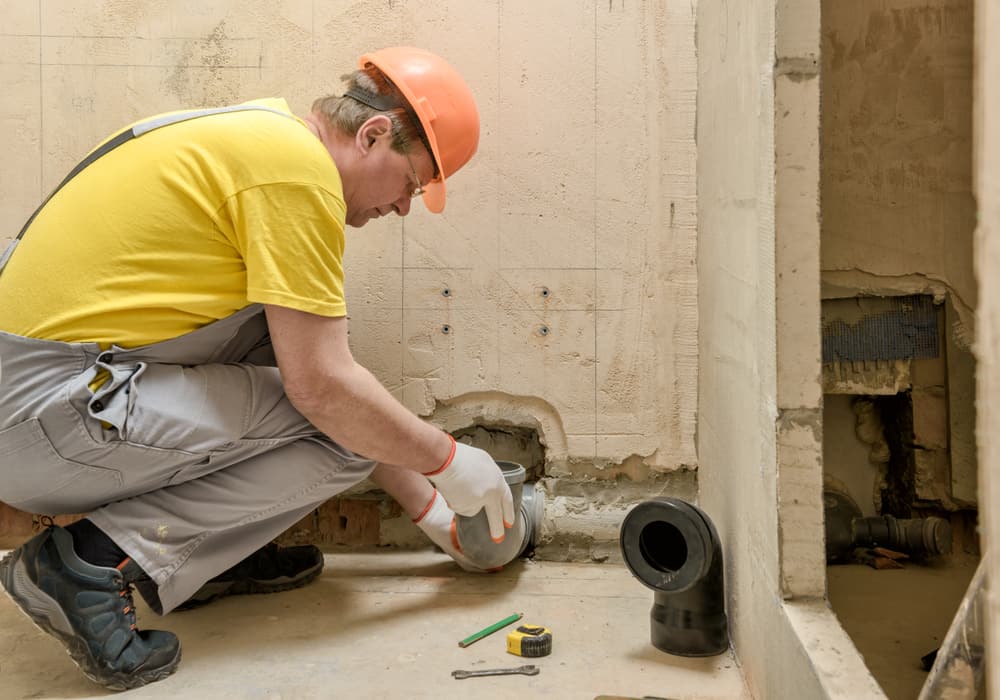
Find the drainpipe
The drainpipe will look like a hole in the floor next to the wall – and it may or may not have plastic around the edges.
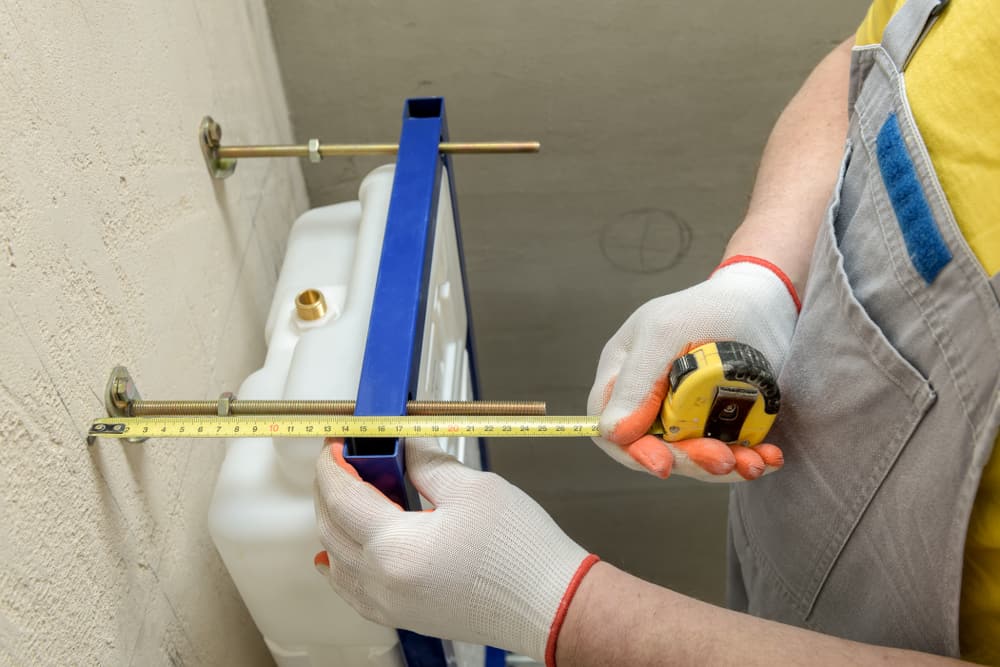
Measure from the wall to the center of the drainpipe
Take a tape measure and measure from the wall to the center of the toilet flange.
It’s very important that you measure from the center of the drainpipe to the bare wall. If you have moldings around the base of the wall or if you have stud walls, you need to take this into account.
Pro tip: When you have taken your measurement, it should be either 10”, 12” or 14” – no other sizes are possible. This means if your measurement is anything else, you have made a mistake and should go back and check what you’ve done.
Note: If you are measuring the rough-in for a toilet in a house that is still being built, you can do it by measuring from the hole in the floor where the drainpipe will go to the lines drawn on the floor for the wall.
However, before the lines for the wall are drawn, you can’t measure the rough-in, so you’ll have to wait.
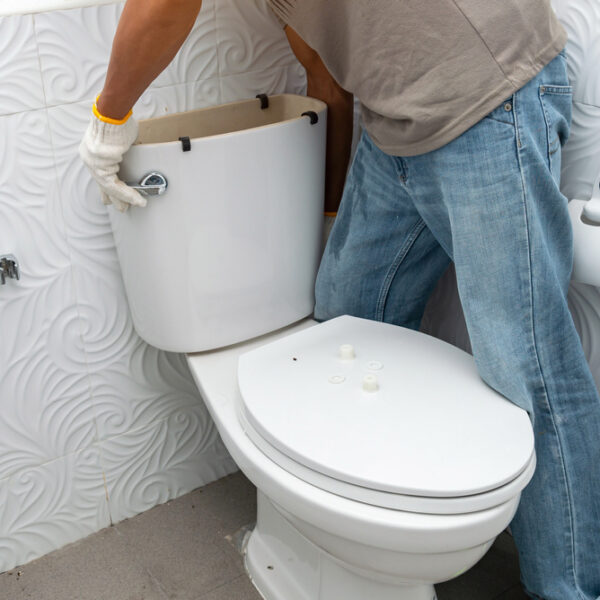
2. How to measure rough-in with a toilet in place
If you need to measure the rough-in for a new toilet but the old toilet is still in place, things are slightly more complicated – but it’s still relatively easy.
Instead, you just measure the distance to the bolts that hold the toilet in place since they will be in line with the center of the flange.
Here’s how to do it:
Find the bolts that hold the toilet in place
On the base of the toilet on either side, you will find some bolts that are used to fix the toilet to the floor. Alternatively, they may be covered by bolt caps.
If your toilet has two bolts on either side, you should measure from the rear one – or in other words, the one closest to the wall.
Pro tip: If your toilet is a model with a skirted design, you will have to try to work out where the bolts are, even if you can’t see them. Once you work this out, you can mark them with a piece of painter’s tape or something similar.
Measure to the bolt
Take your measuring tape and measure the distance from the wall to the bolts or the painter’s tape you used to mark where the bolts are. Remember to account for any skirting or studded walls since the measurement you need is the one from the bare wall.
Again, since at this point you should have a measurement of either 10”, 12” or 14”, if you have anything else, something has gone wrong and you’ll need to go back to find out why your measurement is off.
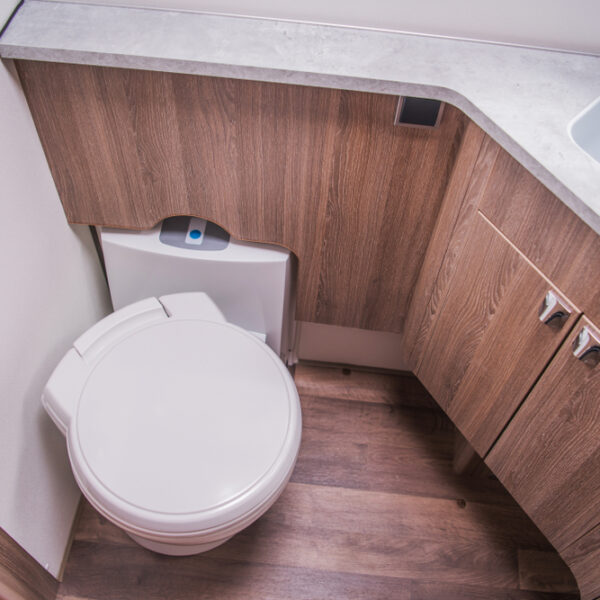
3. How to measure rough-in for a corner toilet
Measuring the rough-in for a corner toilet is a little more complicated than for a regular toilet since the measurement you need is not the one directly behind the toilet but the distance to the wall on either side. Here’s how it’s done:
Locate the center of the drainpipe
If there’s no toilet in place, you’ll have no problem seeing where the drainpipe is. However, if you already have an existing toilet, you need to find the point above the center of the drainpipe.
Start by looking for the bolts on the sides of the toilet. If you drew an imaginary line between the two bolts, the center of the drainpipe would be right in the middle.
Try to guess as best you can where this would be and then mark it on the top of the toilet with a piece of painter’s tape.
Measure the distance to each wall
Use a tape measure to work out the distance between the point above the drainpipe and each side wall – this is the rough-in.
Pro tip: The distance between the center of the drainpipe and each side wall should be the same, and the two lines from the center of the drainpipe to the two walls should be at 90° angles from each other.
This means the line from the center of the drainpipe to each wall should also be at a 45° angle to the left side and right side of an imaginary centerline running from the corner where the walls meet through the center of the drainpipe.
If this is not the case, something has gone wrong, and you need to go back and measure again – it’s possible that you haven’t correctly located the center of the drainpipe.
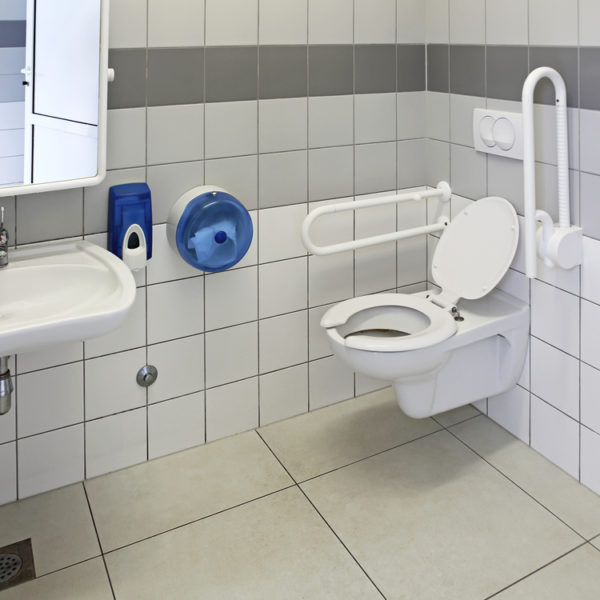
4. How to measure rough-in for a wall-mounted toilet
If you need to measure the rough-in for a wall-mounted toilet, the procedure is a little different. This is because, with regular toilets, the waste pipe goes out through the floor whereas, with will-hung models, it goes out through the wall.
This means that the rough-in you need to measure is not horizontal along the floor but rather vertical up the wall.
At the same time, since you have unlimited vertical space going up, accurately measuring the rough-in for a wall-mounted toilet is not as important as when you are installing a regular floor-mounted toilet. Here’s how to do it:
Work out where the center of the drainpipe is
If the toilet is not yet installed, you can accurately measuring the distance from the floor to the center of the drainpipe. However, if there is already a toilet on the wall, it can be impossible to measure accurately, and you may just need to guess as best you can.
Pro tip: Don’t worry if you don’t know the rough-in for a wall-hung toilet exactly. As we just mentioned, it isn’t nearly as important as for regular toilets, and whatever the rough in, you will still be able to install your replacement toilet with the existing plumbing.
5. Toilet Rough-in and building codes
There are also some other measurements you may need to take when installing a toilet that can be nearly as important as the rough-in behind the toilet.
This includes the space to the sides of the toilet as well as the space in front of the toilet – and this is because of more than just considerations of comfort.
In most areas, local building codes specify the amount of space required in front and to the sides of a toilet – and this applies whether you are talking about walls to the side of the toilet or to other fixtures like a tub, vanity, sink or anything else.
For example, for comfort, you would want at least 18” on either side of the toilet, but usually, building codes specify that the minimum distance should be 15” – you are not allowed to install a toilet with less space than this.
Similarly, in areas that follow the International Plumbing Code (IPC), the minimum amount of space in front of the toilet should be 21”. In areas following the Uniform Plumbing Code (UPC), the minimum distance is 24”.
In all cases, the measurement you should take is the one from the center of the drainpipe, just as when you are measuring the rough-in behind the toilet.
This avoids all confusion since the measurement will always be the same, regardless of the model of toilet you are installing. The length and width of the toilet bowl and the toilet base are all irrelevant.
This means to find the toilet width or the distance to the front of the toilet, you should start by locating the center of the drainpipe as described above and then work out the dimensions from there.
Toilet height
Another measurement that’s useful to know about is the height of a toilet. This might not be so important for installation or building codes, but it can be important when it comes to comfort or accessibility considerations.
The standard height of a toilet is 15”, but taller models of up to 18” or 19” also exist.
The point to remember when talking about the height of a toilet is that this refers to the height from the floor to the rim – the seat and the lid are not taken into account.
Toilet rough in measurement Common errors
When working out the rough-in for toilets, there are several mistakes that people often make. Here are some of the most common and how to avoid them.
1. Not accounting for baseboard
A common error when measuring rough-in is to measure from the center of the drainpipe to the baseboard or base molding, which gives you a lower value.
In most cases, the difference will only be a fraction of an inch, but sometimes, it can throw your measurements out enough for you to mismeasure the rough-in.
The simple solution is to hold the tape measure a little higher so that it’s above the baseboard so that you are measuring to the bare wall. Alternatively, measure to the baseboard and then add the width of the baseboard to your measurement.
2. Not accounting for studded wall
Another similar error is to not account for studded walls and to take the measurement up to the finished wall. Studded walls or drywall can easily add half an inch to your measurement, so make sure you take this into account and add it to the measurement if necessary.
3. Measuring to the back or front of the drainpipe or bolt
Sometimes, people will measure from the back or the front of the drainpipe instead of the center, something that can throw your measurement off by several inches.
Similarly, people measure to the edge of bolts rather than to the center, although with this, the difference is likely to be much smaller.
When measuring rough-in, always measure from the center of your reference – that way, you can never go wrong.
Always best to get it right first time
Whether you are installing a one-piece toilet or a two-piece toilet, one with an elongated bowl or an oval bowl or any other configuration, it’s far better to get everything right so you won’t end up having to alter your walls, framing or plumbing.
One of the most important things you need to check before buying a toilet is the rough-in, and with the information in this post, now you know how to measure it.