Perhaps you are about to fit a new toilet DIY and you need to know how much time to leave yourself – or maybe you are having one installed by a professional plumber and you want to know how much time it will take because you want to know about the cost.
In any case, if you are about to fit a new toilet in your bathroom, you’ll need to know what it entails and the amount of time your bathroom will be out of action – so to help, in the post, we answer the question, how long does it take to replace a toilet?
How Long does it Take to Replace a Toilet?
Let’s start with the short answer – and then after that, we can look at the question in more depth to see what can affect how long replacing a toilet can take.
While there are many factors to consider, generally speaking, a toilet usually takes about an hour and a half to two hours to replace.
This includes taking out the old one and then fitting the new one – but it doesn’t take into account any time you might need to leave the toilet for the silicone or caulking to dry before you can use it.
This also assumes that there are no complications and that the job is includes no more than just removing the old toilet and fitting the new one – although, as we shall see later in this post, that’s not always the case.
In a moment, we’ll talk more about the factors that can increase the amount of time required, but before we do that, let’s go through the process of replacing a toilet to see where the time will be spent.
Step 1: Measuring the rough-in and shopping for a toilet
Total time required: n/a
The first part of buying a toilet should always be measuring the rough-in, which is the distance from the center of the flange (or drain hole) to the bare wall.
In the US, rough-ins are either 10 inches, 12 inches or 14 inches, with 12 being the most common.
You must measure the rough-in before you even start shopping for a new toilet because if you buy a toilet with a different rough-in measurement from your bathroom, it may be difficult to install the toilet, and you may even find it doesn’t fit at all.
For more details about how to measure rough in, check out our detailed post about it here.
Once you know the rough-in, you can start shopping for your toilet. Simply check the specifications for the sheet to make sure the model you’re interested in is compatible with the plumbing in your bathroom.
In terms of how long Step 1 takes, measuring the rough-in only takes a few minutes – and shopping for a toilet takes as long as it needs to take – so we haven’t included this step in our overall calculation for how long it takes to replace a toilet.
Part 2: Removing the old toilet
Total time required: 30 minutes to one hour
Once you have a new toilet ready to fit, the real work begins. However, before you can install it, you have to remove the old one. Here’s how it’s done.
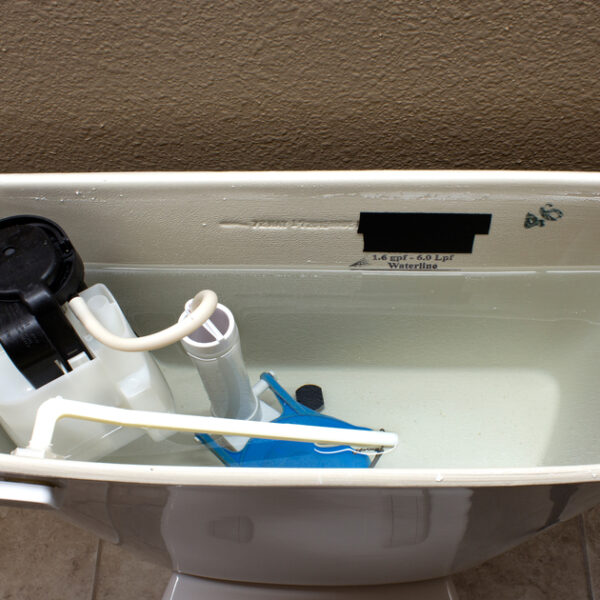
- Turn off the water, empty the bowl and tank
Turn off the water to the toilet tank (also known as the cistern) and then flush the toilet to empty the tank.
Next, remove the water from the toilet bowl. The easiest way to do this is to scoop it out with an old cup.
Once this is done, you can mop up any remaining water in the tank and toilet bowl with an old towel, cloth or sponge.
- Disconnect the water line from the tank
Disconnect the water line from the tank by unscrewing it. Since some water may flow out of the pipe when you do this, it’s a good idea to place a bucket underneath before you do it.
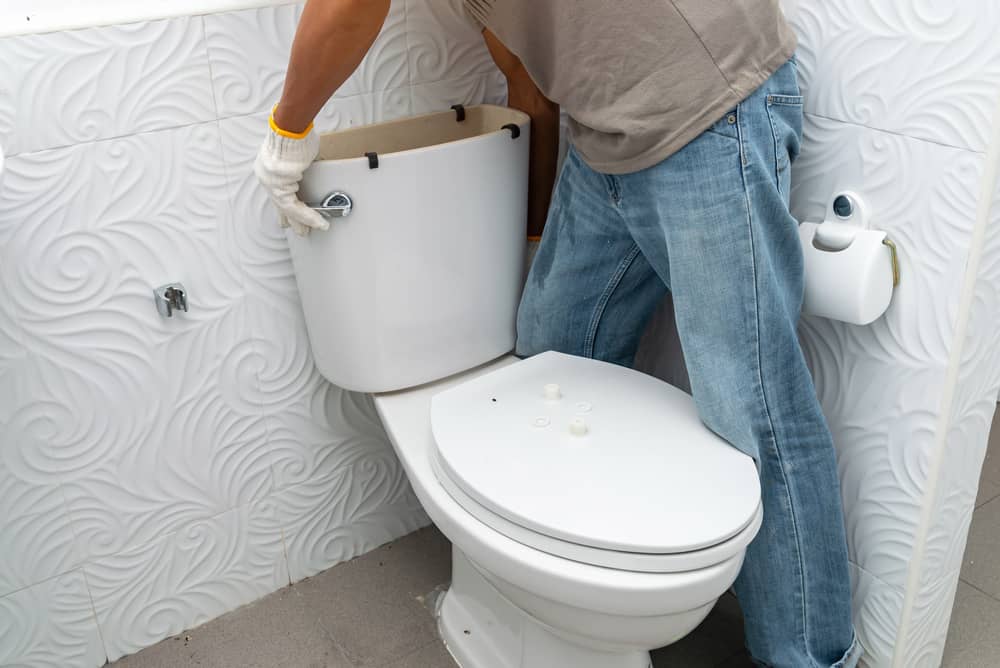
- Remove tank
If you have a two-piece toilet, the next step is the removal of the tank. You will find that it is attached to the toilet inside the tank by two nuts and tank bolts. Unscrew these and lift the tank off the toilet.
If you have a one-piece toilet with the tank connected to the toilet, you don’t need to worry about this step.
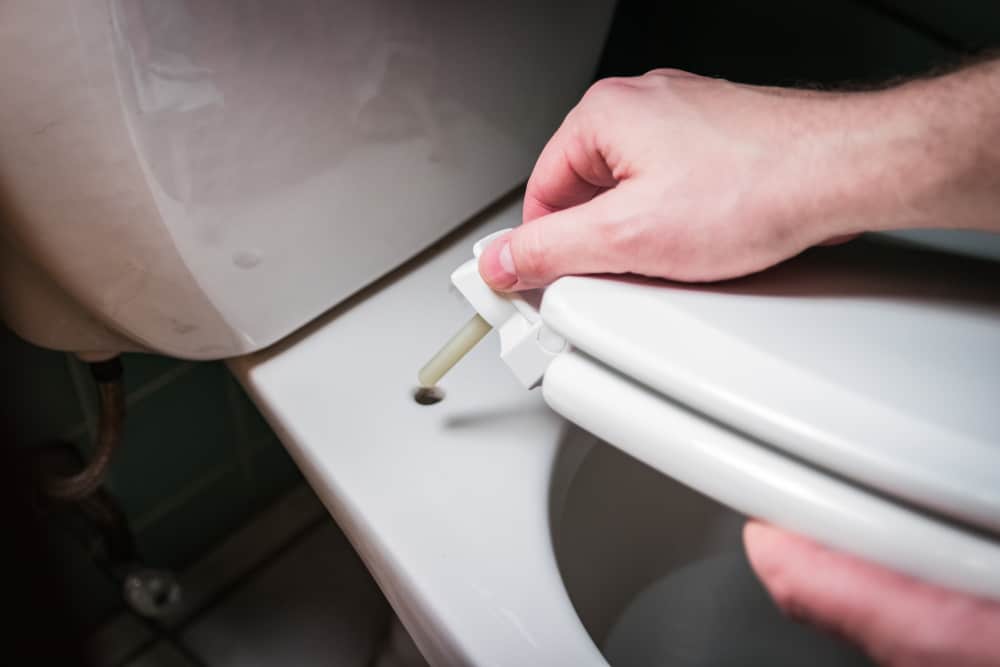
- Unscrew the bolts connecting the toilet to the floor
Most toilets are attached to the floor by a bolt on either side of the base, so to remove it, you need to unscrew the nuts, either with your hand or with a wrench.
- Remove caulking
Depending on how the toilet has been fixed to the floor, before you lift the toilet out, you will need to remove the silicone, caulking or grout that has been applied around the base.
This can be done with either a putty knife or a hammer and chisel – which you use depends on whether the material is soft or hard.
If you need to use a hammer and chisel, be careful not to damage the porcelain of the toilet bowl – unless you don’t plan to keep the toilet after it’s been removed.
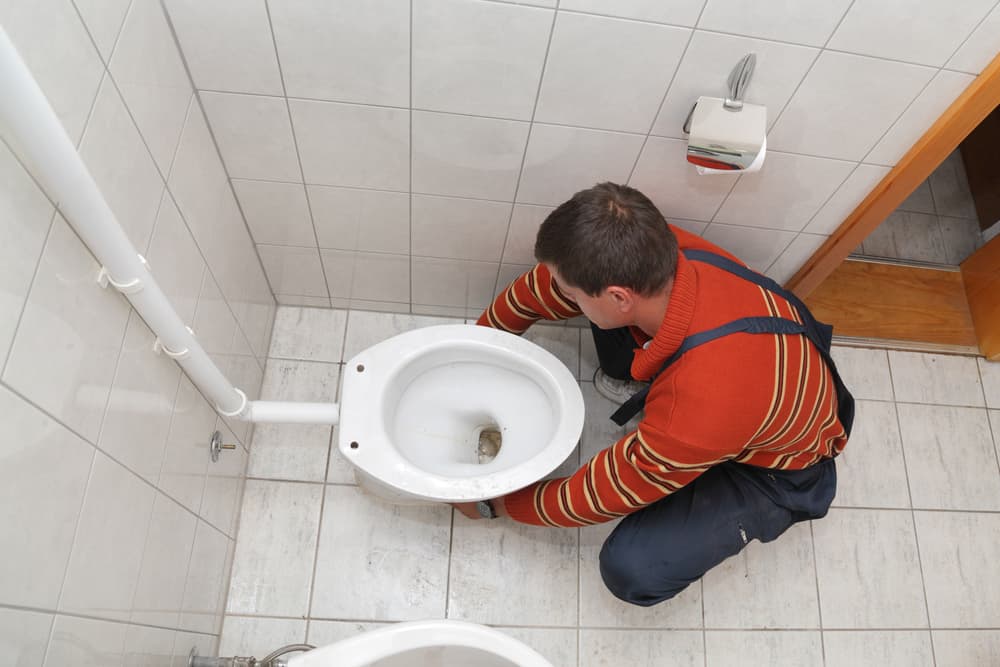
- Lift toilet out
You can now lift the toilet out of where it sits. Be careful since it may slip, and some toilets may be a little heavy.
- Remove wax ring
To create a watertight and airtight seal, a wax ring is used where the toilet is connected to the flange, and some of the old wax seal will likely be stuck to the bottom of the toilet and around the flange when you lift the toilet out.
This means your next step is to clean the old wax ring off of the flange and, if you are planning to reuse the toilet, from the bottom of the toilet too. However, if you are planning to discard the old toilet, you only need to clean the flange.
You can remove the old wax ring by scraping it off with a putty knife.
- Check the condition of the flange
Once the wax has been removed from the flange, inspect the flange to see what condition it’s in. If it’s in good condition, you can simply place the new toilet over the old flange.
However, if it has deteriorated or is cracked, you will need to replace it, which will take up more time.
For more information about toilet flanges, check our post here.
Part 3: Fitting the new toilet
Total time required: 45 minutes to one hour
Once you have removed the old toilet, it’s time to install the new one. Here are the steps you will usually need to follow:
- Fit the mounting bolts
Assuming your flange is in good shape and doesn’t need replacing, the first step when fitting a new toilet is attaching the mounting bolts.
These are two bolts (or sometimes four) that will be used to attach the toilet to the flange and hold it in place.
Most new toilets come with new mounting bolts, so simply take them out of the package and screw them into the flange.
- Fit the new wax ring
Perhaps the trickiest part of fitting a new toilet is attaching the new wax ring – although it’s not that difficult.
You simply take the ring and place it over the flange so that when the toilet is placed on top, it creates an airtight and watertight seal with the toilet horn to prevent water leakage and to stop sewer gas escaping from below.
- Put the toilet in place and bolt it down
Once you are happy that the wax ring is correctly positioned, you then need to carefully place the new toilet bowl over the top. The two holes on either side of the toilet should go over the two bolts you fixed to the flange earlier.
This part is also a little delicate since you need to ensure that the wax ring isn’t damaged – if you damage the wax ring, you might lose your seal, and this may result in water and sewer gas leaks.
When the toilet is in place, you can then take the nuts and screw them onto the bolts to fix the toilet securely in place.
- Attach tank
The next step is to attach the tank, and to do this you essentially have to do what you did to remove the old one but in reverse.
Note that you will probably have a gasket or washer that needs to be placed around the hole where the tank will sit, and the tank is then placed on top of this.
Once the tank is sitting snugly on the toilet with the gasket in place between them, you can then screw them together using the nuts, bolts and washer provided with the toilet.
- Reconnect water line
When the tank is in place, reattach the water line to the side of the tank.
- Turn on the water and check everything works
Turn the water supply on to fill the tank and then flush. Repeat this a few times to make sure everything is functioning correctly.
In particular, make sure no water is leaking out from underneath the toilet – because if it does, this means there’s a problem with the wax ring. If there’s a leak, you’ll probably need to take the toilet off again and install a new wax ring.
- Apply caulk
If there’s no leak and everything seems to be working properly, you can finish up by applying caulk or silicone around the base of the toilet. This will help keep it fixed in place and will also prevent water from getting under the toilet.
After that, you’re all done – but note that you’ll need to wait at least six to twelve hours for the silicone or caulk to dry before you can sit on the toilet.
Factors that can affect how long it takes
What we’ve described above is the basic procedure for fitting a regular toilet, but there are several factors that can affect how long it takes to do it – so let’s look at the most important of these now.
-
Your experience level
Clearly, your experience level will be a major factor in how long the operation takes. A skilled plumber can remove a toilet and fit a new one extremely quickly, taking no longer than an hour and a half and possibly even less.
However, if you are a novice DIYer who has never done it before, you can add an hour or even two hours to this as you will need to work out how everything works and where everything goes.
-
Reason for toilet replacement
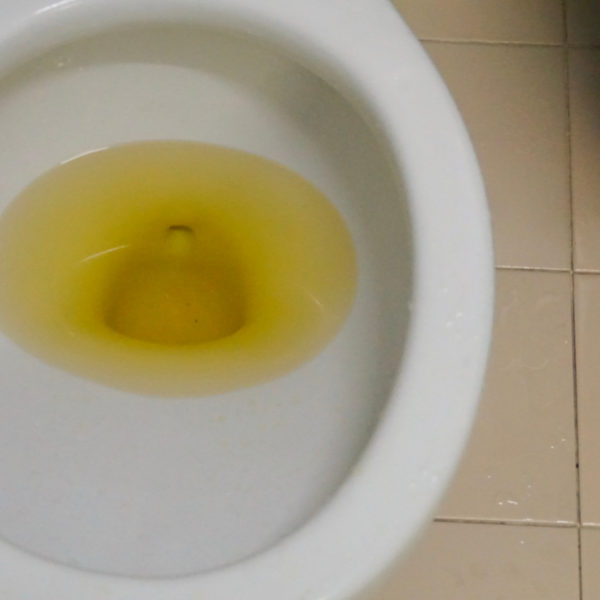
If you are just replacing a toilet for aesthetic reasons, the above description is what you can expect to face.
However, if you are replacing a toilet because of leaks or because some of the plumbing needs to be replaced, you will need to add extra time.
This is because you will first have to work out what the problem is, and then you’ll have to fix it.
If the plumbing needs major work, it can add a lot of extra time to the job.
-
Type of toilet
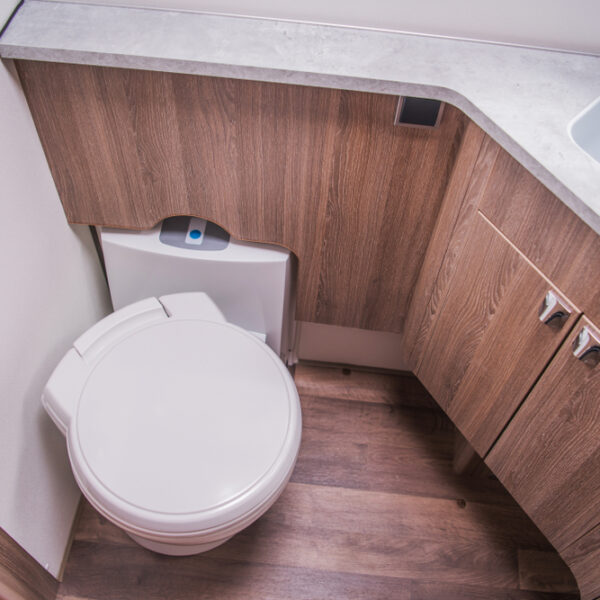
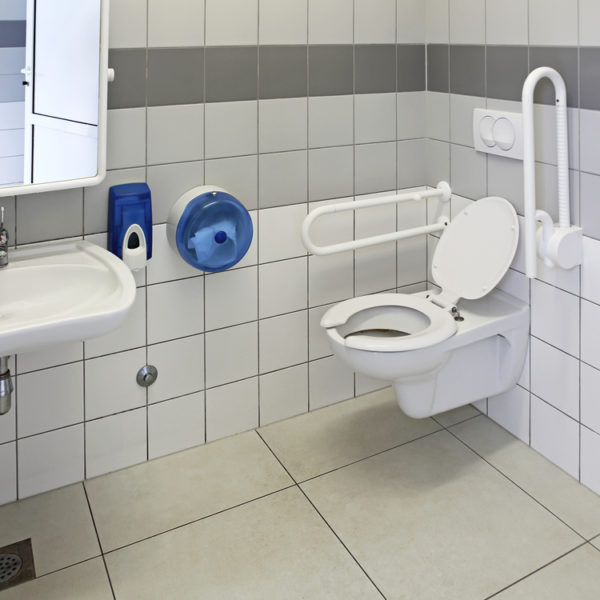
Certain types of toilet are more difficult to fit than others. We have described how to install a regular two-piece toilet when there are no other problems to deal with, and that’s about as easy as it gets.
However, for example, if you are fitting a wall-mounted toilet with the tank hidden in the wall, there will be a whole lot of extra plumbing and construction work to take care of, and a job like that can easily take up two or three days or more.
-
Worn-out or damaged flange
If you remove the toilet and realize the old flange is damaged or worn out, you’ll need to fit a new one. This can add at least half an hour to the job – on top of the time it takes to go to the hardware store and buy one.
-
Flange too high or too low
If your flange is too high or too low for your toilet – perhaps because you have fitted a new floor and the tiles are higher or lower than before– you will have to work out a way to rectify the problem.
Simple methods like using double wax rings or extenders are quick jobs that may only take half an hour – but if you decide to re-floor the bathroom, it will take a whole lot longer.
Check out our post here to find out how to deal with a flange that is too high or too low.
A quick and easy job – or a much longer one
If there are no complications, fitting a toilet can be an easy job that takes a professional or even a competent DIYer no longer than an hour and a half or two hours. However, if you run into complications, this can add a whole lot of time to the installation process.
The good news is that, unless you are replacing a regular toilet with a wall-mounted one, almost everything can be done in a single day, which means at the latest, you should be able to use the toilet again by the next day.