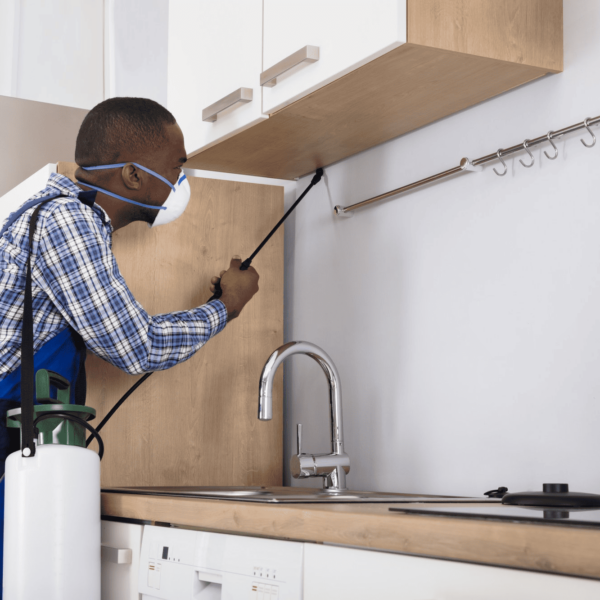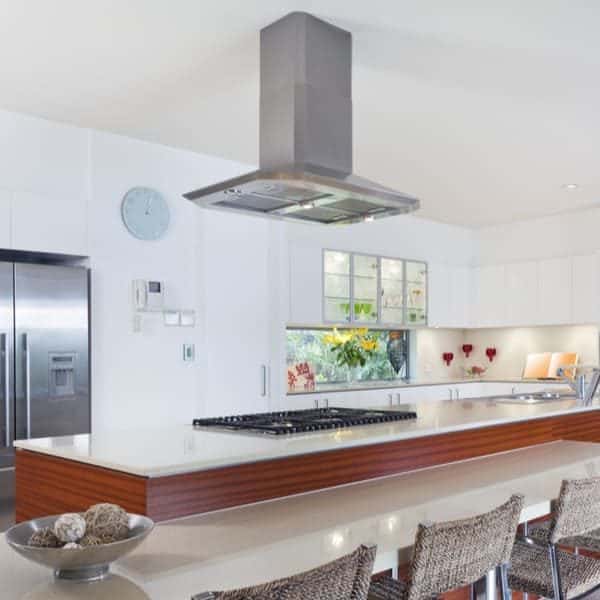
It is necessary to install a range hood to enhance proper air circulation in your kitchen. The help of a well-mounted range hood takes out hot air, awful cooking smells, and greasy cabinet surfaces.
Most times, many vent the range hoods through the ceiling, but you can find a way for its ventilation tubes on an interior wall. Here bring you tips on how to vent a range hood on an interior wall.
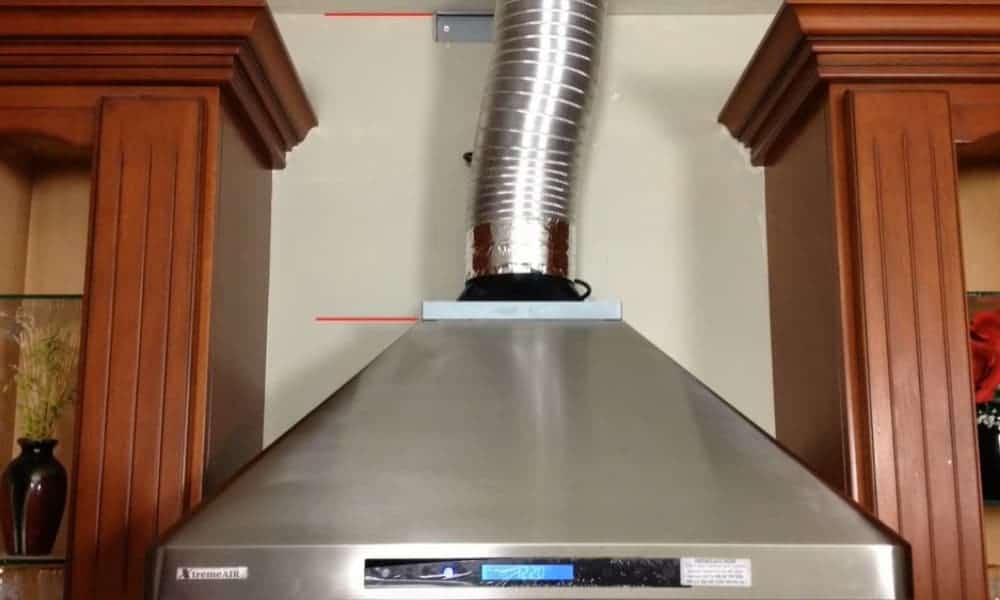
How to Vent a Range Hood on an Interior Wall
The following are the steps to take when you want to vent a range hood through a wall or roof.
Step 1: Disband the New Range Hood
First, you have to dismantle the hood into parts for easy installation and to avoid spoiling any of the parts. Detach the double filter and remove the covering beneath the hood; then remove the connecting pipe and keep it in one place.
Now take out the four-cornered pipe extension that is behind it. But it would be best if you employed a level of caution so as not to bend or disfigure any of the plastic or iron parts around the extension.
Step 2: Open a Hole
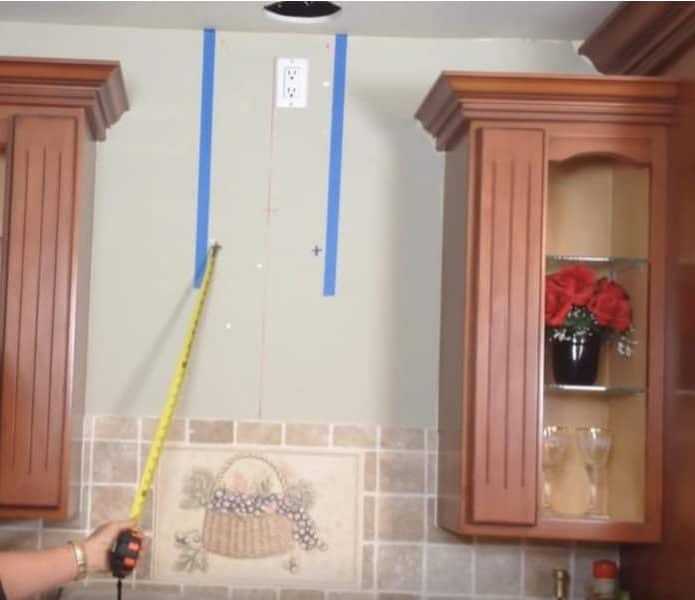
Make a speck from the top of the kitchen units on the wall. Mark out one-eighth of an inch from beneath it and tug a straight line through the wall. With those two impressions, mark another rectangular shape of length 25cm and height 10cm
Create a hole for the pipe using the drywall saw; try to be as careful as possible, so you don’t hit any hindrance. In case you come across any, you could move the connecting pipe behind it back or forth until there are no hindrances. This process will help you avoid barriers when creating holes for range hoods.
If, after all these and it yielded no positive result, bring down the unit at the top of the pipe path, and put a rubric instead. Make a hole on the wall to expose the barrier, and then slash 15cm atop and 10cm beneath the route of the connecting pipe. Then construct the rubric using 2 5x10cm summers wrapped over 2cm lean plank spacer.
Ensure the rubric has a length that reaches the two ends of the barrier, and then create a twofold sill sheet by tying up the slimmer. When you’re done with the rubric, tighten a 5cm tall barrier trimmer to the entire size of the barrier in the wall. These trimmers should match the height of the barrier from top to bottom perfectly.
If the barrier trimmers don’t enter the hole, expand it, and tighten the twofold sill into the trimmers using nuts or screws.
Step 3: Put in the Rubric
Tighten the rubric with a screw beneath the barrier dangling from the top. In the middle of the rubric and sill, fix in two small 5x10s to match the whole length of the barrier. Tighten them to the top and bottom of the barrier one after the other and cover the hole by placing fresh drywall over it.
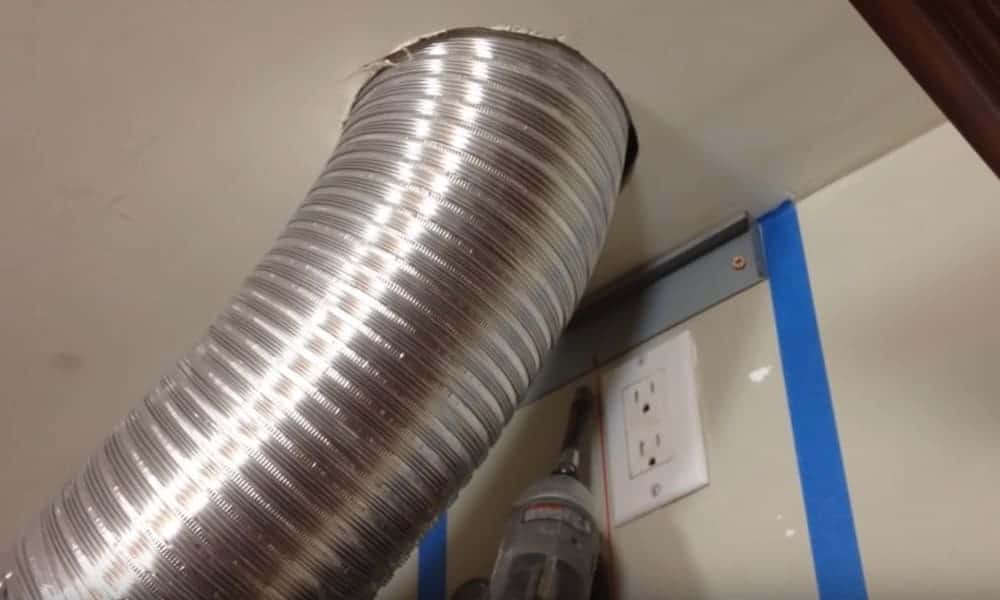
Obscure the drywall ends using a drywall tape and seam mixture. Hang back the unit you brought down and make the pipe hole easily since you’ve taken care of the barrier. Create the whole from the interior wall to the outside and ensure the pipe can pass through it.
Step 4: Procedure for Installation
The more technical aspect is finished, and once you’re done with that, the installation proper doesn’t take much time.
First, pass the electrical wires between the oval extension hole at the end of the range hood. Ensure you tightened the wire with a clamp, and if they are not long enough, add two cables of the same color using cable connectors.
Fasten the earth cable to the neutral. But ensure to do that before hanging the hood just beneath the kitchen unit and tighten correctly.
Also, ensure you fastened the nuts from the inner surface and to its place. Then move to the exterior walk and put the wall cap to conceal the patch entirely.
Put a steady drop of caulk on the extension of the wall cap. Afterward, push into the opening on the wall.
Look to ensure that the pipe on the wall cap fits into the end of the range connecting the pipe. If it doesn’t fit because of the excess length of the wall cap, clip with alloy snips, but if the length is not enough, add a duct to it.
Buy an extension duct and cut to size. Then fix it into the middle of the wall cap and connector pipe and fasten with a specialist duct tape. Round up the process by securing the cap to the wall with screws.
Step 5: Restore Electricity
Put the power on again and check if the hood fan fitting is working, also test the lights to ascertain if you made the right connection.
Check out the wall cap and ensure the flips dilate when the hood fan is working and shuts off when it not. Test the new install unit and check if your kitchen still has that awful odor, I bet you it won’t.
Useful Tip when Installing
- Once you know the required parameters, it’s easier to select a suitable range hood. You should know the cubic feet per minute (CFM) of the range hood, you are planning to buy. Then try to compare with your kitchen space to ascertain its suitability; the area of your kitchen multiplied by two gives the accurate CFM.
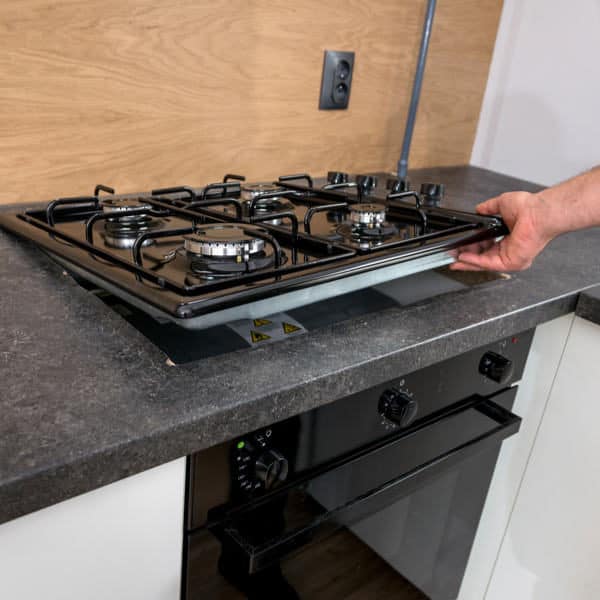
- Another factor to consider is the measurement of the kitchen unit above your gas stand. Ensure that your range hood flanges an eighth centimeters radius around your gas area and your oven surroundings. This aspect is not particularly significant.
- Make sure you disconnect all electrical connections before dismounting any kitchen gadget like a rusty or faulty range hood. You may need to go all through to the control board to close off any electricity, and then confirm from the range hood switch. Once it’s off, place a cloth on the range hood, and try to detach the power wire.
- Find the underpinning nuts and loosen them to disengage the hood from its location.
Wrap Up
There is no special guide to learn how to vent a range hood on an interior wall. But this guide certainly exposes you to a variety of range hood venting options succinctly explained and easily understood. Follow the steps to mount if you want mount a range hood be it the under cabinet range hood, and I assure you that there won’t be any problems.
Also, keep in mind these essential tips
- Always switch off the power before removing an ancient hood or installing a new one
- Ensure that the wall cap extension is not too long or too short so the whole work doesn’t look messy
- Always endeavor to be careful when bringing down your kitchen cabinet to avoid damage to it.