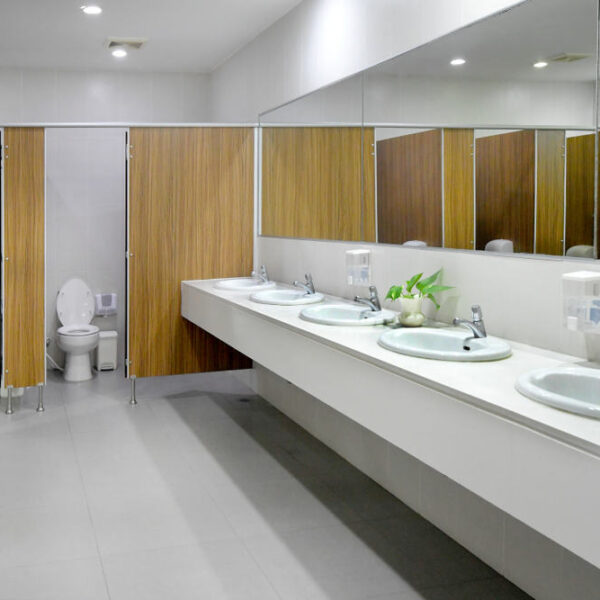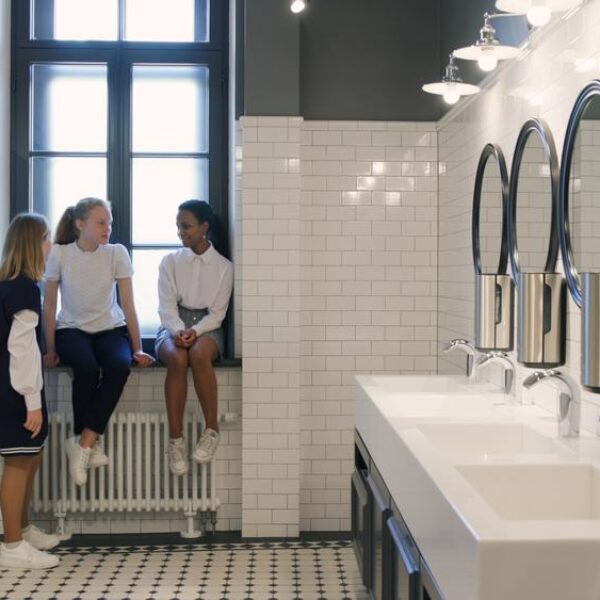
When it comes to redecorating your bathroom, retiling is one of the least fun tasks! Removing those old tiles takes time and can damage your drywall. And messing around with grout and tile spacers isn’t our idea of a good time.
If you feel the same way, you might be looking for a shortcut. And you might be wondering – can you paint bathroom or shower tiles?
It’s a good question, and we’re here to find out the answer! So read on for everything you need to know – and a step-by-step guide to getting the best results.
Painting Bathroom or Shower Tiles
The answer to the question of whether you can paint bathroom tiles is – it depends. On what, I hear you cry! On what the tiles are made of. And to a lesser extent, where they’re positioned in the bathroom.
Not all kinds of tiles will bond effectively with paint. Unglazed tiles will simply absorb it. That will leave you with a dull, flat color – if there’s any color at all.
Glass isn’t a good option for most paints either. It’s so smooth, it won’t provide a key for the paint to stick to. There are glass paints out there, but they’re not designed to be used on large areas.
If your tiles are glazed ceramic or porcelain, though – congratulations! You can paint them and get good results without spending a fortune.
It’s best to paint tiles that don’t get excessively wet. You can paint tiles in a shower cubicle – and we’ve seen it done to good effect. But you may well find that the paint begins to blister and peel after a while.
If you’re happy to do some touching up, that may not be a problem. Just be prepared!
So now you know what types of tiles can be painted – how do you do it? Let’s start by taking a look at what you’ll need for the job.
Tools and Materials for painting bathroom or shower tile
- Sponge
- Old toothbrush
- Cleaning agent – choose one specially formulated to remove mold and fungi from tiles
- Orbital sander or sanding block
- 220 grit sandpaper
- Face mask
- Paint gun, roller or paintbrush
- Primer suitable for the material of your tile
- Epoxy or oil-based paint
- Masking tape
Step-by-Step Guide for painting shower or bathroom tile
Step 1: Measure your tiled area

To buy the right amount of paint and primer, you need to know how big an area you’ll be covering. Measure the length of the tiled area by the width, and multiply the two measurements together. That will give you the surface area.
Plan to give your tiles at least two coats of both paint and primer to get a good finish. That means you’ll need to multiply your surface area by two to get the coverage for each. When you’ve got that number, you’re ready to go shopping!
Make sure you choose a primer that’s suitable for the material your tiles are made of. When it comes to paint, epoxy or oil-based paints work best.
Check the cans of both paint and primer for the areas they will cover. Then you’ll know how many of each you need to buy.
Pro tip: It’s always wise to check the specific paint you’re buying to get an idea of coverage. But as a rule of thumb, 250 milliliters will usually be enough for an area of about 2 square meters.
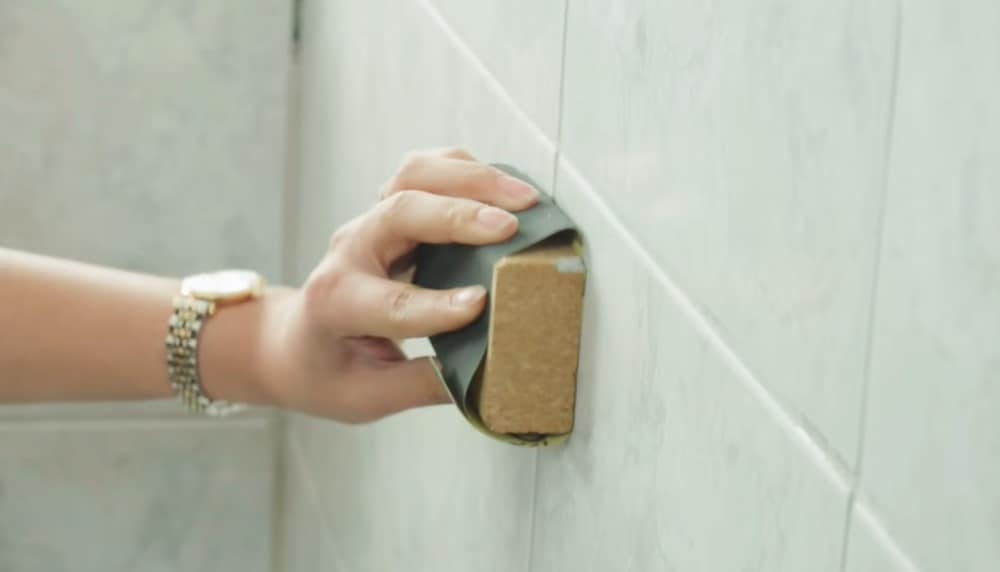
Step 2: Clean your tiles
The first step to getting a good finish is to make sure your tiles are pristine. It’s especially important to get rid of any traces of mold, mildew or fungus.
Invest in a cleaning agent specifically designed to get rid of those. And make sure it’s suitable for your tile material. If you’re using a new product, always check it on an inconspicuous area first.
Most cleaning products of this kind come in a spray bottle for easy application. Be liberal with your spraying, then wipe the area with your sponge. Do a small area at a time to make sure you cover every spot.
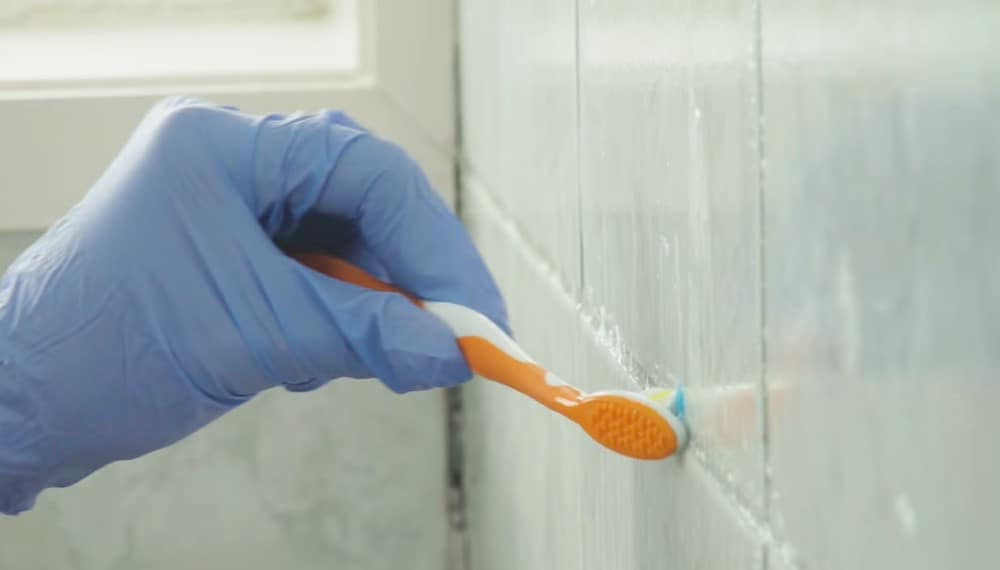
If there’s mold or mildew on the grout between the tiles, scrub it away with an old toothbrush.
When you’ve finished cleaning, rinse away the cleaning agent. You can now take a rest while you wait for your tiles to dry thoroughly.
Pro tip: Stubborn mold on grouting can be removed with a solution of two parts baking soda to one part vinegar. Mix it together to form a paste, then apply it to the grout. Leave it there for a few minutes before scrubbing it with an old toothbrush, then rinse it away.
Step 3: Prepare the surface of your tiles
When your tiles are clean, they’re ready for the next stage of preparation. This is to provide a key for the paint. This simply means making the surface rougher, so the paint will stick to it properly instead of peeling away.
This is where your 200-grit sandpaper comes in. Before you start sanding, put your face mask on to protect yourself from tile dust.
If you have an orbital sander, run it over the surface of the tiles.
Alternatively, wrap the sandpaper around a sanding block, and sand the tiles by hand. It will be just as effective, as long as you don’t get bored and skimp on the final tiles!
Now wipe the tiles with a damp sponge to remove the dust you’ve created. When the tiles are dry again, you can move onto the next step.
Step 4: Prime the tiles
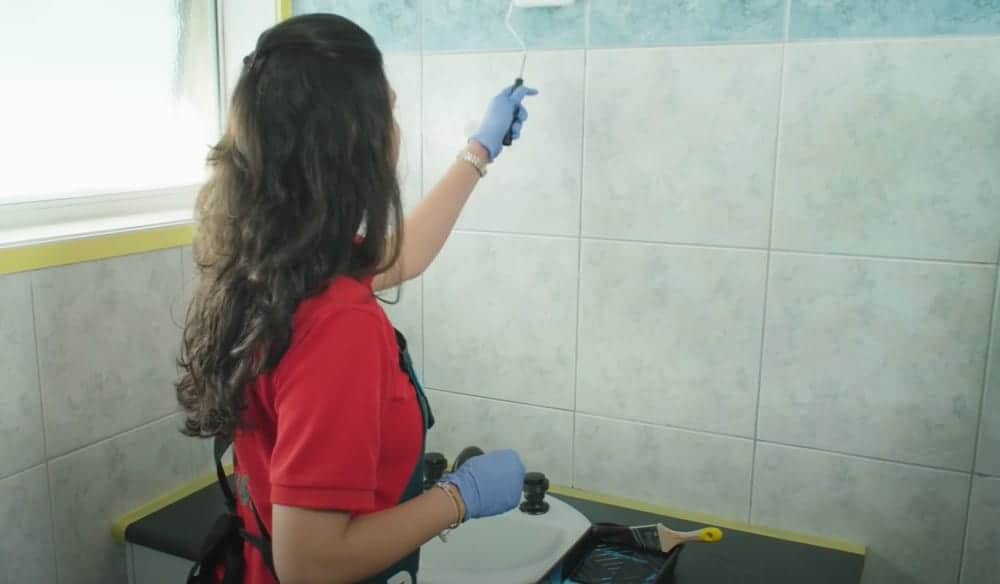
It’s now time for the primer. Before you get started, stick some masking or decorator’s tape along the edges of the tiles. You want to protect anything that isn’t tiling from the primer.
You can paint on the primer using a brush, paint gun or roller. The latter will be quicker, but you’ll need to be careful to avoid it going where you don’t want it.
Follow the instructions on the can. When you’ve finished the first coat, leave it to dry completely before painting on a second.
Pro tip: Don’t be tempted to paint the primer on too thick. It will take longer to dry and you won’t get such a good finish. Two thin coats will be better.
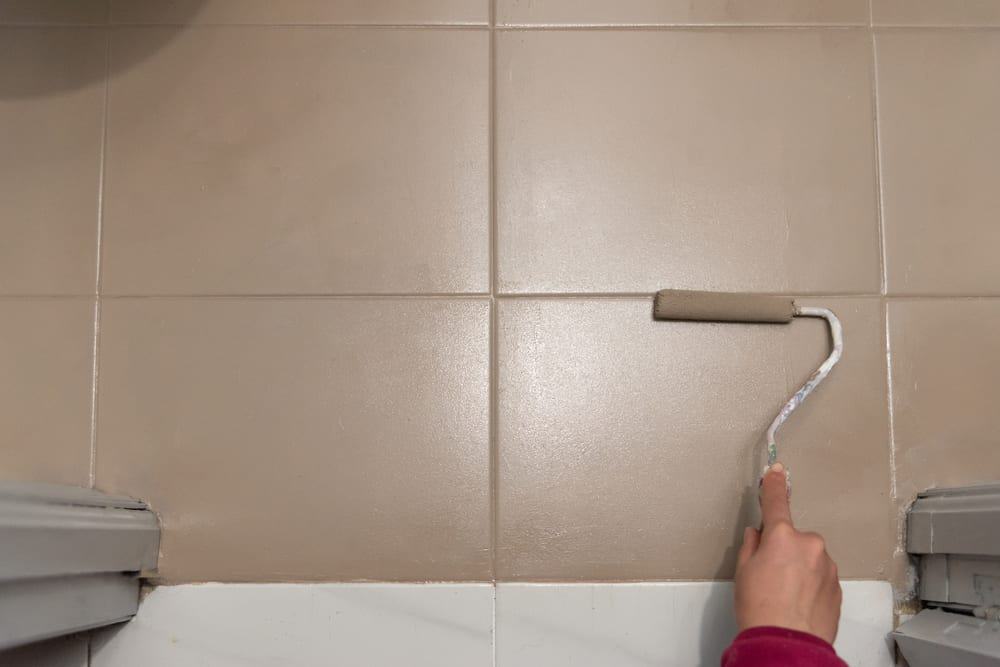
Step 5: Add the paint
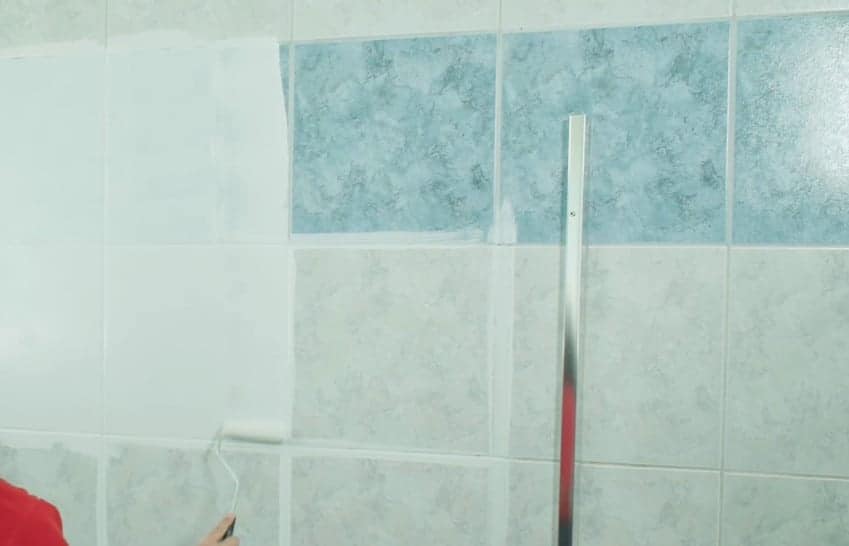
When the primer has completely dried, it’s time for the paint to go on. Leave the masking tape in place to catch any drips or spatters.
It’s possible to use the same brush you used for your primer – but make sure it’s completely clean. If you’re not 100 per cent sure all the primer has gone, use a fresh brush. The same applies if you’ve used a roller or paint gun.
Painting in the same direction will help you get even coverage. And if you’re using a paintbrush, don’t overload it. You only want to get paint on about an inch of the bristles. That will give you better control and avoid mess.
As with the primer, give the tiles two coats of paint. Make sure you leave enough time for the first coat to dry before applying the second. Remember: two thin coats will give you a better finish than one thick one.
Step 6: Remove the masking tape
There are different views on the best time to remove the masking tape.
Do it too soon, and you risk the wet paint dripping onto the unprotected areas. But leave it too late, and the paint between the tape and the tiles can harden. That means you can take small flakes of paint from the tiles when you remove the tape.
We recommend leaving it half an hour after painting before peeling away the tape. At this point the paint should be tacky, but not wet. Take care as you peel, and keep the tape away from your clothing!
Now all that’s left to do is to stand back and admire your handiwork!
Extra Tips
- Old grout can make your newly painted tiles look less fresh. There are several ways to deal with this. You could simply paint over your grout. But the paint may not adhere as well. A better option is to use a grout pen to whiten the grout lines.
- Alternatively, you can remove the old grout between the tiles and apply fresh grout. This is considerably more time consuming, but it will give a newly tiled look. If you do this, remove the grout before you do anything else. Then apply fresh grout after the new tile paint has dried.
- If you’re removing old grout, the process will be much quicker if you use a tool specially designed for the purpose. These aren’t expensive, and they’ll make your life a lot easier.
Ready to Paint Your Bathroom Tiles?
That brings us to the end of our investigation into whether you can paint bathroom or shower tiles. As long as your tiles are made of glazed porcelain, ceramic or concrete, the answer is yes!
Just take your time with preparation, and choose a primer that’s suitable for your tiles. Add a couple of coats of paint, and your tiles will look great!
Changing the grouting will make them look even better, but it’s a lot of work. Whitening it up with a grout pen when you’ve finished painting will take a fraction of the time. And the results will be almost as good.