When the plumbing goes wrong in your home, it can cost a fortune if you have to call out a professional to fix it, and even the smallest of problems may end up costing you a lot of money. For this reason, being able to fix things yourself can help save a bit of cash.
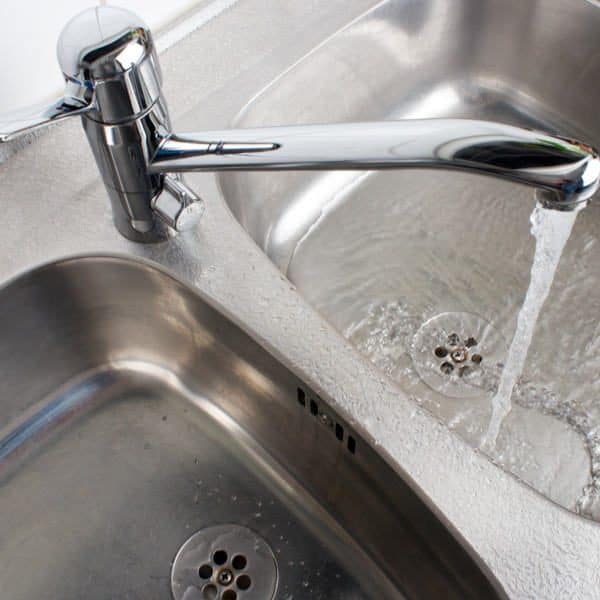
One issue that almost everyone faces at some point is a loose kitchen faucet. This may be an annoyance at first, but it can also damage the lines if it gets worse, so it needs to be repaired as soon as possible. And if you want to have a go, here’s how to tighten a kitchen faucet.
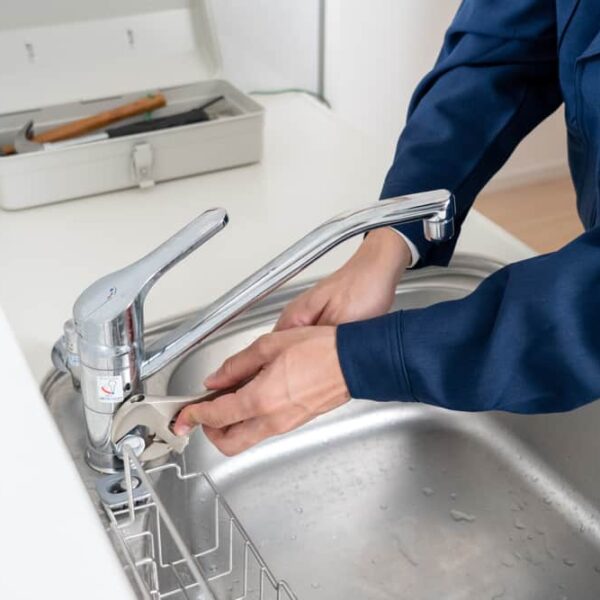
Tightening a kitchen faucet base
Tightening a kitchen faucet base is an easy job because all you need to do is tighten a nut. The main difficulty comes in accessing that nut since it will be located under the sink.
Once you gain access to the nut, it’s just a simple case of tightening it to fix the faucet base securely in place.
What you need
For this job, you will need the following:
- Basin wrench, vice grips or similar
- Flashlight
Steps on How to Tighten a Kitchen Faucet base
Here are the steps you need to follow to tighten a loose faucet base. Before reading on, you can check out this video for a preview of what you should be doing.
-
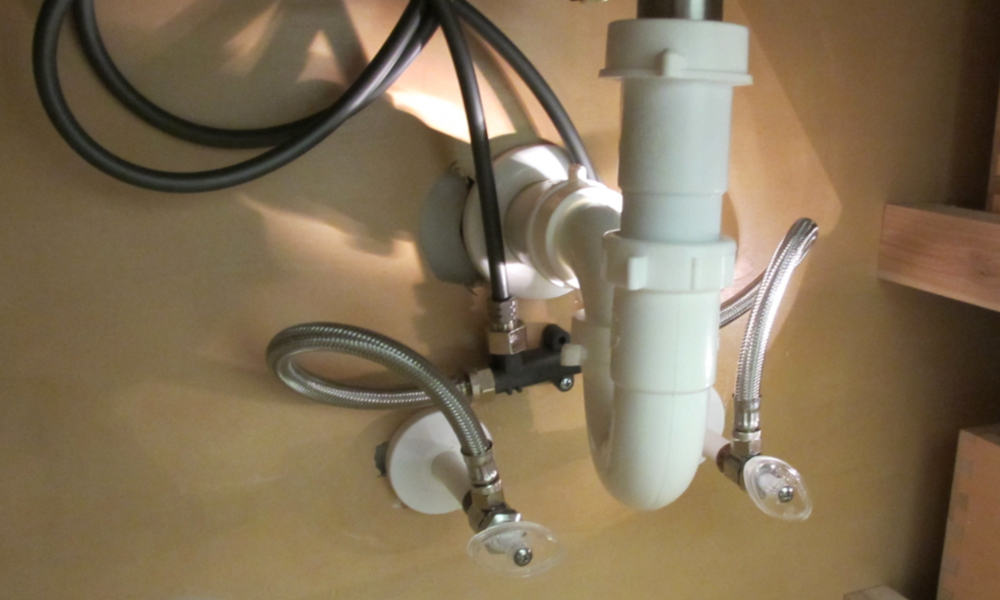
Remove everything from under the sink
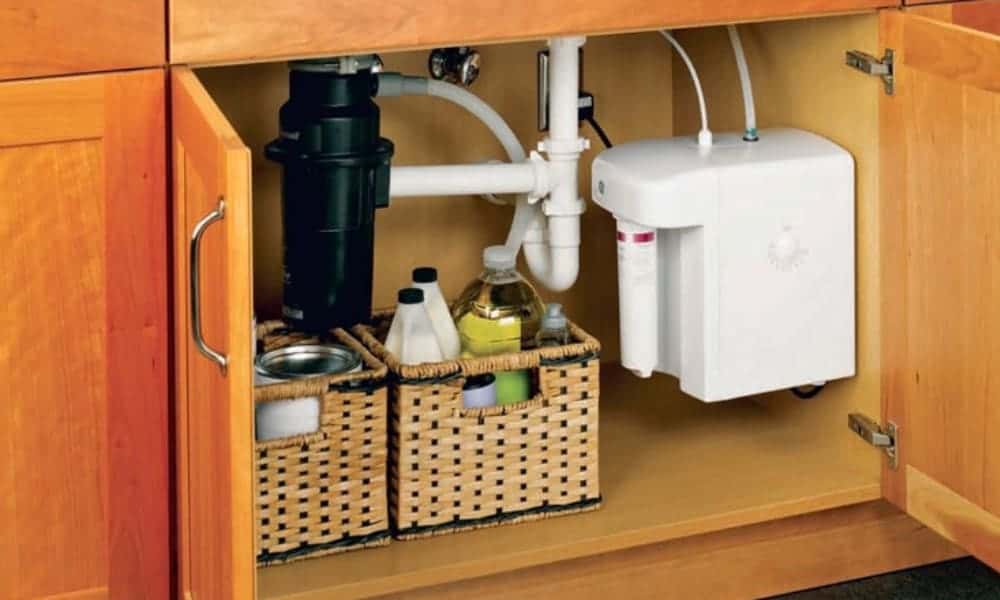
In most homes, the space under the sink is used as a place to store all manner of cleaning products and other items. If this is the case in your home too, you will need to move them out of the way to gain access to underneath your sink.
-
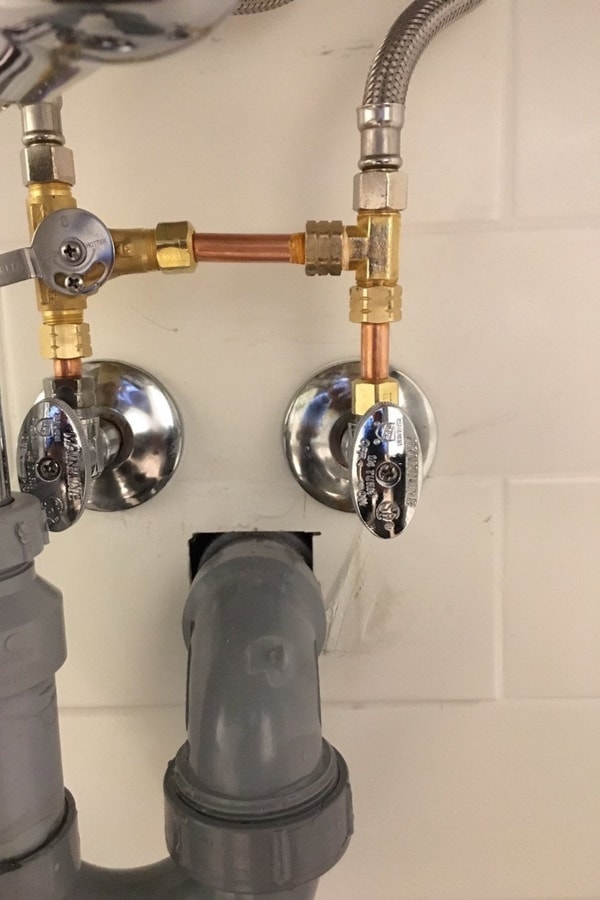
Turn off the water valves
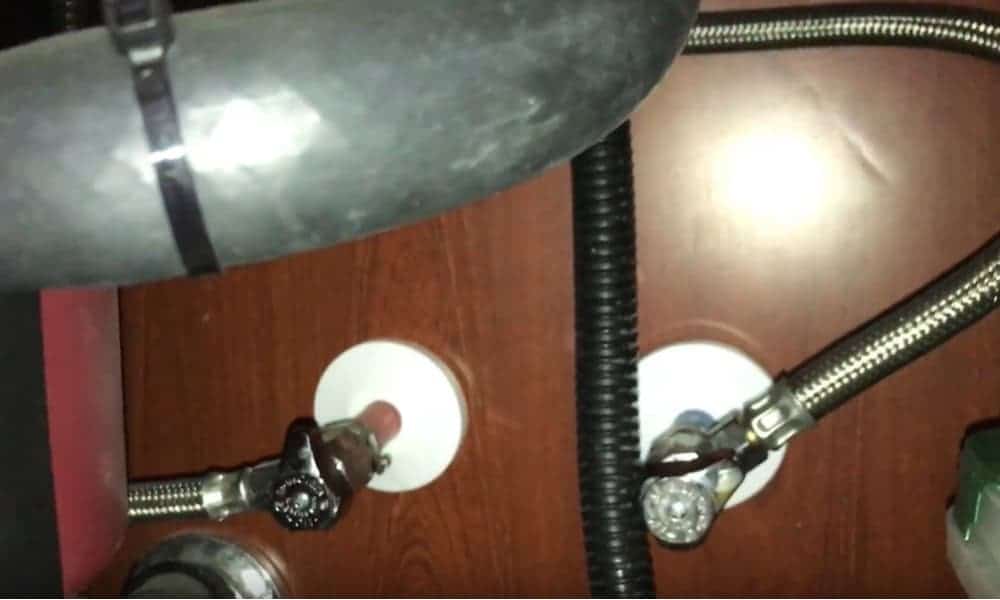
Before you start looking for the nut that you will need to tighten, you should turn off the two water valves located under the sink.
While this might not be absolutely necessary, it’s good practice since it will stop you getting soaked if the pipe bursts or anything else goes wrong while you are tightening the nut.
-
Slide under the sink on your back
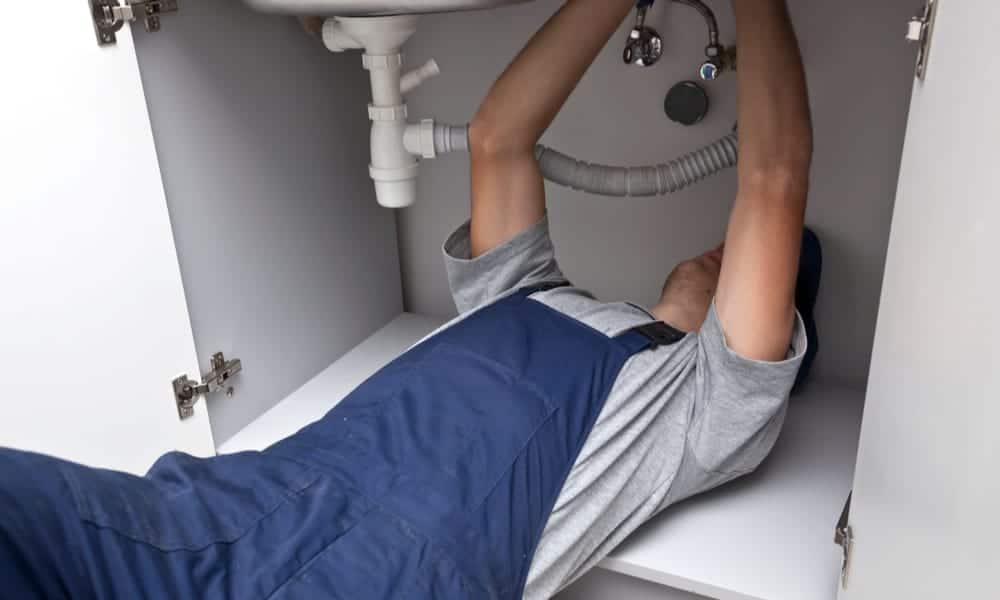
Next, take the flashlight and slide under the sink on your back. With the flashlight, you need to locate the nut that secures the faucet in place.
-
Set your wrench to the correct size
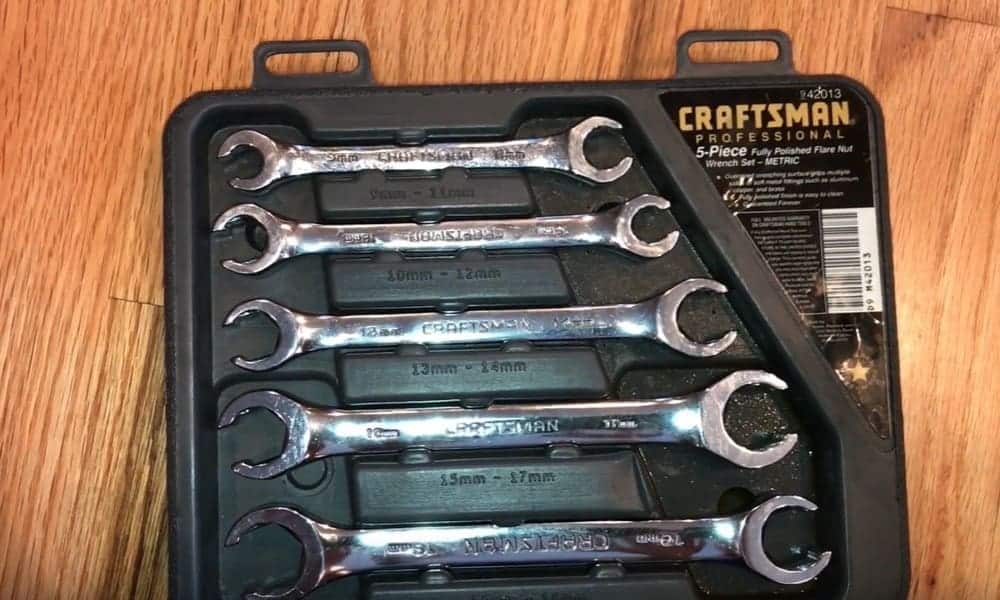
If you are using an adjustable wrench, set it to the correct size for the nut that holds the faucet in place.
-
Tighten the nut
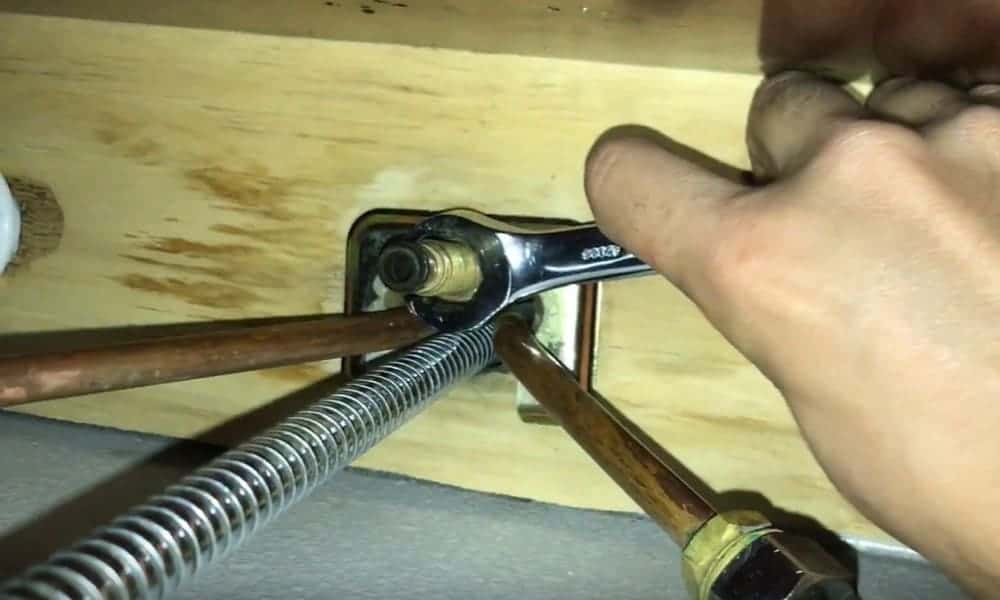
Tighten the nut by turning it in a clockwise direction with your wrench. Depending on your sink, you may find you have to twist yourself into some unnatural positions to reach it, but other than this, you shouldn’t have any problems.
-
Check that faucet base is tight
Come back out from under the sink and physically check that the faucet base has been successfully tightened and no longer moves around.
-
Turn the water back on and replace everything that lives under the sink
If the faucet is now secure, you can turn the valves back on under the sink and replace everything you had to move out of the way. The job is done.
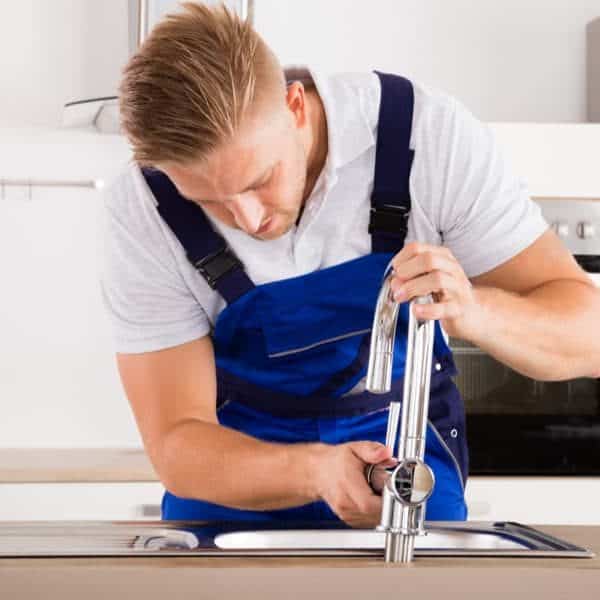
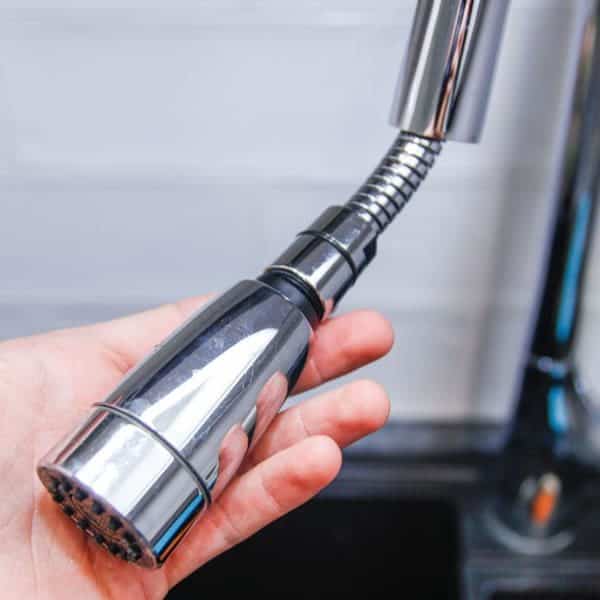
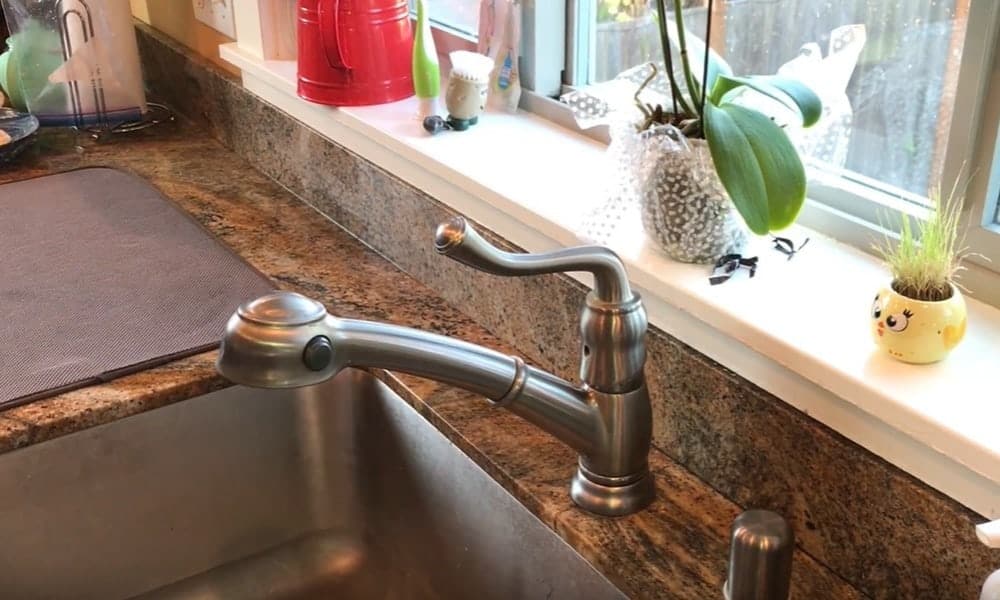
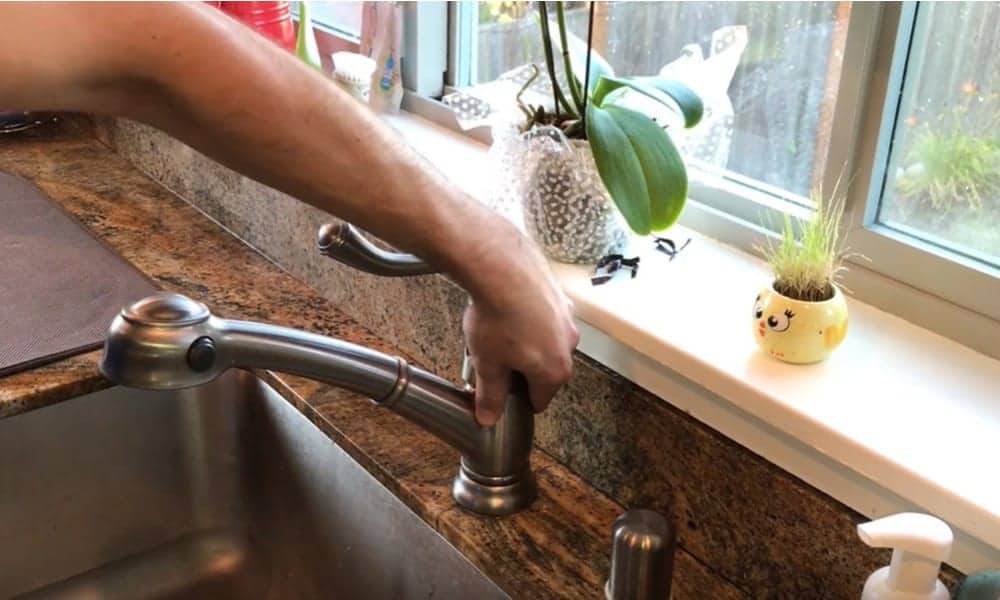
Tightening a faucet handle
Tightening a loose faucet handle is another simple job. However, there are many different types of faucet, including pull-out kitchen faucets, and commercial kitchen faucets or even touchless kitchen faucets.
This means the main complication is going to be establishing what you need to do to tighten your particular model.
For a preview, check out this very clear video to see some of the things we’ll be talking about.
What you need
- Phillips head screwdriver
- Flathead screwdriver (or knife)
- Hex head wrench (also known as an Allen key)
Steps on How to Tighten a Kitchen Faucet handle
-
Turn off the water supply under the sink
As before, this might not be necessary, but it’s always good practice since it will avoid causing a flood if anything should break or otherwise go wrong.
However, if you need to work with the faucet open, this will prevent water from coming out when you move it to the “on” position, so you should always start by closing the valves.
-
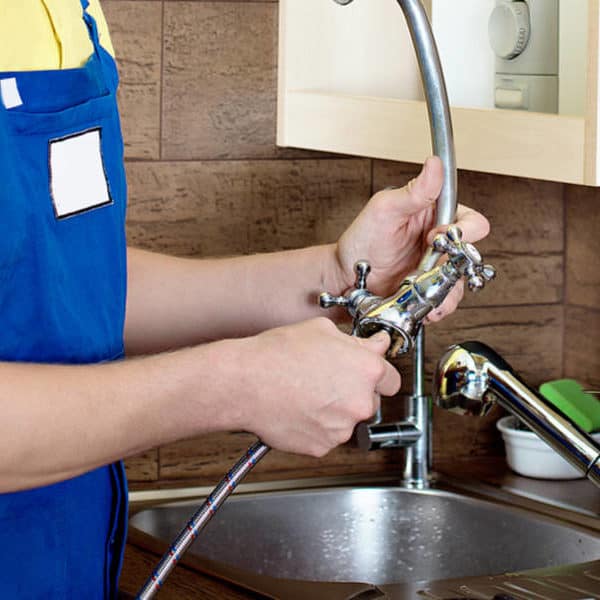
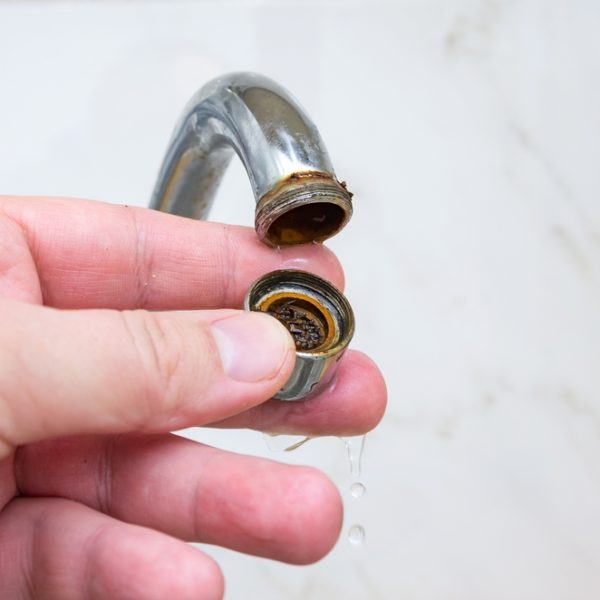
Establish what type of faucet you have
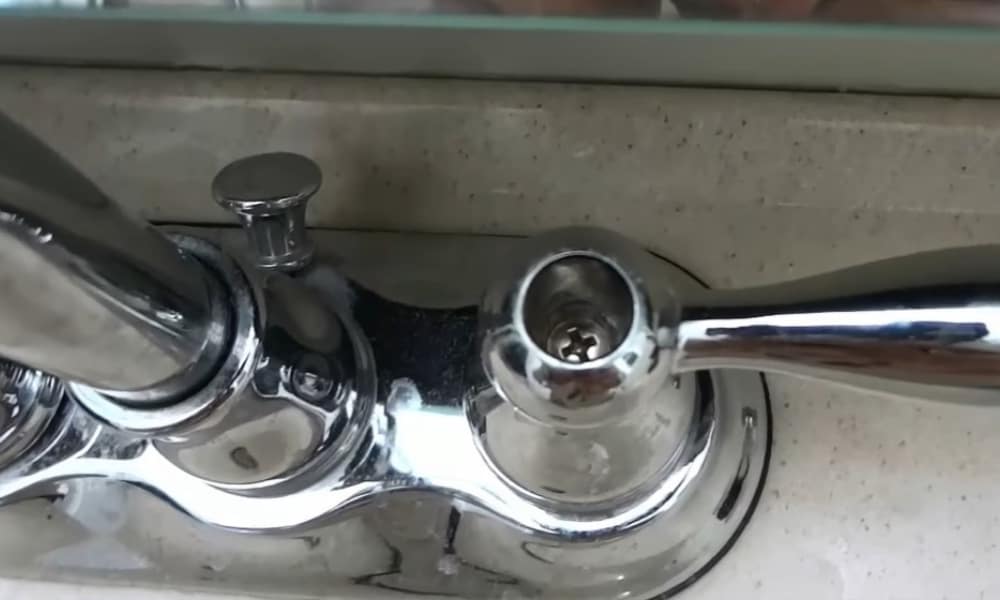
Some faucets are secured by means of a set screw with a hex head located at the base of the handle.
If you can’t find this, you need to pop off the decorative cap in the handle. To do this, use the flathead screwdriver (or knife). Once you have removed the cap, look inside. You will see either a hex head set screw or a Phillips head screw.
-
Tighten accordingly
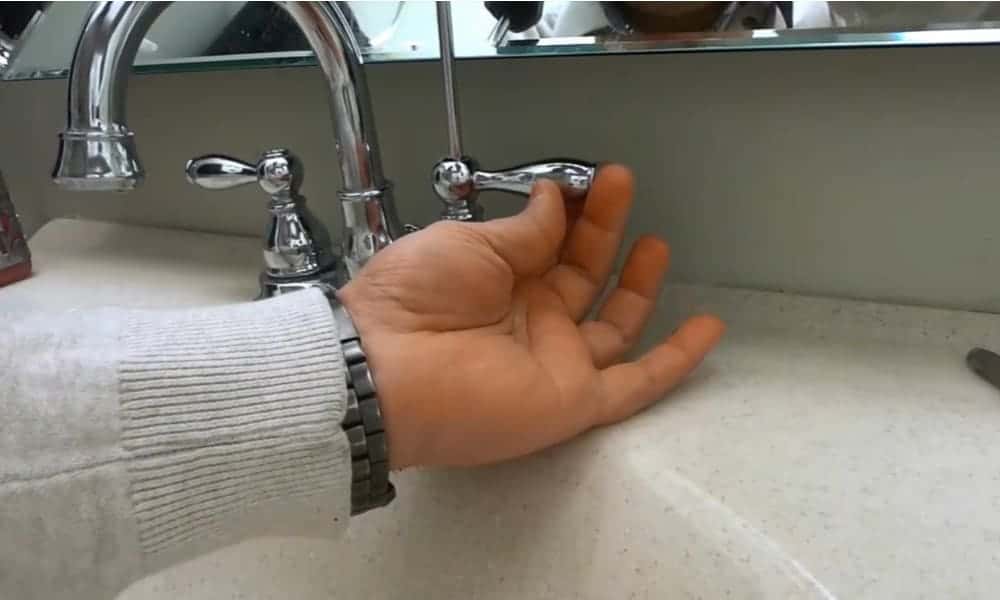
How you tighten the handle will now depend on the type of faucet you have.
If you have a model with a set screw at the base of the handle, take the hex head wrench (Allen key), push it into the screw and turn clockwise to tighten.
You might not be able to do this with the faucet in the “off” position and may need to turn it to “on”. This is the main reason we closed the water valves before we started.
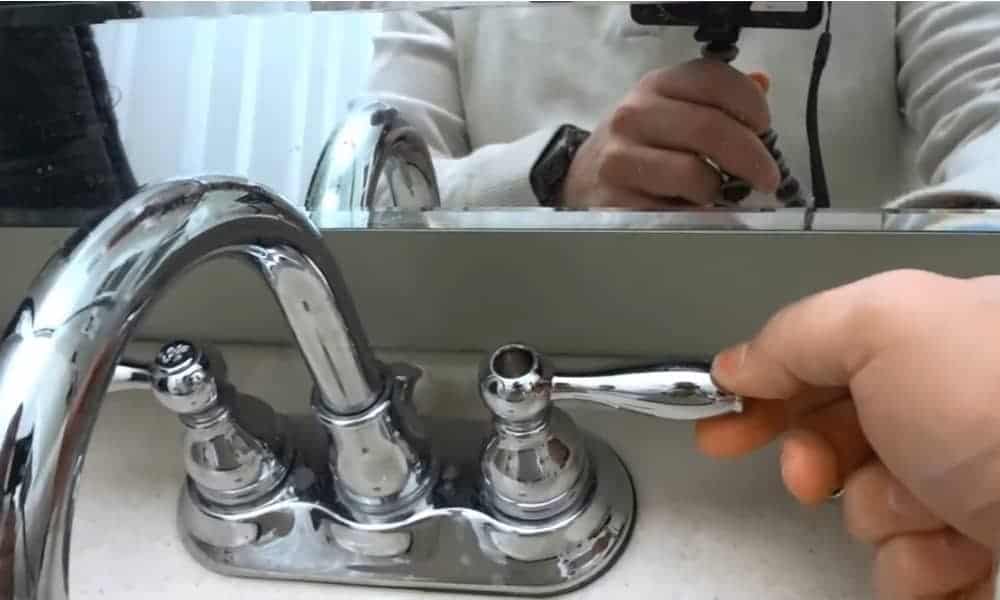
If the screw is located under a decorative cap, use the hex head wrench or Phillips head screwdriver as necessary to tighten the screw by turning it clockwise. You may need to hold the faucet handle as you do this.
-
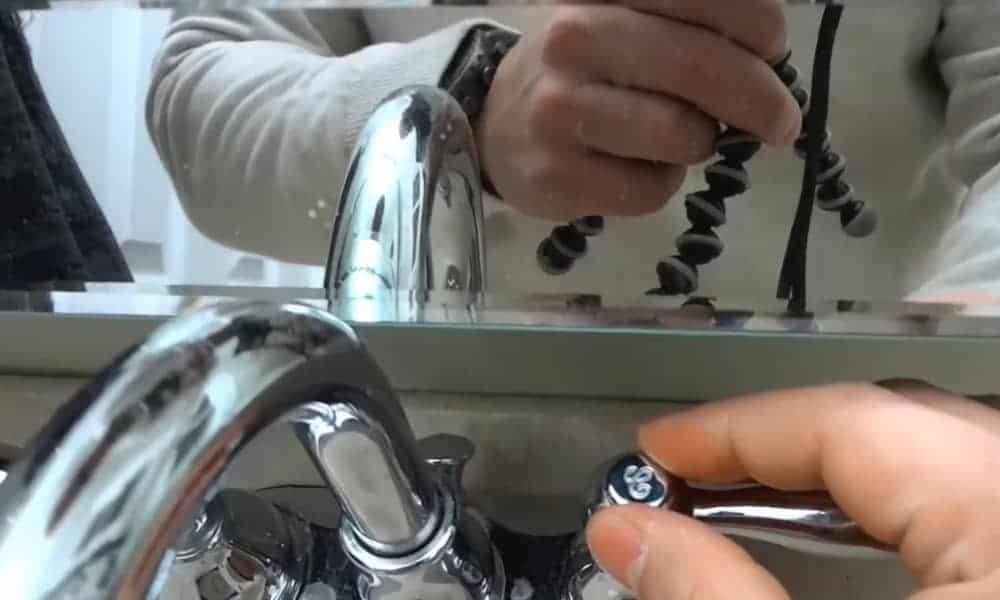
Check that the handle doesn’t move
Once everything is done, physically check the faucet handle to make sure it no longer moves. If it is now fixed firmly in place, you are ready to put everything back how it was.
-
Replace the decorative cap and turn on the water
Once the handle is securely fastened, pop the decorative cap back in place if necessary, open the valves under the sink – and the job is complete.
An easy job anyone can do
As you can see, tightening a kitchen faucet is an easy job just about anyone can do. As long as you have a few basic tools and a minimum of DIY sense, you can save money by following our guide and taking care of the problem yourself. You’re welcome!