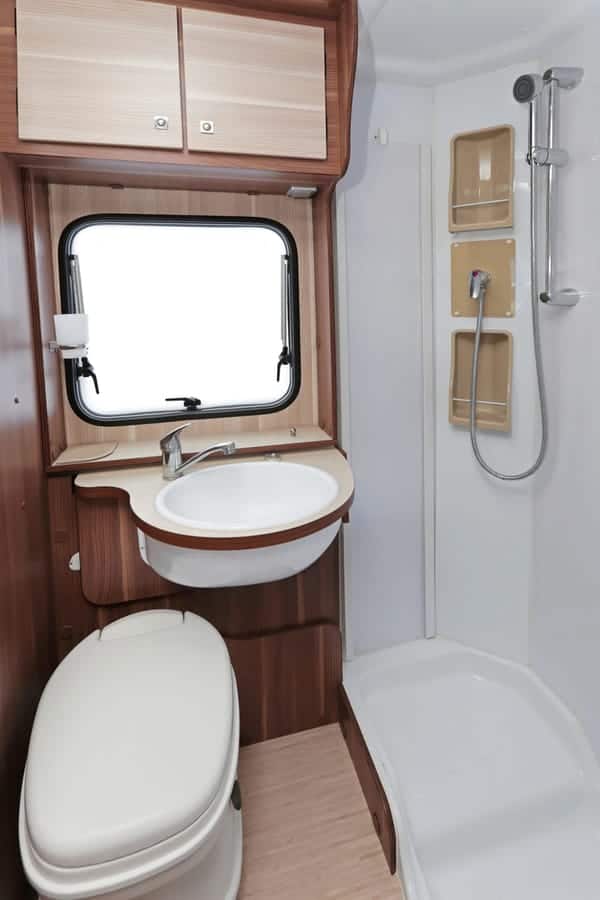
To their owners, RVs are as good as any home. As long as people live in RVs, their poop will need to be disposed of in the healthiest way possible. This is where RV toilets come in. However, damage or age might necessitate the removal and replacement of the RV toilet. This piece will provide a step-by-step guide to remove your RV toilet in case the need arises.
If you’re not all that familiar with RV toilets already, we included an introduction to bring you up to speed. If you are, the introduction is an opportunity to learn a few new things. With that said, let’s start from the beginning.
How to Remove an RV Toilet
Finally, here we are. Removing an RV toilet can prove to be a challenge for most people, but it really isn’t rocket science, although you should be careful not to tamper with the breakable parts.
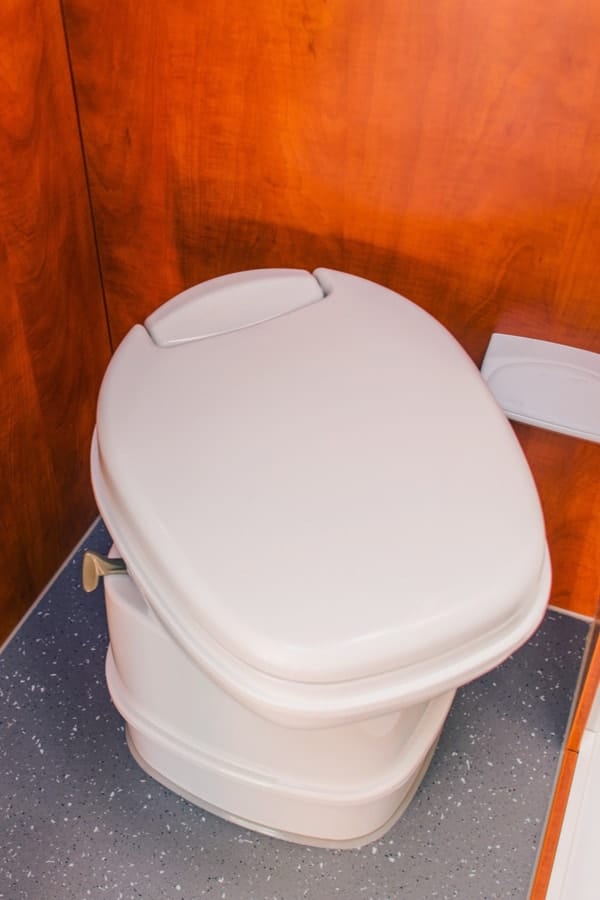
You should understand RV toilets are entirely mobile, and they are installed with screws and nuts. Follow these steps to carefully and successfully remove your RV toilet:
Step 1: Empty the Waste Tank
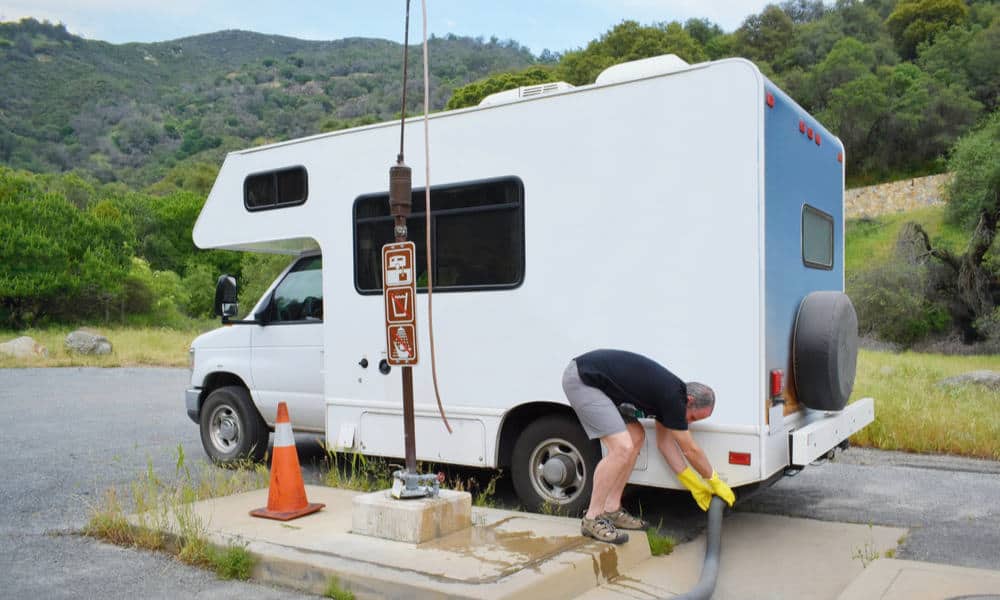
First, ensure your RV is parked on a flat surface. It is advisable that you wedge the wheels as you won’t want to risk the vehicle moving while you’re busy.
Empty the waste tank and clean it thoroughly with clean water. While you’re at it, exercise some caution, so the waste in your holding tank doesn’t spill onto the floor of your RV.
Step 2: Prepare the Toilet
Make sure the power to the water pump is cut off, so running water doesn’t interfere with the toilet removal and cause a mess.
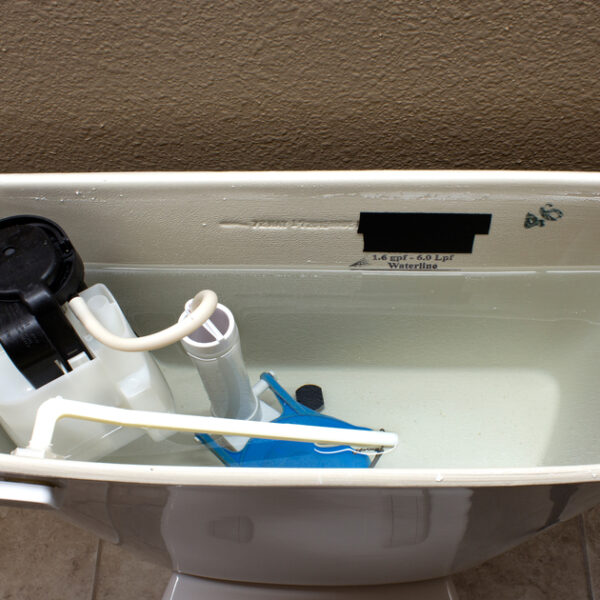
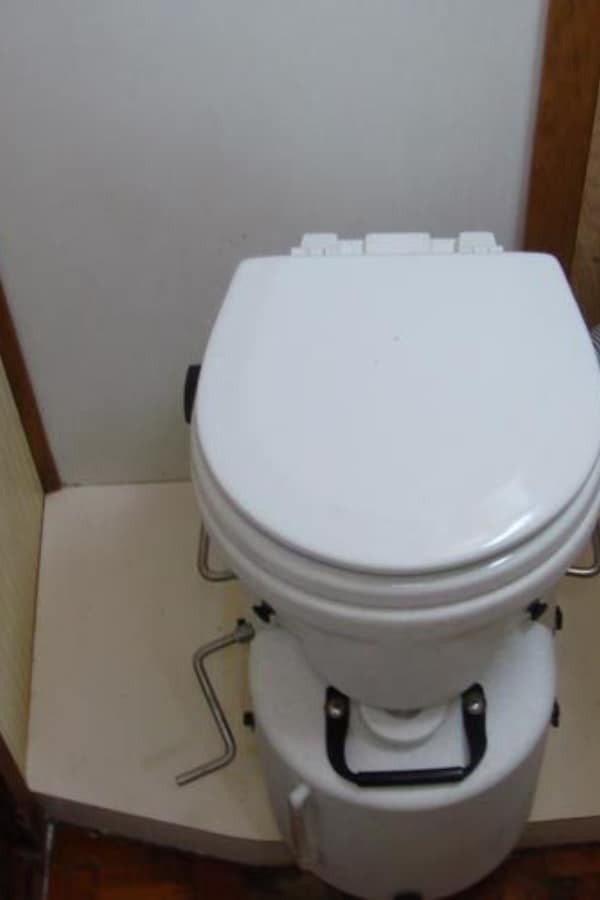
At the base of the RV toilet, you’re likely to see a plastic lid that covers the bolts that hold the toilet in place. Lift the cover as you’d need to unscrew the bolts. Keep a towel around the toilet in case of water spillage.
Step 3: Unscrew the Bolts
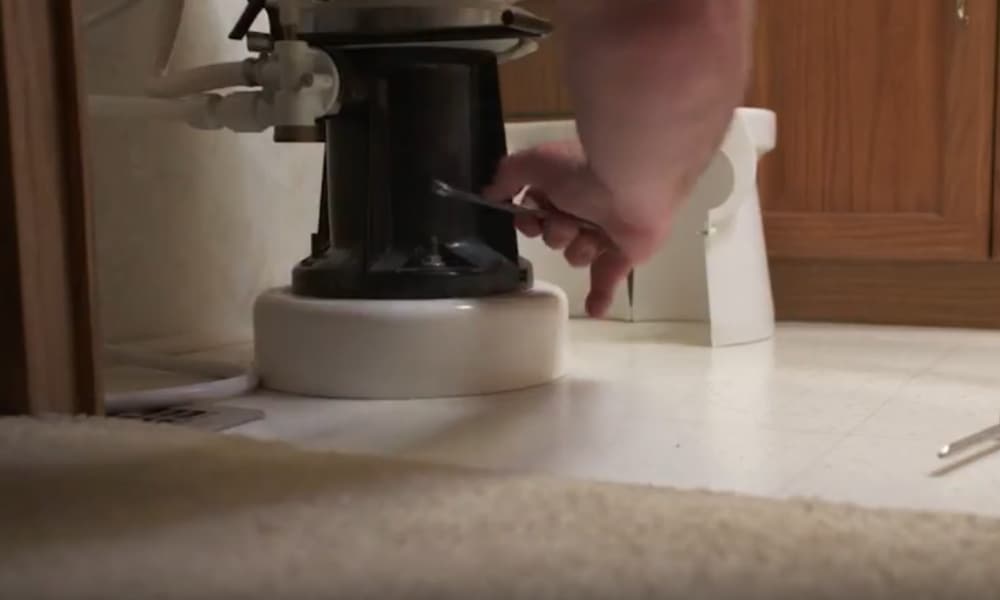
Proceed to unscrew the nuts from the bolts. You should also know that the bolts extend down to the toilet base.
If you find the bolts rusted, you can oil them with a lubricant and wait for some minutes before loosening them. They should give way easily after you oil them.
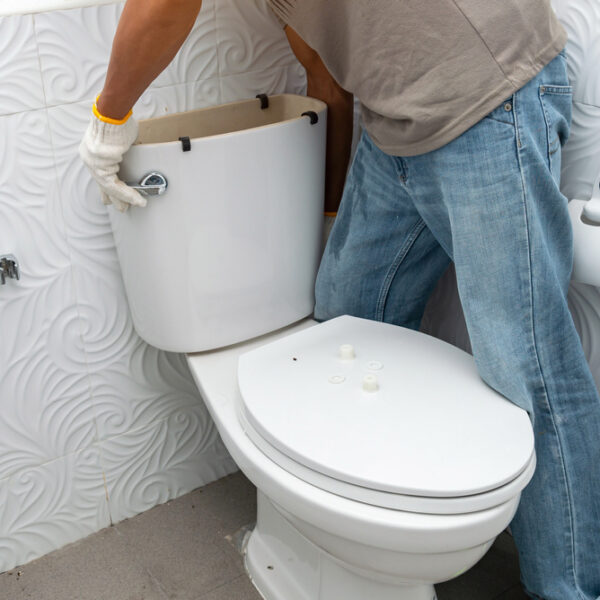
Step 4: Remove the Toilet
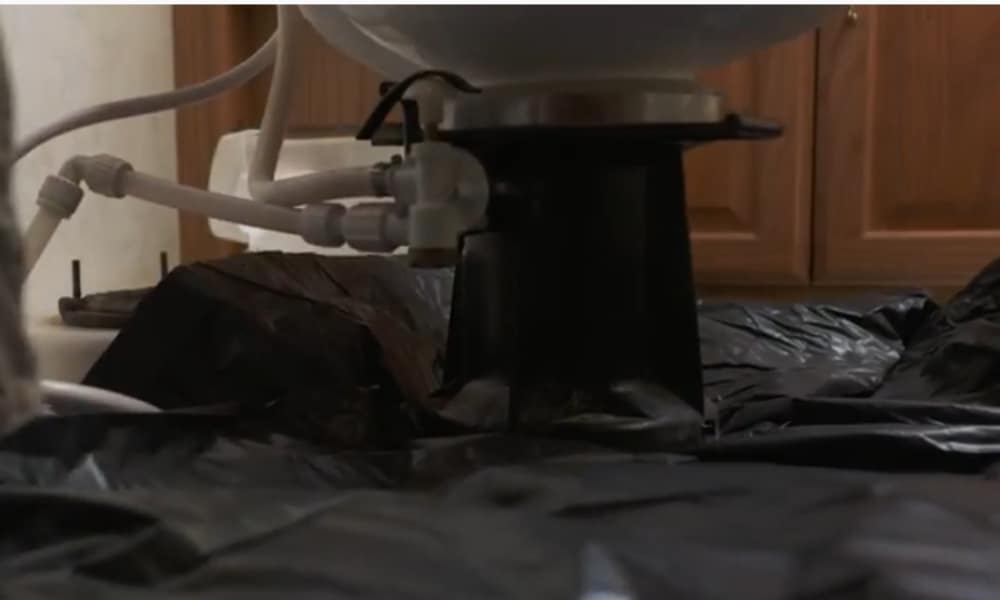
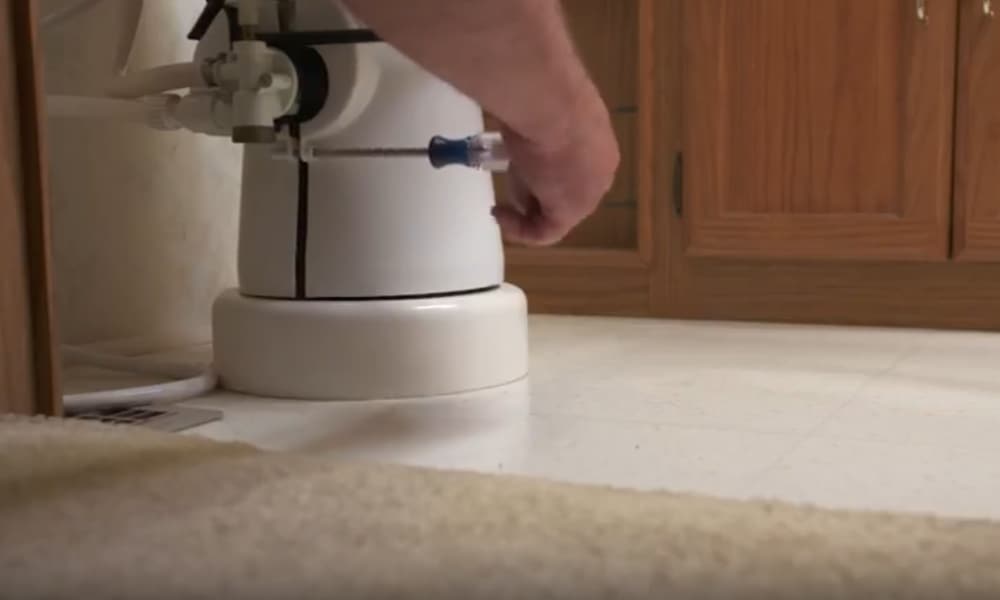
Go behind the toilet to dislodge the water hose that connects the toilet to the water source.
After this, you can lift the toilet, if it seems stuck, tilt it a little till it lifts freely from the ground. You can now dispose of it and install a new one. If you wish to install a new RV toilet, reverse these steps. If you got here successfully, then you are a DIY natural.
If you intend to dispose of the toilet, then do it appropriately. Most people throw it in the scrap yard or any abandoned sight. You can hand it over to a local waste company as they have a special process to dispose of toilets and other waste items.
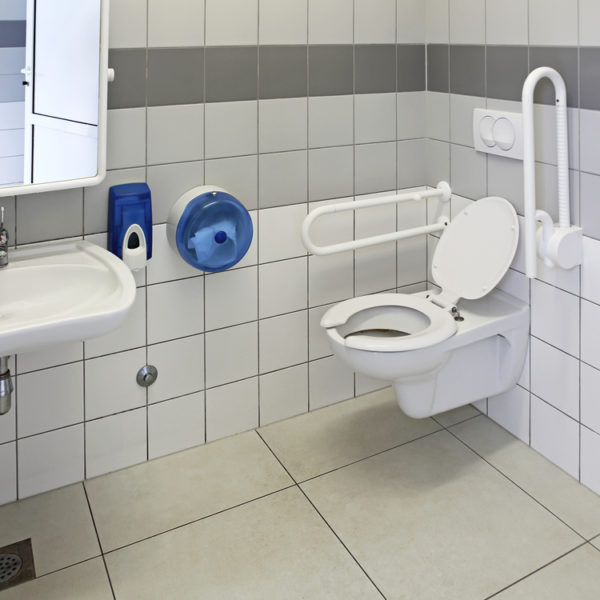
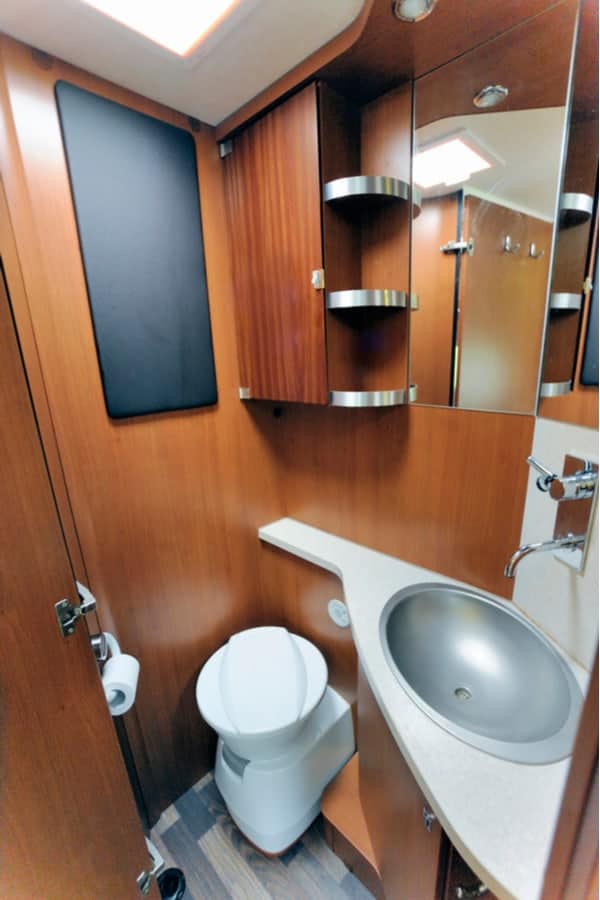
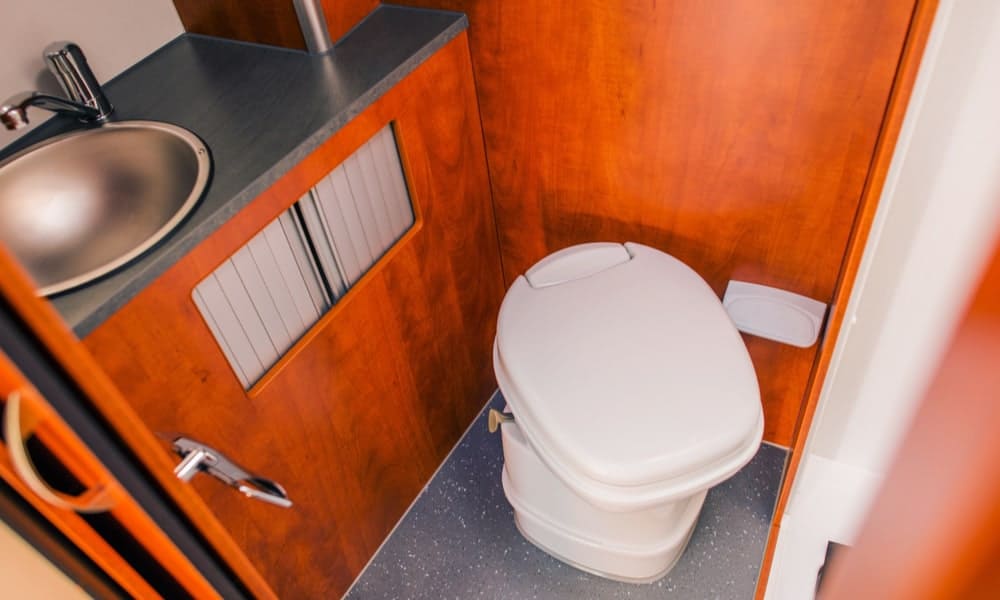
What is an RV toilet?
People still need to live comfortably, even while they are journeying or parked in an RV. If you’re a road warrior and you do a lot of traveling in your recreational vehicle (RV), then you should be familiar with RV toilets. RV toilets save you a ton of stress and are beneficial in many ways including:
Convenience
This is one of the paramount reasons most people prefer RV to roadside toilets. This will be of immense benefit if you travel a lot as you wouldn’t have to stop and use stationed toilets as this will disrupt your journey.
This is even more important for those traveling with kids; you won’t want to have to deal with your kids’ requests to poop.
Comfort and privacy
Public restrooms can pose a serious issue, especially if you’re someone who prefers solitude.
You can spend as much time in your personal toilet without worrying that anyone would come knocking except you have kids, of course; they’ll knock on any door.
Versatility
One of the best features of RV toilets is that it can be installed in other places.
Most RV toilets are known for having large, comfortable seats, just like the one in your bathroom. This makes it quite multifunctional as it can be used in trailers, yachts, boats, and other vehicles.
Eco-friendly
If they are maintained well, RV toilets can be quite eco-friendly. Some of them even have composting features that transform your waste into fertilizer.
Types of RV toilets
RV toilets come in different types. Their mode of flushing or disposal is what generally differentiates them. Since this blog is focused on how to remove them, we’ll mention a few of them.
Traditional Gravity Toilet
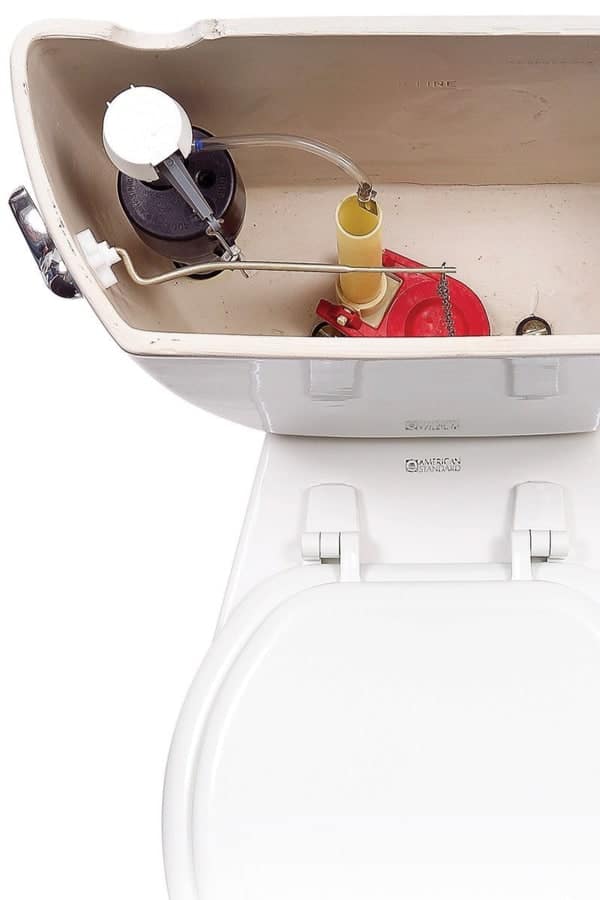
This toilet is similar to the one in your bathroom. However, it doesn’t come with a water holding tank; hence, you can only use it when it’s connected to a water source. The toilet is flushed with a foot pedal. Filling the tank is done with the aid of a lever.
Macerating Flush
The RV toilet has a built-in flush system that has motor-powered blades that grinds the waste before it is transported to the waste tank.
The waste becomes more fluid in the process as the blades would have thinned it into tiny particles. The waste tank is otherwise referred to as the black tank.
Composting Toilets
Composting toilets aren’t built to be used with water as they separate solid from liquid. They are especially useful when you have a limited water supply.
However, they shouldn’t be used by more than two people at a time as you will have to empty the tank frequently. Also, composting RVs have a built-in vent fan that blows the toilet sink when in use. This tends to lessen the waste’s stench.
Conclusion
Installing and removing an RV toilet can be done successfully on the first try. Simply follow our steps above, and you shouldn’t have any problems. If you encountered any issues or want to ask a question, feel free to do so in the comments section below.