Does it frustrate you when you turn off your kitchen faucet and notice water dripping off it like some hydro-hemorrhage? We find it annoying too.
The reason for installing a kitchen faucet in the first place is to decide when water should flow and when it should stop. So, when a treacherous kitchen faucet intends to flood your home, one drop at a time, you have to stop it.
Let’s delve in on 10 steps to fix a leaky kitchen faucet.
Tools and Supplies
You need the following tools and supplies to fix your leaky kitchen faucet:
- Adjustable wrench
- A pair of pliers
- Allen wrench
- Screwdriver
- A supply kits
- Vaseline or plumber’s grease
How to Fix a Leaky Kitchen Faucet?
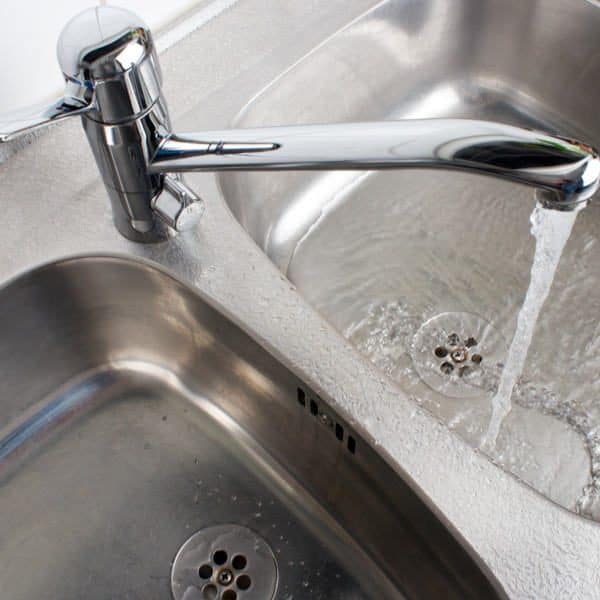
Step 1: Find out which Part of the Faucet is Leaking
After you have determined the type of kitchen faucet you are dealing with, the next step is to find out the exact part of the kitchen faucet that is leaking.
The repair process for a faucet leaking from its spout is different from the process of fixing a faucet leaking from its base.
Step 2: Switch the Cold and Hot Water Shut-Off Valves Off
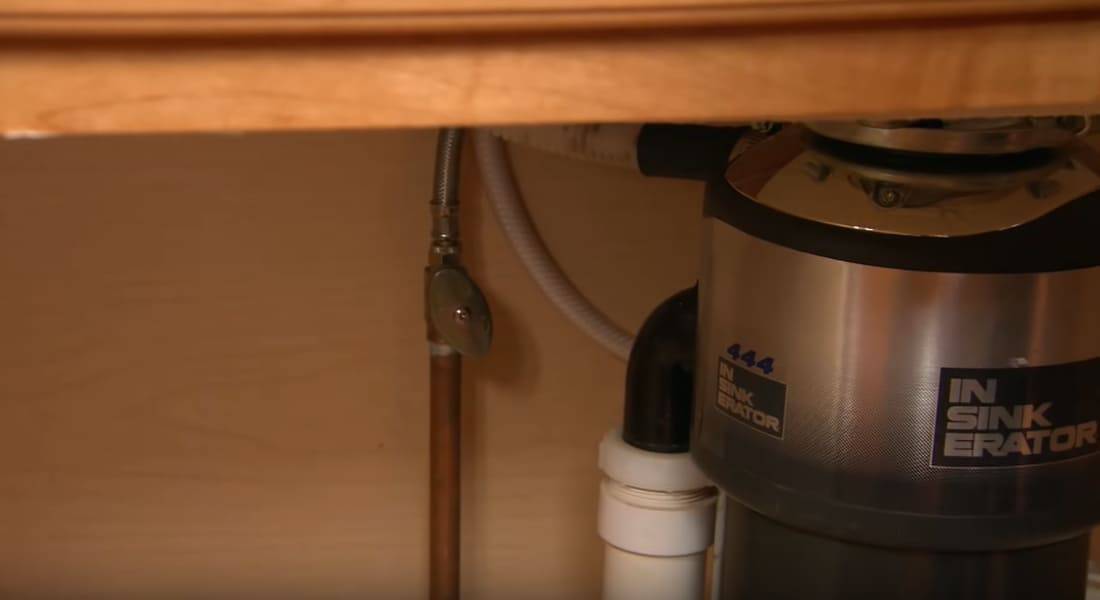
After you have determined where the leakage is coming from, cut off the water supply to the kitchen faucet by closing the shut-off valves located right inside the kitchen sink cabinet.
If there are no shut-off valves or you find the available ones are no longer functional, you should cut off water from the mains supply to your home.
Step 3: Relieve Water Pressure by Turning the Faucet Open
You should relieve the pressure built-up in the kitchen faucet by turning it open after you have cut off the water supply to it.
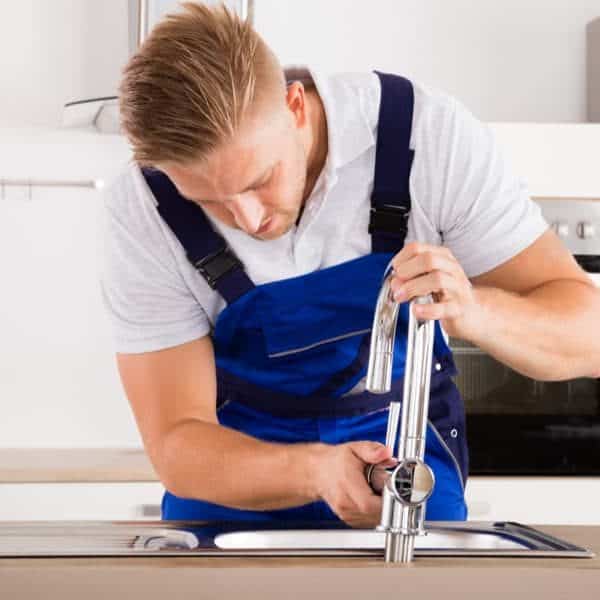
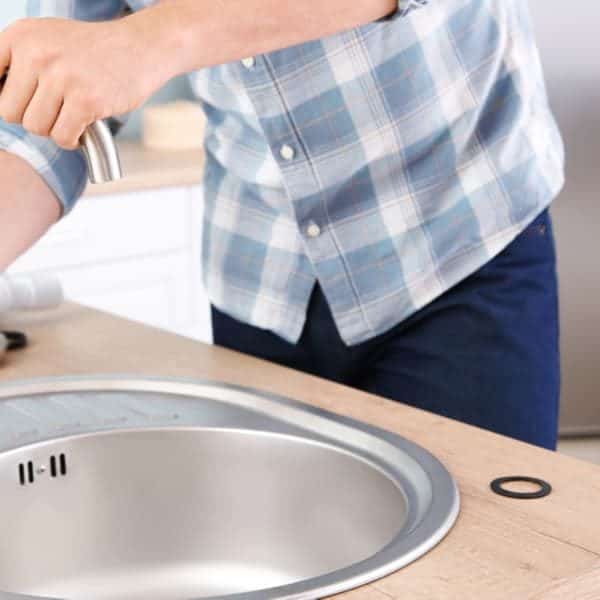
Step 4: Remove the Handle of the Faucet
Use an Allen key wrench or a screwdriver to unscrew the handle of the kitchen faucet.
Remember that the designs of the handle will vary from one manufacturer to the other.
The appropriate tool to use to remove them will be evident to you from the particular model you have in your kitchen.
We advise that you plug the drain openings in the sink basin as a precautionary measure to avoid such tiny pieces as screws falling into the drain.
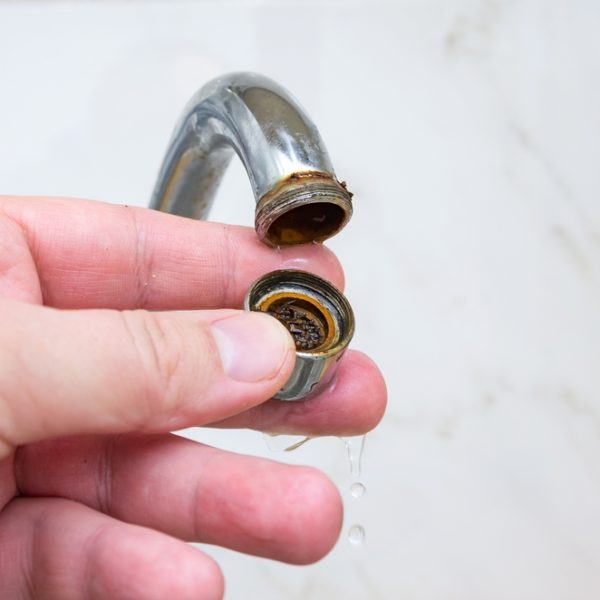
Step 5: Remove the Cartridge
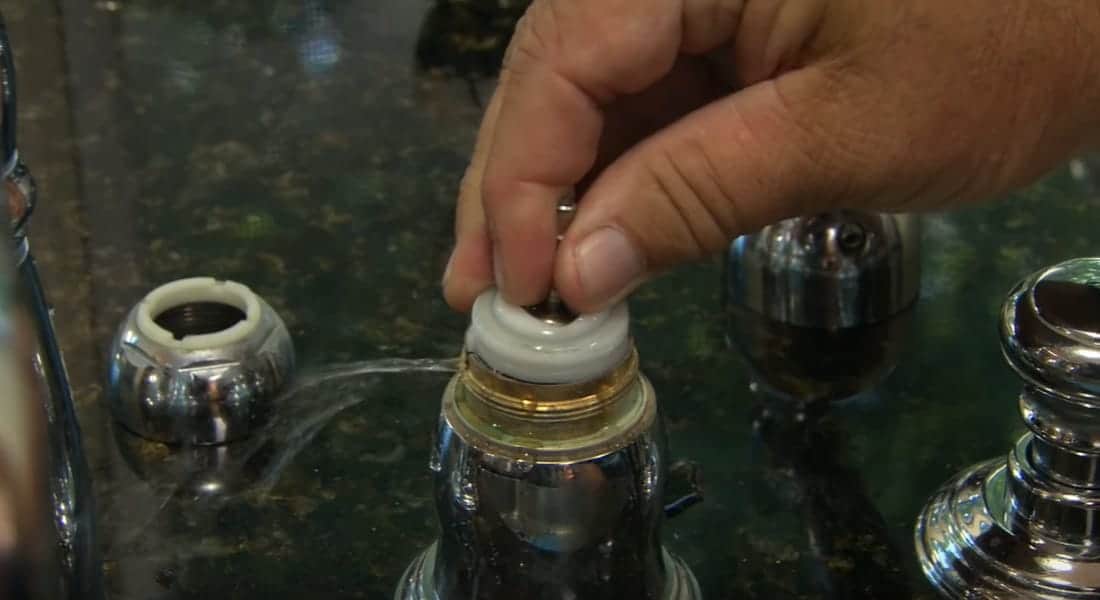
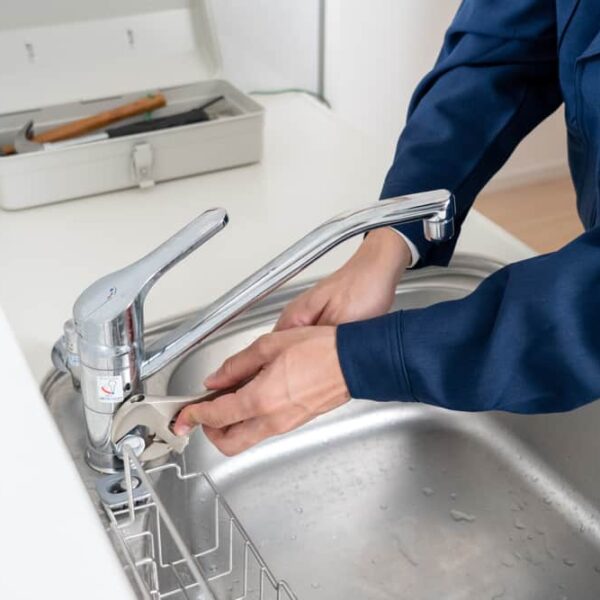
Use a wrench or a pair of pliers to unscrew the cartridge off the kitchen faucet.
Most leakage issues with kitchen faucets occur as a result of the failure of one of the cartridge components.
These components include the O-ring and the washers. Depending on the nature of the leakage, you may only need to change either the sealing washer or the O-ring.
In some other extreme cases, you may have to change the cartridge as a whole, especially when it is already old.
Step 6: Take the Cartridge to your Supply Store
To ensure you buy the matching supplies, we advise that you take the cartridge along with you while shopping for replacement parts.
Taking it along will save you the stress of making subsequent trips to the hardware store for the same reason.
If the cartridge is worn out and you need to change it entirely, you should first check with the manufacturer as some of them carry a lifetime warranty.
Step 7: Fix the New Replacement Parts in their Proper Places
As a novice, you may need to take note of where exactly you took out each piece. You may need to use a video camera to record so that it will guide you when you work in reverse to put install the new parts on the cartridge.
If you need to change the O-ring, you may need to cut it out with a knife as they are usually hard to remove. Use Vaseline of plumber’s grease to coat the new O-ring to facilitate its installation.
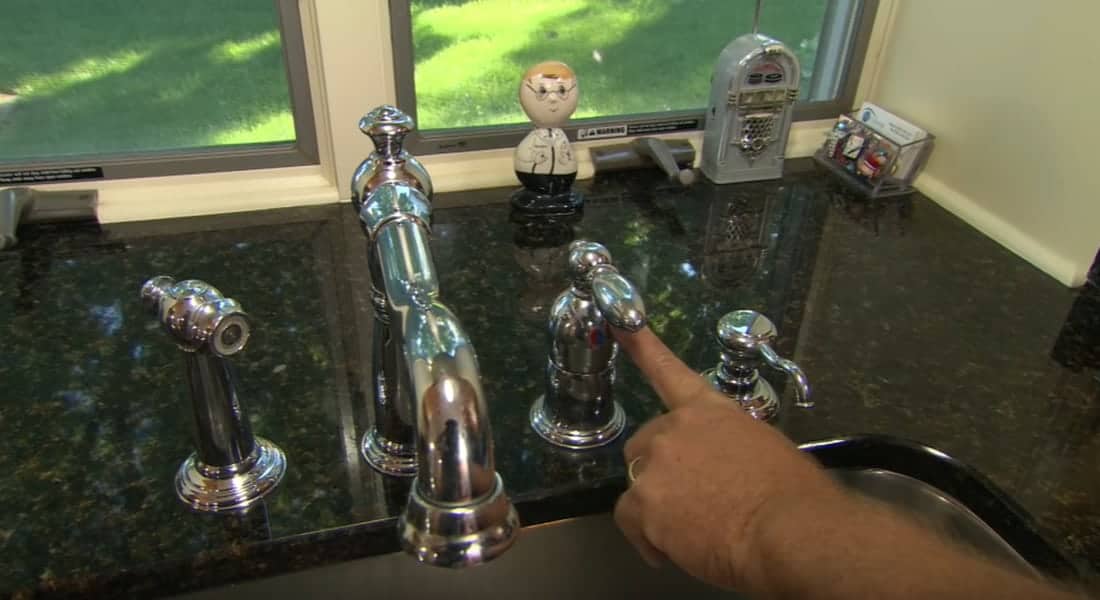
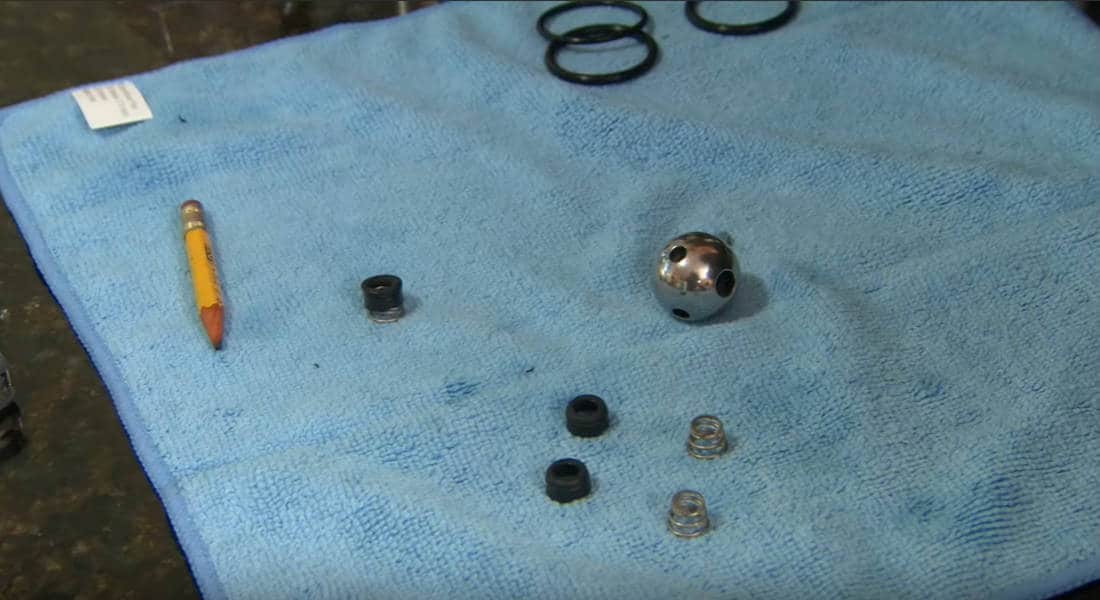
In the case of a ball faucet, ensure that you set the seal of the ball correctly with small springs underneath to achieve a perfect sealing effect.
With a ball faucet, it is usually the seals that require replacement when they wear out and cannot seal the water supply properly.
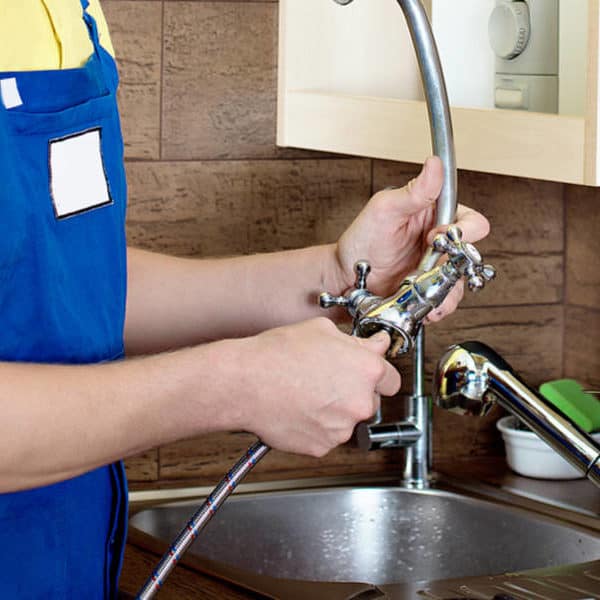
Step 8: Put back the Cartridge into the Kitchen Faucet
Using a wrench or a pair of pliers, tighten the cartridge back into the kitchen faucet. Do this as gently as possible to ensure the pieces remain in their perfect positions.
Also, it is useful for aesthetic purposes that you apply only as much force as is reasonable to avoid scratching the faucets with the wrench or pliers.
The most effective way to watch against these scratches is to tighten down the cartridge as much as you can with your hand before you use the wrench of pliers for a tighter hold.
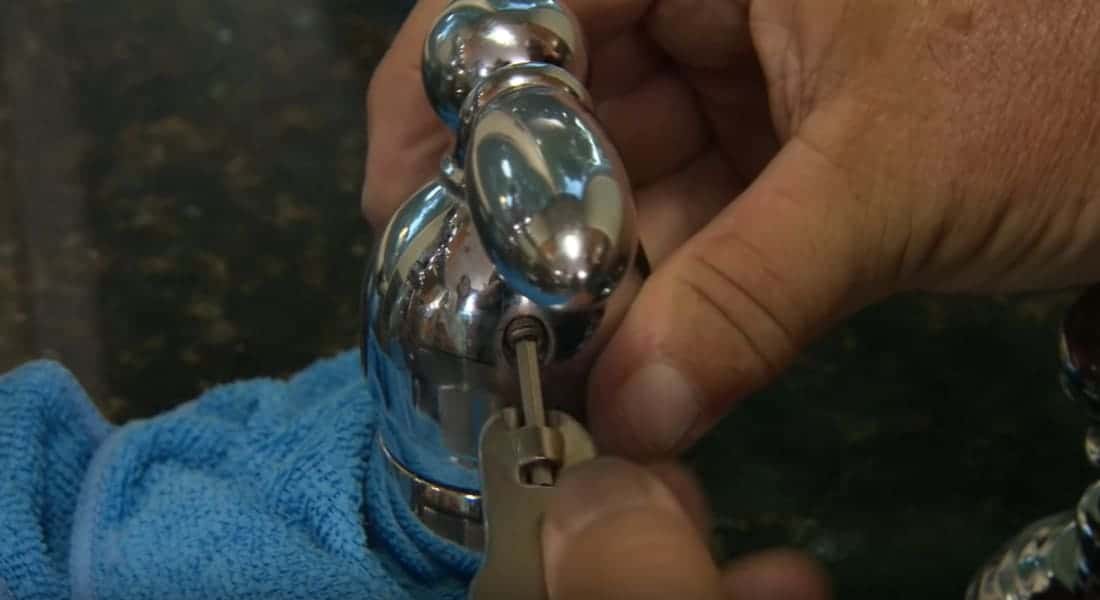
In the case of a ball faucet, there is a keyway on the ball which aligns it correctly on the hot and cold water seals. Ensure to follow the keyway when restoring the ball into the faucet.
Step 9: Test the Faucet for any Leakage
Turn on the water supply and check for any leakage in the assembled pieces before you restore the handle on the cartridge.
Give it a few minutes to ensure there is no leakage of water anywhere in the system. If you notice leakage, you may have to engage a professional plumber to help you fix the system properly
Step 10: Restore the Handle
The reason you should test for leakage before replacing the handle is to ensure you don’t remove the handle all over again if the system is still leaking.
Once you have confirmed the test is successful, you can secure the handle back on with an Allen wrench or a screwdriver.
Conclusion
A leaking kitchen faucet is frustrating. It keeps your kitchen plumbing unnecessarily busy. Depending on the nature of leakage, it may even deprive you of hot water supply when the system cannot seal the pathways appropriately.
We have presented to you here the essential guide to understanding the type of kitchen faucet you have. This knowledge will guide you to know how to go about the fixing procedures.
We would like to know how this guide has helped you. Feel free to send us your questions, and don’t forget to share it with your friends, as well.