We all want our plumbing systems to work perfectly without any glitches or problems, but unfortunately, with any system that contains so many different parts, at some point, something inevitably goes wrong.
One common issue is to have a toilet that starts whistling when you flush it – and if this is a problem you’re experiencing, in this post we discuss the possible causes and solutions as we answer the question, why is my toilet whistling?
Why not just ignore Toilet Whistling Sound?
Before we look at some of the possible reasons for toilets to whistle when you flush them, there’s another question we need to address – if your toilet whistles, it might be an annoying sound, but if you can put up with the sound, is it ok just to ignore it?
The answer to this is that a whistling toilet might not be the most urgent plumbing problem you can face, but it’s still something you should deal with as soon as possible.
Quite apart from the irritating whistling sound, if your toilet starts making unusual noises, it’s a clear sign of a problem, warning you that something somewhere is wrong.
As we shall see in just a moment, the most common reason for a whistling toilet has to do with the toilet fill valve. If you don’t deal with the problem, it’s only going to gradually get worse – and it certainly won’t just disappear by itself.
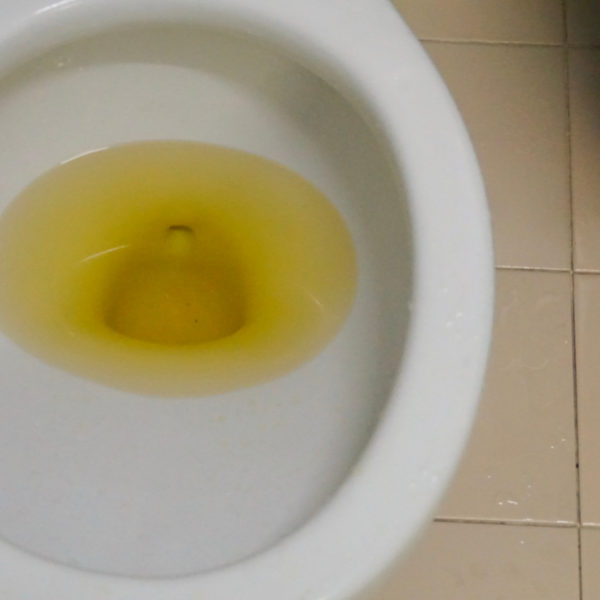
Eventually, a problem with the fill valve can lead to problems with the water level, and you may end with water flowing down the overflow and into your toilet bowl, which will bump up your water bills.
At the same time, taking action early usually means the problem is easier to fix – as the well-known expression tells us, a stitch in time saves nine.
So in short, although you can probably safely ignore that irritating sound for a while, we recommend fixing it at the earliest possible opportunity – especially since it’s usually quick, easy and inexpensive to do. So now let’s have a look at how to do it.
Identify the Toilet Whistling problem and fix it
As with all plumbing jobs, the best way to tackle this problem is to work through all the possible causes of the issue to eliminate them one by one and isolate the source of the whistling. Here are the steps to follow.
1. Check the water supply valve
Although it’s less likely to be the cause of the whistling, the first thing you should check is the water supply valve outside the toilet.
It’s usually found at the back of the toilet next to the wall, and it can sometimes get knocked accidentally, causing it to partially close. If you have kids, they can sometimes also play with fixtures like this, and it could be that one of them has closed the valve.
All you need to do is locate the valve and open it completely by turning it in a clockwise direction. If it wasn’t completely open, try flushing the toilet again – and you may find that the problem is already resolved.
2. Check the fill valve and clean it as necessary
Although it’s possible that the problem may just be with the water supply valve, a more likely culprit is the fill valve inside the toilet’s tank. This is the component that controls the flow of water into the tank after you empty it by flushing the toilet.
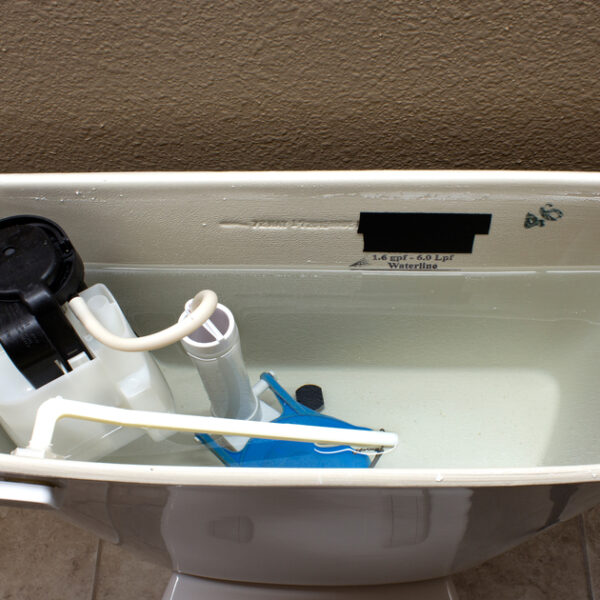
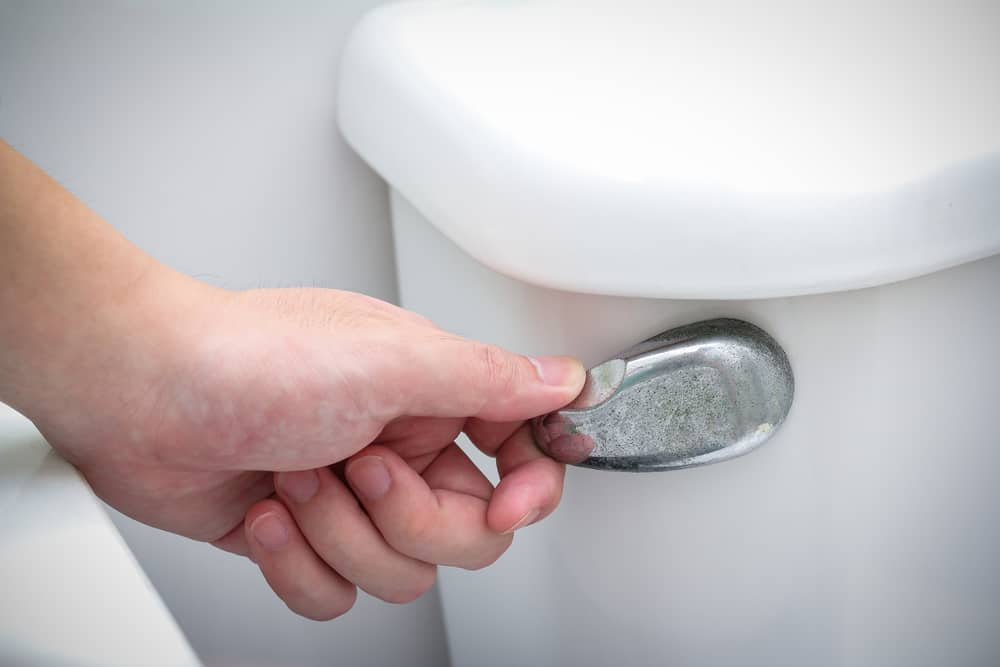
The first thing to do is lift the lid off the tank and then flush the toilet. Try to locate where the sound is coming from to see if it’s related to the fill valve – the fill valve is usually found at the back and to the left of the tank.
If the fill valve is what’s causing the whistling toilet, your first option is to clean it. Often, debris and mineral deposits like a calcium buildup from hard water can partially block the valve, causing the whistling sound.
Start by turning off the water at the supply valve and flush the toilet to empty the water from the tank. You can then remove any leftover water using an old towel or a sponge.
Lift off the valve cap and check if there’s anything inside. If anything is blocking the valve, just remove it by hand and wipe off any mineral deposits with an old cloth.
Try flushing again, and if there is no more whistling, you’ve resolved the problem.
To see how to do it, you can also check out this video for more information.
3. Replace the fill valve
If you can’t resolve the problem just by cleaning the fill valve, you might need to replace it entirely. However, if you’re moderately confident with DIY, it’s a very easy job to do, so you shouldn’t need to call in the pros.
A new fill valve can be picked up from any plumbing supplies store and shouldn’t cost more than around $10.
What you’ll need:
- New fill valve
- Wrench or pliers
- Bucket
Step 1. Remove water from the tank
Once you have the new part ready, turn the water off at the supply valve and then flush the toilet to remove the water from the tank. Some water will still be left at the bottom of the tank, but we’ll remove this in just a moment.
Step 2. Unscrew the supply line
Under the toilet, you will see where the supply line is connected to the fill valve.
Place a bucket under the connector, unscrew the old supply line and then use a wrench or pair of pliers to remove the nut that holds the bottom of the fill valve in place. Some water may run out into the bucket.
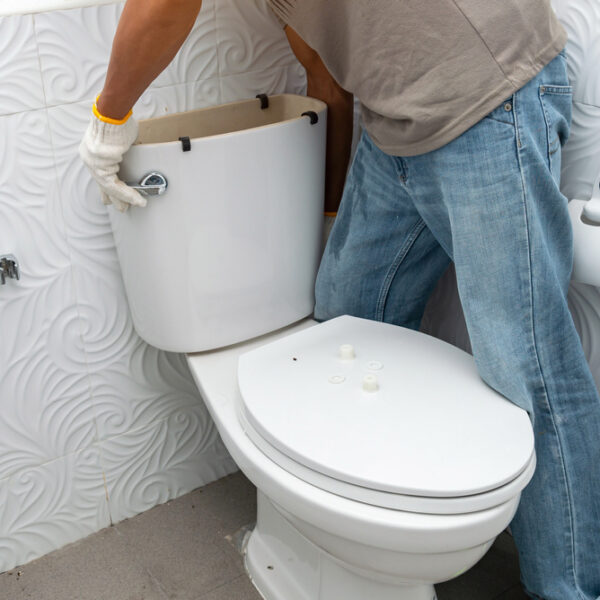
Step 3. Pull out the old fill valve
With the nut removed and the bucket still in place, you can then pull the fill valve out of the toilet. The remaining water will now flow out of the hole from the tank into your bucket.
Step 4. Fit the new fill valve and reconnect the water supply line
Take the new fill valve, push the bottom through the hole in the tank and fasten it in place with the lock nut using your pliers. After this, reconnect the supply line and put the fill tube in place.
Fill valves can vary, so you should follow the instructions on the packaging – but in most cases, you shouldn’t have any trouble.
Tip: When installing the new fill valve, make sure the float sits below the level of the overflow pipe – around one inch lower should be about right.
This is an important consideration since if the float is too high, it will cause water to constantly flow down the overflow pipe, wasting water and increasing your water bill.
Step 5. Turn the water back on and test
Once you are satisfied that everything is back in place and as it should be, turn the water supply back on, allow the tank to refill and then flush the toilet. If you have been successful, the toilet should now flush and refill with no further whistling sounds.
If you’re having trouble visualizing what you need to do, here’s a great video that shows you all the steps you need to follow to change a fill valve quickly and easily.
4. Old metal ballcocks
Problems with whistling toilets are more likely to be encountered when your fill valve is an old-style one that incorporates a metal ballcock valve because of the way metal vibrates.
These consist of a hollow ball attached to a rod that acts as a float to control the flow of water into the tank.
Sometimes the problem can be down to a faulty gasket, which you can replace rather than replacing the whole thing.
However, if you have one of these models and it starts whistling, it’s still a good idea to replace it with a more modern new valve made of plastic rather than trying to fix it.
As we’ve seen, buying a new fill valve is not expensive. Modern versions are also more efficient and are less likely to start whistling, so when you hear your old metal ballcock starting to go wrong, it’s a good opportunity to upgrade it to something better.
At the same time, you can also check the state of your toilet flapper seal and replace the faulty flapper if required. Then, having replaced these two inexpensive components, you probably won’t have to deal with any new problems related to your toilet tank for many years to come.
An annoying problem – but usually an easy, inexpensive fix
So as we’ve seen, if your toilet starts to whistle when you flush it, the best idea is to repair it right away. It’s probably not a huge issue, so it won’t be difficult or expensive to fix.
That means you’ll be able to fix the problem yourself without having to call out a professional plumber – and without having to spend lots of money on expensive new parts.