When you have a toilet tank with a huge defect or simply old and worn-out, you should consider getting a new one. Luckily, most home improvement stores sell the tanks separately, so there’s no need to purchase a whole toilet.
You might want to ask yourself how do I replace a toilet tank in my bathroom after purchasing a new one. Well, you don’t have to worry as you can install it without the help of a plumber.
So, do you want to change the tank above your bidet toilet seat? Are you interested in swapping the cracked tank on your compact toilet for small spaces? If yes, use this guide to know how to replace a toilet tank in your bathroom.
How to Replace the Tank on Your Toilet
Step 1: Disconnect the Toilet from the Water Supply
Check the wall for a metal valve that connects to the toilet tank. Rotate the handle with anticlockwise movements to stop water from flowing into the cistern. After cutting off the water supply, you can work on the unit.
Step 2: Drain the Water from the Toilet Tank
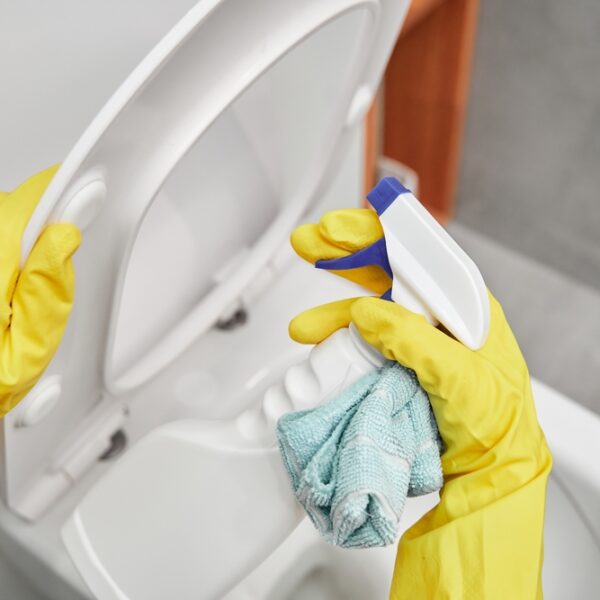
Set a towel on the floor and place the lid of the tank on it. Push down the toilet handle to flush out the water in the tank. Remember to hold down the lever until you have an empty cistern.
Do you notice any water spills in the tank? Mop them with a rag or sponge to avoid potential drips on your bathroom floor. If the tank refills, especially after releasing the toilet handle, you should tighten the water valve.
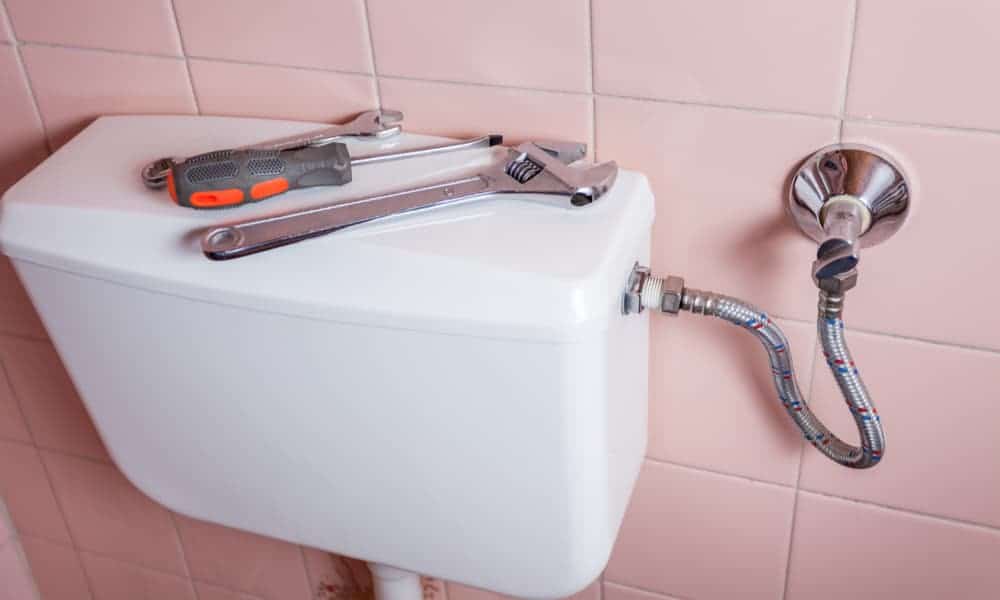
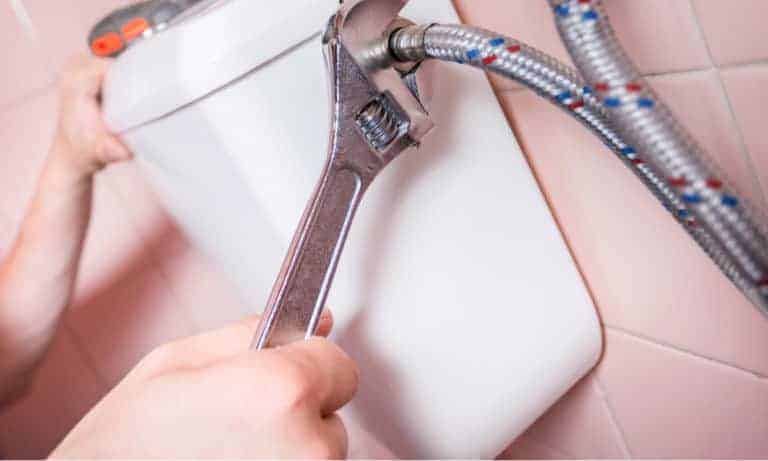
Step 3: Disconnect the Supply Hose on the Toilet Tank
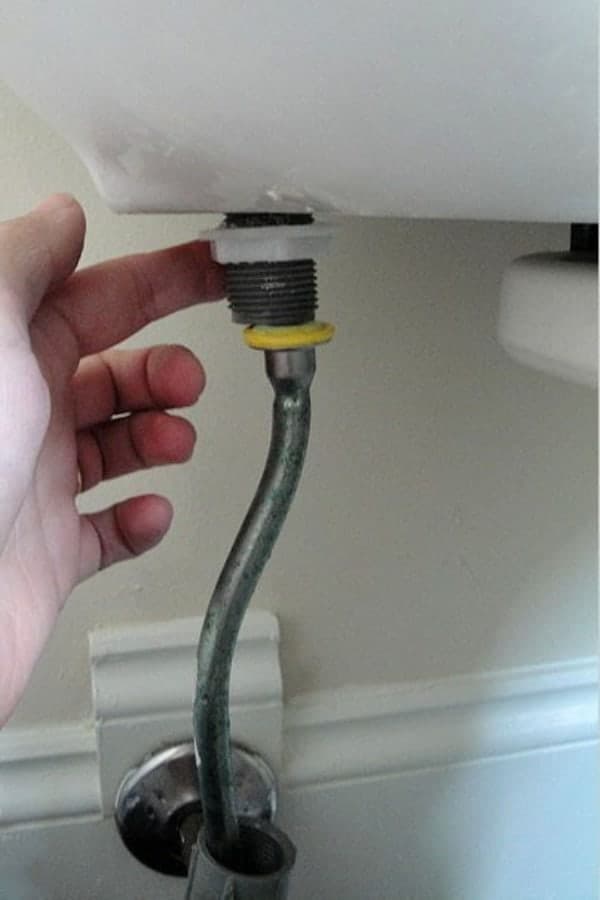
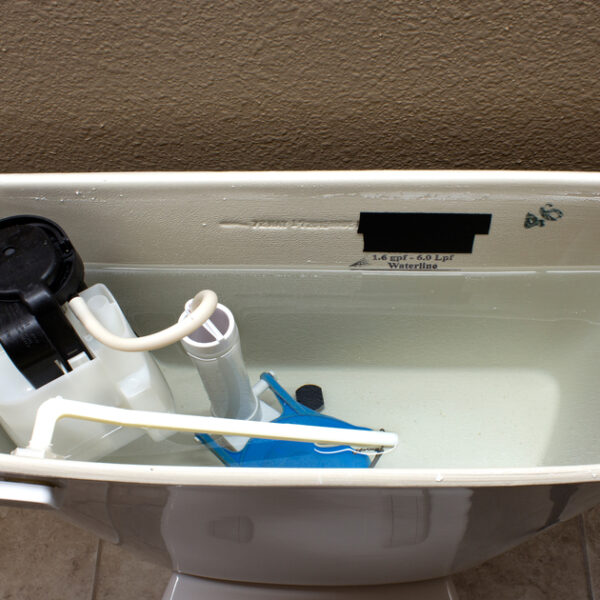
Look for a plastic or metal tube that connects the tank to the water valve. Then, loosen the end of the pipe that stays on the container.
You can perform this task with your hands. But if you can’t grip the item correctly, use a wrench or pair of pliers. At this stage, place a container under the bowl to collect any spills from the loose hose.
Step 4: Extract the Bolts on the Toilet Tank
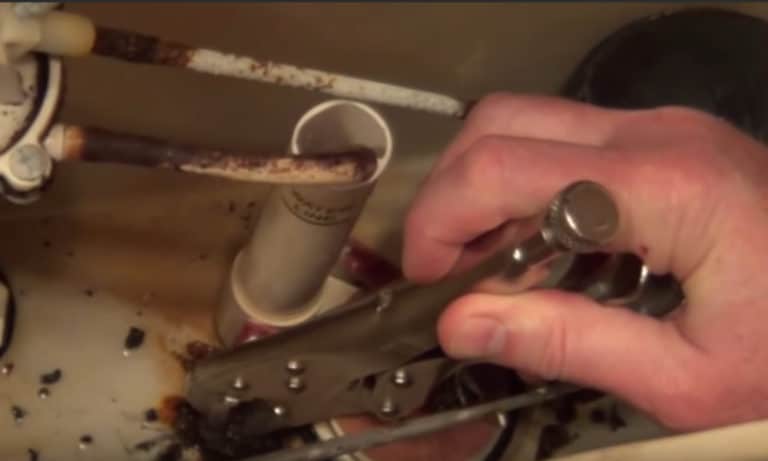
Go for the outer bolts at the bottom of the cistern. Next, take a pair of locking pliers and hold the nuts firmly. With a screwdriver in your other hand, reach inside the tank and unscrew the bolt heads.
As you turn the bolts, the nuts should become free. Since you have loose nuts, remove them from the inner part of the tank. Repeat this action on the other bolts of the cistern.
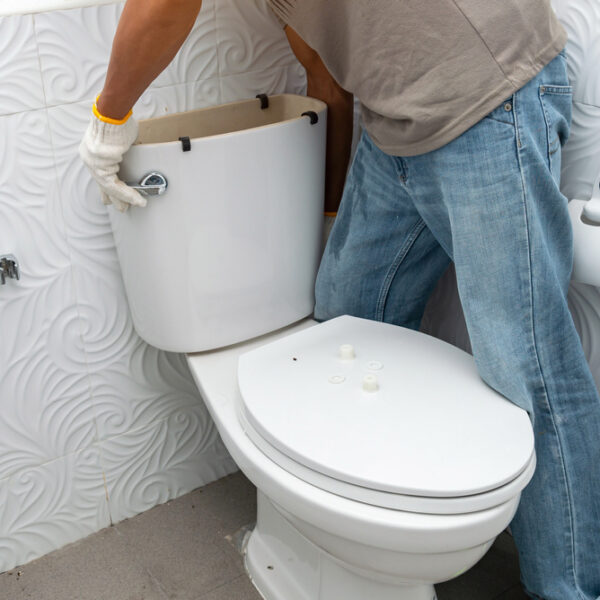
Step 5: Detach the Tank from the Toilet Bowl
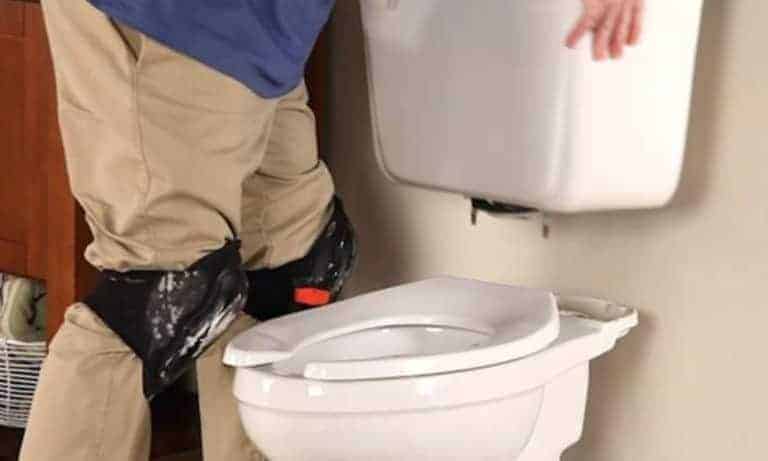
Hold both ends of the bottom of the toilet tank. Gently raise the item to avoid any cracks or loose valves from entering the tank. Finally, place it on a towel that you put on the bathroom floor.
Since you don’t have any plans to know how to replace a toilet tank lever, dump the detached tank and its accessories. For proper disposal, consult the waste management company to recommend the best options.
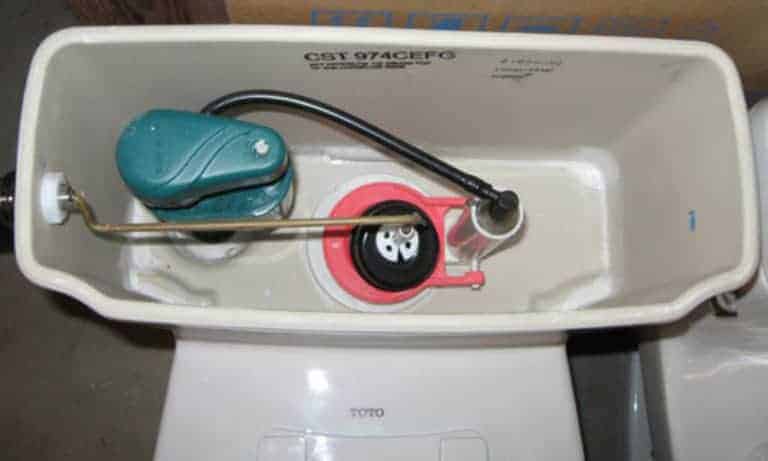
Step 6: Purchase a Tank that Fits the Gasket on the Toilet Bowl
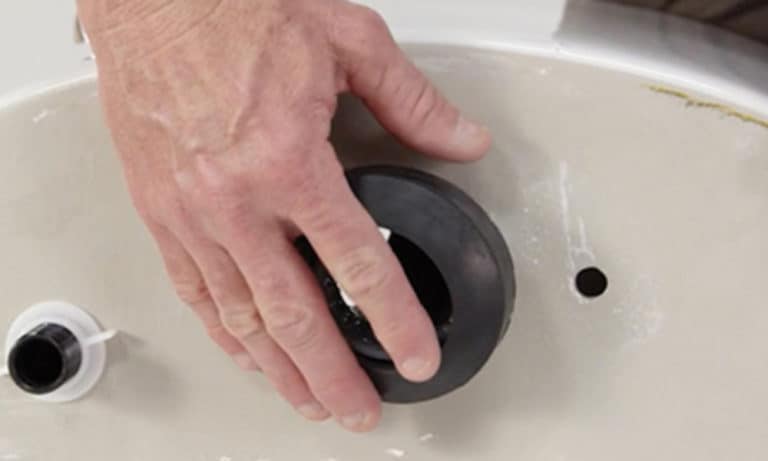
Find the hole (gasket) that transports water from the tank to the bowl. Next, measure the space with a tape rule and use the dimensions to get a tank with the same hole. It would be best if you also looked for a tank with a color that suits the bowl.
Since many stores stock universal tanks for any toilet, it shouldn’t take long before you find a unit that matches your bowl. If you can’t get this model, go for a regular cistern explicitly designed for your toilet.
Move the gasket to the lower part of the new toilet tank. If you can’t identify it, look for a rubber ring in the cistern. To reach the end of the tank, spread a towel and lay it on its side. Try pushing the gasket to the bottom until it creates a secured seal on the large hole.
Every new tank has a gasket that connects the bowl and tank. But if you can’t find this accessory in the package, head to a hardware or plumbing store to get a fresh one.
Step 7: Fix Rubber Washers on All the Bolts of the Tank
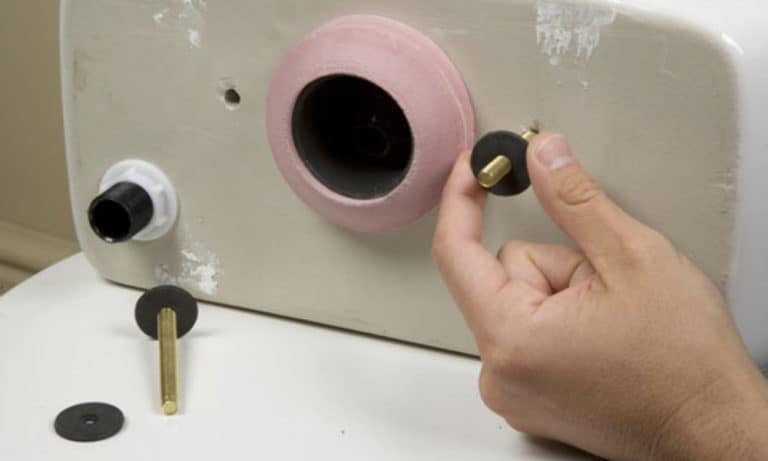
Check the new tank for a set of washers and bolts. When you find these fasteners, select the rubber washers, and slide onto every bolt. At the head of the bolt, press the washer tightly so that it creates a tight seal to prevent potential leaks.
If you don’t have a washer, you can use large rubber items that fit into holes at the bottom of your tank. Luckily, you can find these tools in the packaging. You can learn how to install the rubber pieces by consulting the owner’s manual.
Step 8: Put the New Tank on the Toilet
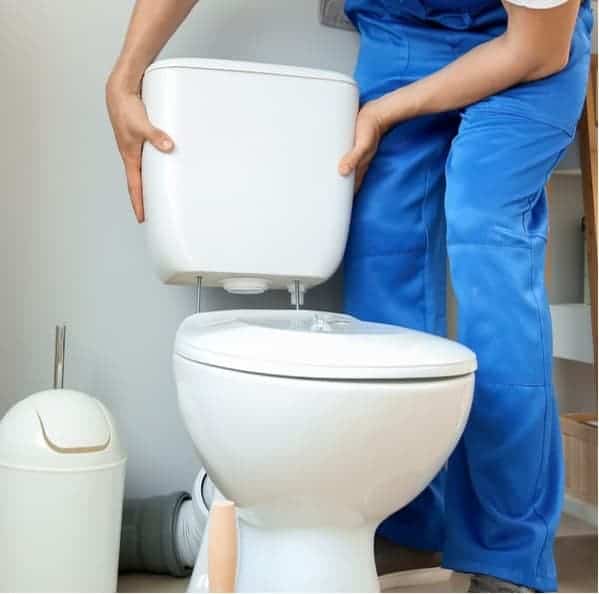
Gently raise the tank from sides and fix on the rear end of the toilet. Ensure the gasket on the tank rests on the big hole behind the bowl. You should also confirm if the bolt holes line up in a perfect position.
When learning how to replace a toilet tank, keep the cistern still. If you move it too much, you might make the ceramic surface to crack.
Place the bolts from the inner section of the cistern via the bottom holes. Carefully hold the tank with one hand and run the bolts through the spaces. Secure it with the rubber washers by pushing the bolts.
Confirm if you have rubber washers in the cistern. By taking this step, you will avoid potential leaks, mainly when it contains water.
However, some tanks come with an extra set of washers for securing the bolts. To use these items, you will have to place them on the screwed in bolts.
Step 9: Secure the Tank by Screwing the Nuts on Every Bolt
Avoid any cracks or scratches by guiding the rubber washer from the lower end of the tank. Next, place the rubber items on the screwed bolts. Tighten the nuts on the bolts with your hands.
For a perfect fit, grab a pair of pliers to screw in the nuts until they can’t move. You can also use a wrench for this stage. Try to confirm if the cistern seats perfectly on the bowl.
Do you have a tilted or leaning tank? Well, unscrew or loosen the nuts before adjusting the position. Then you can screw the fasteners back on.
Wrap Up
Knowing how to replace a toilet tank might look difficult. But with a few simple steps, you can swap that cracked cistern for a better one. Getting to know the easy steps on how to put a toilet tank back on, will save enough cash for other projects in your home.
- Start by turning off the water supply and then disconnecting the existing tank.
- Make sure you place it on a covered floor.
- Since you want a new tank rather than knowing how to replace a toilet tank flapper, you should one that fits your gasket. Also, go for one that has a matching color.
Even if this article does not show how to replace a toilet tank valve, it has answers to your “how do I replace a toilet tank” question.