Did you notice any stain and mineral buildup in your toilet tanks? Have you tried cleaning them off, but they proof stubborn to remove? Well, you don’t have to worry because we will show you how to clean your toilet tank without hassles.
After a long period of use, a toilet tank harbors all sorts of dirt and mineral buildup. This mess produces offensive smells and allows bacteria, mold, and mildew to strive. And if you don’t control this quickly, not only will it make the toilet look unpleasant, but it will also harm your health.
A thorough cleaning of your toilet tank is a great way to prevent this lousy smell and bacteria buildup. That’s why we have put together an easy way on how to clean your toilet tank properly
Easy Steps on How to Clean a Toilet Tank Naturally
Step 1: Drain the Tank Completely
Whether you’re using a comfort height toilet or an American standard toilet, you have to empty the tank first.
After this, shut off the water valve through the tap valve installed on the wall close to the toilet base. Then, take off the tank lid to see the level of the water and flush the toilet until it drains completely.
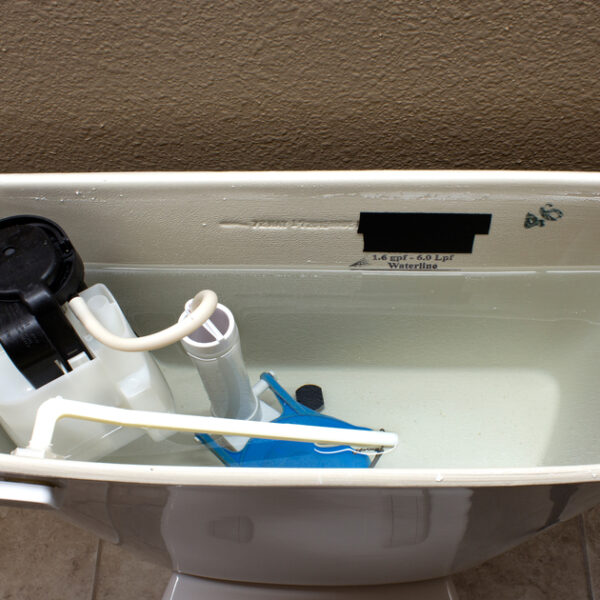
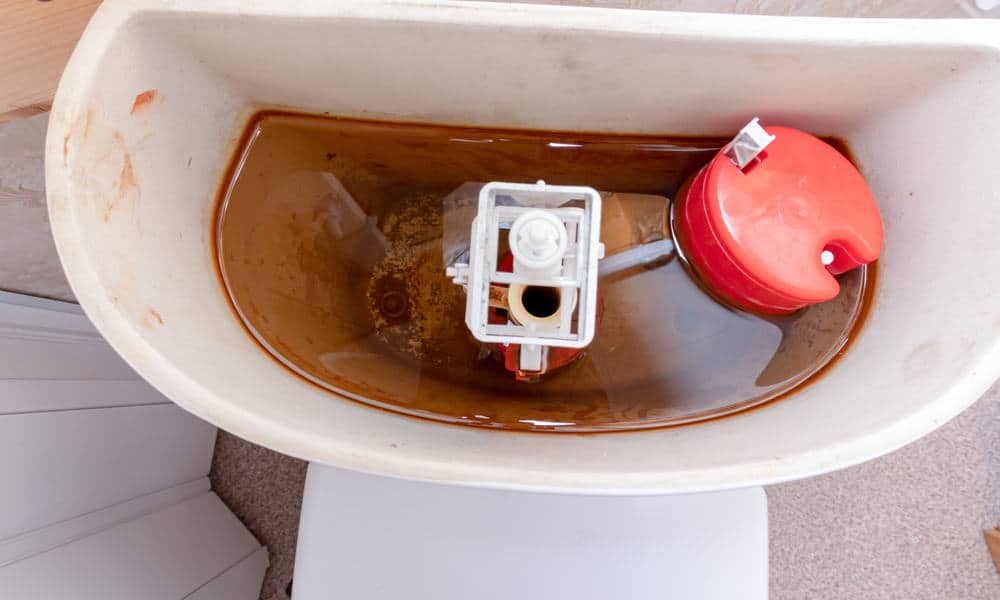
Step 2: Check Out the Tank Condition
If you could only see dirt and grime on the surface, that will be an easy cleaning job for you to carry out. For this reason, you can proceed to the next step.
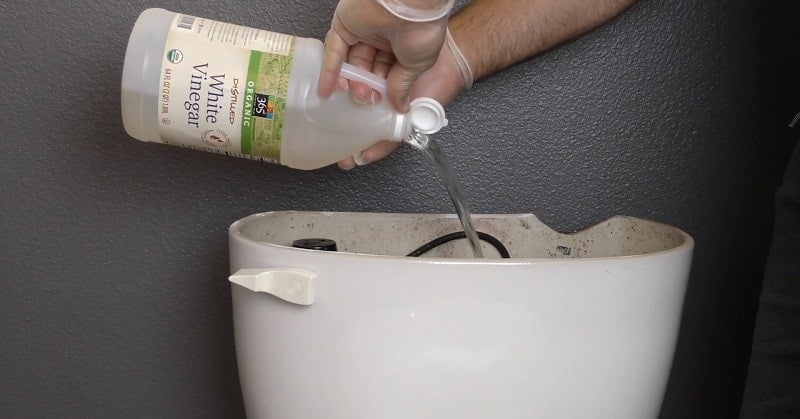
However, if you notice any form of mineral deposits or stains at the tank’s base that goes up to the wall, vinegar has to come in handy. This all-natural cleaner can clean up mineral deposits, stains, mildew, and molds effectively.
Now, let’s tell you how to clean toilet tank with vinegar. First, fill up the tank with about three gallons of vinegar, depending on the tank size. After pouring the vinegar, leave it in the tank for about 12 hours to help loosen the mineral deposit, molds, and mildew.
After waiting for the stated hours mentioned above, flush the vinegar completely. You might have to flush the tank two or more times to remove any residue of vinegar present in the tank. This process is also an easy guide on how to clean toilet tank mold with hassles.
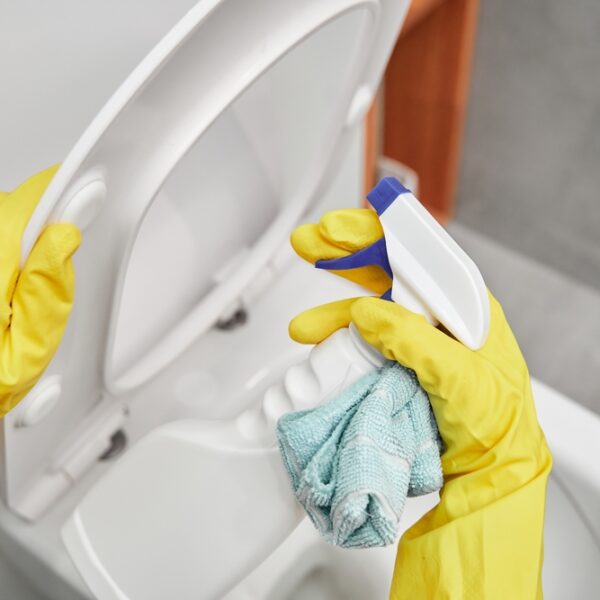
Step 3: Clean with Disinfectant

At this point, you’ll have to wear rubber gloves. The reason is that you’ll be spraying disinfectant cleaner into the tank interior and along its base and the walls as well. However, avoid spraying the cleaner on any metal parts of the tank to prevent them from any corrosive additives.
Check out the label to know how long you will leave it after spray. The reason is that most products require you to wait for about 10-15 minutes before cleaning up.
Step 4: Time for Proper Cleaning
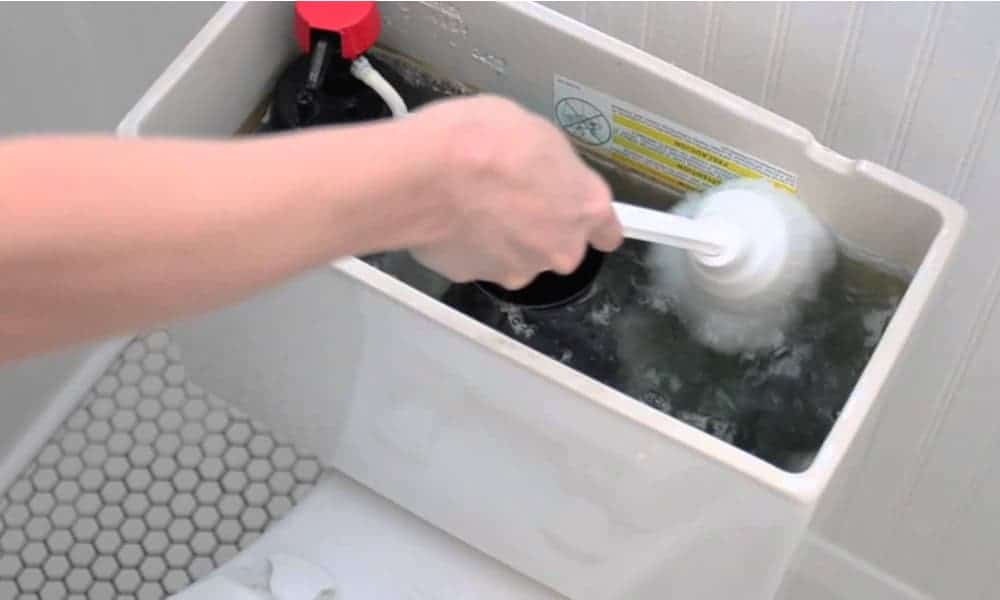
Get a scrub brush or a go-to-toilet brush to clean within the tank. But if you have used yours for other cleaning tasks, we suggest you get a new scrub brush (so that you don’t introduce any contaminants from the cleaning job into the tank). Go for a long, thin scrub brush with bristles and a shape that allow you to reach every corner of the interiors and the base of the tank.
After waiting for the required time, scrub every corner of the interior, fixtures, and base of the tank. Scrub thoroughly to remove all the grime as well as develop. You can apply an extra cleaner if necessary.
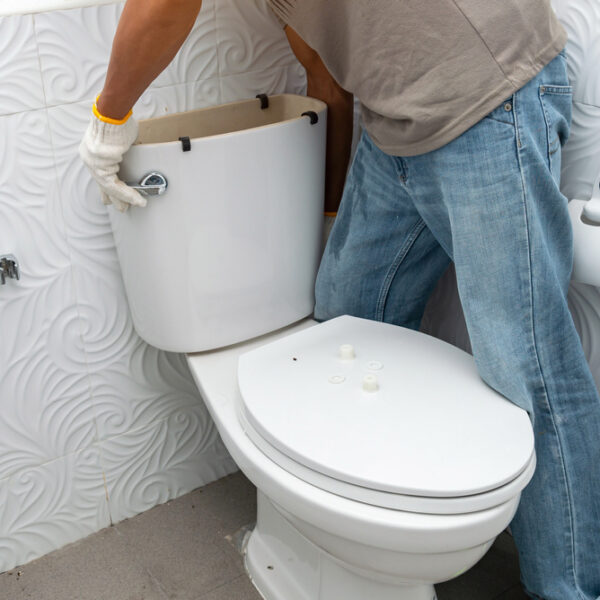
Now while the tank is still opened, check if there anything that needs repair. If your flushing toilet has not been working properly, now is the best time to change any faulty parts like the flapper. However, if the toilet is sound and good, you can proceed to phase.
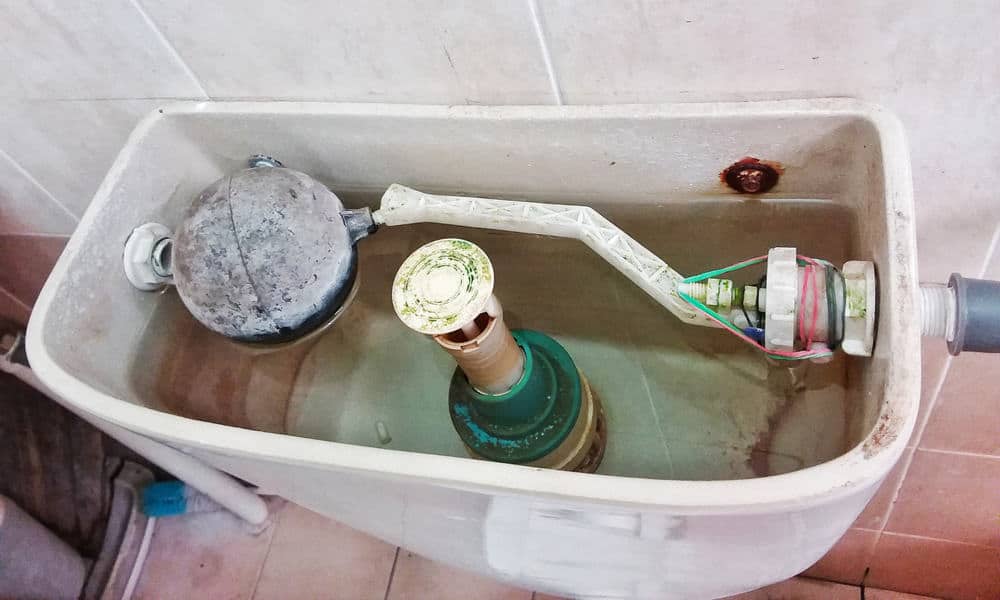
Step 5: Clean all the Metal Parts in the Tank
Instead of applying a cleaner that might be corrosive on the metal parts, weaken it first. Soak the sponge with clean, warm water and apply the weakened cleaner on it.
After that, use the sponge to clean the flapper, ball buoy, and other working toilet parts. Flush and soak the sponge into the water as required.
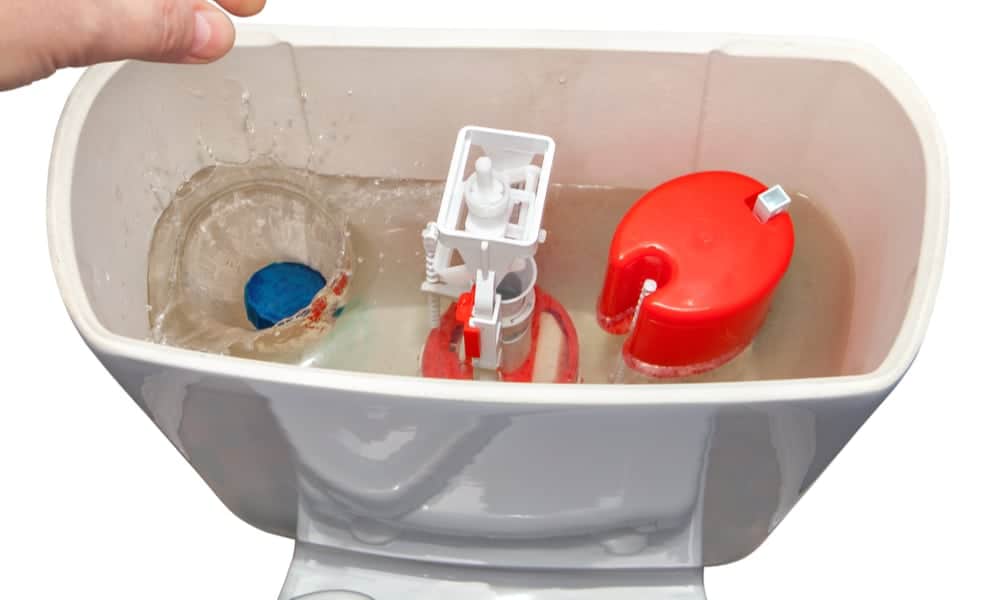
Step 6: Rinse the Tank

Turn the water back on to fill up the tank and flush the tank multiple times to remove the cleaner solution present inside. You might have to do this multiple to clean them properly.
Check if the toilet is looking spotless. If it is not, carry out step 1 once more and follow it down to step 6. When you’re okay with how spotless your tank looks, simply turn on the water valve. Now you go on to use it as usual.
Easy and Most Effective way on How to clean Black Buildups in Toilet Tank
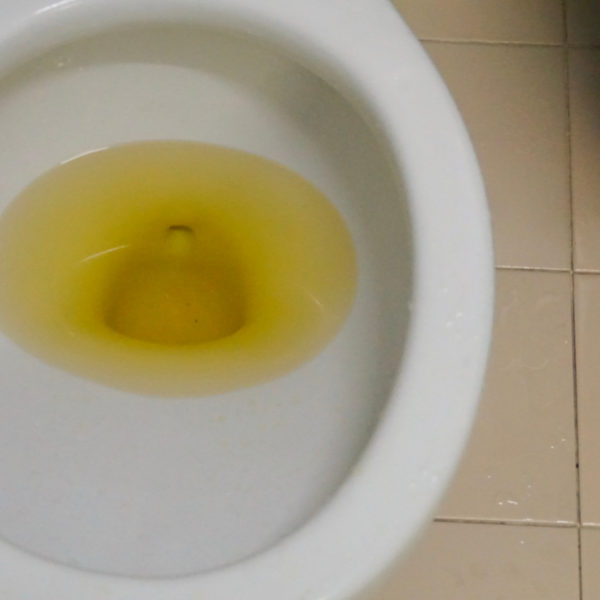
In a home toilet tank, buildups are found in water with mineral deposits such as calcium and manganese. These buildups allow microscopic organisms to thrive, which leads to foul smells and the dark brown stains in your tank.
Luckily, vinegar works great to get rid of the germs and microscopic organisms. Therefore, you can use it to clean off the stains and dark buildups in a tank. Follow these steps below on how to clean a toilet tank buildup.
- Check to see if the tank contains any stain. Do this by pulling up the flapper and stopping the feed valve on the toilet. Once the water completely drains, if you see stains on the surface of the tank, rub over it with a cloth.
- In case, a portion of the dark stuff falls off to the cloth, that means it is a natural substance. If the dark stuff spreads or doesn’t move when scoured, it is an inorganic stain.
- For any organic stains, use a soap dishwater solution to clean it off. Rub it thoroughly to make it come off.
- However, if the stains didn’t come off, you should use a degreaser and a rag to wipe it off. The reason is that it might be oil-based stains from fingerprints of greasy hands or dirty rubber flapper inside of the tank.
- To remove these stains, pour a small amount of degreaser on the rag. Use it material to rub the stain thoroughly, thereby allowing the degreaser to dissolve the oil stains. That way, it removes the stain from the tank in the process.
Essential Tips for Cleaning the Inside of the Toilet Tank
We’ve highlighted some phrases to help sustain the tank in a clean state always. With this, you can learn how to clean toilet tanks without hassles. However, there are essential things you need to do to keep the tank clean.
- Keep toilet tablets in the tank. These would help keep minerals buildup, contaminants, and minerals at bay. Additionally, avoid tablets containing bleach as this is known for corroding metals. Take your time to check carefully before making purchases.
- If you don’t use tablets, you can use our step guide in “phase 2 .” Drain your toilet tank and fill it with vinegar. The latter would help get it rid of mildew as well as dissolving mineral buildups before it escalates to a problem. All you have to do is, fill up the tank with vinegar, allow it overnight, and then drain off the next day.
- We suggest you clean the toilet tanks monthly. Also, we suggest that for a small family sharing more than one toilet, cleaning it twice per year should be enough. Nevertheless, conditioning is an essential determinant.
- If you have hard water, you’d have to deal with mineral buildup occasionally. If the toilet is located in high traffic areas, you’ll have to clean more frequently. Make sure to monitor your schedule to avoid any irregularity.
Additional Advice
If you truly want your toilet tank to be perfect, you have to ensure you have the correct cleaning items for the activity. Vinegar is an ideal toilet cleaning material. Apart from being free from chemicals and normally antibacterial, it’s not corrosive.
To begin with, you simply have to pour a few cups of vinegar in your tank and let it sit for an hour or thereabout, before scouring and flush to wash. In the case that you don’t feel space is spotless clean except you smell chemical, then you can make use of bleach. It’s an incredible disinfectant and will dispose of mold.
Why You Should Clean Toilet Tank
Nothing beats a spotless bathroom. Well, maybe some things do, yet it is constantly decent, realizing that your bathroom is spotless and properly organized.
Notwithstanding, there’s still one part you tend to overlook; the toilet tank! Keeping the toilet tank clean can mean a great improvement in the tidiness of your bathroom and the longevity of the toilet.
Here are a few reasons why keeping your toilet tank clean can keep your bathroom new and help save money.
- Mold is gross! You can find it coming out of stagnant water. Toilet tanks are only a compartment of water that is holding back to be utilized. While your most-utilized toilet doesn’t have standing water for long, can the same be said for the one in the cellar? Toilets tank could a breeding place for bacteria and mold buildup. And when this happens, the bathroom is prone to producing offensive smells.
- Dirt, residue, and garbage can be found in toilet tanks. These particles, while little, can influence the general use and life span of your toilet. A buildup could gradually dissolve in your tank, for example, the steel or elastic installations. And that can prompt a foul smell inside the tank too.
Wrap Up
We really cannot stress the importance of periodic toilet tank cleaning. Proper cleaning would practically help to get rid of every offensive odor and bacteria buildup storing up in the room. However, these tanks can be clean treated with either a light scrub or commercial cleaners.
For tough stains, you might need to make use of bleach or vinegar, to prevent metal corrosion. Once you’ve done every required cleaning, you will have a clean tank and a nice smelling bathroom.