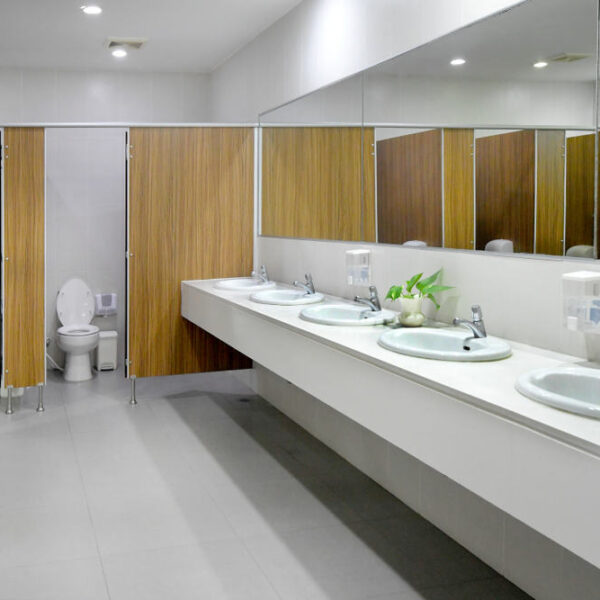
Painting any piece of furniture can be a great way to give it an individual touch. And if it’s looking a little tired, it will get a brand new lease of life.
But when it comes to painting bathroom cabinets, some people are reluctant to try their hand. And it’s true that bathrooms can present some particular challenges.
So if you’ve been thinking about getting out the paint brush, but aren’t sure where to start – read on! Our guide to how to paint bathroom cabinets has everything you need to know to get great results.
Tools for painting bathroom Vanity cabinets
- a screwdriver with a head that matches the screws in your cabinet hardware
- pencil and paper
- sandpaper
- sanding block
- masking tape
- face mask
- goggles
- old cloth or plastic sheeting large enough to protect the floor where you’re working
- spackle or filler suitable for the surface you’re working with
- sugar soap
- a sponge
- a pair of rubber gloves
- paint brushes
- paint roller and paint tray
- paint
- primer – if your cabinet hasn’t been painted before.
How to paint bathroom Vanity cabinets
Step 1: Make sure your paint and primer will work on your cabinet
Before you choose the primer and paint, take a good look at your bathroom cabinet.
Wood, metal, or laminate cabinets will all respond differently to different kinds of paint. The same goes for primer. The wrong kind can result in a streaky finish, or paint that lifts, flakes or cracks soon after application.
Choose products that are specifically designed for the material you’re working on. There are also a few multi-surface options out there, which can work effectively too.
If you’re not sure whether the paint you like is suitable for your cabinet, ask the retailer for advice.
Pro tip: Although not essential, you’ll get the best results with paint that’s specifically designed for damp environments. Look for paints specifically labeled as moisture-resistant or suitable for bathrooms.
Step 2: Prepare your bathroom and cabinet
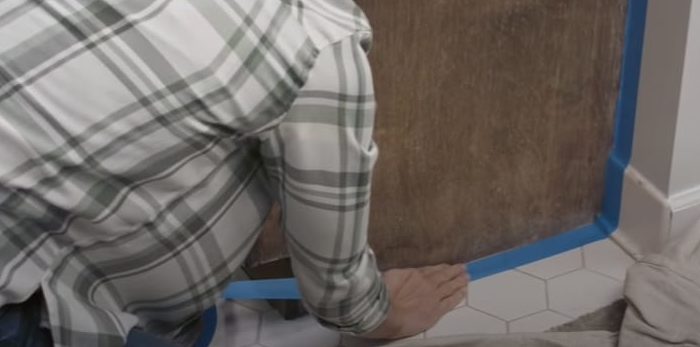
Start by laying out your cloth or plastic sheeting around the cabinet. This will protect the floor as you work.
Next, take your masking tape and run a strip along any part of your cabinet that touches a wall. The tape will stop the paint from going where you don’t want it to.
Now it’s time to start preparing the cabinet. Take your screwdriver and remove the screws from any handles. Put the screws and handles to one side where you won’t lose them.
Now remove the doors from the hinges. If you get paint on the hinges it can stop your cabinet opening and closing. That will take ages to fix, so don’t be tempted to miss out this step!
If the cabinet you’re working with has lots of drawers and doors, this is the time for that pen and pencil! Draw a plan as you’re removing them, so you’re able to fit everything back together afterward. Taking some photos on your smartphone as you go along can be helpful too.
Pro tip: If you’ve got old paint on the hinges or hardware, take this chance to clean them up. Scrub with soap, water, and a scouring pad, or if the paint is oil-based, use paintbrush cleaner to remove it.
Step 3: Get cleaning
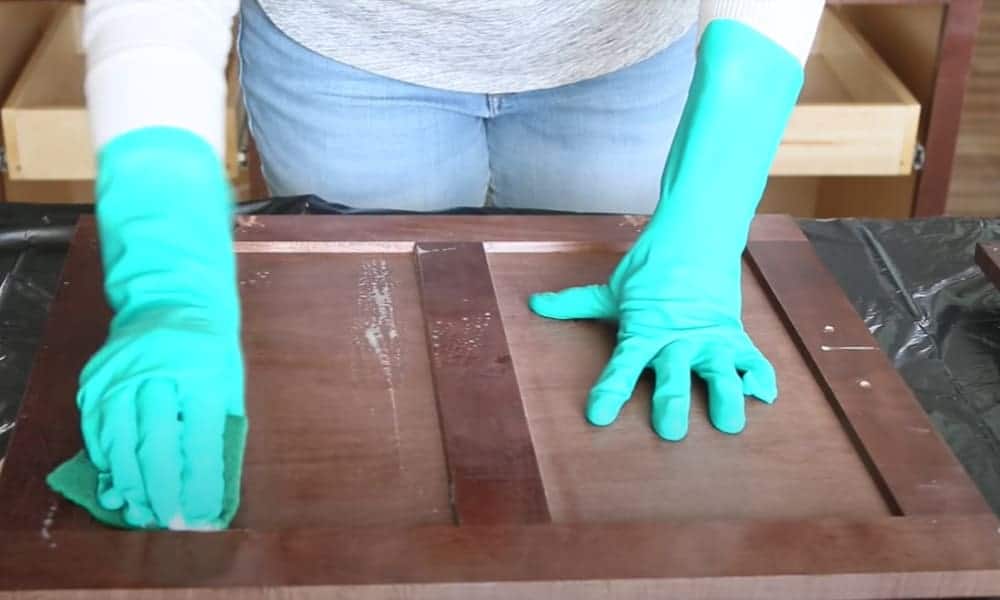
The next step is to make sure the surface is ready for priming or painting. Don those rubber gloves and goggles for safety. Now spray all the surfaces generously with sugar soap, wiping them down as you go.
Remember: if you’re going to paint it, you need to clean it first. So that means cleaning any shelves inside the cabinet as well as the doors and drawers. Now go and make yourself a tasty beverage as you wait for them to dry.
When the surfaces are thoroughly dry, check for any dings. If you find any, use the filler to make the surface nice and even. After application, leave the filler to dry in line with the instructions on the tin.
Pro tip: You can buy sugar soap in ready-mixed form, but it’s more expensive. Instead, buy in powder form and mix it up yourself. Pouring it into a spray bottle will make it quicker and easier to use.
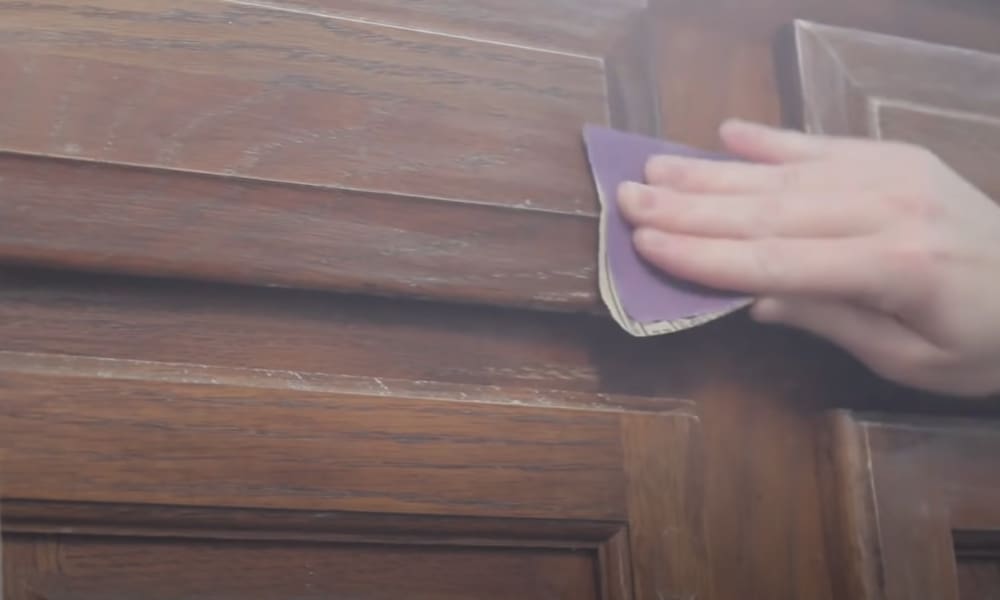
Step 4: Sand the surfaces
When everything is dry and the filler is nice and firm, it’s time to get sanding.
It’s a good idea to leave your gloves on for this, as sandpaper can be rough on your skin. Keep on those goggles to protect your eyes, and wear a mask to avoid breathing in sawdust.
Use a fine sandpaper – 120 to 220 grit is ideal. If you’re sanding flat surfaces, a sanding block can help you get a good grip. If you’re working on a contoured surface, try wrapping the sandpaper around a sponge instead.
Now start sanding in long, smooth strokes. If your cabinet is made of wood, always sand in the direction of the grain, otherwise it can splinter.
There are two aims here. If you’ve had to add filler to your cabinet, sanding will give you a nice, even surface again. It will also create a slightly textured surface for the paint to stick to.
Once you’ve finished sanding, wipe everything down with a damp cloth to get rid of any sawdust.
Pro tip: If your cabinet hasn’t needed filling, liquid de-glosser offers an alternative to sanding. Just paint it on and it will take the shine off the existing surface. It works in the same way as a light sanding to help the paint stick to the cabinet.
Step 5: Test the paint
Now the surface is ready to start priming. But before you go mad with the paint brush, take this chance to check you’re happy with the color.
To do that, paint a small section of the back of a cupboard door with primer. When it’s completely dry, add the paint on top and leave that to dry too.
If the color isn’t what you wanted – phew! You’ve saved yourself a lot of disappointment. Get to the store and change your paint now!
And if the finish is streaky or uneven, consult your retailer on how to fix it. It may be that you need a different primer, or just be prepared to add an extra coat or two.
Step 6: Time to prime
Now it’s time to go to town with your primer! If you’ve got a large, flat surface to prime, you can use a roller and paint tray to do this. It will give you a nice even coat, and it will speed up the whole process.
If you’re using a paintbrush, don’t load on too much primer in one go. It may drip and spoil the finish.
Apply the primer in long, smooth strokes. And just as when you were sanding, if your cabinet is wooden, work in the same direction as the grain.
Check the instructions to see whether one or two coats are needed. If two are recommended, don’t be tempted to speed up the process by applying it thickly! You won’t get a smooth finish.
When you’ve covered all the surfaces you’re going to paint, leave the primer to dry.
Pro tip: A good way to avoid overloading your paintbrush is to aim to leave the top third of the bristles clean.
Step 7: On with the paint
Now it’s time for the exciting bit – the paint.
The principles here are just the same as with the primer. A paint tray and roller work well for large, flat surfaces. If your roller has a textured finish, smooth over the finish with a paint brush afterwards. This video shows you how.
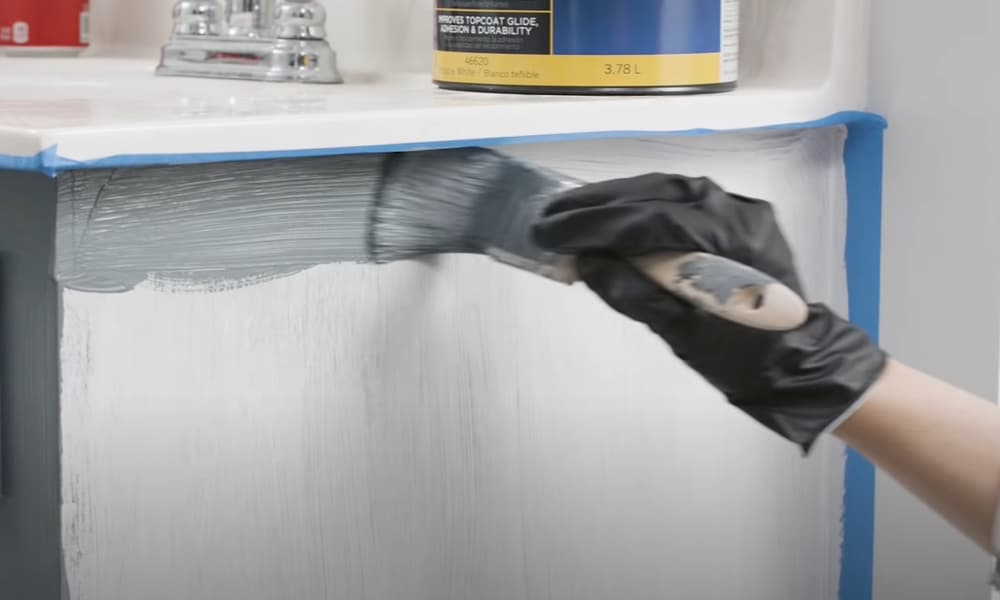
If you’re using a paintbrush, don’t overload it. And aim for a thin coat. You can apply a second coat if you need to.
Start with the cabinet doors, as you’ll need to paint both sides of these. You’ll need to leave drying time before you can turn them over.
When you come to the drawers, only paint the front, and steer well clear of the sides and runners. Get paint on those, and you may find your drawers stick in future.
The last bit to do is the outside frame of the cabinet and the interior.
When you’ve finished the first coat, leave it to dry completely. If the color is uneven or not deep enough, give everything a second coat.
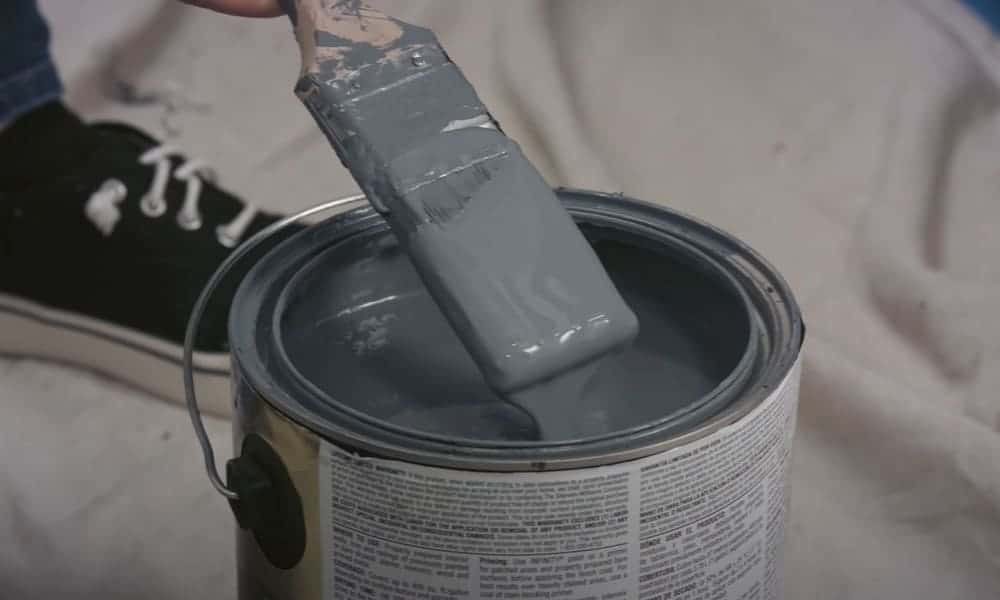
Pro tip: Give the paint a good stir before you get started. We’ve found an old cooking chopstick works perfectly for this.
Step 8: Reattach the hardware
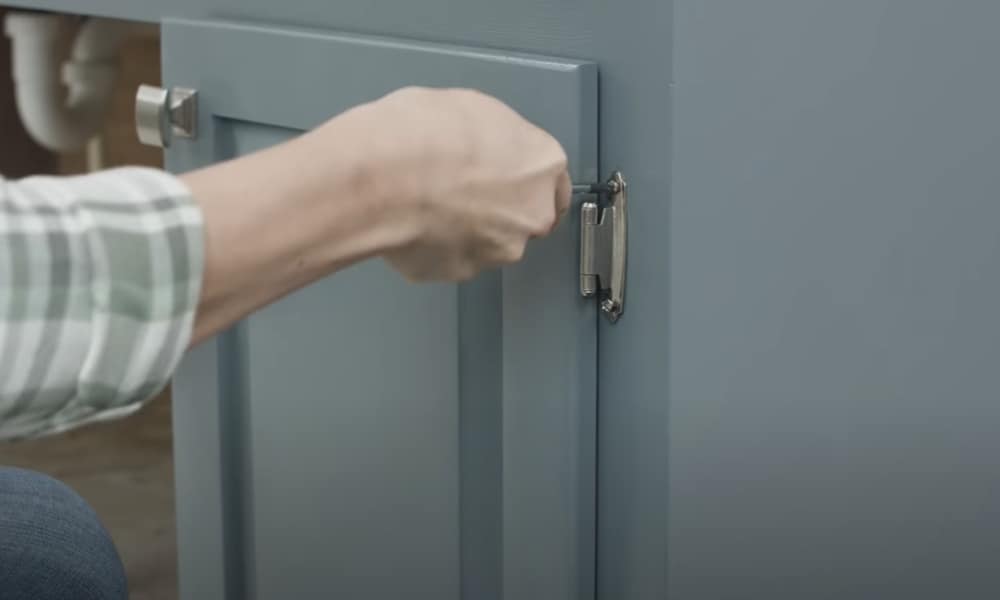
Now that all the painting is done, it’s time to reattach the hardware. Take the screwdriver and screw the handles back into place.
When all the handles are back on, it’s time to reattach the doors and replace the drawers. Consult your plan and photos to check where everything goes if you need to.
Finally, stand back and admire the results of your hard work!
Extra tips
The key to getting good results here is to prepare properly and don’t rush.
Leave yourself more time than you think you’ll need, so you’re not tempted to hurry. Work steadily, and check the results as you go.
And remember, if you’re using oil-based products, make sure the room you’re working in is well-ventilated. Fumes can be dangerous – at the very least, they’ll give you a nasty headache.
Ready to get started?
We hope you’ve enjoyed our guide to how to paint bathroom cabinets. Prepare properly and take it slow and steady, and you’re guaranteed great results. And a freshly painted cabinet can give a lift to your whole bathroom.
If you’ve painted your bathroom cabinet, please comment and tell us how it went! We’d love to hear from you.