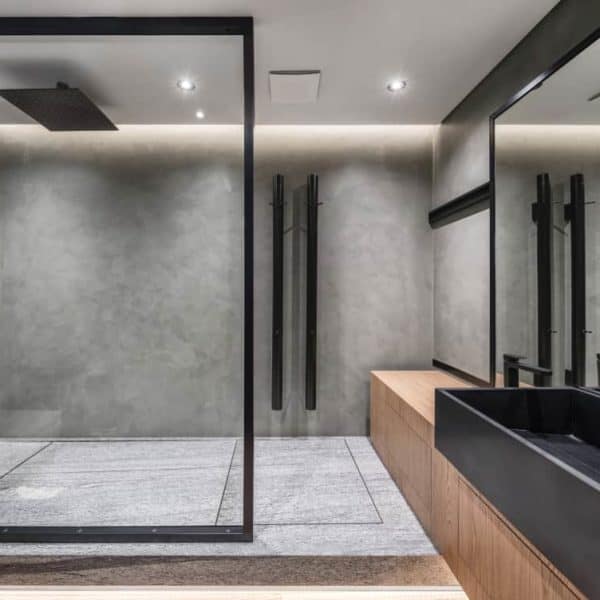
Most times, our bathrooms need a little remodeling to enhance it looks, and installing or replacing the shower tiles can help you achieve that. It might be tedious to install, but believe me, the outcome outweighs the labor. Tiling is the main thing, but you need to know how to prepare shower walls for tiles.
Bathroom tiles don’t just go up the wall; instead, it requires a base work that is water-resistant for durability and beauty. This practice of preparing shower walls will reduce or erase any future maintenance. Here we will provide the best way to prepare shower walls for tile.
Important Tips Before You Begin the Project
Before you embark on the project, there are important things you need to have close by, which include the mortar and trowel. You can head to local home improvement to get them.
Also, make sure you know the wall size, indoor spacing, and the type of tile needed for the project.
Once you have all these sorted out, follow these steps to prepare shower walls for tiling project.
Steps on how to prepare shower walls for tiles
Step 1: Select the Tile that Best Suits your Bathroom
There a vast assortment that accompanies equipment like walk tiles, and this presents a big headache most times. But you should consider the element, color, and size of these items that best suits your bathroom before selection.
Based on the water-resistant tiles, glossy terracotta or glass-ceramics is the best pick for the project. As for the size of the tiles, keep away from the bigger ones if your bathroom is small or the shower head is close to the wall. Smaller or average tiles will still be good.
As for Hue, go with the colors that best brighten up your shower as there should be no limitation to your creativity and uniqueness.
Step 2: Know How Many Tiles Required
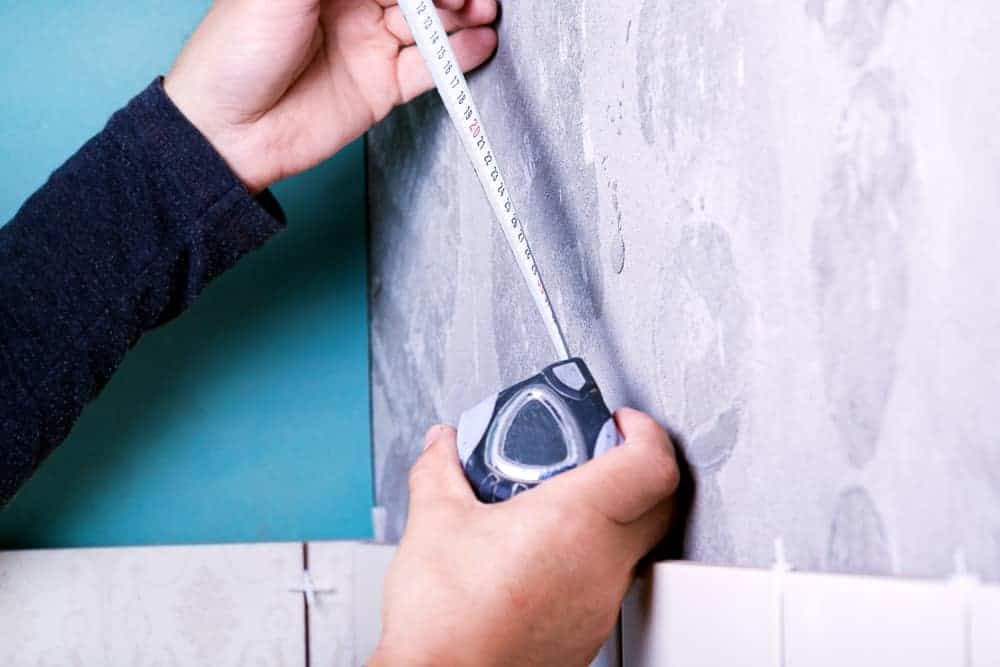
Get the correct dimension of your bathroom wall, and then get the total area and add extra measurement of about 10%. Go get the right amount of tiles for the project.
If you find it confusing exact numbers needed from a particular tile design, you can improvise, maybe by mixing up a bit. But you should be careful here to avoid much color rioting.
Look out for the manual for installing these tiles on the body of their packs. You might want to also look for a makeshift bathroom during the project.
Tiling takes a lot of time, so make sure you set out a plan. Also, keep in mind that you need to follow the instruction of your local building code when tiling.
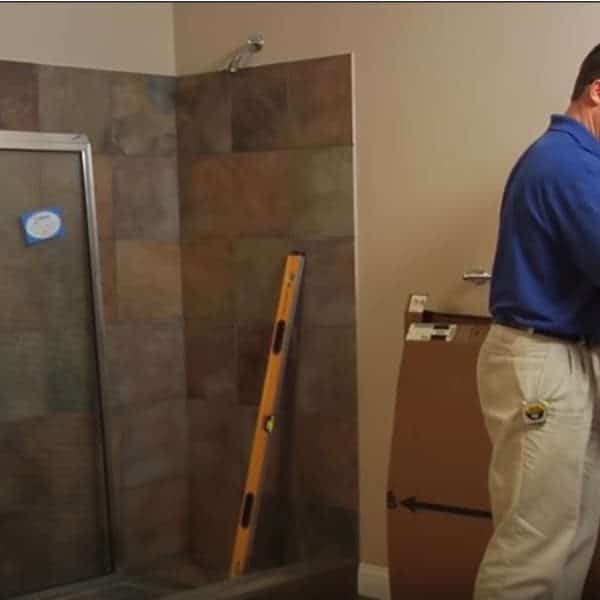
Step 3: Take Out the Present Tiles
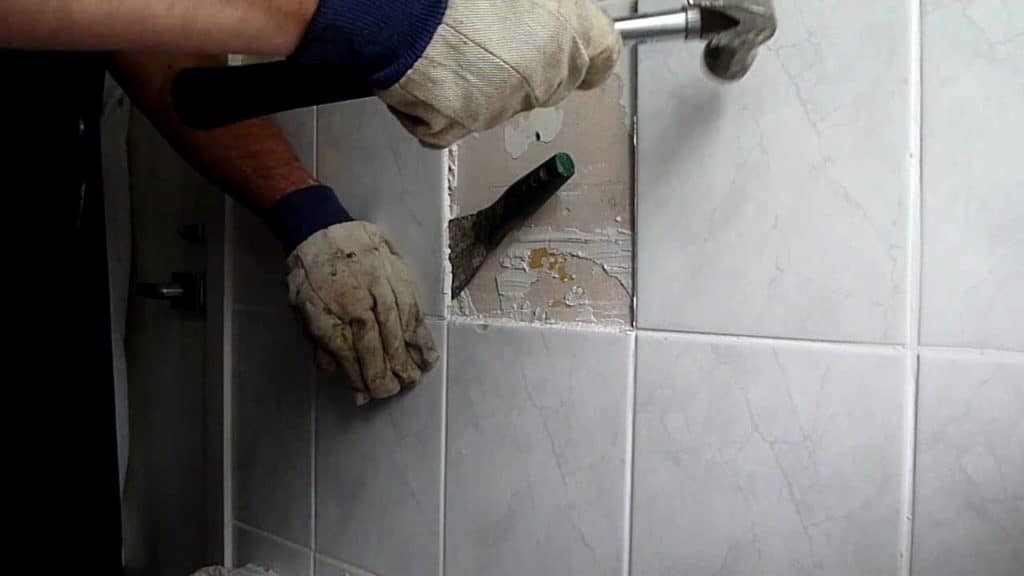
It’s easier to install wall tiles on a new wall than during a remodel. This is because of the unpleasant additional work of taking out old tiles. Ensure to wear protective gloves before removing existing tiles since these items are sharp and might cause injury.
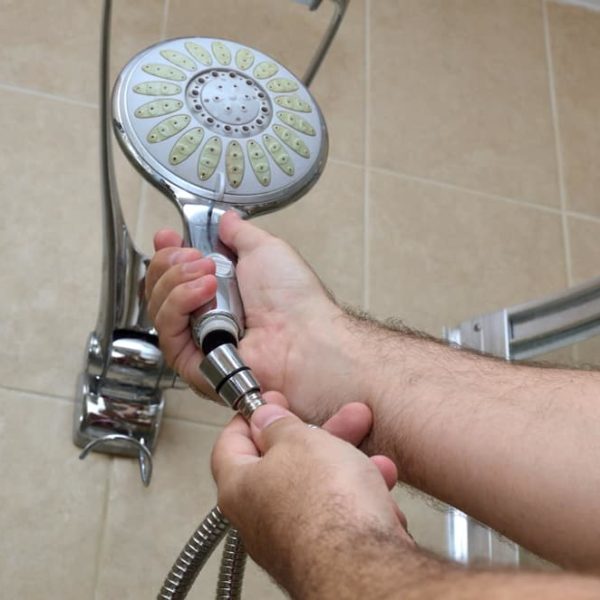
The initial thing to do is to remove all shower fittings, including lights and showerhead. Then switch off all the electricity. Also, cover the ground with a protective coating to prevent damage and tape the glass shower doors.
Now take off the old shower tiles with a mallet and a chisel by sticking it on the grout rows and peeling off the tile. You can get it done easily by shattering one of the tiles and using the space as leverage.
Step 4: Take the Supporter Floorboard to Somewhere Safe
Ensure to take out the supporter floorboard that is kept beneath the tiles so that it doesn’t get damaged. You could still use it for your new tiling project, but not when it’s spoilt, so hammer it out, and keep it safe. Then rip out the binding nits with a returning saw to free from any hindrance.
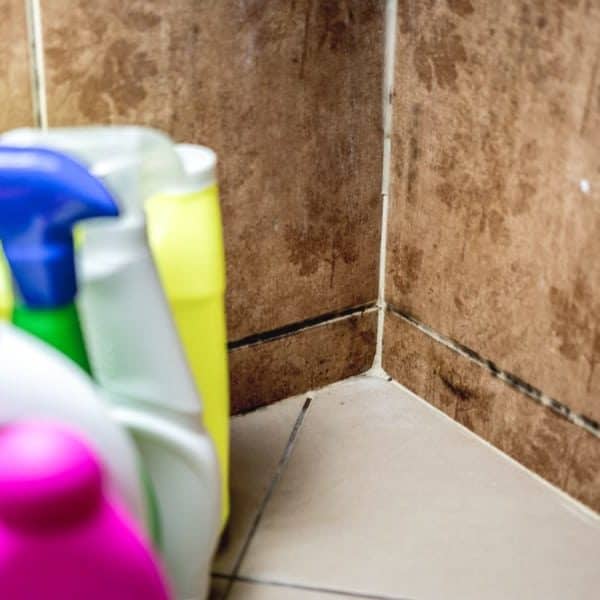
Look for mold growth, and carefully clean, this up as it could dent the aesthetics of your tiles, call in a specialist if necessary. This is when any major remodel work can take place, replacements like a fresh bathtub or water heater pipe installation could be done at this point.
Step 5: Fix a Steam Barricade
Install a steam barricade over the studs and ensure you cover it evenly to avoid rust from moisture. It’s usually rubber equipment of about 0.4cm thickness spread across a region of six feet from the ground. It also runs through the ends of the shower walls.
Step 6: Place in the Supporter Floorboard
After fixing a steam barricade, the next step is to install a supporter floorboard. This acts as a strong waterproof background for the wall tiles. Since it’s not drywall, you should know how to build a shower wall for tile for effective installation.
It’s not necessary to spread it over the whole shower, only restrict to places where moisture could reach. It would be best if you also got a floorboard that is as thick as your drywall to enhance a perfect alignment and avoid wall bulges.
Ensure that the supporter floorboard conceals the steam barricade so you might want to cut according to size. Utilize a jigsaw for the curve styling. You might want to do this outside because of dust.
Step 7: Secure the Supporter Floorboard
Try to protect the supporter floorboard by fastening it firmly with floorboard nuts. Avoid the use of drywall nuts and call in for help when putting the sheets. Expand the gap at the base using shims.
Step 8: Place a Water-Resistant Coating
It would be best if you placed a water-resistant covering immediately after drying the caulk gum. You can put the water-resistant covering using a Painter’s scuffle to apply them on the threads and furrows. For a better waterproof function, you need to glaze it twice.
Rub the first membrane over the supporter floorboard and then wait for an hour before dressing the second membrane. Allow the membrane to set.
Step 9: Examine the Layout for Tiling
Examining the layout is an important consideration when preparing wall for tiles. Just as if you’re installing drywall, you should position the tiles horizontally from the center of the shower. Position them in such a way that the full tiles will fit in perfectly at the edges.
Then arrange the tiles around the shower. From near the sink, use a straight line to mark out the center to form a base point for the tiling layout. Loose up the tiles a bit with a spacer and try to fix cut tiles around the center to make room for wider ones at the edges.
If there’s a hitch along the line, try modifying your central straight line.
Step 10: Examine the Upright Layout
Map out the tiling layout in such that half tiles will be fixed at the ground level and complete tiles set above considering the uneven flooring. The best place to begin the tiling is at the second row, so that you won’t have to cut the first or second row.
Locate the starting line and maintain with a leveling tool mounted at the lowest spot. Place a complete tile just above the leveling tool giving enough space from the bottom and a quarter-inch gap from the top. This spot becomes your initial starting row.
Now create a yardstick with the dimension of complete tile and use it to determine where the top row will be located. Make sure you add the quarter-inch gap when making the yardstick. Always consider the fact that top row tiles are complete tiles, so adjust the floor line.
Final Word
When you’re through with these steps on how to prepare shower walls for tiles, then you’re halfway into the main installation. But it depends largely on the success of this prep project.
To ensure success, you need to:
- Take out some bathroom fittings that could be a huge hindrance to the project like the shower head and its removable pipes and lightings.
- Make sure you wear protective gears to prevent dust inhalation and injuries.
- Always call in the experts when you feel you cannot go forward.