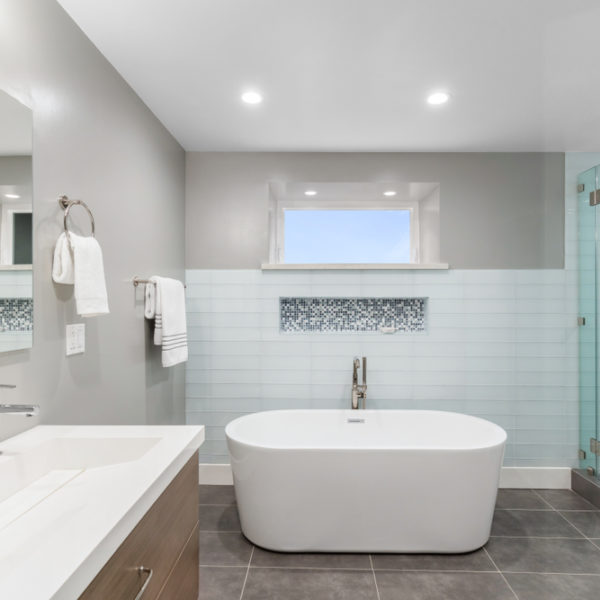
Have you ever dreamed about a new shower cabin? I have, but my first thought connected with that job is a bunch of plumbers making a mess throughout my house! Have you had the same problem? If yes, I can offer you an excellent solution!
Yes, it is possible enjoying a beautiful bathroom without tolerating jumpy plumbers around. In fact, if you do the whole job by yourself, you will save a lot of money and learn a new skill as a bonus. Let’s do it together!
Necessary Materials and Tools
In the very beginning, you should be aware that you need adequate tools and materials along with primary building and ceramic skills to finish the job.
Tools
- Phillips and flathead screwdrivers
- Electric drill and drill bits
- Hand trowel
- Adjustable pliers
- Wood saw
- Ceramic saw
- Suitable screws
- Washers
- Wooden beams
- Level
- Shovel
- Stapler for wood or furniture
- Caulking gun
- Silicone bath caulk
- Tape measure
- Duct tape
- Silicone
Material
Which material you need depends on the type of shower floor you want to build.
- New shower pan
- Sand, cement
- Mortar
Steps to Build the Shower
First of all, you should decide if you want to buy a shower pan or you prefer making it by yourself. Then, think about different options, such as a walk-in shower or a curb. Either way, the procedure is the same in the very beginning.
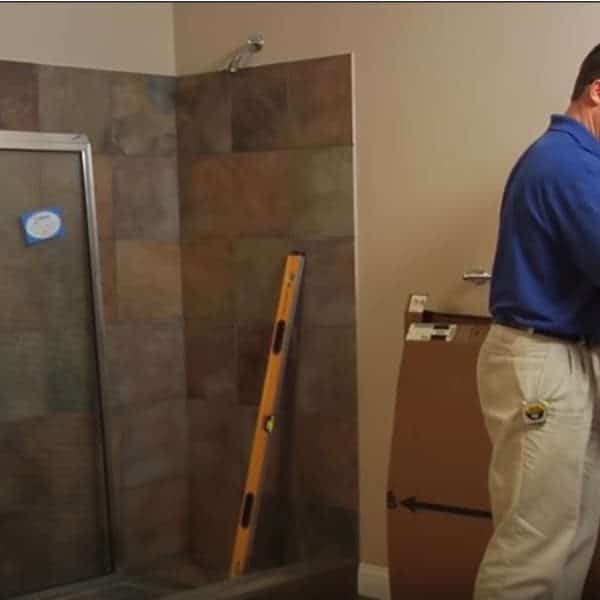
Step 1. Measure and clean the place
Start with measuring the place where you want to install your new shower pan. Then prepare the entire area for smooth operation by clearing all debris from the surface. After drying the floor, you can start with real work.
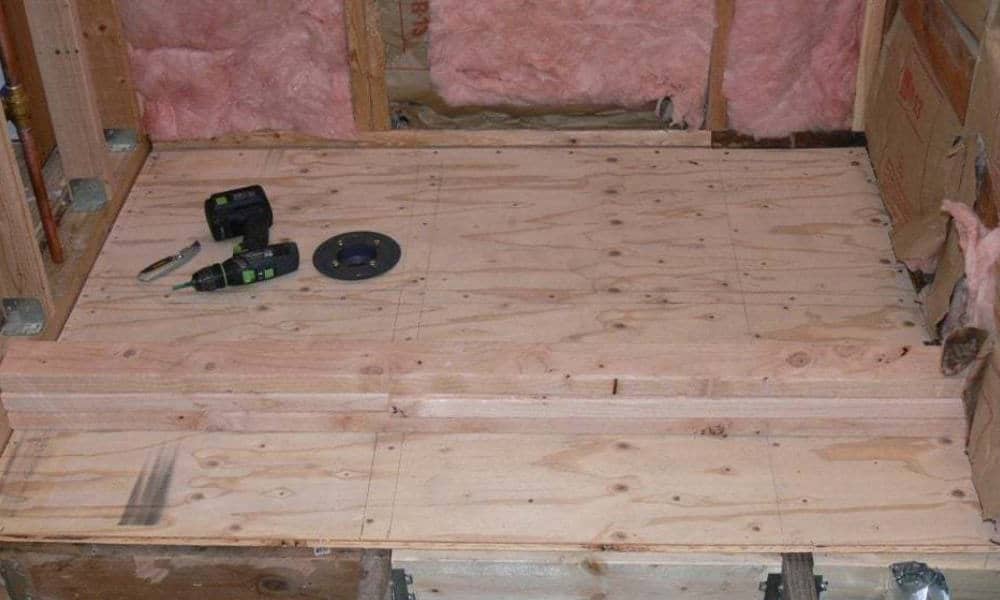
Step 2. Install drainer and shower step/beam
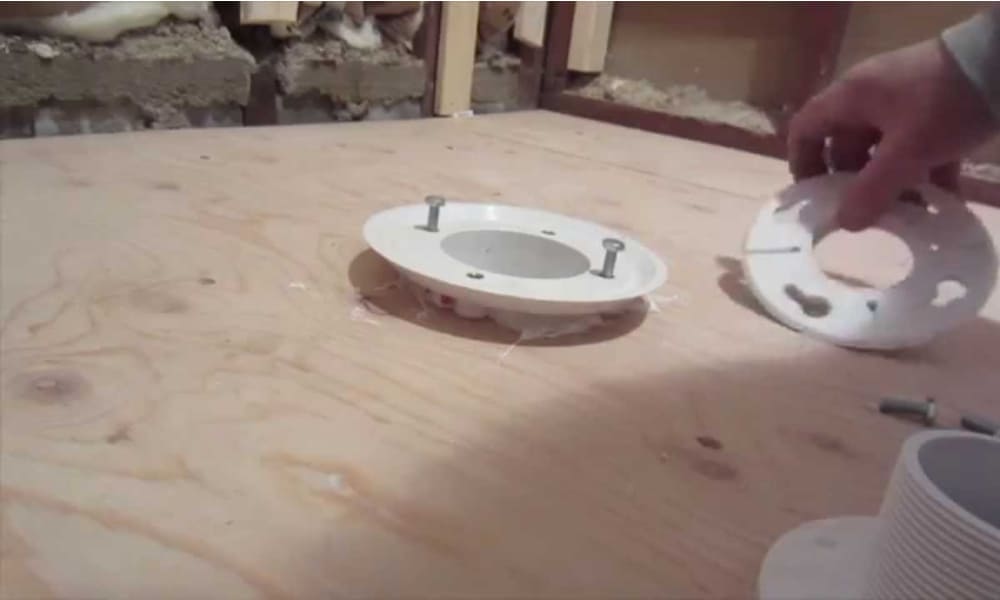
After deciding which type of drain for a shower you want to use, you should start paying attention to the details. My advice is to purchase the one that is easy to use and has an adjustable height.
That will help you a lot if you need to put it higher or lower from the pan level. Install the bottom drain flange and stick the duct tape over it to protect the drain from dirt.
Now, you should make a shower step or a beam step, depending on the option you have chosen. It’s up to you if you want to leave your shower cabin open or to install a shower door in the end.
- Option one (shower step) – You can use the beams to make a shower step of a suitable size. Insert them at the entrance of your shower. That will be the only side without a wall. The best option is to place the shower step between the horizontal studs in the future wall. Use classic bricks to make it.
- Option two (beam step) – If you are not skillful enough with construction work, I advise you to install a beam step. There are two solutions. You can buy the beams, which are already cut to a suitable length, or you can cut them by yourself with a circular saw. After inserting and fixating the beams, you need to make sure they are leveled.
Step 3. Fill in the dry pan mixture
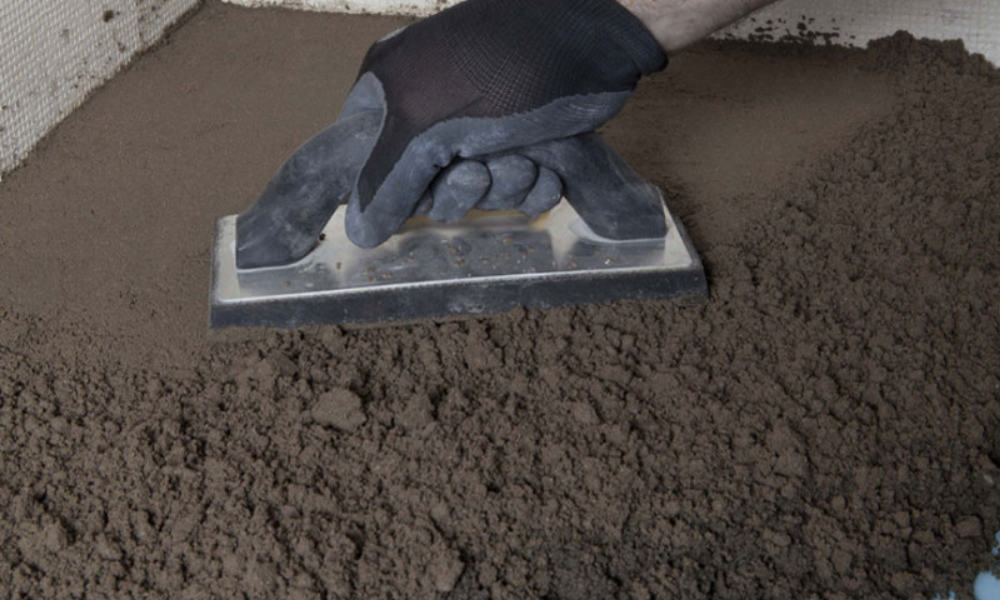
Make a dry pan mixture by combining sand and cement with a suitable amount of water. If you decide to use mortar, you should read the instructions on the package on how to make it.
My winning recipe is a mix of one part cement and four parts sand. You should add water while mixing them, but avoid putting in too much of it. An excellent dry pan mixture should be dry enough, but easy to sculpt at the same time.
Once you are ready to fill the area around the drain, you should begin the job from the walls to the drain. Always keep in mind that water should flow towards the drain. Therefore, the parts closer to the wall should be approximately 0.25 inches (6 mm) higher than the area around the drain.
When you evenly distribute the dry pan mixture, the next step is to make sure that the surface is leveled appropriately.
It is an excellent idea to place the shower drain a bit over the level because you need to lay the ceramic tiles around it later on. If you use an adjustable drain, there is no need to pay attention to that detail.
Now, you need to let the material dry off at least 24 hours.
Step 4. Lay of shower pan material
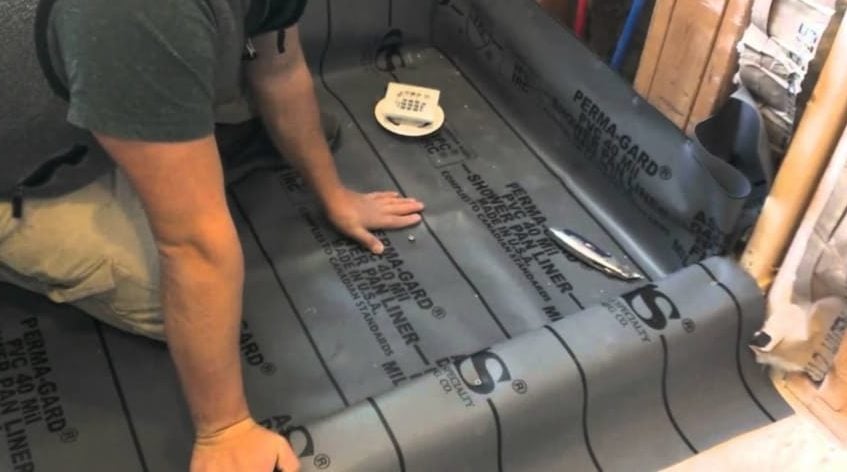
First, you should purchase shower pan materials or tarp in a construction store. It is necessary for the prevention of water leaking. Keep in mind that the size of that material should be at least 2 inches (5 cm) longer than a surface of the bath curve.
That means that the stretched down material needs to protrude 2 to 4 inches (5 – 10 cm) high above the floor level, covering the wall. Fold extra materials nicely in the corners and tuck them into the frame or wall, if you can. A shower pan material should go over the step as well to ensure the step beams stay dry.
Use a stapler or screwdrivers to attach it to the frame or wall, as far as possible from the bottom. Take care to put down the pan material without any bumps. If necessary, level the surface one more time to check if outer parts are 0.25 inches (6 mm) higher.
Use a scalpel to make a hole for the drain, and be highly precise. The easiest way is to try to feel its position under your fingers. Also, cut the holes above the screws from the drainer.
Now, insert the adjustable part of the drain and adjust it to a suitable height. Keep in mind that you have one more layer to add, as well as tiles. For now, it is enough to place duct tape over the drain to stop the dirt from the next step to penetrate it.
Step 5. Make the floor smooth and flat
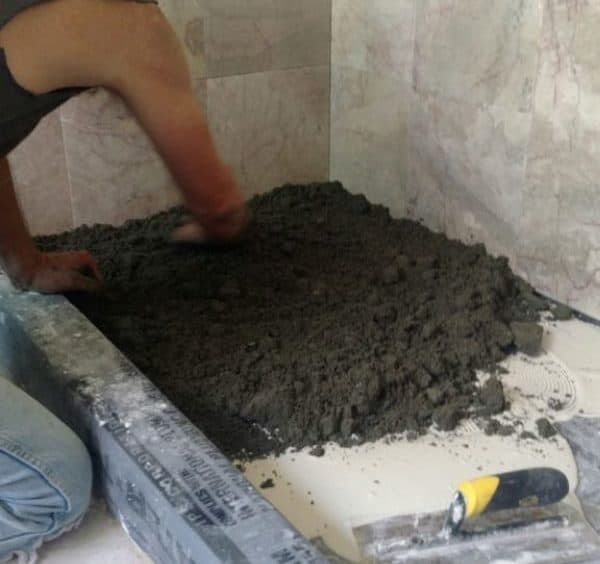
Mix the dry pan mixture one more time or use mortar if you prefer. Apply the mixture to the shower floor and repeat step 3.
Your goal is to make the floor smooth and flat. Be patient since this part of your work is probably crucial. You need to lay the shower floor onto it, and any unevenness or irregularity will prevent its proper placement.
A-line the drain, and always keep in mind the necessity of leaving a slight free fall to it. Since you need to place tiles on the top, don’t forget to leave it a bit over the surface. The best way is to measure the thickness of your tiles and make a calculation.
In the end, you can take off the tape from the drain and leave the floor to dry before putting tiles. After approximately 24 hours, you will get an excellent, firm, and smooth base for the following step.
Step 6. Ceramic floor tiling
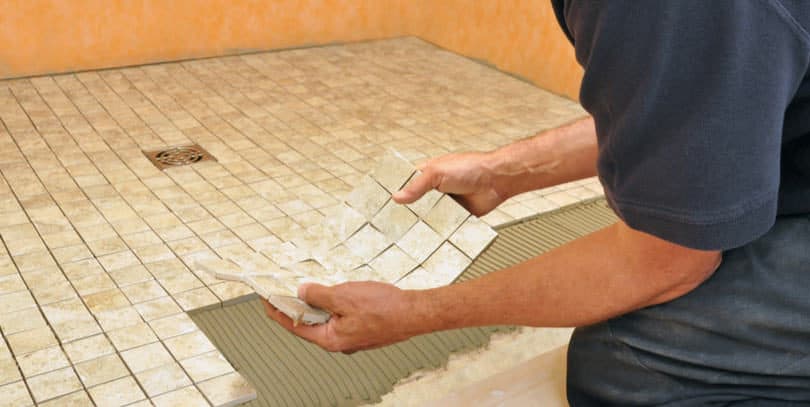
I like this inspirational part of the job. After picking out the most beautiful ceramic tiles for your bathroom, you should dry-fit them. That way, you will have a clear insight into how they will look on the wall. Also, you should measure tiles for the part around a drain hole. Mark them and cut precisely.
Now, you need to use a wet cloth to remove all the dirt from the floor and to dry it eventually. If you place tiles over a dirty floor, they will come off over time.
Apply tile adhesive onto the floor and apply the tiles one by one. Be careful with using the proper amount of it in every move to avoid its drying. The dry adhesive is not a desirable option since you will face the tiles falling off over time. After you finish with fitting the tiles, wait for a day or two to let them dry.
Step 7. Grout the tile floor
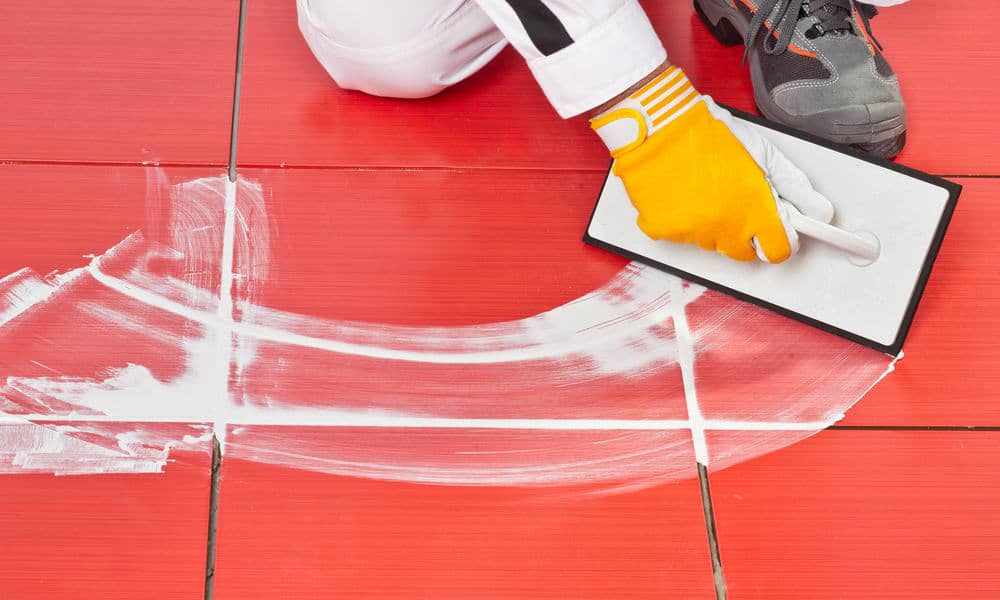
Don’t forget to use tile grout and apply it between tiles. There are two advantages of inserting tile grout. Firstly, you will prevent leaking in your shower. Secondly, your shower pan can become so fancy, especially if you make an unusual combination in colors.
Insert it between the tiles by using a wet cloth and let it dry for an hour. Nowadays, it is possible to use red tile grout between green tiles, for example. The result is a chic and unique bathroom. Choose different grout colors depending on your taste, and you will get the ultimate effect of contrast.
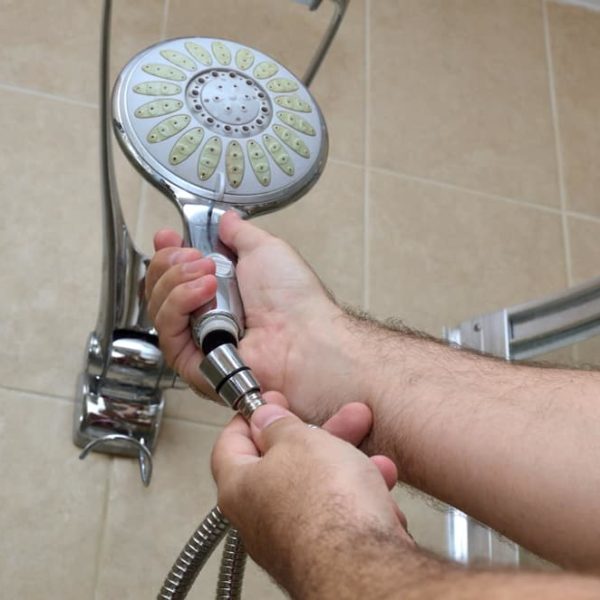
In the end, install an elegant rain shower head and a lovely shower caddy. Surprise! Have you ever imagined that it is possible to transform your bathroom into an enjoyable place in a few steps? Well, the answer is in front of you!
Step 8. Install a manufactured pan
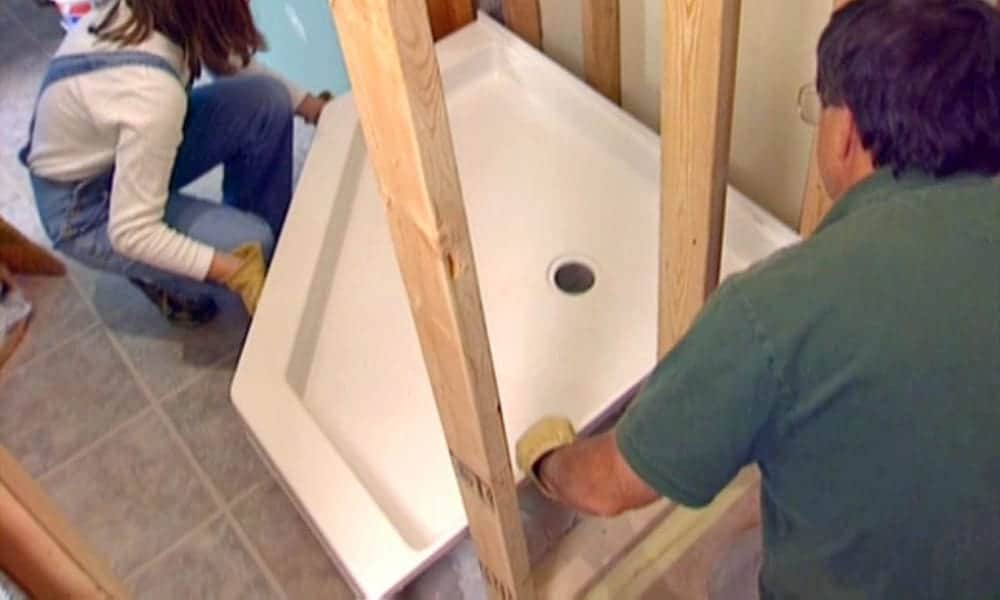
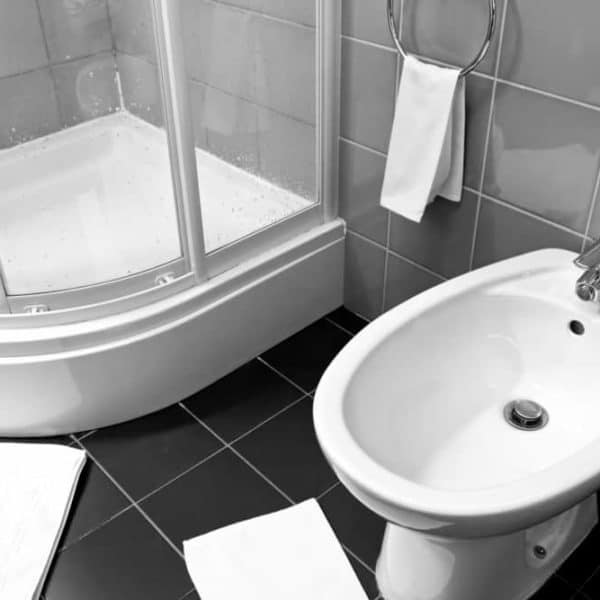
If you want to avoid hard work, you can choose to install a standard shower pan. In that case, skip the part with construction work and fit the pan.
Make sure the pan fits your bathroom correctly and attach it to the floor with suitable adhesives. Use the instruction and connect the drain installation properly.
If you get a set with an electric drill and screws, use them to screw down the pan into the wall or studs. Use silicone bath caulk to fill in the possible holes and prevent water from leaking. Let the pan dry off.
It is time to be proud of yourself and enjoy!