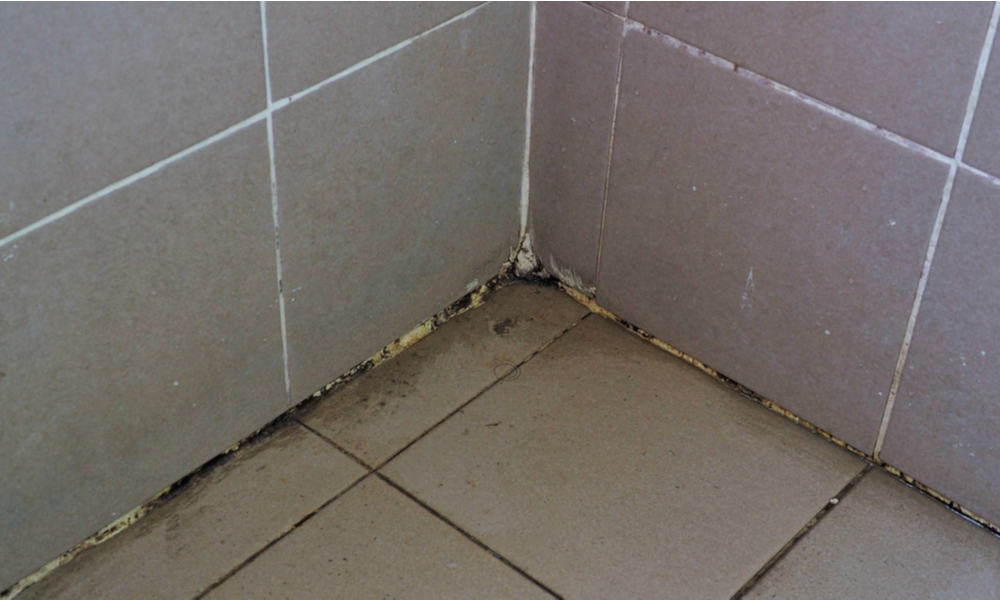
Black mold and mildew on the grout in between bathroom tiles and on the caulking in the shower is unpleasant, unsightly and often difficult to clean off. But where does it come from? What causes it? And how can you clean mold off when it appears?
In this post, we answer questions like these and more as we discuss the problem of how to get rid of black mold in shower caulk.
What causes black mold in shower caulk?
Black mold is caused by fungal growth. The mold spores are carried in the air, and when they land on a suitable surface, they can start to grow.
Black mold prefers warm, humid environments and its preferred food is cellulose, which is present in paper, wood, particleboard, drywall, your shower curtain and more.
It also requires oxygen and prefers low light, and it loves the kind of leaks, humidity, condensation and moist environment found in bathrooms. Then, when it finds the perfect combination of conditions, it can spread extremely quickly.
If it finds its way into the grout between your tiles and your shower caulking, it can be hard to clean off. This is because even if you clean the visible part, some may be left behind the grout or caulking where you can’t see – which will then quickly regenerate after cleaning is finished.
That means to get rid of it for good, you need to kill everything, even the parts you can’t see – so let’s have a look at how to do that now.
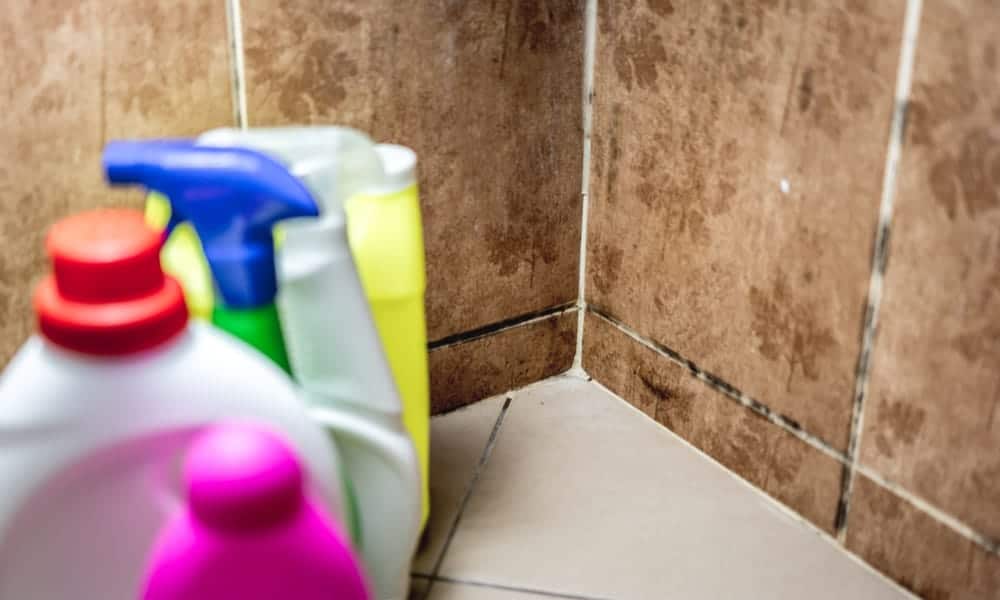
Different methods for getting rid of black mold from Shower Caulking
Here are a few suggested methods for using some of these products to clean black mold from your shower caulk.
Tip: If the shower is not used often, dust it down before using any of these cleaning methods to avoid creating a dusty sludge.
1. How To Remove Mold From Shower Caulking with Vinegar
Vinegar is well-known as a universal cleaning agent, and this is largely due to the fact that it contains acetic acid. This will not only help remove the visible black mold but will also kill the remaining microbes and spores you can’t see to stop the mold coming back.
Vinegar is effective against 82% of mold varieties, and another advantage is that it isn’t harmful to the environment.
It’s best to use cleaning-grade white vinegar since it’s cheaper than food-grade vinegar. However, if you don’t have any to hand, food-grade vinegar like wine or cider vinegar will work just as well.
What you’ll need:
- Vinegar
- Spray dispenser
- Brush such as an old toothbrush
- Sponge or wet cloth
- Bowl
Vinegar is quick and easy to use, and it’s gentle on the environment. It’s a good option for mild to medium mold stains.
Step 1. Pour the vinegar into the spray dispenser
Pour a cup of vinegar into the spray dispenser. If you have a larger area to clean, you may need more.
Step 2. Spray the vinegar on and leave it to act
Spray the vinegar onto the affected area and leave it for about half an hour or more to take effect. It should soak into the caulk and kill and mold living there.
Step 3. Scrub with a brush
Take an old toothbrush or something similar and scrub the caulk affected by the mold. You should find that, with a little bit of effort, it comes off relatively easily.
Step 4. Wipe down with a sponge and inspect
Once you’ve finished scrubbing, use a sponge or cloth to wipe the area down with warm water from a bowl and inspect the area to see if any mold remains.
Step 5. Repeat as necessary
If you find a little mold has managed to survive the scrubbing, simply repeat the procedure once or twice more until you achieve the desired results.
2. How To Remove Mold From Shower Caulking with baking soda
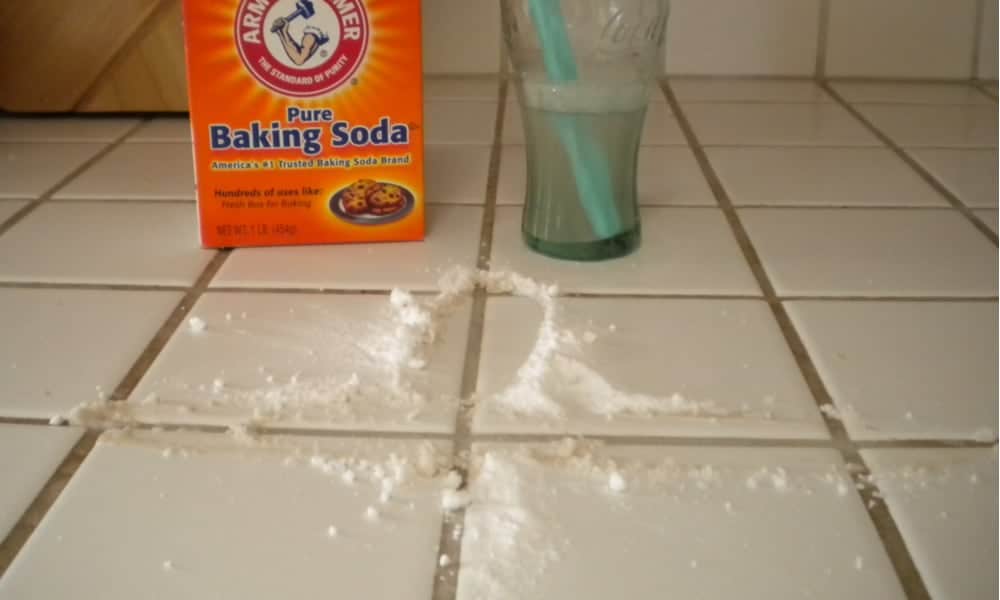
Another green option, bicarbonate of soda – also known as baking soda – is a universal and inexpensive cleaning product that most people will have in their homes. To use it, you can dissolve it in water or mix it into a paste.
As with vinegar, it’s best to use cheaper cleaning-grade bicarbonate of soda rather than food-grade baking soda because of the price.
With mold, bicarbonate of soda is particularly useful since it will help extract some of the moisture from the caulk as well as helping to remove the mold there.
Like vinegar, it’s more suited for use on mild to medium stains.
What you’ll need:
- Bicarbonate of soda
- Cup for mixing
- Spatula or old spoon
- Brush such as a toothbrush
- Sponge
Step 1. Mix up a paste of bicarbonate of soda
Start by mixing up a paste of bicarbonate of soda and water in a cup. Use a ratio of 1:1 bicarbonate of soda to water.
Step 2. Apply the paste to the affected area and leave it to work
Using an old spoon or a spatula, apply the paste to the area of caulk that is affected by the mold. Leave it to do its work for at least half an hour – or longer if possible.
Step 3. Scrub the affected area
Using an old toothbrush or something similar, give the affected area a good scrub.
Step 4. Sponge down and inspect
After scrubbing, sponge down the area to wash away all the bicarbonate of soda and mold and check the results.
Step 5. Repeat as necessary
If there is still some mold present, repeat the process once or twice more to see if you can get rid of the rest.
Tip: Instead of mixing up a paste, you can simply dissolve some bicarbonate of soda in water and use it as a spray like in Method #1. A quarter of a tablespoon in a spray bottle will be about the right amount.
Tip: Instead of using water in your paste or spray, you can use vinegar instead. That way, your cleaning solution will be even more potent.
3. Borax

Borax is similar to bicarbonate of soda but is more potent. To use it, follow the same method as explained for bicarbonate of soda above. Borax can be picked up at hardware stores since supermarkets don’t usually carry it.
4. How To Remove Mold From Shower Caulking with Chlorine bleach
Chlorine bleach is a more heavy-duty cleaning agent that you can try on more extensive mold growth. Ensure you have the proper protective items like gloves and goggles before using it. Also, make sure the room is properly ventilated with the windows open.
What you’ll need:
- Chlorine bleach
- Bucket
- Sponge
- Brush
- Rubber gloves
Step 1. Mix up a bleach and water solution
In a large bucket, mix up a solution of part bleach and part water – use about one cup of bleach with a gallon of water.
Step 2. Use the sponge to wipe the affected area and leave it to work
Put on a pair of rubber gloves and then use the sponge with the bleach solution to gently wipe the area that’s affected by the mold growth. Leave the bleach solution in place for half an hour or more.
Step 3. Scrub with a brush
Take an old toothbrush or something similar and give the affected area a good scrub to remove the mold and any other dirt.
Step 4. Wipe down with a sponge and warm water
Rinse the sponge clean of bleach and use it to wash the caulk down with warm water.
Step 5. Inspect and repeat
Check your results and repeat as necessary.
Tip: You can also use a spray bottle to apply the bleach instead of a sponge.
Tip: You can use hydrogen peroxide as a substitute. Simply apply some directly to the sponge and use it to wipe the stains. After leaving it to act, scrub it with a toothbrush and then rinse off with warm water.
5. How To Remove Mold From Shower Caulking with Chlorine bleach (alternative method)
Here’s an alternative method for chlorine bleach you might like to try with more severe mold growth.
What you’ll need:
- Chlorine bleach
- Bucket
- Cotton balls
- Rubber gloves
- Brush
- Sponge
Step 1. Mix up the bleach solution as above
Mix up a bucket of bleach solution with a ratio of one cup of bleach to a gallon of water
Step 2. Apply to the caulk with cotton balls
Wearing rubber gloves, take a cotton ball and dip it into the bleach solution. Give it a gentle squeeze so some of the solution comes out. However, don’t squeeze too much out – it should be damp but not dripping.
Push the cotton ball into the corner of the wall to cover part of the caulk, then repeat with as many cotton balls as necessary to cover the whole stain.
Step 3. Leave to work
Once you have enough cotton balls in place to cover the whole affected area, leave them for at least 15 minutes or up to half an hour if you can. This will give the bleach time to kill the mold – along with other bacteria and germs that are there too.
Step 4. Remove the cotton balls and scrub
Remove the cotton balls and give the affected area a scrub with an old toothbrush or something similar.
Step 5. Sponge down and inspect
Use a sponge and some warm water to rinse down the affected area. Check to see the results – and repeat once or twice if you aren’t satisfied.
6. How To Remove Mold From Shower Caulking with Ammonia (Most Power)
Ammonia is the most potent cleaning agent of all the ones we mention here and is suitable for all kinds of mold growths. However, it can damage skin and eyes and also gives off strong fumes, so proper precautions and ventilation are essential.
What you’ll need:
- Ammonia
- Spray dispenser
- Brush such as a small toothbrush
- Sponge
- Rubber gloves
- Goggles
- Respirator
- Fan (recommended)
Step 1. Ensure the room is properly ventilated
Ensure the room is properly ventilated by opening all windows and doors and turning on the bathroom fan if there is one. If you have an electric fan, use that to increase the airflow in the room.
Step 2. Wear correct protective gear
Make sure you are wearing the proper protective equipment, including rubber gloves, eye protection and a ventilator. You can buy a ventilator from your local hardware store if you don’t have one.
Tip: If you don’t have a ventilator, consider trying a different method instead of pressing on without one – ammonia vapors are something you really don’t want to be breathing in. Also, note that a regular mask won’t give you enough protection.
Step 3. Pour the ammonia into the spray dispenser
Carefully pour the required amount of ammonia solution into the spray dispenser bottle.
Step 4. Spray generously onto the affected area
Apply the ammonia to the area that’s affected by mold infestation. Spray extra into the areas where the growth is particularly marked as well as into the corners.
Step 5. Leave to act for at least 10 minutes
Leave the ammonia to take effect. You’ll want to leave it in place for at least 10 minutes or longer.
Step 6. Scrub with a brush
Using a small brush like an old toothbrush or something similar, give the caulk a good scrub.
Step 7. Sponge down
After scrubbing, use a sponge to wipe the caulk down with some warm water.
Step 8. Inspect and repeat as necessary
Check the results – and repeat the process if required.
Warning: Never mix bleach and ammonia. When they combine, they give off a toxic vapor that can poison you if you breathe it in.
7. Hydrogen peroxide bleach

Hydrogen peroxide is a type of bleach that’s commonly used to dye people’s hair – hence the term “peroxide blonde”. However, it can also be used as a cleaning agent, and it’s highly effective at removing mold from shower caulk.
8. Replace the Caulk
If the caulk doesn’t respond to cleaning, you may have to replace it totally to restore your shower aesthetics. Buy a caulk gun and a shower–appropriate caulk for tubs and tiles that is waterproof.
Silicone caulks are more durable than latex caulk although they are easier to use. Apply a caulk remover gel for about 20 minutes to soften the caulk. Use a utility knife to scrape off the old caulk.
Place some tape over the edges of the tiles such that only the caulk is exposed. Cut the tip of the caulk nozzle to be as wide as the exposed space for the new caulk.
Apply the caulk along the caulk and remove excess caulk by dipping your hand in water and running it along the caulk line. Remove the tapes gently while the new caulk is still damp.
How can you prevent black mold from coming back?
If you have successfully cleaned the mold from your shower caulk, you’ll want to prevent it from returning, and if mold has never grown in your bathroom, you’re unlikely to want to wait for it to start – so here’s how to stop it coming back or growing in the first place.
1. Ensure proper ventilation
Proper ventilation in your bathroom will ensure everything is able to dry more quickly, depriving the mold of its preferred habitat. Use an extractor fan if you have one, and at the very least, leave windows open after showering to allow the humidity to dissipate.
2. Use a dehumidifier
Other than using an exhaust fan and opening windows, you should also do everything else you can to reduce humidity levels in your bathroom.
If humidity is high and difficult to control, a dehumidifier is a good option – although it will need to be left plugged in and emptied regularly if humidity is high.
3. Install a humidity meter
Another idea is to install a humidity meter in your bathroom to monitor the humidity levels. This way, you will know how high the humidity is and whether you need to take further steps to reduce it. Aim to keep it as far below 60% as you can.
You can pick up an inexpensive humidity meter from your local hardware store.
4. Remove wet towels
Removing all sources of excess moisture in the air is another good way of reducing overall humidity further – and a simple way to do this is not to leave wet towels in the bathroom after use.
5. Dry shower walls and tiles
It might seem like overkill to some people, but if you have a big problem with humidity in your bathroom, consider drying the shower walls and wiping off soap scum after each time you shower. Wiping the humidity from bathroom tiles will also help.
6. Clean weekly
Regular maintenance is the key to keeping all unpleasant marks and stains at bay in your bathroom, not just the ones on shower caulk caused by black mold. This means you should clean your bathroom thoroughly once a week – which will stop mold taking hold.
7. Install mold-resistant caulking
If you need to replace your calking, choose a mold-resistant version like acrylic caulk. This is another way of minimizing the opportunities for mold to develop.
FAQ
Is black mold dangerous?
In most healthy people, black mold isn’t dangerous. However, if the growth is significant, amounts of black mold and its spores will be present in the air, which can have a similar effect to pollen.
People with allergies may suffer if there is too much black mold present, and it may also cause some people to cough or have difficulty breathing, especially in those with asthma.
When is it necessary to replace caulking?
If your caulking is seriously affected by black mold and you can’t clean it all off, even with the methods explained above – or if it keeps returning – it might be better to replace the caulking completely.
Strip it off with a caulk remover or utility knife and give the area behind the old caulk a thorough clean before you apply the new caulking – and consider using a durable mold-resistant caulk when you apply the new layer.
Do you need to use protective equipment when cleaning?
When using powerful cleaning products, you should always use the right protective gear to prevent potential accidents.
When working with vinegar or bicarbonate of soda, you’re safe without any protective equipment – but with any bleach mixture, you should wear gloves and protective eyewear at the minimum.
With ammonia, you should also wear a respirator – and if you don’t have one, it’s inadvisable to continue with that product.
No need to replace the caulking just yet
So as we have seen, if black mold starts to develop in your shower caulk, there are several methods you can employ to get rid of it before you need to start thinking about removing the caulk and starting again.
However, if the stains are left long enough to become extremely encrusted, removing the caulk might be your best option – in which case, you should learn your lessons and take steps to ensure the black mold doesn’t return after the new caulk is in place.