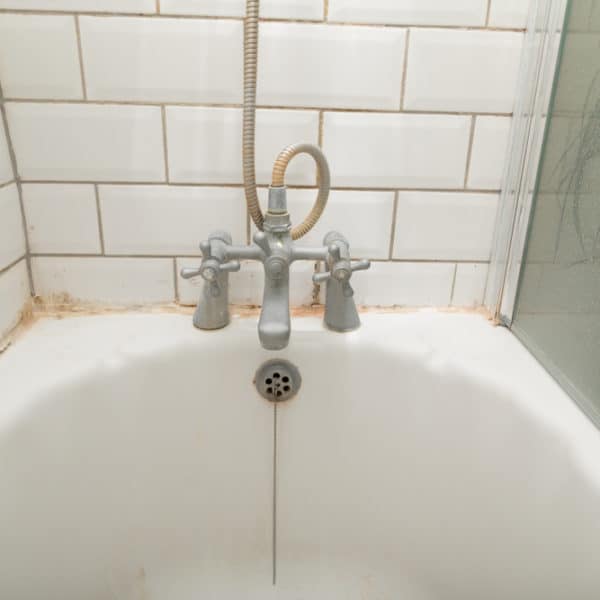
If your bath begins to drain slowly or stops draining completely, it has probably become blocked by a build-up of hair and grime. This means you will need to remove the drain and unblock it. You will also need to remove an old drain to replace it with a new one.
Of course, you can call in a professional plumber to do it for you. However, removing a drain is quite a simple task, and many people will be able to DIY it. If you are interested in trying it out for yourself, here’s our guide for how to remove a bathtub drain.
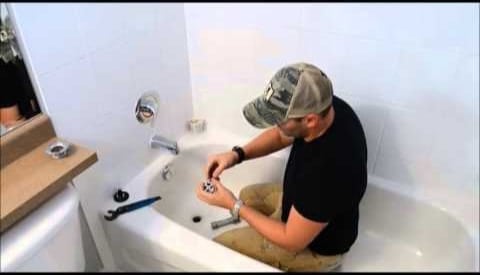
We also had a look on YouTube, and there are a whole lot of video showing you how to do this job. There also seem to be about as many different techniques as there are videos, but this is a good one – so check it out if you want to see how it’s done.
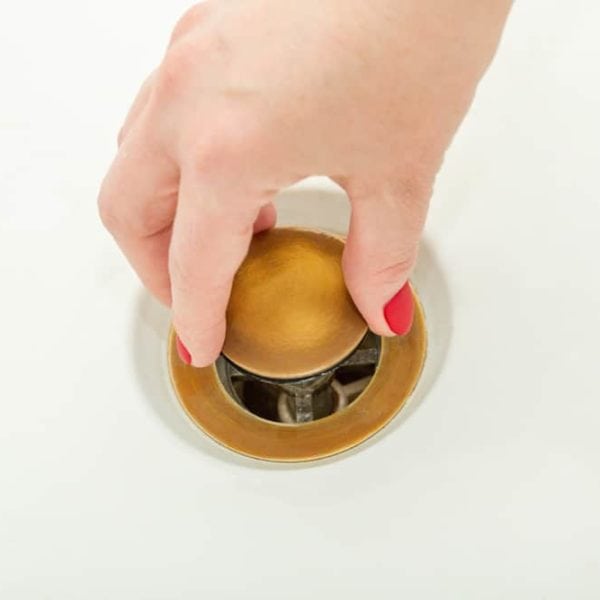
Step 1. Remove the stopper
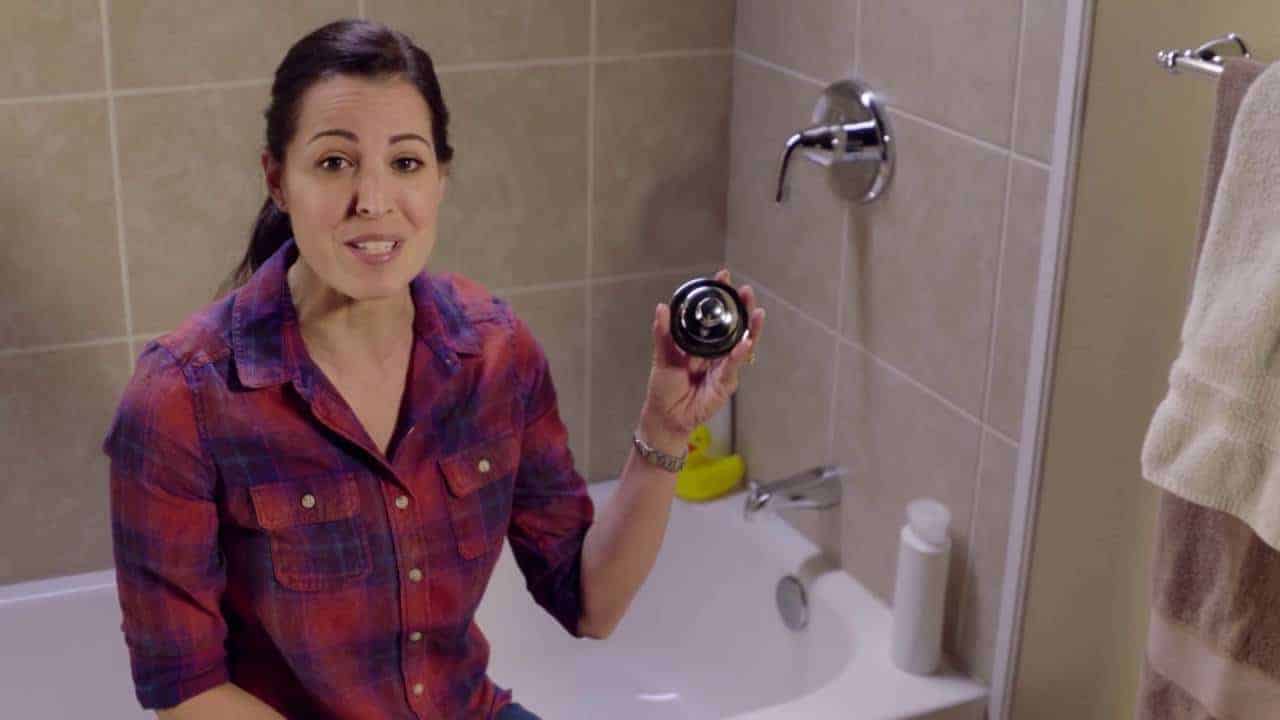
There are many different types of stopper, and the first thing you need to do before you can remove the bathtub drain is to remove the stopper. Here are examples of how to do it with two of the more common versions.
-
Pop-up stopper
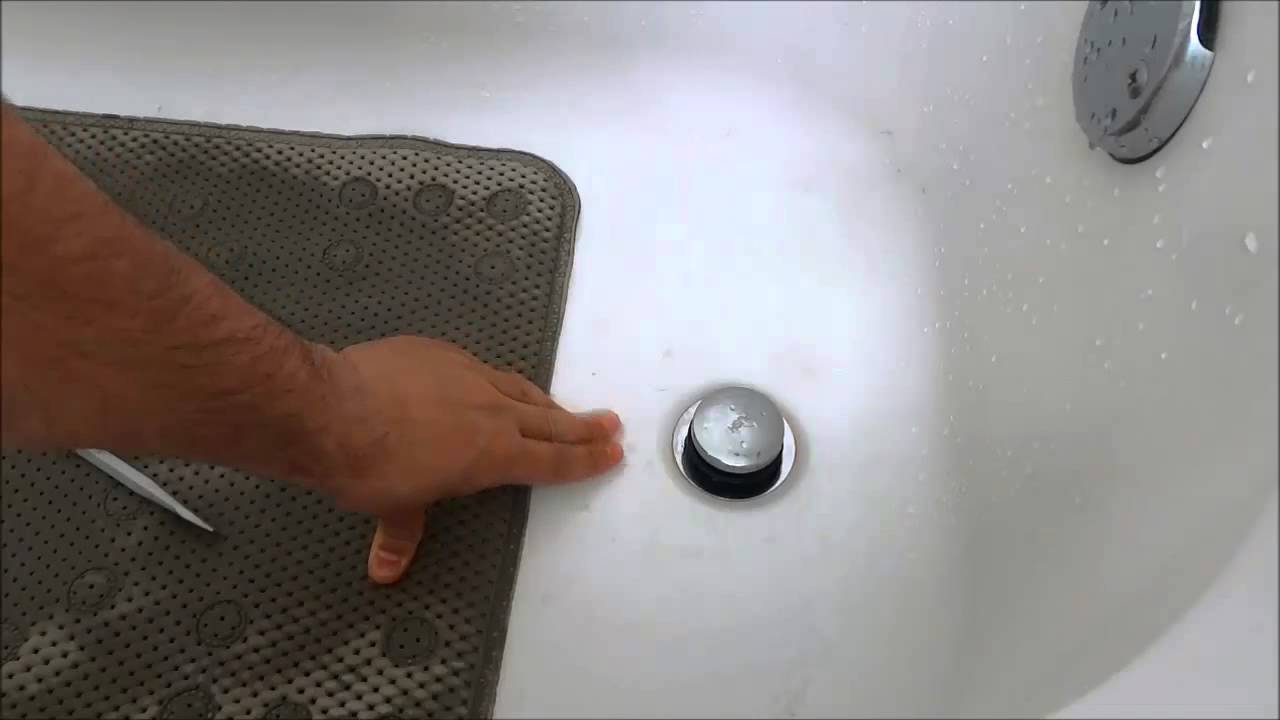
Pop-up stoppers are the kind where you push it down to close it – and then push it once more to make it pop up again when you want to open it.
To remove one, set it to the open position and turn the stopper in a counterclockwise direction to unscrew it.
Next, unscrew the shaft. With some models, you may need to use a screwdriver to do this.
-
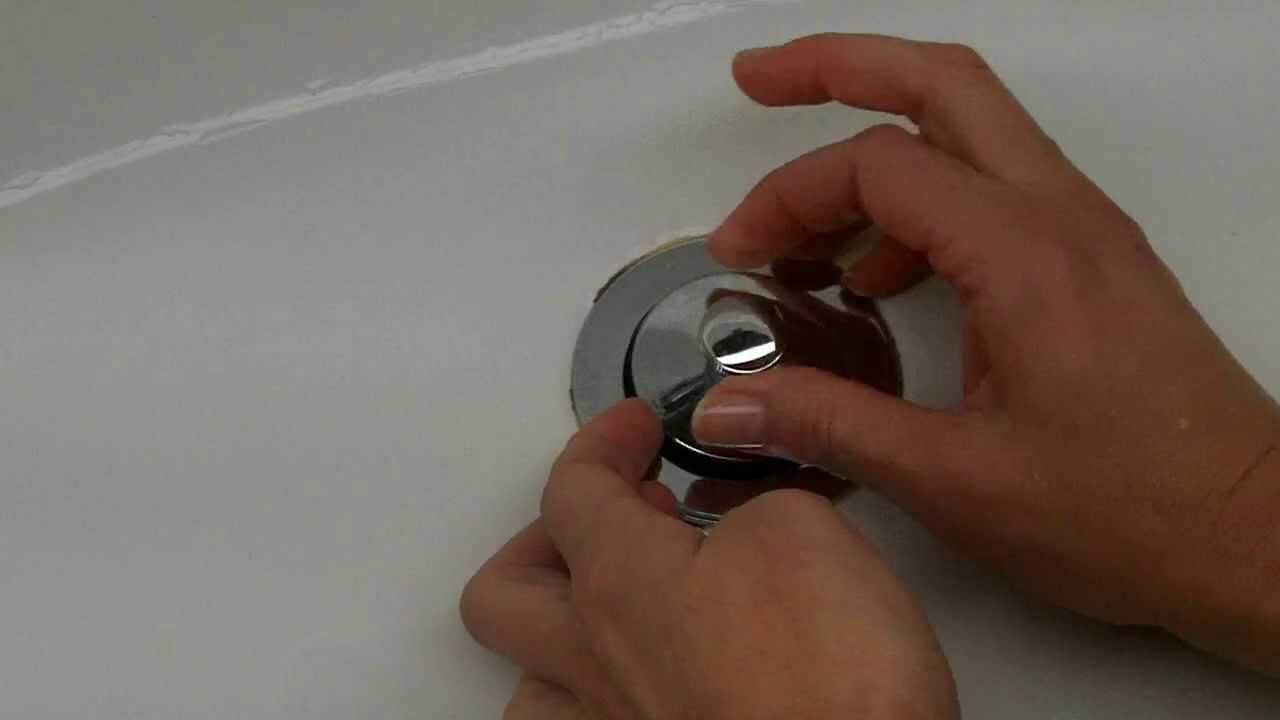
Push-pull stoppers
These stoppers are opened and closed by turning a knob on top. To remove one, first, set it in the open position. Hold the body of the stopper in one hand and turn the knob in a counterclockwise direction with the other to remove it.
Once you have removed the knob, you can easily unscrew the rest of the stopper and remove it from the drain.
Note that the procedure is the same for any kind of bathtub, including corner bathtubs, free-standing bathtubs, walk-in bathtubs, and others.
-
Other types
There are many other types of bathtub stopper, and we don’t have space to go into the details of how to remove every kind here.
If you have another kind of stopper, you will need to work out how to remove it to give you access to the drain below. However, for most stoppers, the principle is fairly similar. You will just need to work out how it is attached and then remove the necessary parts.
Once you have removed your stopper, you are ready to move on to the next step.
Step 2. Remove the screen
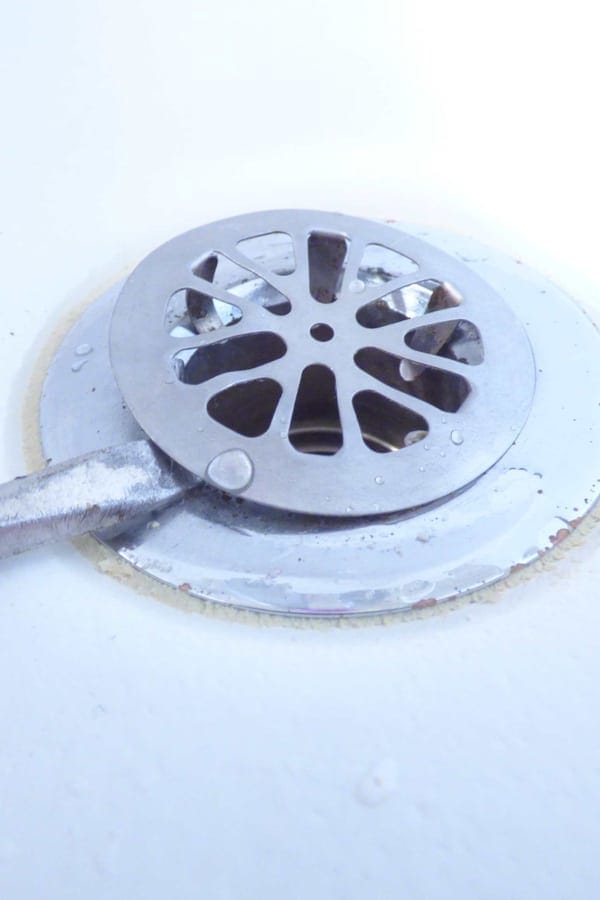
The screen is the grille that is designed to prevent larger objects from falling into the drain. You also need to remove this before you can gain access to the drain.
Removing it should be easy – simply use a screwdriver to pry it off. Some models have a screw, and if yours does, you just need to unscrew it before you can lift the screen off.
Step 3. Heat the drain to soften the sealant
Once the stopper and the screen have been removed, you’re ready to move onto the main part of the work.
The drain will have been fitted with some kind of sealant like plumber’s putty. To make removal easier, the first thing to do is to soften it up.
You can do this by heating it. The easiest way is to use a hairdryer – simply use the hairdryer to blow hot air into the drain for a few minutes before removing it.
Step 4. Remove the drain
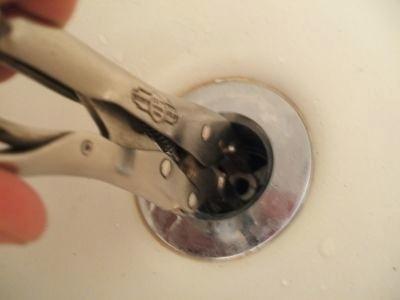
The best way to remove the drain itself is to use a drain wrench. These are special tools that are designed specifically for this purpose. If you use a drain wrench, there is less chance of damaging the drain as you try to remove it.
Drain wrenches have different heads, so the first thing you need to do is find one that fits your drain – it should fit comfortably over the cross at the bottom of the drain.
With the drain wrench in place, turn it counterclockwise to unscrew the drain. This may require some strength, depending on how tight the drain is screwed in and how stiff it is.
To give yourself extra force when turning the drain wrench, you can insert a screwdriver and use it to turn the wrench.
Once you manage to loosen it, simply continue turning until the drain comes free.
If you don’t have a drain wrench, you can also use needle-nose locking pliers. However, this is not preferable since there is more chance of breaking the cross at the bottom of the drain.
To do this, push the pliers into the drain and fix them onto the cross. It is important that you grasp the hub of the cross and not just one of the arms. Otherwise, there is a very good chance you will break the drain.
With the first pair of pliers in place, use another pair of pliers to grasp them and turn. Again, it may be quite stiff at the beginning, but after the drain begins to move, it will be easier going. Keep turning until the drain comes out.
Step 5. Clean the seal
With the drain removed, you can now clean the old seal. Pick off any old sealant that remains around the drain – you may need to use a knife or a screwdriver to scrape it off. Once you have removed all the old sealant, clean the drain well with a cloth and a bathroom cleaning product.
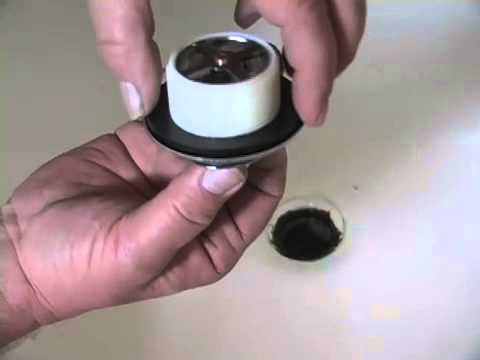
Step 6. Install the new drain
Apply plumber’s putty around the base of the new drain and screw it in using the drain wrench or the pliers as before. As you screw it in, some of the putty will come out around the seal. When you have finished screwing the drain in, you then need to scrape off this putty.
Next, fit the screen if you have one and then fit the stopper. Once everything is in place, you are ready to start using your comfortable bathtub again.
Save yourself some cash by doing it yourself
If you consider yourself even slightly handy, with just a few tools, you can easily remove your bathtub drain by yourself. This will save you a bit of cash that you would otherwise have had to pay the plumber – and at the same time, you will improve your DIY skills.
Removing a bathtub drain is a simple task that just about anyone can manage. If this is something you need to do, just follow our step-by-step guide and you should be able to manage it without too much trouble.