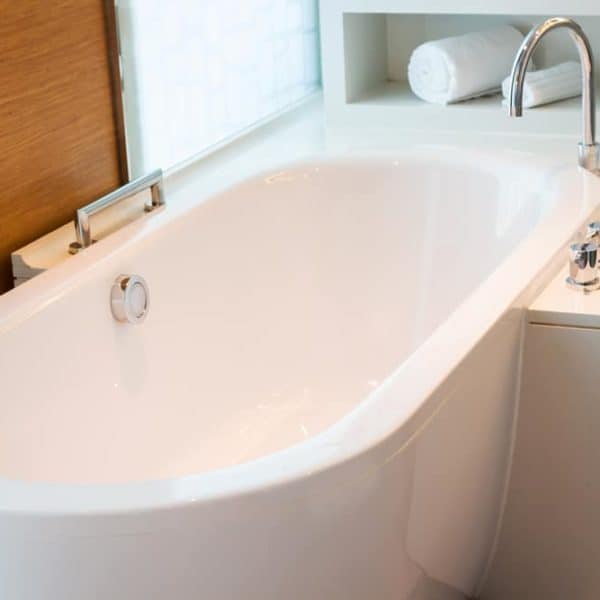
Painting an old standalone or corner bathtub serves as an affordable way to renew this item. Surprisingly, this task does not require much effort as it involves covering the cracks, sanding the tub, and adding paint. Overall, it’s cheaper than demolishing and replacing the entire bathtub and bath surround.
Now that you know the benefit of slapping paint on the tub, you might be interested in trying out this idea. We will show you how to paint your bathtub with ease with the following steps.
Easy Steps on How to Paint Your Bathtub
1. Remove the Caulk
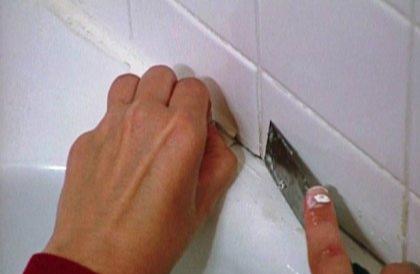
Soften the caulk by spraying some isopropyl alcohol to the tub’s caulk. You can also use an old rag to apply the liquid. With gloved hands, use a caulk removal tool to scrape the caulk from the tub’s surface.
2. Get Rid of the Old Caulk
Ensure you toss the scraped caulk into a nearby garbage bag. Since the debris has no use, toss it into your trash can.
After scraping, if you notice any signs of caulk, there is no need to worry because you will remove it at the sanding stage.
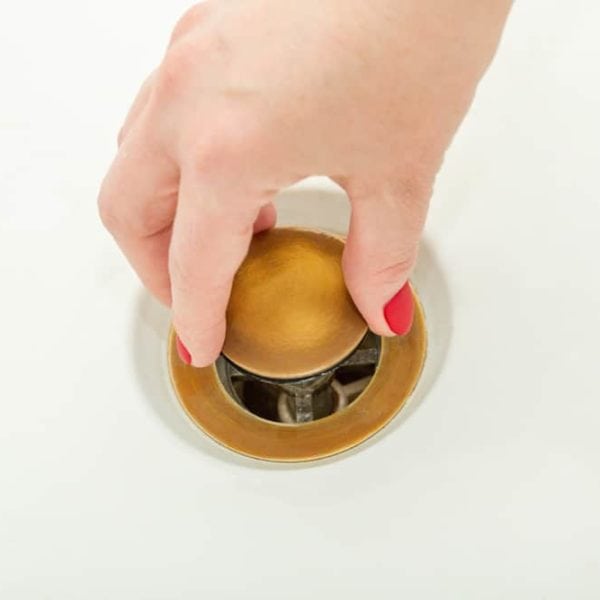
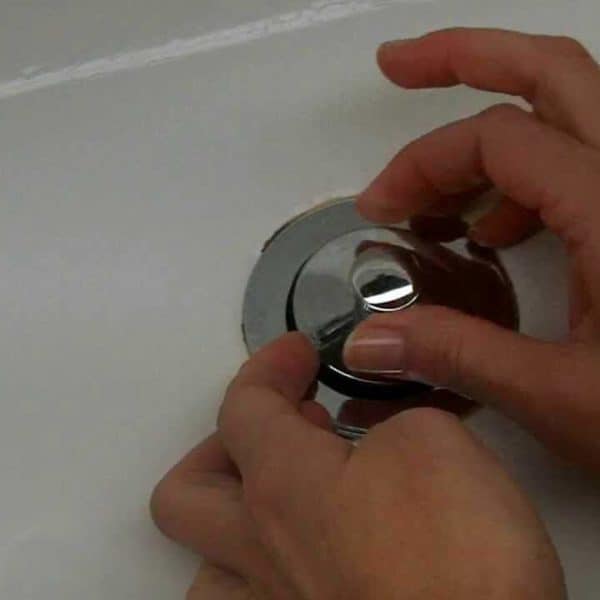
3. Extract and Clean the Drain and Spout
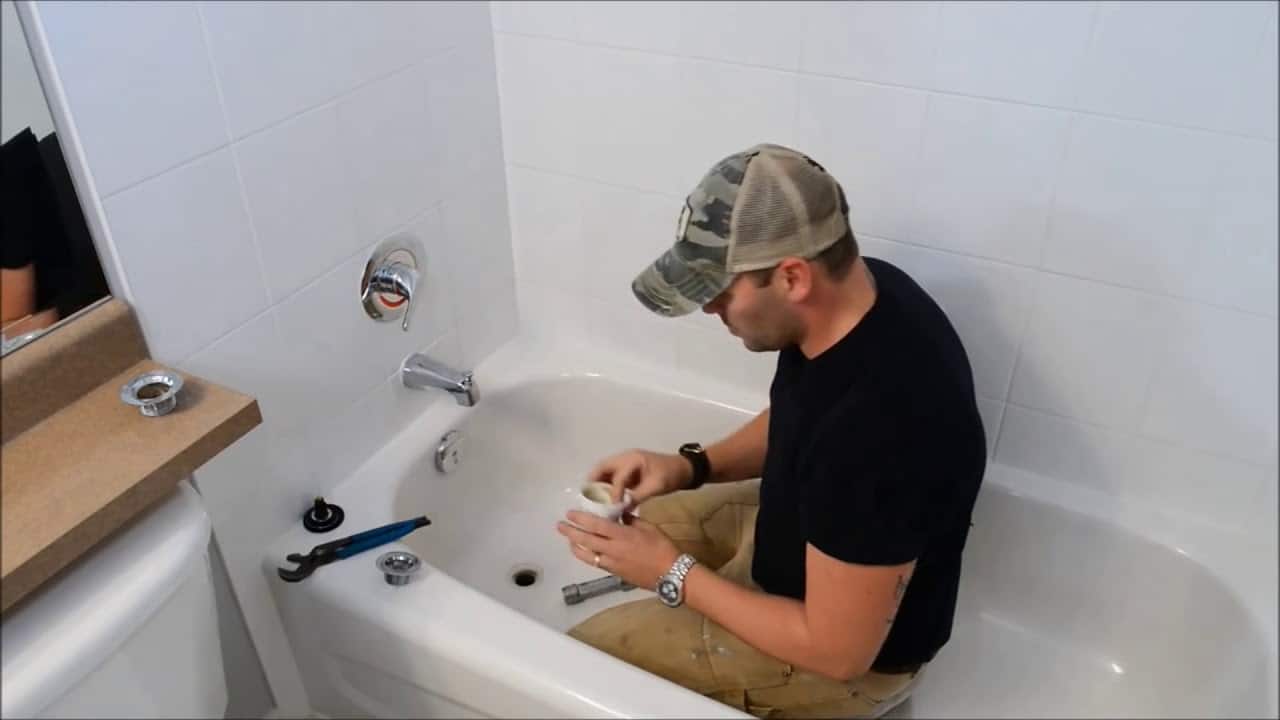
Unscrew the drain, water spout fixtures, and keep it safely. If the screws are tight, add some oil for easy removal.
For a few minutes, soak the fixtures in a container of dish soap and warm water. Scrub stubborn stains with an old toothbrush.
4. Create Airflow
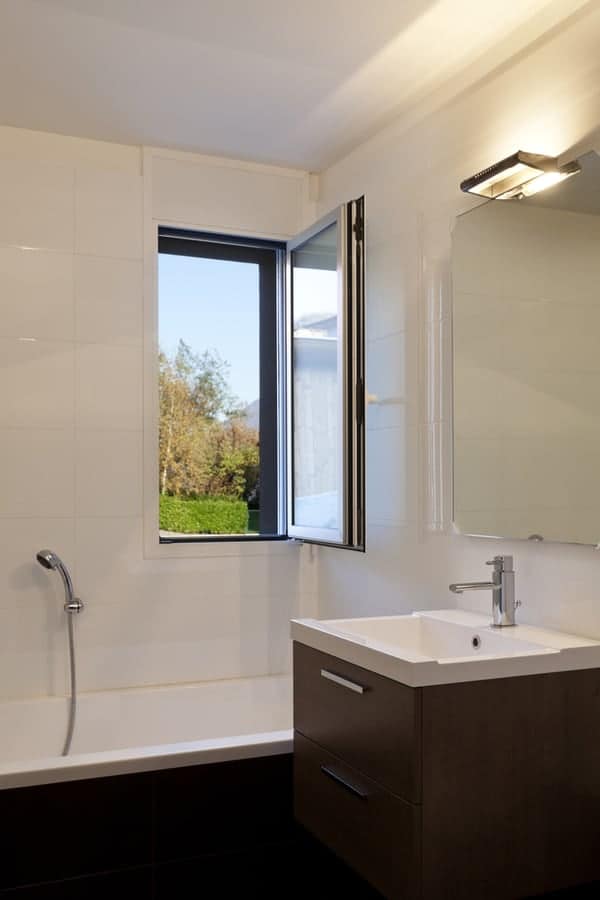
If you want to paint the bathtub, it’s best to open your bathrooms windows or bring in a fan. These steps are important because they will keep you safe from bleach fumes which you will encounter during your painting project.
5. Prepare a Bleach Solution
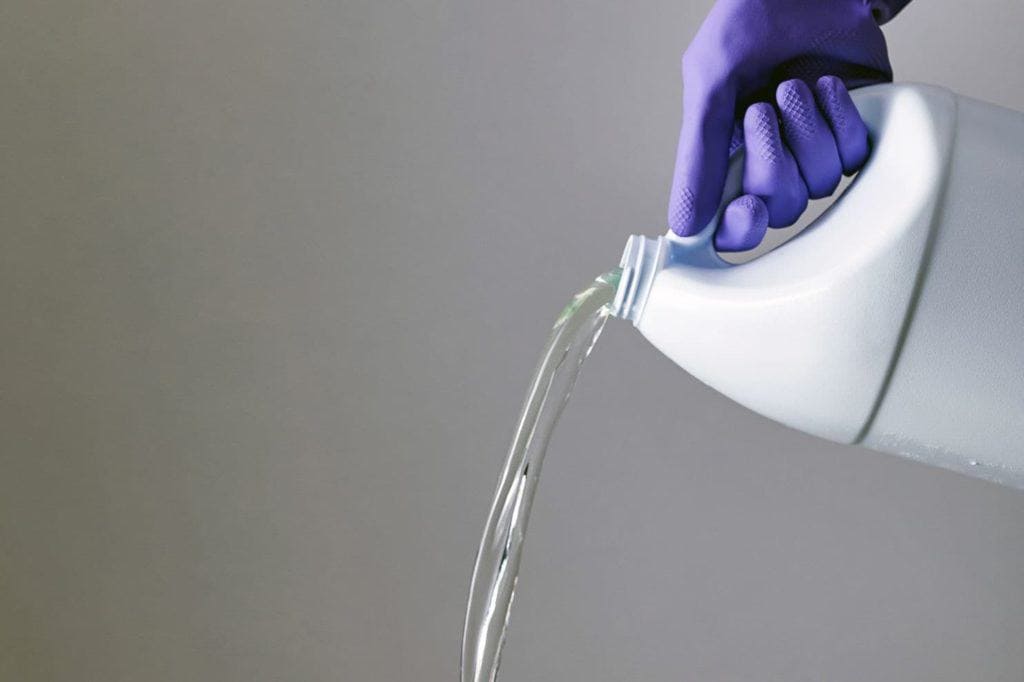
In a big bucket, mix 10% bleach with 90% water. To prevent spills, do not fill the bucket to the brim. Remember to wear gloves and old gloves during this stage.
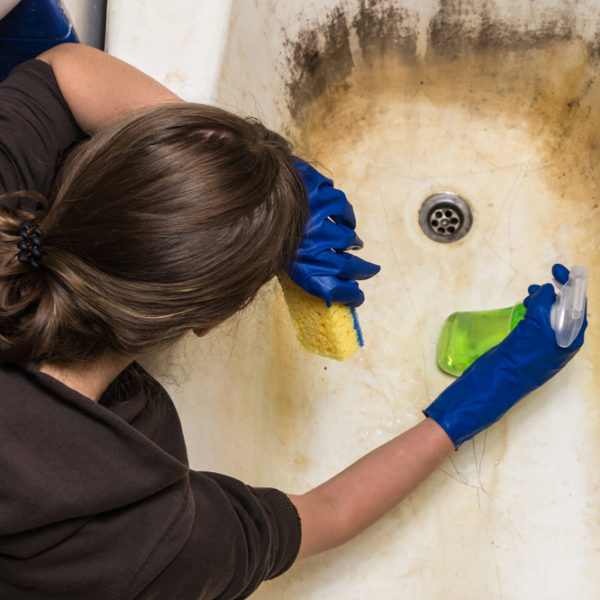
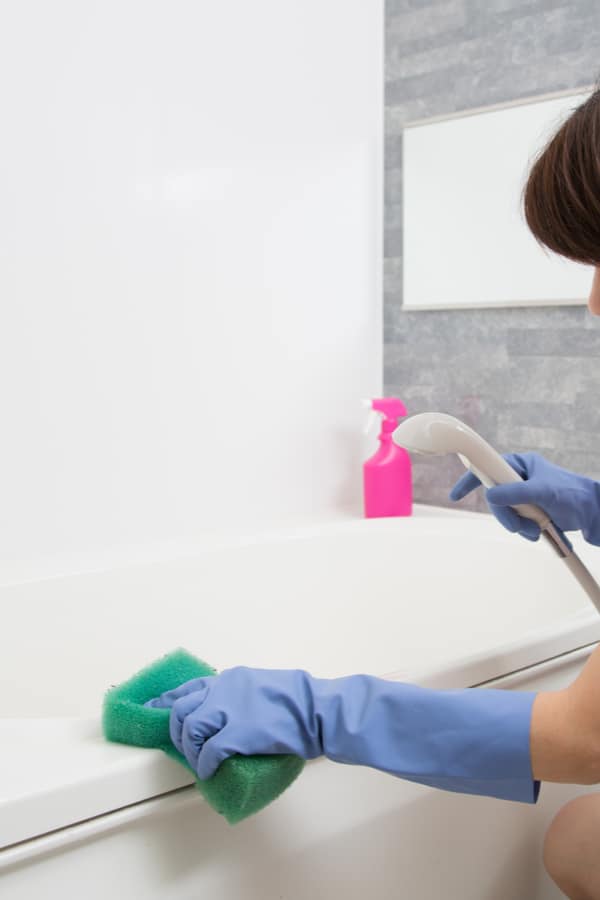
6. Clean the Bathtub
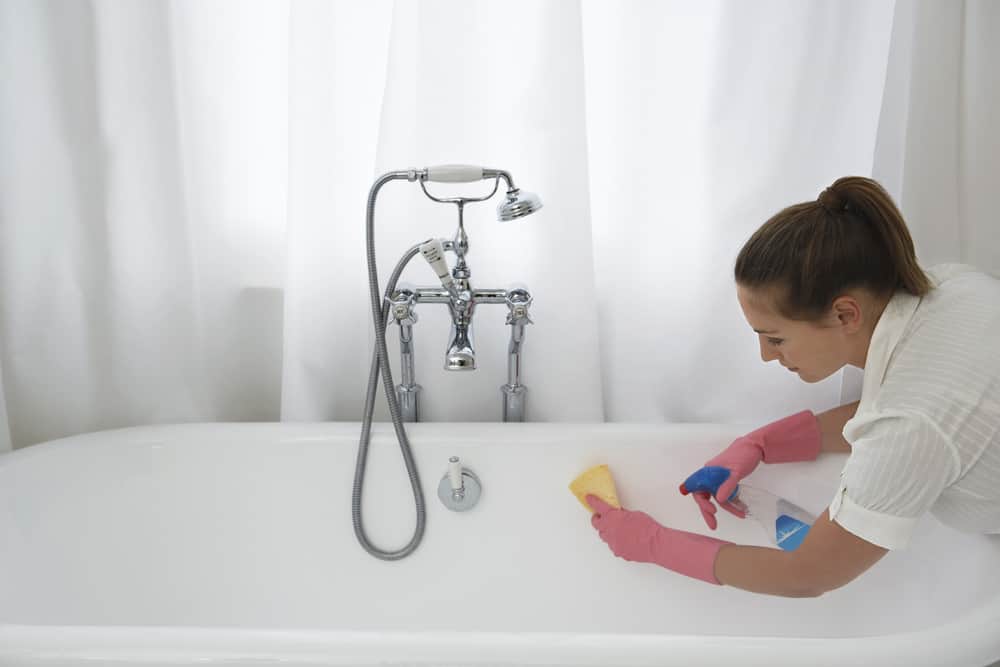
Dip a sponge into the bleach solution and start cleaning the interior and exterior of the tub. After finishing a particular section, squeeze the sponge and dip into the solution for the next round of cleaning.
Rinse the tub with water when you have completed the process. Ensure you clean the tub properly because paint sticks easily to tidy surfaces. It will also prevent you from repainting the bathtub in the nearest future.
7. Start another Round of Cleaning
Sprinkle an abrasive cleaner on the tub. Scrub again with a fresh wet sponge, and rinse the bathtub with more water. If there are no cleaners in your home, use some baking soda. Remember to rinse and squeeze the sponge after working on each part of the tub.
8. Wipe Down the Tub with Acetone
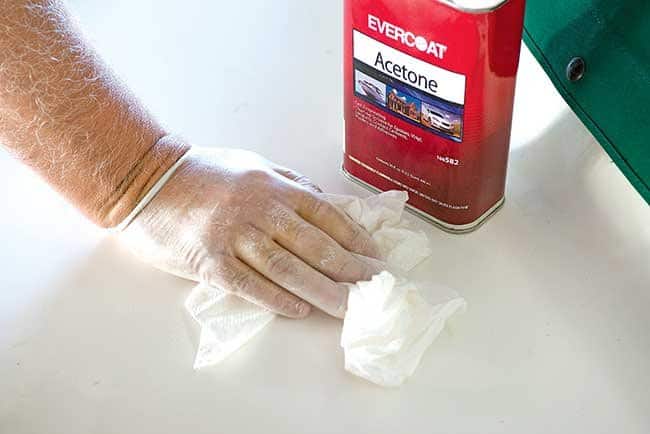
Pour some acetone on a fresh washcloth and wipe all parts of your bathtub. This substance helps remove the residual cleaner, stubborn stains, and extra filth. Acetone can harm your skin, so we suggest that you still use your gloves for this step.
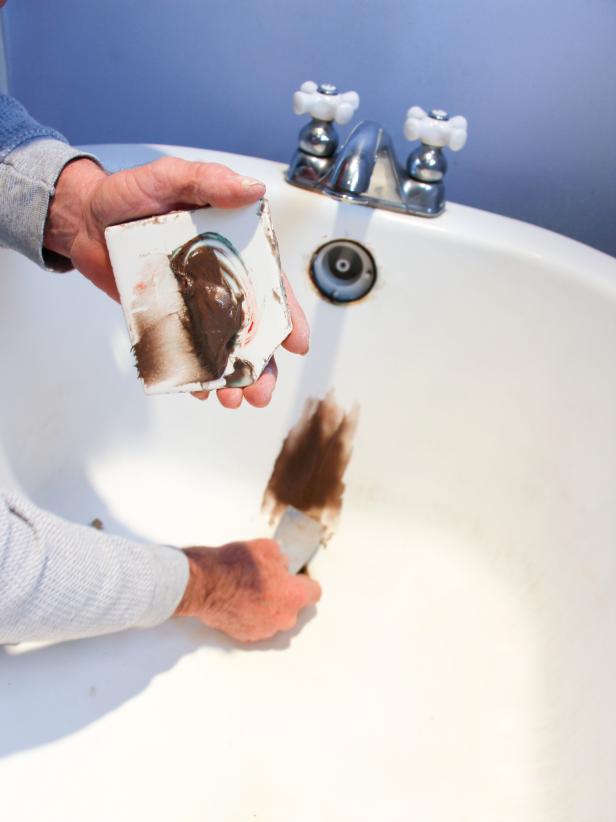
9. Make some Epoxy Putty
Tear open a box of epoxy putty, read the instructions, and work the substance between gloved fingers. Continue working the putty until it becomes elastic. You can swap the putty for tub repair paste that is sold in many retail stores.
10. Cover Cracks and Holes
Place the putty over chips and cracks. Try to overfill the spaces and press down firmly to completely cover the spaces. At this point, it does not matter if the putty does not blend with the service.
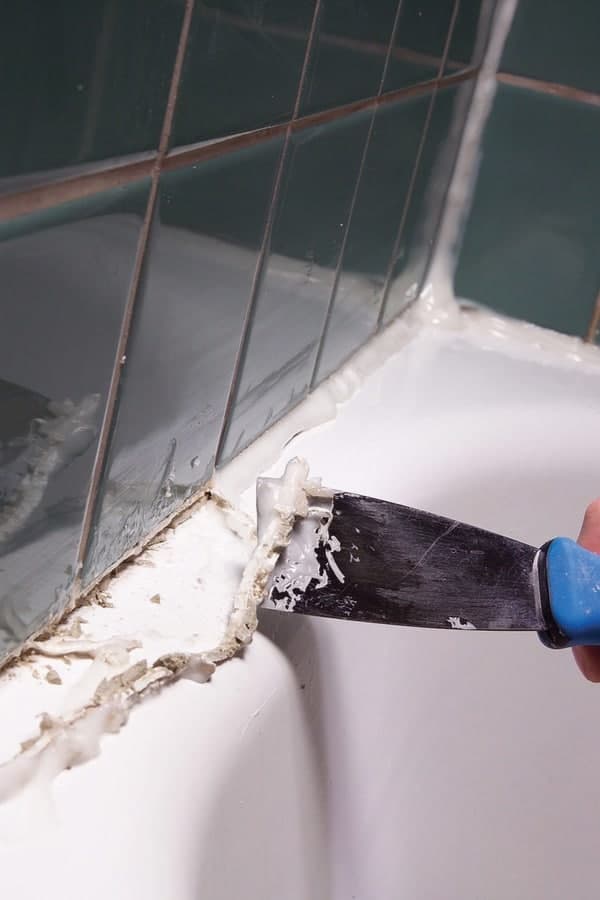
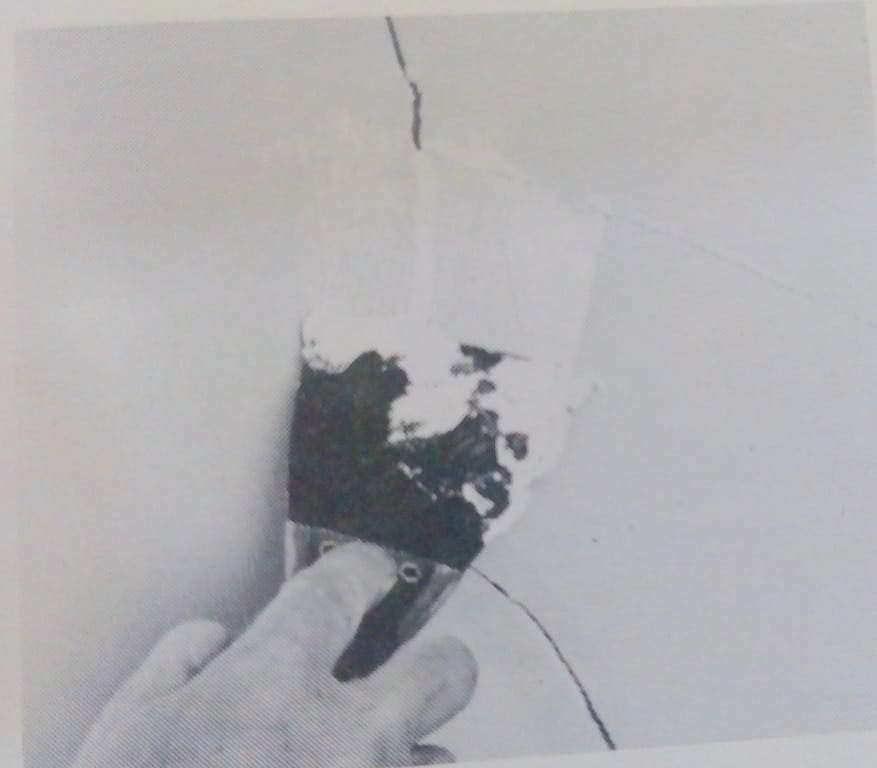
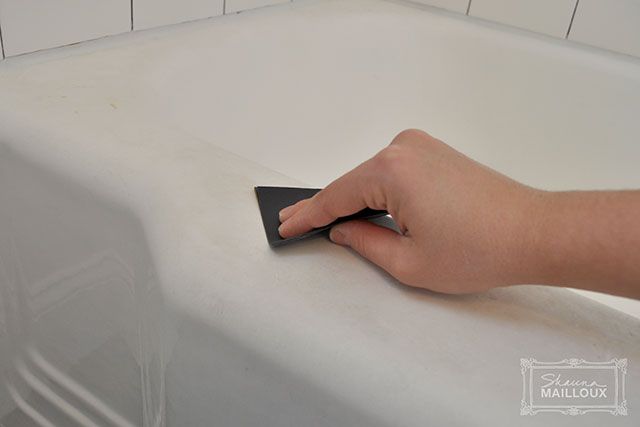
11. Smoothen the Putty
Place a putty knife flat against the surface of the tub. Softly scrape the sections of the bathtub covered with the epoxy putty. Regularly clean the blade with a moist paper towel.
Flatten the blade of the putty knife against the tub and scrape filled areas gently. Adjust the knife at curved areas. Ensure you clean it from time to time with a damp towel.
12. Sand and Clean Out the Bathtub
Sand the entire tub with wet/ dry 400 grit sandpaper. Repeat the process with a 600 grit paper. During both instances, place the paper on a sanding block and wet the surface of the tub. Sprinkling water helps reduce dust but it is best you wear a respirator when carrying this out, particularly if you have a small bathroom.
After sanding, clean the tub with fresh water and wipe down the outer sides to remove any mess. To make it perfectly dry, use clean towels on all parts of the bathtub. You have to ensure that every part of the tub is dry, so use as many towels as required.
13. Prepare Yourself and the Bathroom for Painting
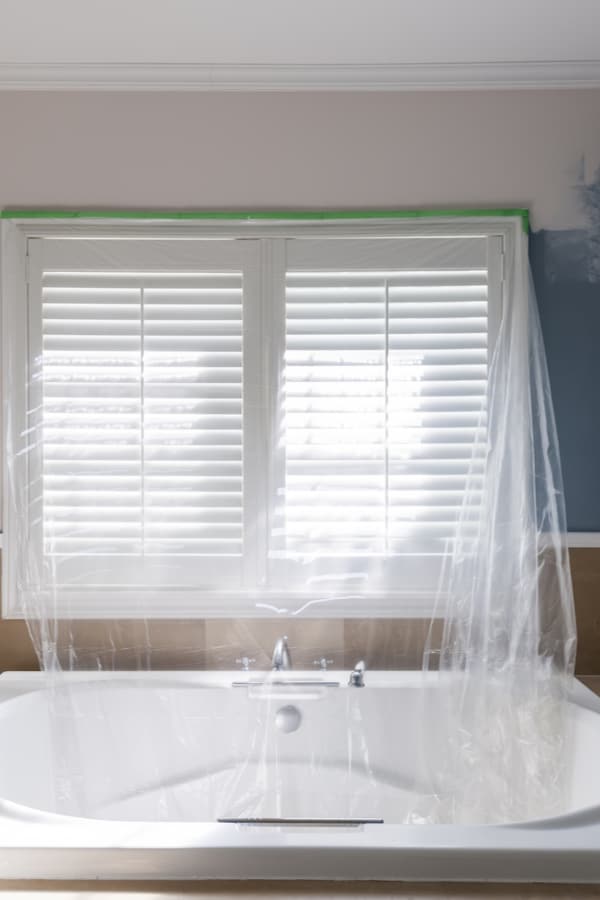
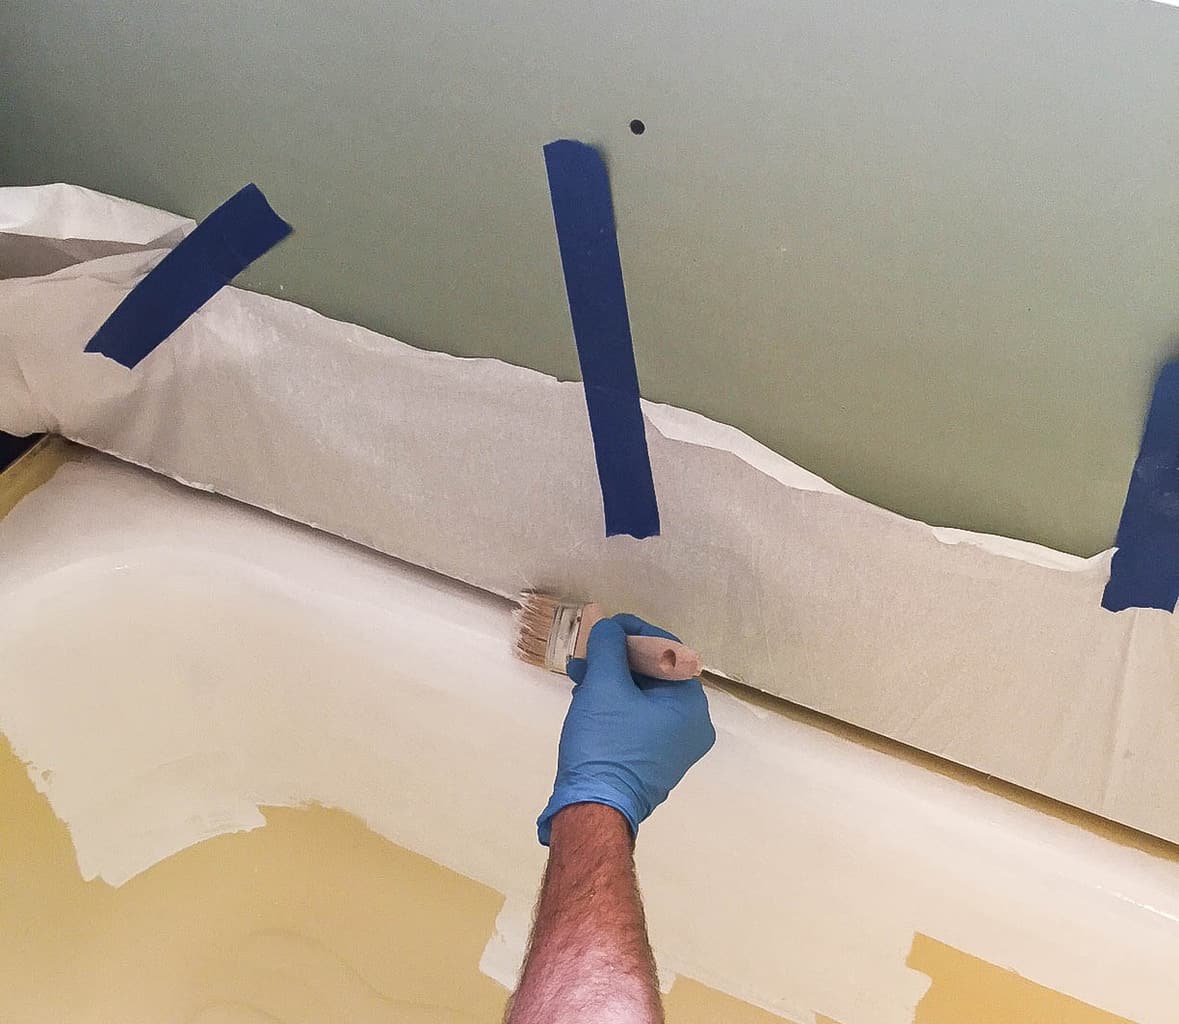
The next step is as easy as a walk in the bathtub. Cover the bathtub surround and walls under the tub with plastic sheeting. Keep the sheets in place with masking or painter’s tape.
Moreover, remember to place sheets over your baby bathtub, bathtub chair and If you’re using the bathtub tray. You should also cover toilets, sink as well as take out your toiletries, fabrics, and decorations. These precautions are necessary because, during painting, the dust will settle on surrounding items.
Prepare yourself for the paint’s dust and fumes by wearing old clothes and a respirator. Ensure the open windows and door or add a running exhaust fan for enough ventilation.
14. Prepare the Paint and Load Your Spray Can
If you are working on fiberglass or cast iron tub, use acrylic urethane enamel. You can purchase this paint in a premixed kit, or you will have to prepare it on your own
Two-part epoxy paint also serves as an ideal option for fiberglass. You can also use this paint for porcelain and ceramic bathroom fixtures.
For non-professionals, it advisable to invest in kits that are premixed for painting bathroom fittings. If you are lucky, your supplier might deliver acrylic urethane enamel in a spray can thereby canceling the need for mixing.
From directions on the spray gun’s package, fill the can with the ideal amount of paint. Close the lid on the can to keep the paint from drying up.
If you are finding spray guns difficult to use, go traditional with paintbrushes and rollers. You might love this method because you will mix the paint in the can.
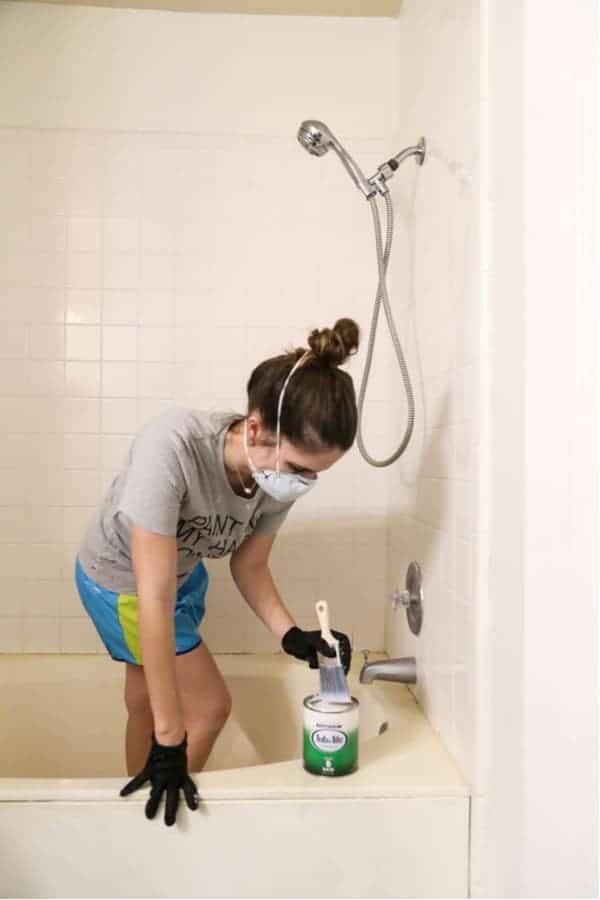
15. Paint the Entire Tub
Begin from the uppermost interior end of the tub and continue across the length of the bathtub. If you are using a spray gun, maintain a distance of 80 inches from the surface of the tub. Repeat until you have covered the whole of the interior and move to the outer part.
If you want to know how to paint a bathtub, you might find spray painting as an ideal method. After all, you will not have any contact with the paint. But if you prefer using brushes or rollers, ensure you use long even strokes to cover the tub.
After painting the first coat, allow to dry and paint over for the last time. Once the second coat hardens, remove the sheeting and fix the fixtures. Finally, recaulk all the places you remove the caulk.
Wrap Up
Replacing an old bathtub comes as a great way to brighten your bathroom. However, it is expensive and creates much mess. We suggest that you paint your bathtub because it is less expensive than replacing the entire bathtub.
Surely, with the steps provided on how to paint a bathtub you will find it easier to get the job done。