Mold can be a pretty scary thing. It looks horrible on a white ceiling so it’s easy to panic when you spot it. In reality, mold spores are everywhere. It’s a type of fungus, so if your ceiling is moist, these floating spores will attach and start to grow.
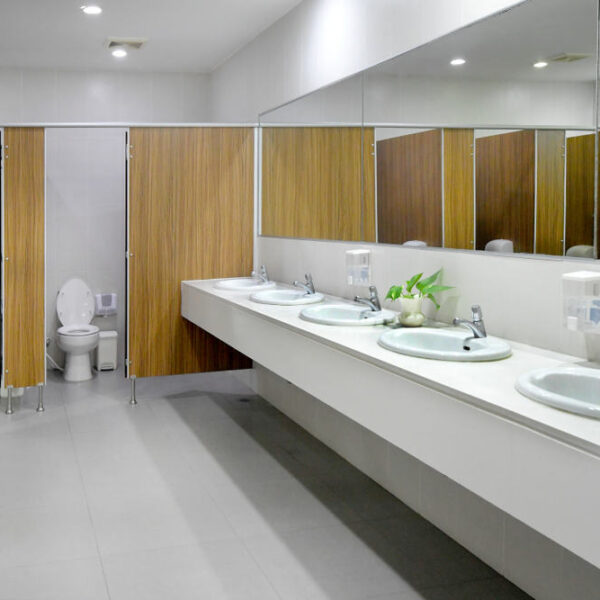
Ceiling mold is mostly black, but it can also be white, green, gray, or even purple. And it’s a common problem for bathrooms because there’s so much moisture. So while you can’t avoid getting your bathroom wet, let’s look at some tips to deal with mold on your bathroom ceiling.
Mold on your Bathroom Ceiling
Tip 1 – Make sure it’s not a ghost
Ghosting doesn’t just happen in the dating world. The ‘mold’ on your ceiling might actually be smoke, soot, or dark dust. These black specks (referred to in the industry as ‘ghosting’) resemble mold. But instead of spiraling, ghost marks appear in straight lines to match your ceiling beams.
The reason being roof frames are colder than the rest of your ceiling boards. So when you smoke, cook, or burn logs in your bathroom hearth, smoke and soot particles cling to your structural roof frames. Ghosting is tough to clean – you might just end up painting over the dark spots.
Tip 2 – Confirm the cause
There are two main triggers for mold – moist air and flowing liquid. In your bathroom, mold is likely to be caused by humidity. The bathroom is often steamy during use. So if multiple household members share a bathroom, it’s moist for most of the day. You need good air circulation, an effective HVAC system, and maybe some bathroom fans to keep it dry.
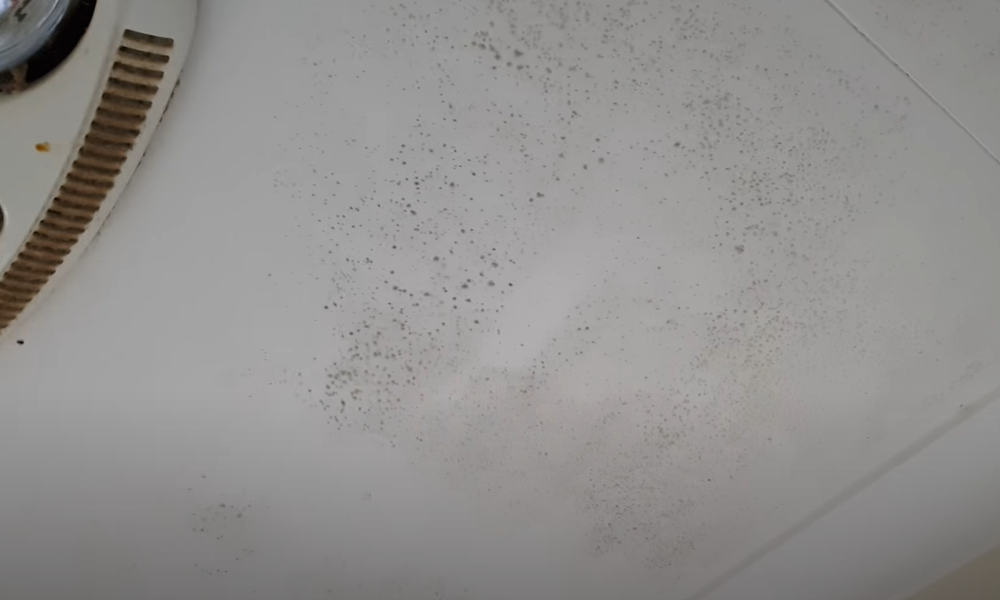
Alternatively, the mold on your bathroom ceiling may be caused by a leaky pipe. You can tell the difference because ‘moisture mold’ resembles speckles of black spray paint splashed on your ceiling. It’s mostly concentrated at the edges of the bathroom ceiling. ‘Wet mold’ looks more like a large spreading stain. It’ll be yellow or brown, circular, and centralized around one spot.
Tip 3 – Check how bad the damage is
If a humid bathroom is the cause of your ceiling mold, it’s easy to inspect. The moisture came from below the ceiling and floated upwards. So it’s unlikely there’s additional mold on the ‘roof side’ of the ceiling. In that case, glance up at the ceiling to see how bad the damage is.
But if the mold was caused by a leak, the wetness came from above. Meaning the damage on that side could be far worse. You may need to access the roof or pull apart some ceiling boards and inspect the extent of mold on your bathroom ceiling. This is best done by a professional. You may also need to verify whether the bathroom ceiling is insulated. This affects your remedy.
Tip 4 – Verify leaks vs nails
When you notice a yellowish-brown patch on your bathroom ceiling, you’ll assume it’s a leaking roof. It may not be. If your bathroom roof has nails or rivets, these bits of metal encourage condensation. This is expected because metal is a good heat conductor. But if this condensed liquid consistently drips onto the same spot on your bathroom ceiling, it may seem like a leak.
Visual inspection is the only way to be sure. Your roof plumber has to access the ceiling and confirm whether it’s a leaking pipe or merely a dripping metal fastener. The latter is easier to resolve because you can replace the dripping item or insulate it in some way to reduce damage. Use a moisture meter or a touch-test to see whether the whole ceiling is moist or just the nails.
Tip 5 – Use a mold spray
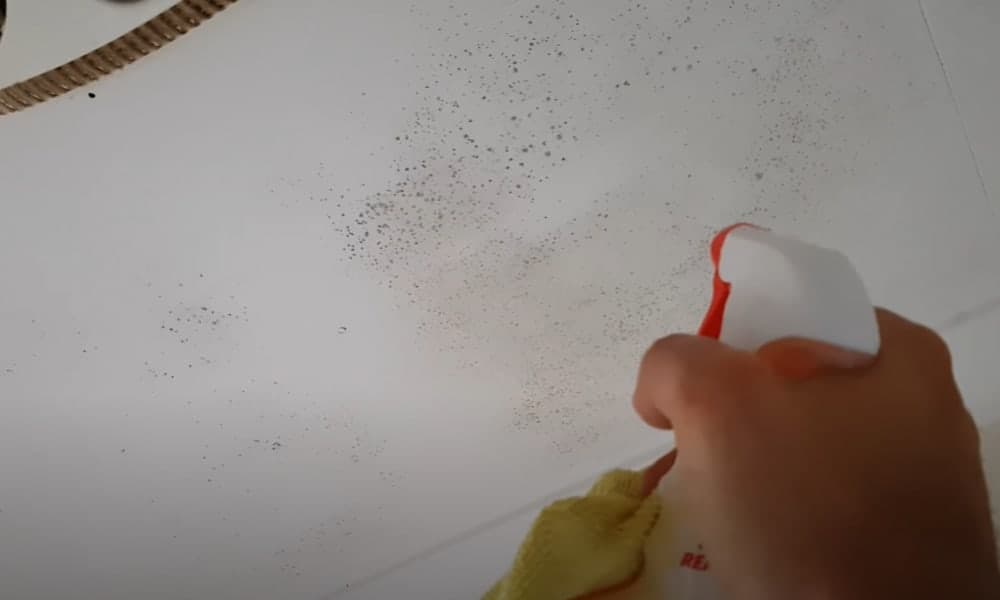
Ceiling mold that’s caused by bathroom humidity is easier to deal with. It’s mostly at the edges and covers a small space. But if the mold was triggered by a leak, the damage is probably on both sides of the ceiling. Meaning there’s probably more unseen damage on the upper side of the ceiling cavity. You may have to remove and replace all your ceiling panels.
If it’s a mild case of bathroom ceiling mold, you can use home remedies like borax, tea tree oil, baking soda, vinegar, ammonia, bleach, or hydrogen peroxide. Ordinarily, spraying a concoction on the mold will kill it off. After spraying, scrub the sprayed area with a scouring pad and re-spray. Many mold sprays are toxic, so ensure the bathroom is well ventilated before you begin.
Mixing certain cleaning materials can be toxic e.g. ammonia and bleach. Plus, while ammonia and bleach are effective, they can damage the ceiling itself, so try something milder first. 2 cups of hot water mixed with ¼ cup of vinegar and 2 tablespoons of borax is a good option. Scrape off any surface paint before spraying your anti-mold mix. Let it dry naturally and don’t rinse it off.
Tip 6 – Insulate the ceiling
The mold on your bathroom ceiling is most often caused by changes in temperature. The cooler parts of the ceiling encourage condensation, especially metal fasteners, ceiling beams, crown molding, and edge trim. Adding layers of insulation makes the ceiling surface warmer. This reduces the surface area available for condensation, which reduces mold as a result.
You can insulate the bathroom as a DIY project if you have the skills for it. Fiberglass is a good option, or you can insulate the bathroom ceiling with sheetrock, green board, or purple board. You can also introduce natural light by enlarging your bathroom windows or installing skylights. Mold prefers dark, dank spaces, so raising your sunlight levels will lower your mold issues.
Tip 7 – Install a bathroom fan
Most of the time, mold on bathroom ceilings is caused by typical bathroom humidity. Mount a bathroom fan that’s linked to your bathroom light fixture. That way, when you switch off the bathroom light as you leave, the fan automatically kicks in. This is especially helpful for night-time showers. It’s also useful if you frequently forget to turn on the bathroom fan.
The fan should have a timer to avoid power wastage. Your local plumber or hardware store attendant can guide you on the right fan size, speed, and brand for your bathroom. Deciding factors include physical size, the number of people who share the bathroom, and how often the bathroom is used. Does mum enjoy her daily soak or does everyone take 10-minute showers?
If the bathroom is used frequently and shared by more than four people, invest in a constant-flow fan. It runs throughout the day so it’s more effective for a high-traffic bathroom. Some of these fans have intermittent timers so the fan will consistently switch itself on and off. It could be speed-based or moisture-based and it goes on or off depending on how wet the bathroom is.
Tip 8 – Buy a dehumidifier
You can gauge how humid your bathroom is with a relative humidity tool. If the bathroom is too wet, you could invest in a dehumidifier. It lowers the moisture content in the bathroom, which resolves your mold problem. You can set the dehumidifier on a timer to conserve electricity.
Make sure you buy a model that’s specifically for bathrooms. It’s an electrical appliance, so there’s always a risk of fire when electricals get wet. Buying a bathroom-specific model means its wiring is concealed and its insides are better sealed to avoid coming into contact with water.
Tip 9 – Cover up the mess
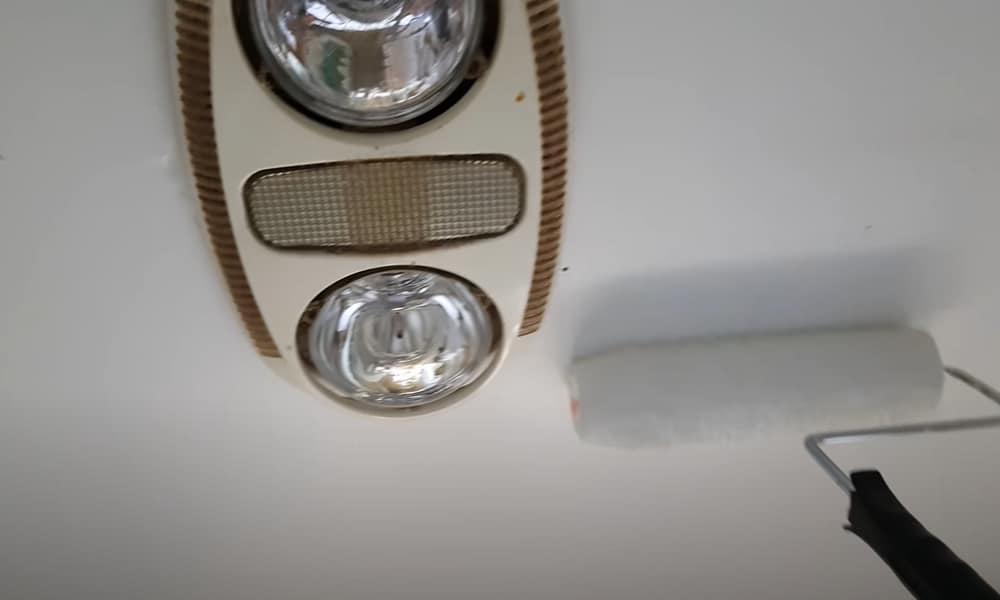
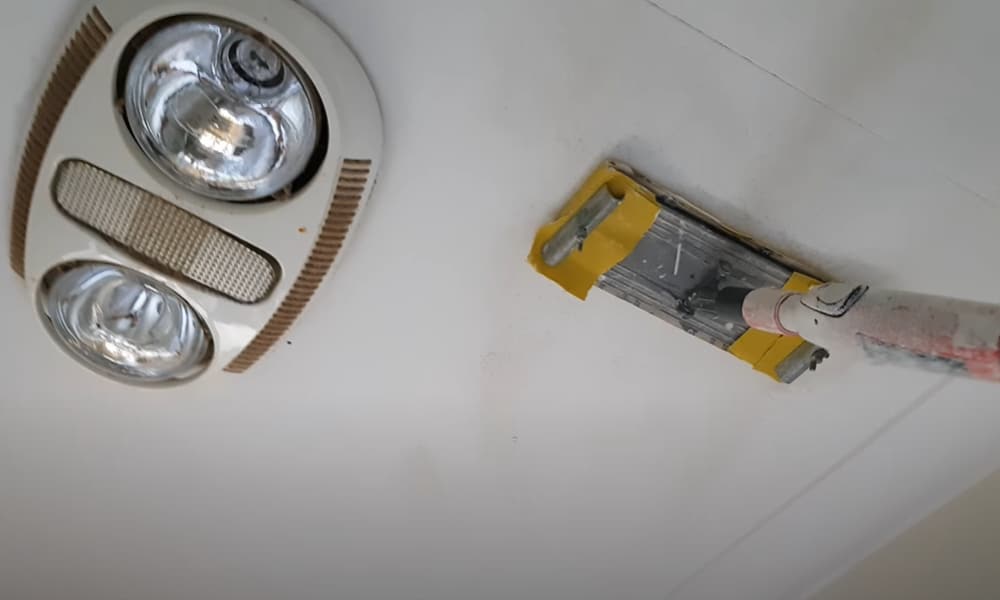
Bathroom ceilings are often painted in light colors, so probably white, beige, neutrals, or pastels. So even after you’ve removed the mold, your bathroom ceiling may still be stained. Double-check to ensure all the mold is gone before you remove the visible evidence. You’ll have to sand off the stains, apply chemical treatments, or paint over those unsightly marks.
Painting is the most common option, especially because bathroom ceilings are rarely made of wood. This is why you have to double-check that all the mold is gone. Otherwise, the mold spores will be trapped beneath the paint and may continue to grow, eventually poking through.
Tip 10 – Use your nose
You might notice a mildew smell either before or after repairing mold on the bathroom ceiling. The smell could indicate mold, but it could just mean your bathroom is poorly ventilated. Inspect the wall, ceilings, doors, and corners to find the source of the smell.
Once you know where the smell is coming from, you can see whether it’s actual mold or just accumulation of spores. Open the windows and run the fan to see if the smell goes away. If you don’t have a fan or dehumidifier (yet), consider installing one. Opt for a fan that flows constantly while using minimal power. This helps you prevent persistently damp or musty smells.
Tip 11 – Check your bathroom paint
Because steam is the most common cause of bathroom ceiling mold, there are two things to check. One, if your bathroom ceiling is insulated, check how close the insulation is to the edges. Most builders stop the insulation about 6 inches from the crown molding. This causes cold spots at the ceiling edges, which is why mold gathers on those spots. Use a thermal camera to confirm.
The camera will identify ‘cold spots’ so you can buff up the insulation on those bare spots. Second, be careful about the ceiling paint you select. Matte paint absorbs more water, so it could aggravate your mold problem. Glossy paint or exterior weather-proof paint works best. You can also apply ceiling paint that’s infused with anti-mildew ingredients like mildewcide.
Managing Mold
The bathroom ceiling mold is both ugly and unhealthy. Here’s how to fix the problem:
- Find out whether it’s true mold or just ghosting.
- Verify the cause, location, and extent of mold on the bathroom ceiling.
- Lower your humidity levels with a bathroom fan.
- Try a timed fan or a constant-flow low-speed fan.
- Some constant-flow fans automatically raise their speed when the bathroom is in use.
- Upgrade your HVAC system to include dehumidifiers and better venting.
- Repair or replace the insulation in your bathroom ceiling.
Do you have any mold spots in your bathroom? Share some photos in the comments …