Have you ever been frustrated with too much water in your toilet tank or faced with low water level while using a flushing toilet?
Excess water in tank can often lead to water wastage. On average, a leaky toilet tank can waste over 6,000 gallons of water within a month. While there are several factors responsible for both issues, most of these problems can be fixed via the toilet float. This is why you should know how to adjust toilet float.
Not only will it help you to prevent water wastage, but you will also be able to fix flushing issues and probable clogging that comes with too little water in the toilet tank.
Follow our comprehensive guide to master toilet float adjustment in just a few minutes.
Why you should know how to adjust toilet float
If you are a homeowner, there is a high possibility that you will encounter flushing issues and excess water in your toilet tank once in a while. A leaky toilet tank and clogging can sometimes be the cause of low water levels in the tank.
While there are lots of professionals that you can hire to correct the fault, knowing how to fix it yourself is a smart option.
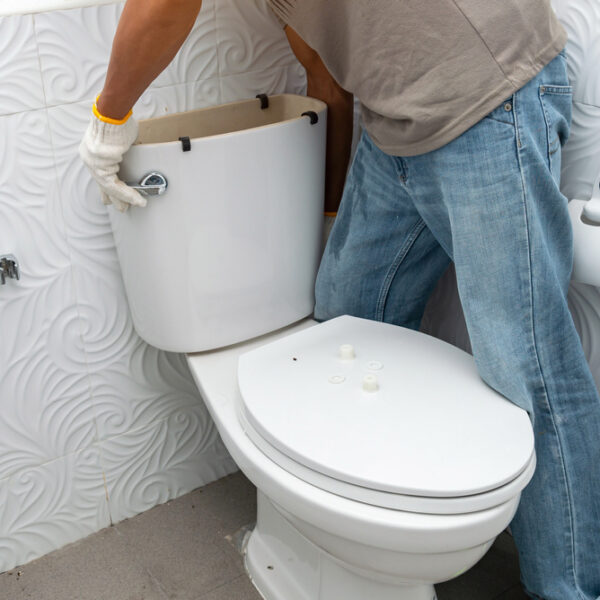
Check our previous posts on how to fix a leaking toilet tank and how to replace a toilet tank in case of damages to the tank.
However, if every part of the tank is intact, you might need to run some diagnostic check to identify the problem.
There are several concerns associated with using the toilet. Fortunately, knowing how to adjust the toilet float will eliminate most of these issues.
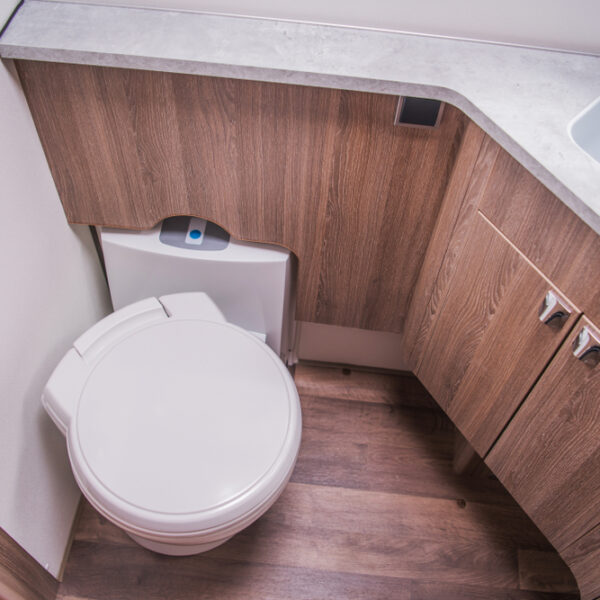
Note that these issues occur in virtually all types of toilets including Toto toilet and handicap toilet. The only exception is a tankless toilet.
Two of the problems include the following:
Partial Flushes
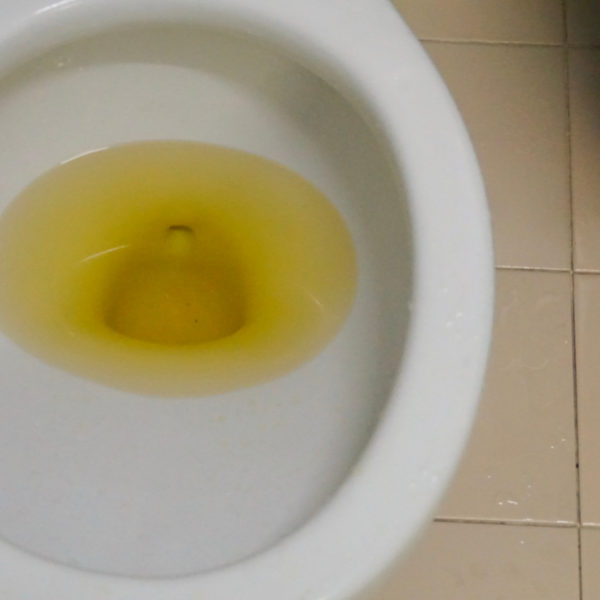
One of the nightmares of many homeowners is a toilet that refuses to flush properly. It might be that the toilet drains too slowly or drains continually after flushing.
Factors responsible for an improper flush include waterlogged flapper valve, extreme tightness of the chain connecting the flush handle, and flapper valve.
If you are experiencing a partial flush, you don’t need to hire an expensive handyman. With a few adjustments following our guide, you will be able to eliminate a partial flush from your toilet.
Ghost Flushing
If your toilet tank automatically fills on its own, it might be due to a poorly fitted or leaking flapper or too elongated refill tube. The water from the toilet tank will drill slowly into the bowl if your toilet flapper is corroded or worn out.
After the water level has dropped low with 1 – 2 hours, it triggers the fill valve, and the toilet tank will be filled again. The cycle continues and results in what is known as ghost flushing. Adjusting the toilet float ensures that your toilet doesn’t flush on its own.
Running Toilet Float Diagnosis
Before you decide on how to control water wastage or low water level in the toilet tank, you need to know if adjusting the toilet float is the solution or not.
Firstly, determine the make of float your toilet uses. Most old toilets use a floating device. The fill level is usually regulated and adjusted with a screw close to the valve.
In contrast, if your toilet fill valve comes with vertical float, you have to adjust it from the side. Continuously running water denotes excessive water level above the tube of the flush valve, which can lead to toilet flooding. Also, too little water in the tank indicates that your toilet will not flush properly.
If you are not sure of the right amount of water that your toilet needs to flush efficiently, you can check here to gain some insight.
Types of Toilet Float
There are two common types of toilet float. They include:
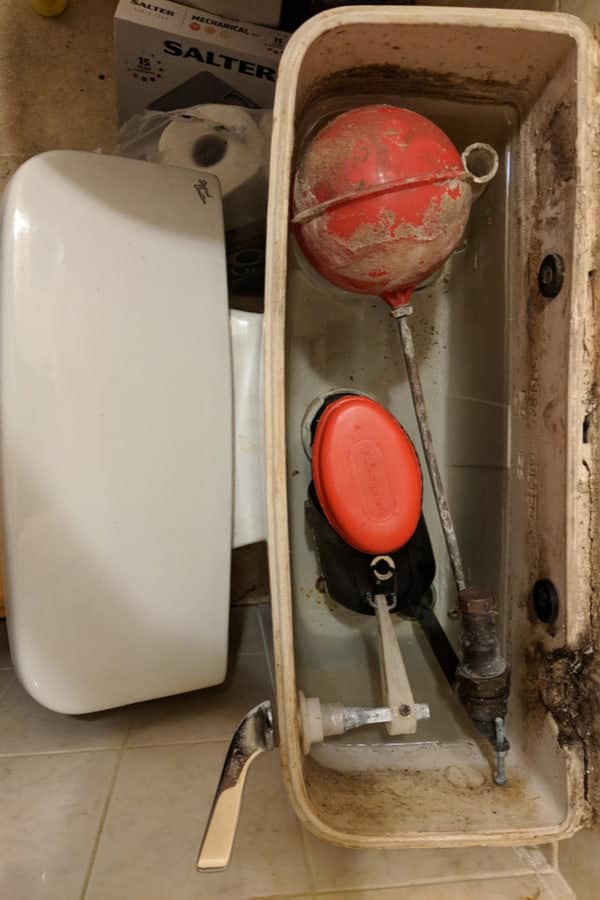
Ball and Arm Float
This is a conventional type of toilet float. It has been in use for decades, and you can still find them in many homes today.
The toilet float comes in the shape of a small ball. It’s connected to the toilet fill valve through a long metal rod.
You can easily adjust the toilet float ball if you notice that the volume of water in the tank has dropped below the normal level.
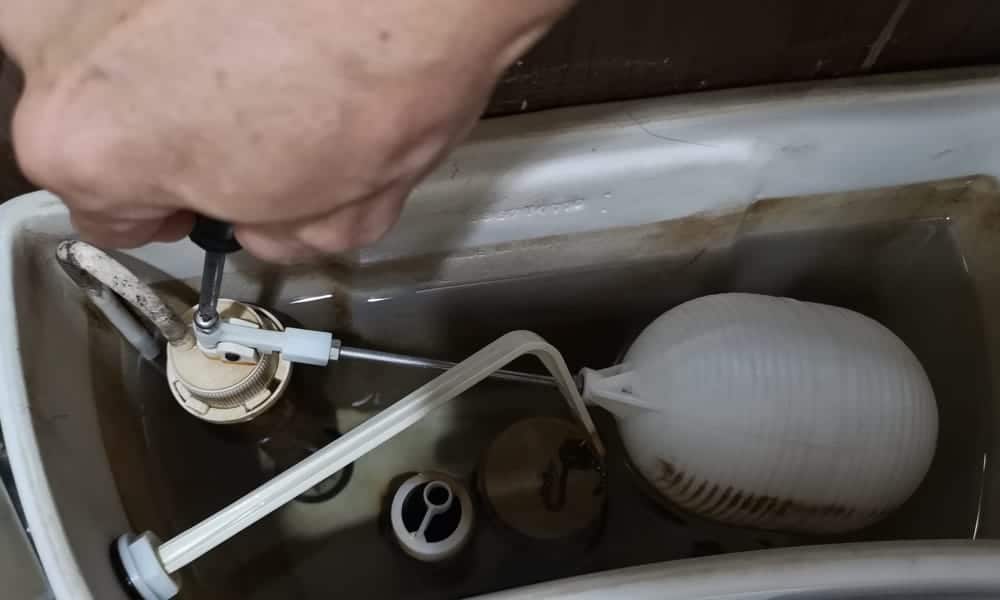
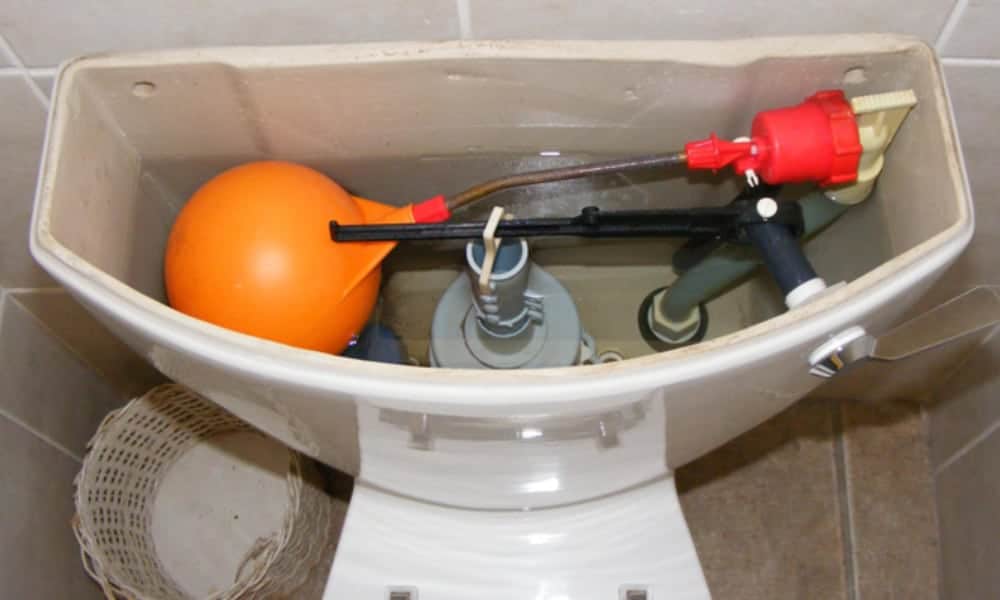
Fluidmaster or Cylinder Float
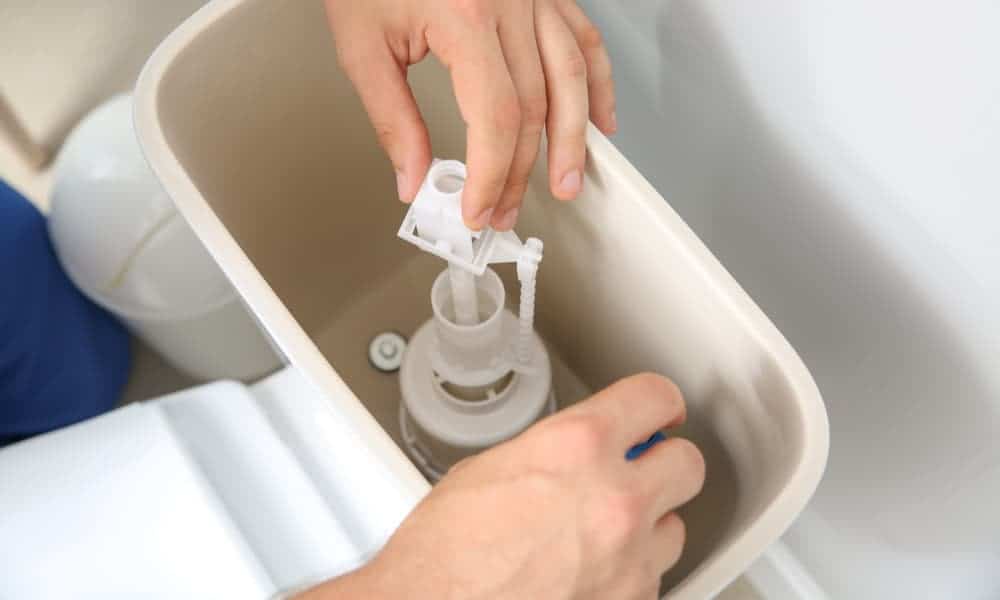
Cylinder float is the latest standard in contemporary toilets found in modern homes. It’s also called a fluid master.
It has a cylindrical plastic float cup that controls the upward and downward water movement in the fill valve shaft. Fluidmaster lacks the traditional float ball and rod; instead it uses a float attached to a thin metal rod that controls the fill valve via a metal spring clip.
Fluidmaster floats have advantages over the orthodox ball-and-arm float including easy installation, maintenance, and user-friendliness.
How to Adjust Ball-and-Arm Toilet Float
Step 1: Check your toilet tank water level
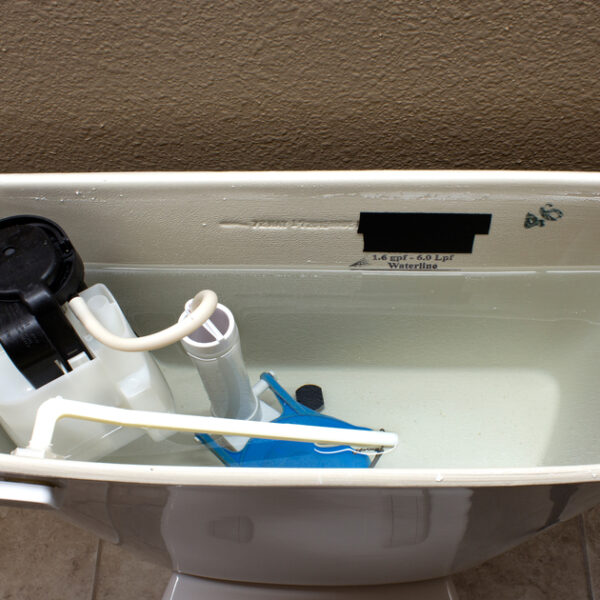
The ideal water level in the tank is 1 – 2 inches beneath the overflow tube and the fill valve.
Anything above or below this may create an imbalance in the water level.
Some tanks are marked with line printed or etched on the porcelain, which indicates the correct water level.
Ensure that the water level aligns with the mark.
Step 2: Cut off the water supply
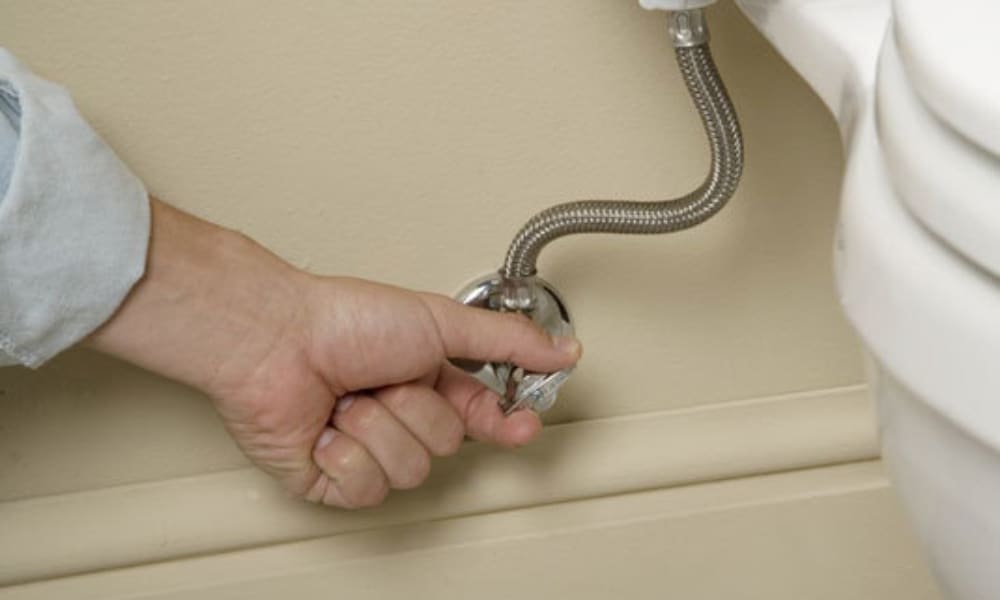
You must that your toilet tank is empty before you commence any adjustment.
Firstly, turn off the water supply.
Next, locate the flush lever or the external valve close to the wall.
Some require that you press while others will flush by turning the knob clockwise.
Using the right method, flush the toilet to get rid of water from the tank.
Step 3: Check the float and fill valve
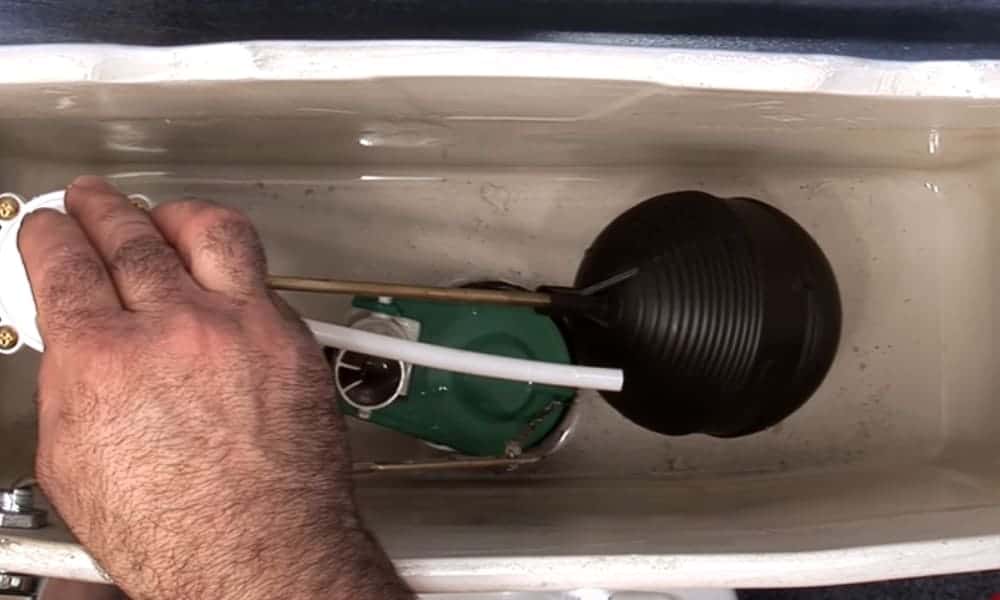
Examine the float and fill valve, as well as the height of the toilet tank float.
In ball-and-arm, the float is the plastic ball.
How high the float is will determine the volume of water the tank will retain.
Ensure that the float is neither too high nor too low. It must be at the water level.
Also, you should shake the float to see if there is water inside.
In that case, the plastic is broken, and you need to change it.
Step 4: Connect the float properly to the valve
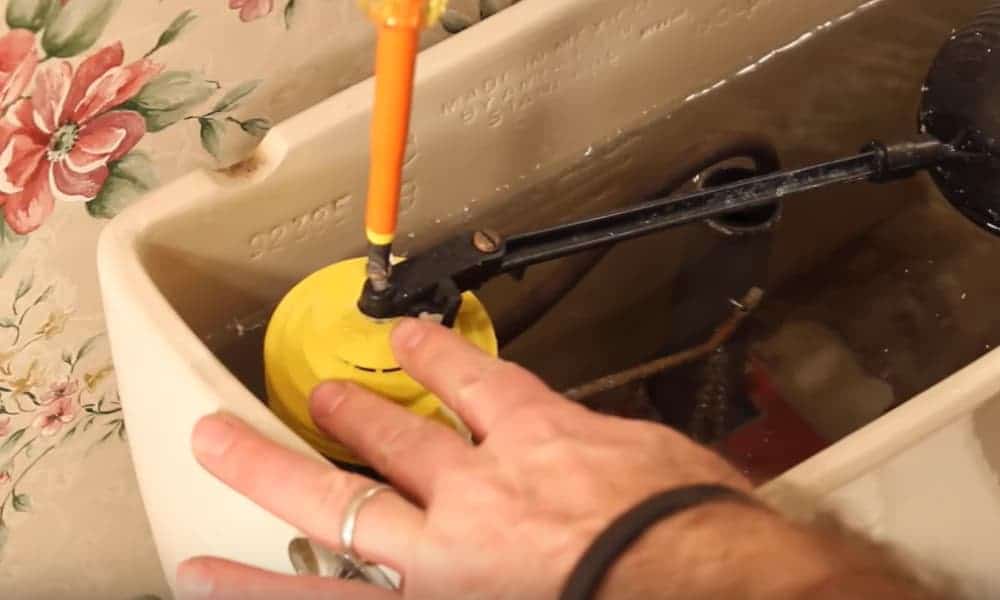
Adjust the height of the float using a screwdriver.
The screw is often located directly above the fill valve.
Either the clockwise or the counterclockwise turning will lower or increase the height of the float.
Keep the full rotation to one as anything beyond that might trigger inconsistent flushing of the toilet.
Step 5: Confirm the adjustment
After you’re done with the adjustment, turn the water supply back on, and allow 1 – 2 minutes to fill.
Press the lever to flush the toilet.
Pay attention to the water refill level.
Too high or too low water volume means you will have to carry out the procedures again.
How to Adjust Cylinder Toilet Float
Step 1:
Follow steps 1 and 2 for the ball-and-arm float.
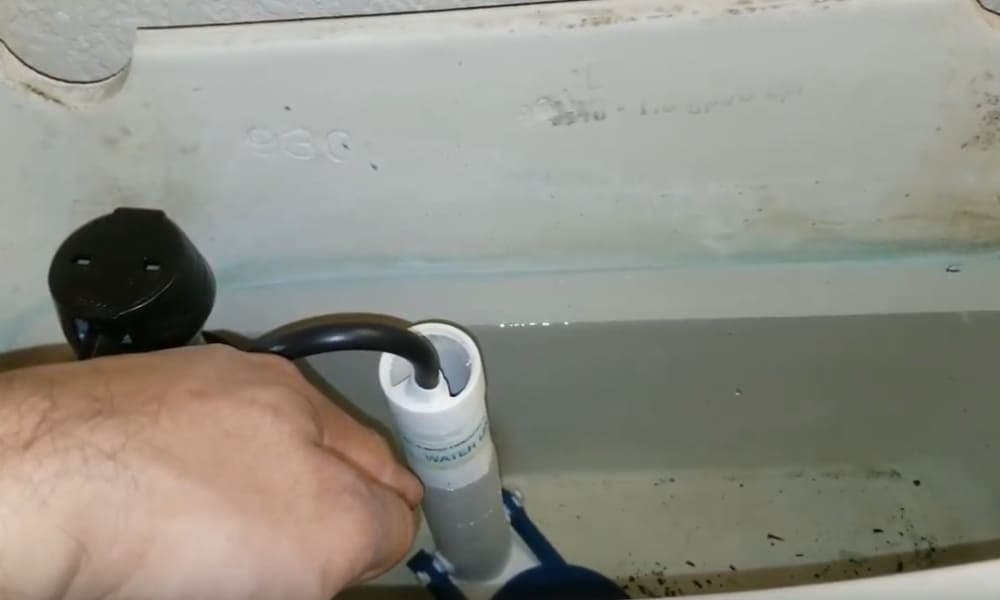
Step 2: Identify the adjustment stem
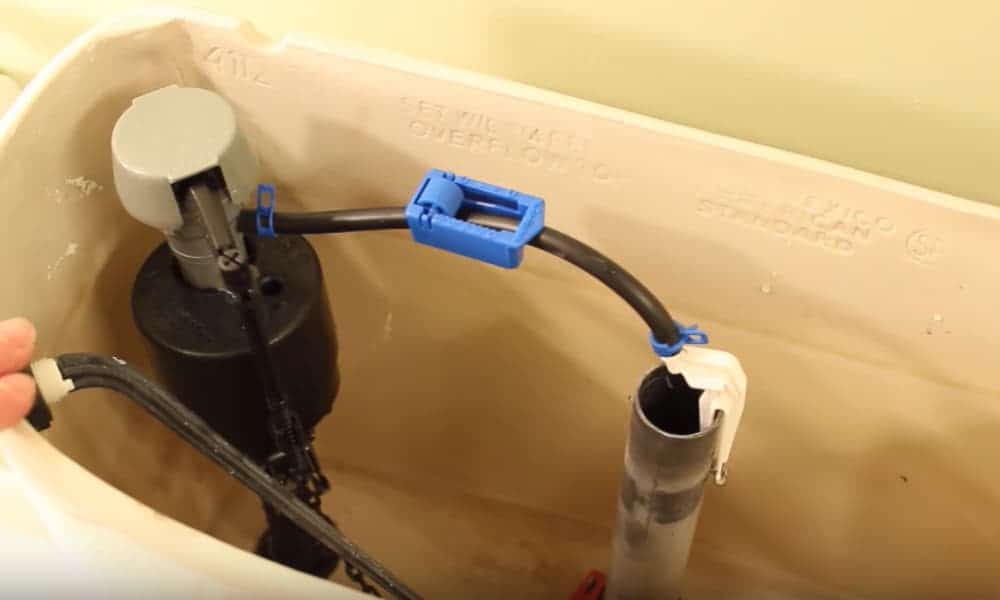
Look inside the tank; there you will see a long, tiny tube that is attached to the fill valve.
Most models have it running parallel to the valve or dangling horizontally from the top.
You will use the adjustment stem to increase or reduce the volume of water in the tank.
Ensure that you are familiar with the set up of the tank before you commence any adjustments.
Step 3: Adjust the release clip

Identify the float’s release clip. The cylinder float will be adjusted when you squeeze a release clip to raise or lower it to the required height.
If the release clip is missing, an alternative way to adjust the float is to raise or lower the dial.
Keep the float by half-inch, then use your fingers to grip the notched dial at the edge of the stem.
Maintain a full rotation by twisting the stem clockwise or counterclockwise to raise or lower the height.
Put the toilet tank lid in place as soon as you get the right height.
Do not go more than a full-rotation just like in ball-and-arm float.
Step 4: Test to confirm the process
Turn the water supply back on, and allow 1 – 2 minutes to fill. Press the lever to flush the toilet.
Pay attention to the water refill level. Too high or too low water volume means you will need to modify the float again until you arrive at the ideal height.
Here is a video that will guide you through controlling excess water in toilet tank:
Conclusion
Learning how to adjust toilet flow will help you to prevent toilet flushing issues and flooding of your toilet space. Also, it can save you a good amount of money that would have otherwise gone to the pocket of a handyman.
However, while it’s quite easy to adjust toilet float, you should know the type of float your toilet has. This will help you to follow the correct procedure and solve your excess or shortage of water issues.
Now that you can adjust toilet float by yourself, how about you tell the others that may be facing challenges regarding keeping water level in their toilet tank balanced?