Showers may be what we use to clean ourselves, but if you don’t look after them, the shower head itself may become dirty. Hard water may cause deposits to build up, and shower heads can also harbor lots of nasty bacteria that can even make you ill.
For this reason, it’s extremely important to make sure you keep your shower head clean, and in this article, we give you five different techniques for doing it using items you probably already have easy access to.
1. A simple technique using vinegar without removing
One of the simplest ways to clean a shower head using only things you probably already have at home is to turn to that magic all-purpose elixir, white vinegar, and if you want to clean a shower head without removing it from the wall, this is a great choice.
What you’ll need:
- Distilled white vinegar
- Plastic bag
- Elastic band, string or similar to fasten the bag in place
How to do it:
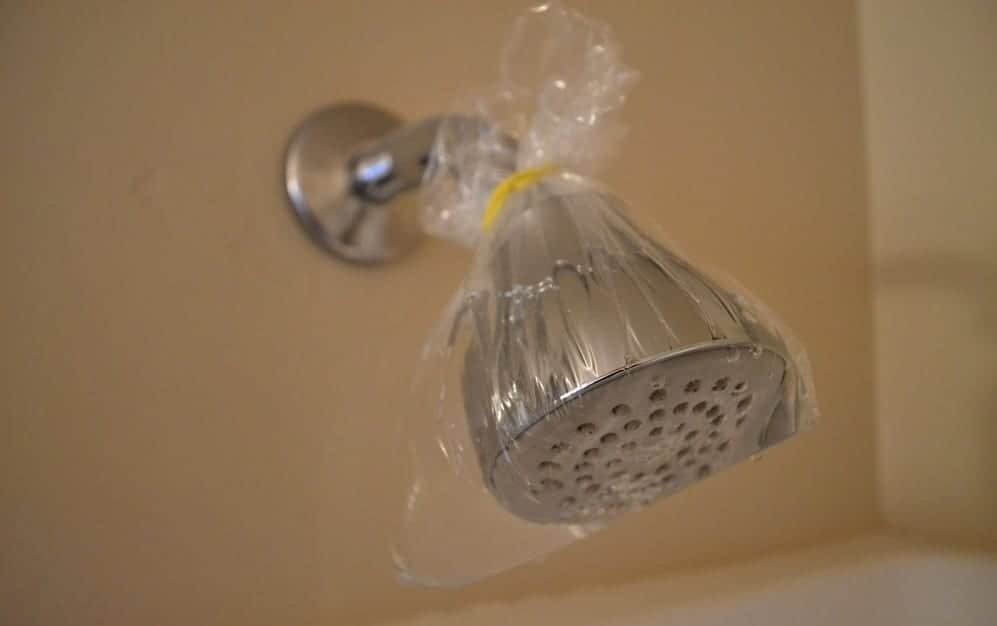
Start by filling the plastic bag with a mixture of one part vinegar and one part water. You’ll need enough liquid in the bag to immerse the shower head you want to clean completely.
Place the bag over the shower head so it’s submerged in the liquid and use the elastic band or string to fasten the bag in place.
Once the bag is tied to the shower head, simply leave it to soak. If it’s not too dirty, half an hour might be enough, but for dirtier shower heads, you might need to leave it for an hour. If you’re not in a hurry, it won’t hurt to leave it overnight.
The exception to this is if you have a brass or nickel fixture, in which case, don’t leave it for more than half an hour or you may damage the finish.
Once you’ve left it to soak for the allotted time, remove the bag and discard the liquid. Run some water through the shower and also give it a wipe down with a damp cloth. If you repeat this operation every month or so, it should keep your shower head clean without much effort.
To see how it’s done, you can also check out this video.
Pro tip: Don’t use malt vinegar since it’s not effective, and avoid using brown vinegar since it may stain your shower head. The best option is always to go for distilled white vinegar, and since it’s so cheap to buy, it’s always a good idea to have some ready in your home.
2. Removing the shower head and using vinegar
A slightly more complicated version of the technique we’ve just seen is to remove the shower head completely from the wall and submerge it in a vinegar and water solution.
However, this is not much more difficult and may even be easier if your shower head is not fixed to the wall. Here are the instructions.
What you’ll need:
- Wrench
- Bucket
- Distilled white vinegar
How to do it:
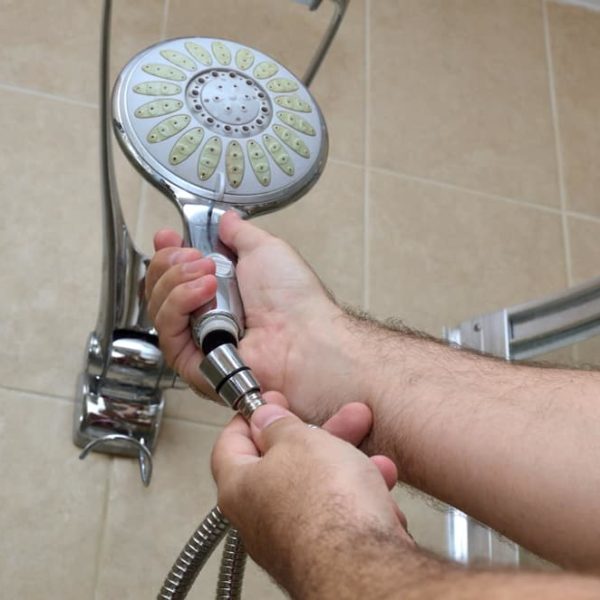
Begin by unscrewing the shower head from the wall. You may be able to do this by hand, or you may need to use a wrench or similar tool to help you. Make sure you don’t lose the rubber washer when you do this.
Note that if your shower head is a handheld version, you might not need to unscrew it – you can just place it directly in the bucket while still attached to the hose.
Place the shower head in a bucket containing a solution of one part water and one part vinegar. Leave for 30 minutes, one hour or overnight. As mentioned above, if your shower head is made of brass or nickel, don’t exceed 30 minutes or you may damage it.
After it has soaked for long enough, take it out and rinse it. You may also find it useful to use a toothbrush or your fingers to brush the nozzles.
Next, rinse it again to wash away any last pieces of hard water deposit that you’ve dislodged, and wipe it with a wet cloth.
Reattach the shower head and run water through it to test it, and you’re done.
Pro tip: If you need to use a wrench to unscrew the shower head, use an old cloth to protect it. Otherwise, you may damage the finish.
3. Alternative method using cola
If you look online, you’ll probably find plenty of other websites giving you similar suggestions to the ones we’ve explained above in #1 and #2 using vinegar. However, vinegar has a strong pungent smell that some people don’t like, so you might prefer to try something else.
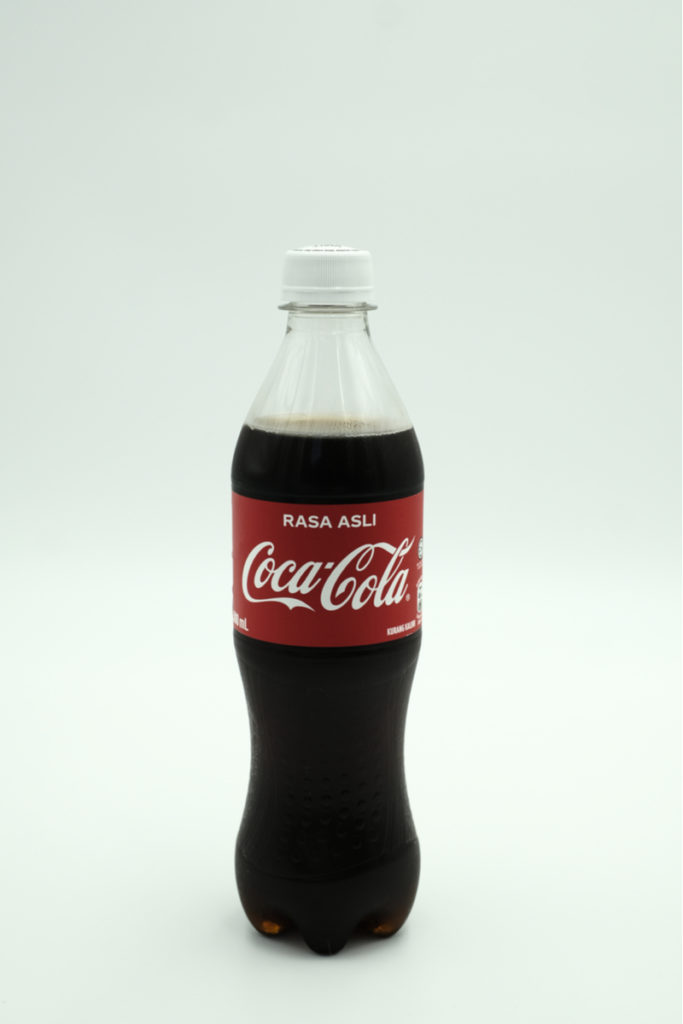
Another miracle cleaning product is…cola! The advantage of using cola is that it doesn’t have a strong smell like vinegar, but it is just as effective at removing hard water deposits.
Another advantage is that many people probably have a large bottle of cola in their home ready to use, even if they don’t have white vinegar in the cupboard.
On the other hand, cola is probably not the best option if you’re looking to kill bacteria, in which case vinegar is still recommended.
What you’ll need
- Large bottle of cola
- Plastic bag
- Elastic band, string etc.
- Bucket
How to do it:
The method for using cola is essentially the same as for the two methods above.
If you want to clean the shower head while it is still attached to the wall, follow the same steps as in #1 above, but substitute cola for the vinegar and water mix.
If you want to detach the shower head to clean it or want to clean a handheld shower head, follow the same steps as for #2.
The main point to note here is that you’ll need to make sure you rinse the shower head well after cleaning it because otherwise, you will find it is covered in sticky cola, which may attract ants or other insects.
4. Deep clean
If you have a particularly dirty or blocked shower head, you may want to give it a deeper clean than it would get from being soaked in vinegar or cola. In that case, here are the steps to follow.
What you’ll need:
- Wrench
- Cloth
- Bucket
- White vinegar
- Toothpicks
- Old toothbrush
How to do it:
Start by removing the shower head from the wall. You may need to use a wrench for this, and if you do, make sure you use a cloth to protect the shower head while you use the wrench to avoid damaging it.
When the shower head has been removed from the wall, start by giving it a good rinse under warm running water to clean off the worst. You may also find it helpful to give it a scrub with an old toothbrush dipped in white vinegar.
Next, dismantle the different parts and clean them individually.
Depending on the type, you will probably be able to unscrew the face of the shower head, so remove it if you can.
Use the toothbrush to scrub the inside parts to remove any limescale and other hard water deposits, and push a toothpick into each individual nozzle to remove any build-up from them too.
You may find that rubbing the build-up with your fingers can also help to dislodge it.
Once you have cleaned the various parts of the shower head as much as possible, place the individual parts in a bucket containing a solution of half water, half white vinegar, and leave them to soak, preferably overnight.
However, remember that brass or nickel shouldn’t be left in vinegar for more than half an hour.
After soaking, take each piece and give it a good rinse, again, using a toothbrush if necessary to scrub off any stubborn last bits of limescale or hard water deposits.
Finally, reassemble the shower head, reattach it to the wall and run water through it to test and flush. You should now see a considerable improvement in water pressure and flow.
5. Remove the shower head and clean it with your hand or a toothbrush
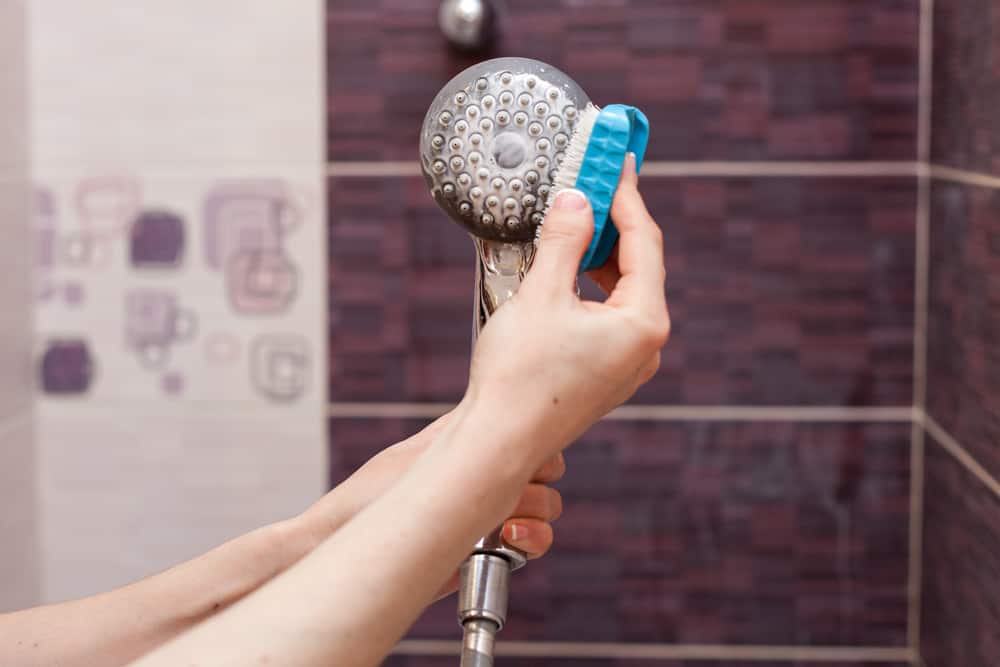
A less extreme cleaning option is simply to give the shower head a wash in running water, using your fingers or a toothbrush to remove minor hard water deposit build-up.
This method could hardly be easier, but it is surprisingly effective when the deposit is not too encrusted.
What you’ll need:
- Wrench
- Cloth
- Toothbrush
How to do it:
Remove the shower head from the wall if it is attached using the wrench and the cloth as already explained.
Place the shower head under warm running water and use your fingers to massage the nozzles, dislodging any minor deposits that are beginning to form there. You can also use a toothbrush to help you with this.
If you can remove the face of the shower head, do so, and use your fingers or a toothbrush to clean inside too.
Give it a final rinse and reassemble the shower head, run water through it to flush and test.
Pro tip: Many modern shower heads have specially designed nozzles that can be cleaned by a simple massage with your fingers. This means you don’t even need to remove the shower head and can do it while it’s in place.
6. Another option – using a specialist cleaning product
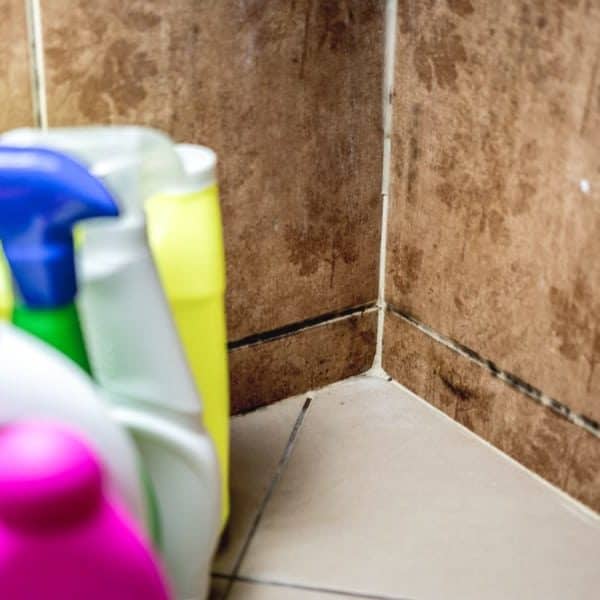
If you want to deal with a really stubborn build-up of hard water deposit, you may choose to buy a specialist cleaning product from a store.
This is an option, but you might find they are no more effective than using vinegar or cola, and the downside is that they probably contain some nasty chemicals you don’t want to be breathing in.
In any case, if you decide to go with this option, simply read the instructions on the bottle and follow what they say. In most cases, it will involve spraying the product on, leaving it to act and then rinsing it off.
Pro tip: You don’t want to get chemical products in your eyes when you use them to clean, so make sure you use proper eye protection.
Extra pro tips
Here are a few more tips for cleaning shower heads that will ensure you achieve the desired results.
-
If the build-up is not too bad, just clean the shower head in place
We’ve given you several options for cleaning shower heads here, but you should think about how bad the build-up of hard water deposit is before deciding which one to use.
For example, if you only need to deal with a minor build-up, it’s better to choose a technique that doesn’t require you to remove the shower head since the extra work is not necessary and may damage your fixture.
-
Take extra care with delicate finishes
If you have delicate metal fixtures like chrome or stainless steel, be careful when unscrewing them or scrubbing them because you may leave permanent ugly marks on them.
-
Don’t use stiff brushes to clean metal shower heads
With any metal shower heads or fixtures, you should avoid using stiff brushes on them – because again, this may damage them and leave marks.
-
Don’t use bleach
It’s not advisable to use bleach on shower heads because some studies have shown that bleach can actually encourage harmful bacteria to grow. For this reason, vinegar is a much better choice for sterilizing
-
Make sure the area is well ventilated before cleaning
Always makes sure the area is well ventilated before cleaning your shower head. This is especially true when using chemical products because the fumes may be harmful to your health.
-
Add lemon to the vinegar to mask the smell
One problem with using vinegar is that many people don’t like its overpowering pungent odor. To remedy this, you can try squeezing the juice of a lemon into the mixture to mask the smell.
-
Clean your shower head regularly to prevent serious build-ups
The key to keeping your shower head clean is to do it regularly. Cleaning once a month with something like vinegar will keep it clean and hygienic, and this will also prevent the build-up of stubborn hard water deposits.
Keep your shower head clean to avoid hard water deposits and to stay healthy
So as we’ve seen, there are several inexpensive ways to clean your shower head that don’t require any special chemicals or anything other than items you probably already have at home.
By following our suggestions and cleaning your shower head regularly, you can avoid serious build-ups of hard water deposits while also helping ensure you and your family stay healthy.