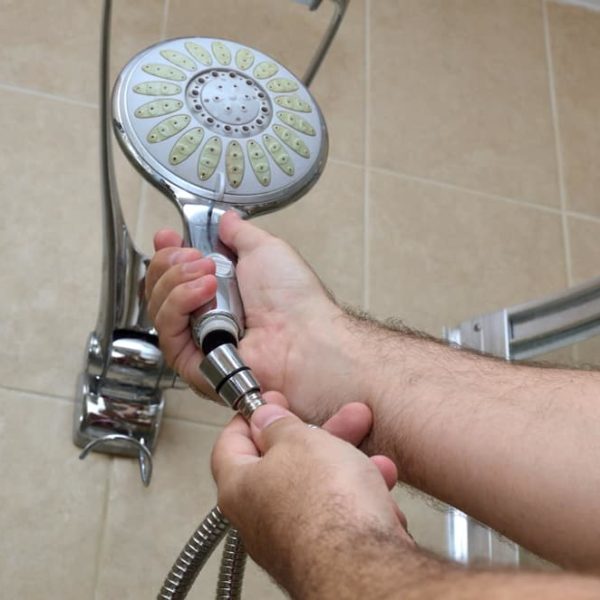
One of the main features of an annoying bathroom is a leaky shower faucet or shower head. Apart from making the occasional frustrating noise, these faulty fittings can increase your utility bill due to wastage of water and heat used.
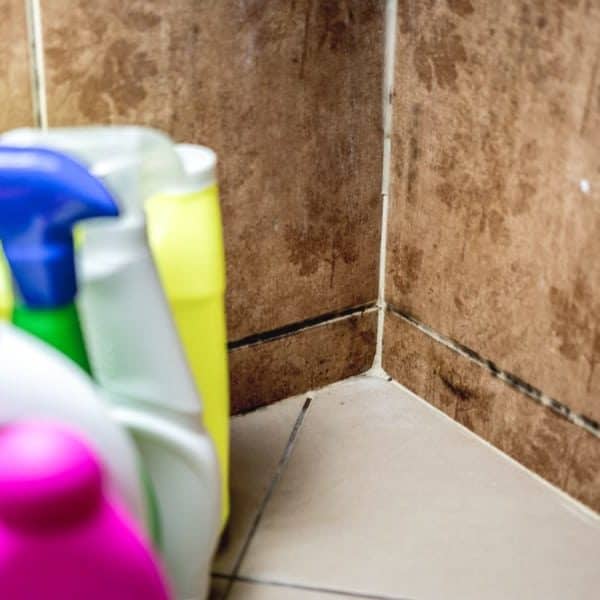
Unfortunately, the problems of leaky fittings do not end there. A long period of drips from a connected shower valve can turn your bathroom wall to a breeding place for destructive mold or dry rot.
You can prevent these issues by swapping the old faucet for a new unit. Moreover, you might brighten the overall look of your bathroom with this simple task.
Below are some steps to fix a leaky shower faucet without outside help. But first, let’s discover what causes drippy fittings.
Why Do We Have Leaky Faucets or Showers?
Before knowing how to fix a leaky shower head, you should know that this drip is because of faulty shower faucets or valves. These inner parts might be damaged or clogged by mineral deposits. They might also have parts that are old and worn out.
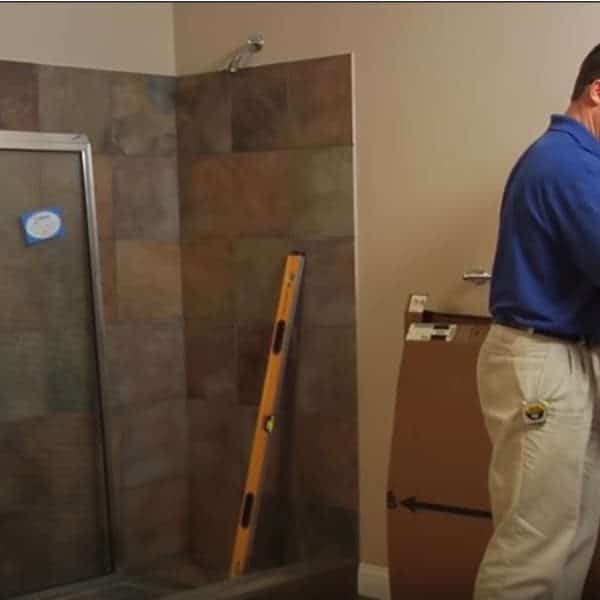
There is no general method for fixing faulty faucets because there are various forms of these fittings on sale. In order not to make things difficult for you, here in this article we will show you great steps to fix leaky shower faucets of different types.
Steps to Fix a Drippy Two-Handle Shower Faucet
This guide will show you how to fix a leaky two handle shower faucet with a few steps.
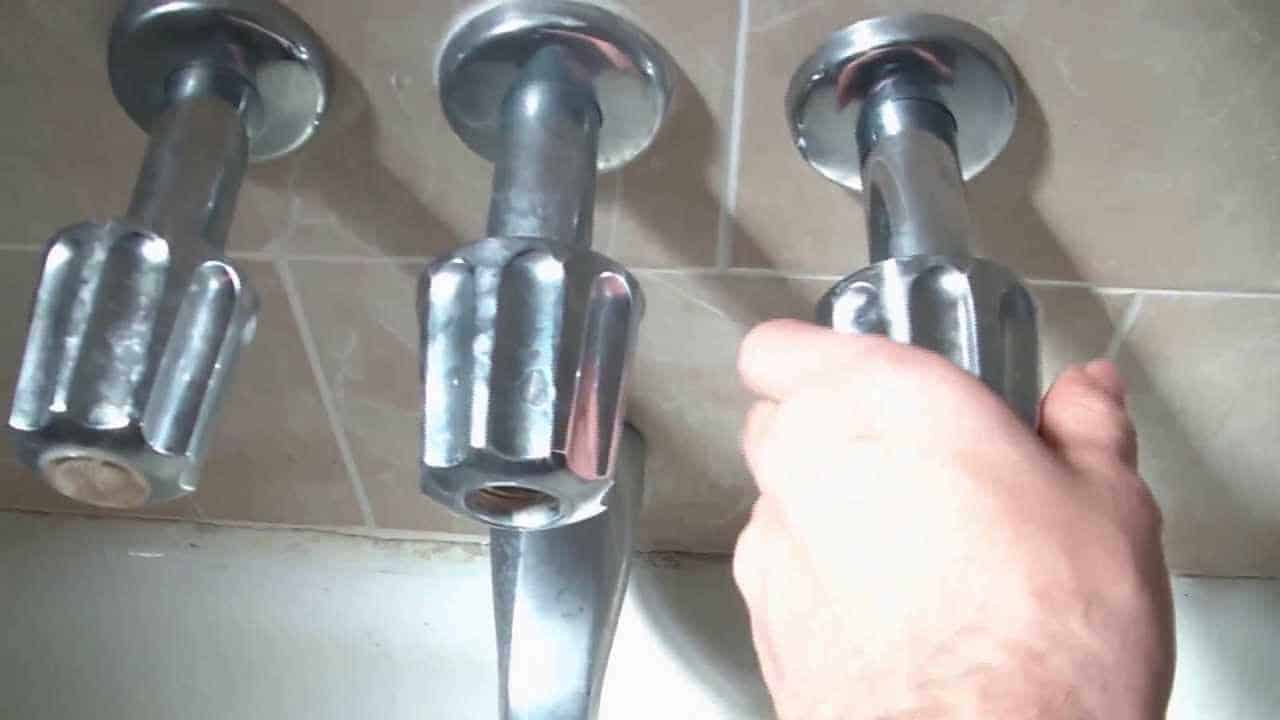
1. Extract the Cover Cap
This part of the task depends on the design of the shower valve. For instance, vintage or basic faucets feature a visible, centrally placed screw. They might also feature a screw on the edge of the fitting.
If you have a shower with ornamental or modern faucets, you will need to find a cover cap that hides a screw. When you see it, pull the cap to reveal the screw.
If you have a faucet with a cover cap that looks embedded, pry open with a thin screwdriver or pocket. Avoid nicking the surface of the material.
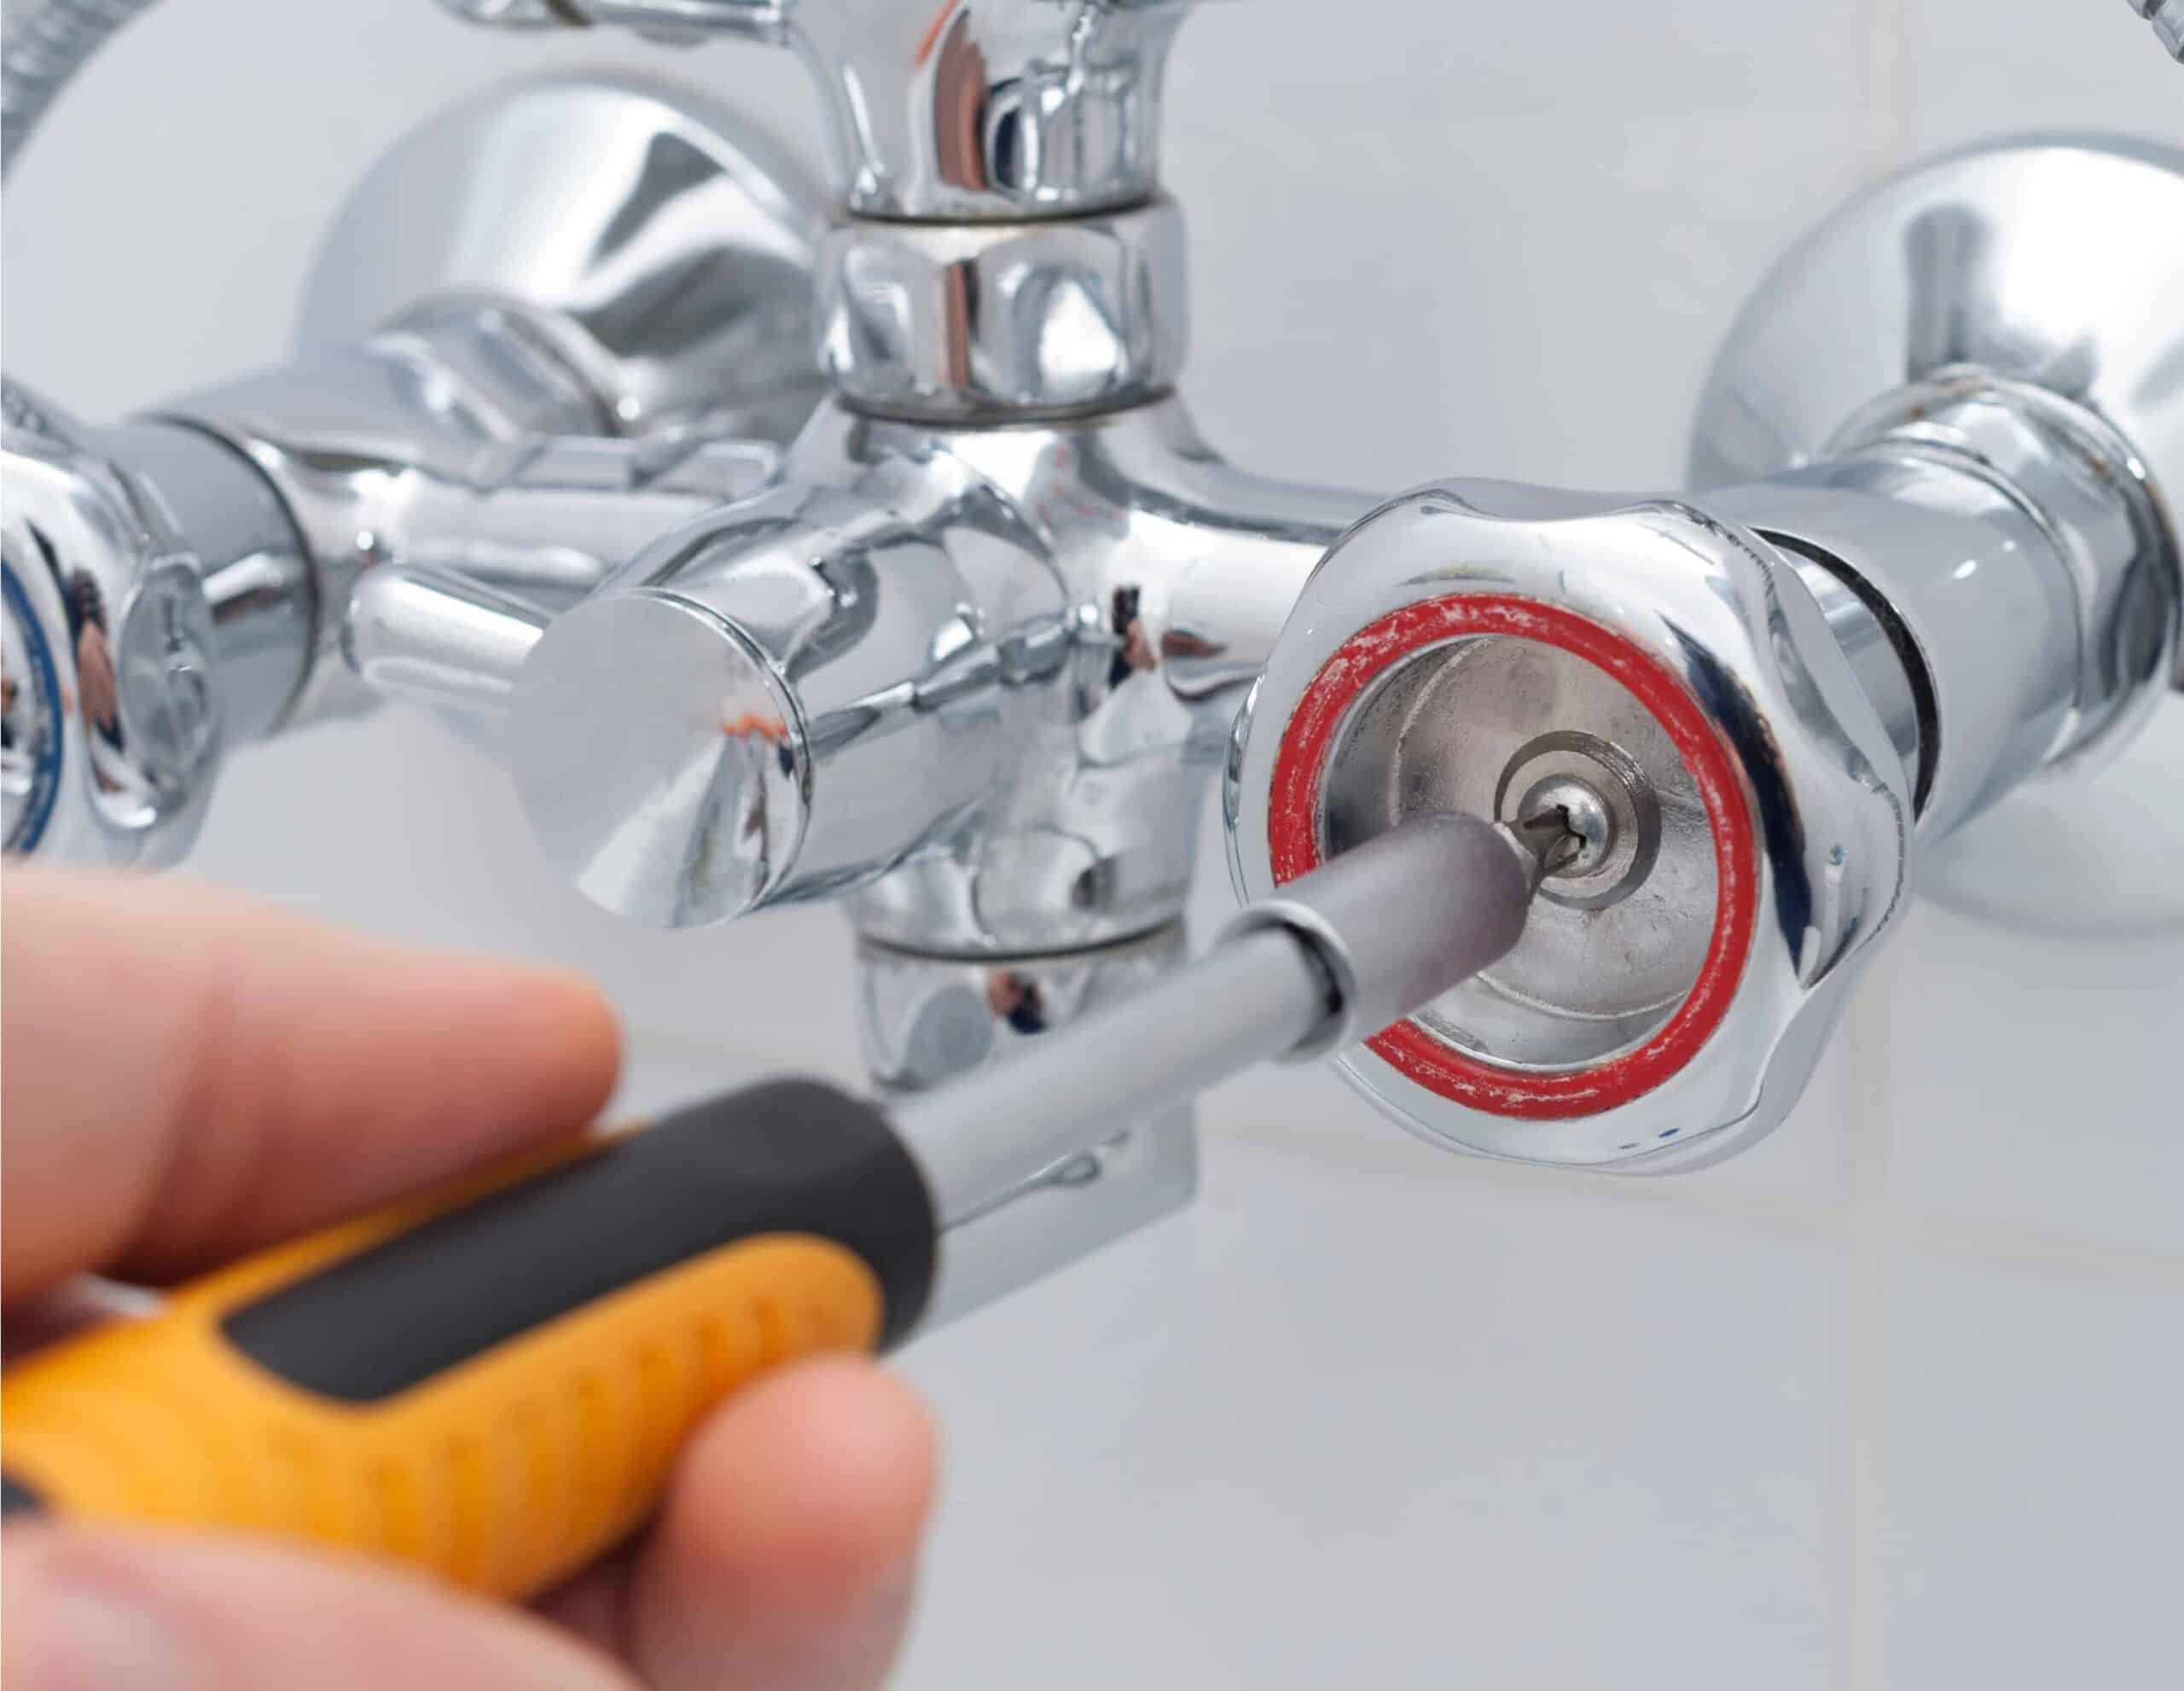
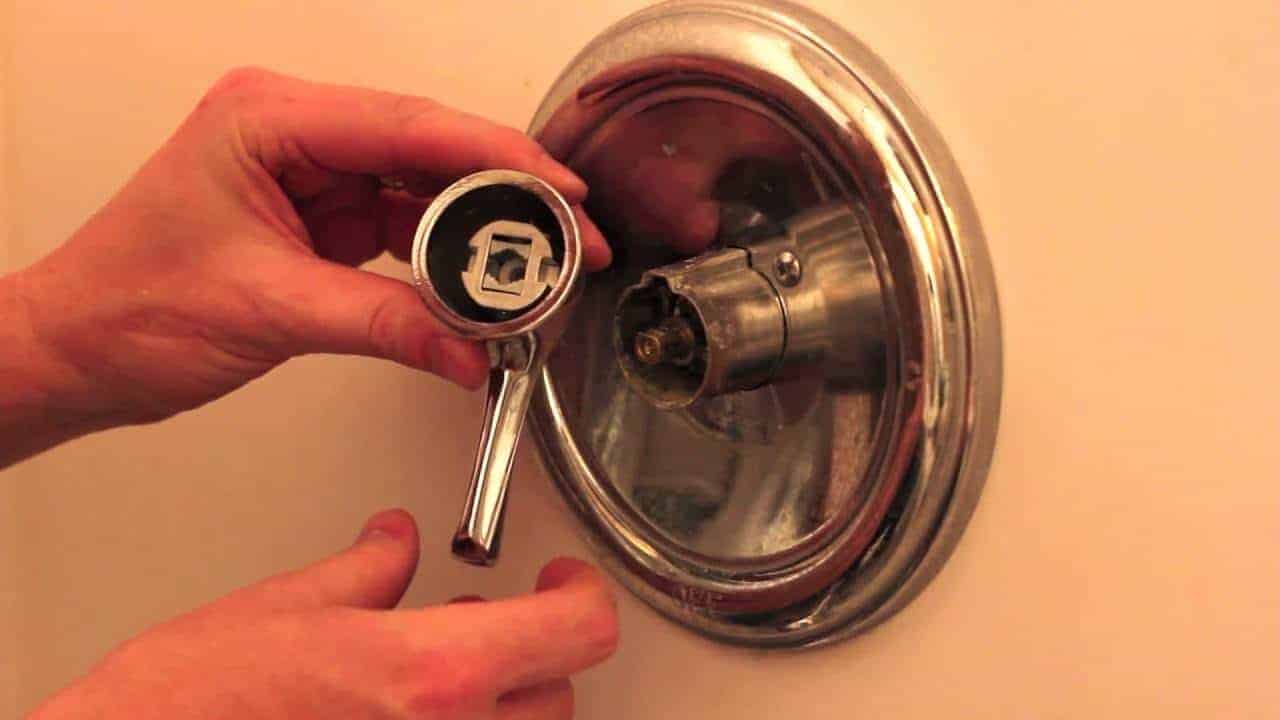
2. Remove the Screw and Handle
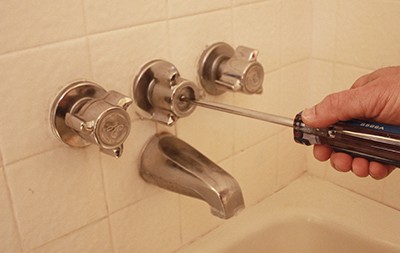
Unscrew the locking screw under the cover cap. Use a screwdriver and turn the screw counterclockwise. Immediately, it comes off, place in a safe place.
Remove the handle with wriggling and pulling movements. If this component looks stuck, use a screwdriver or faucet puller.
3. Take Out the Trim and Sleeve
Move to the trim and sleeve on the faucet stem. Take out the faucet stem from the valve body with a plumber’s deep socket.
Place the tool on the stem’s nut and rotate it anticlockwise. Ensure you use enough grease to get the nut moving. Once it is out, loosen the stem, and remove from the valve body.
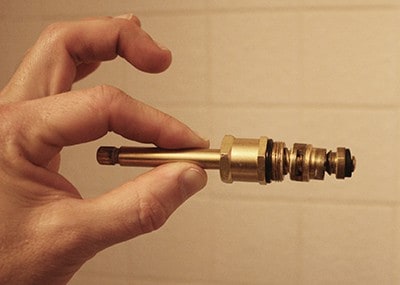
4. Return the Vital Parts
Put back all the various parts on the stem. These include all the faucet washers, O-rings, seals, and the flat washer. Remember to remove the screw before replacing the washer.
5. Return the Faucet Stem
Attach the faucet stem to the valve body by reversing the steps 3 – 1. Before assembling the parts, lubricate the linear grooves on both parts with plumber’s grease.
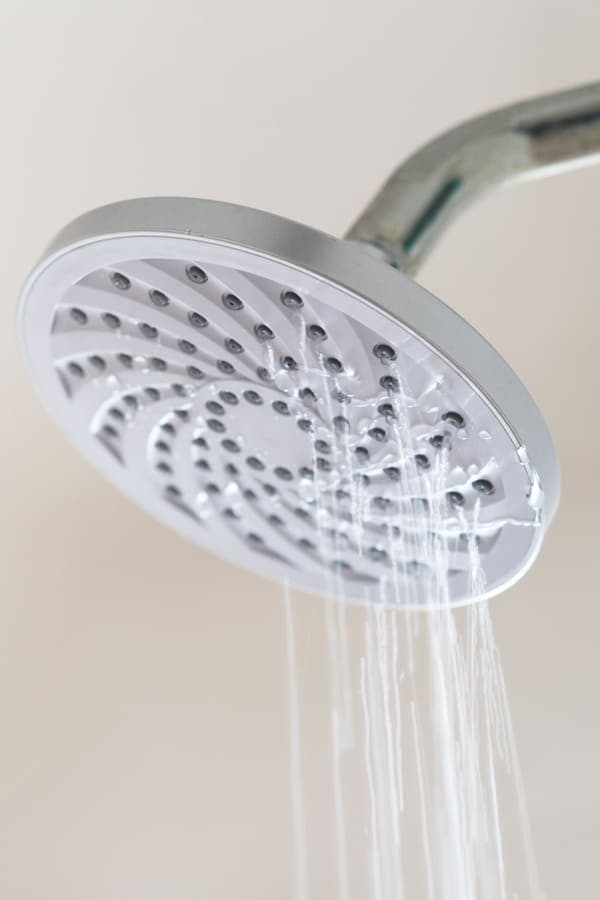
Screw down the stem in the valve body, replace the handle (temporarily), and run the water to test the valve. If there is no leakage, fix the handle and plug the trim to the wall with tub caulk.
Steps to Fix a Drippy Price Pfister Shower Faucet
1. Take Out the Screw
Pull out the ornamental button on the rear end of the shower stem to expose the screw underneath. Loosen with a Philips screwdriver by turning the screw anticlockwise. Finally, extract the handle assembly.
2. Loosen the Threaded Sleeve
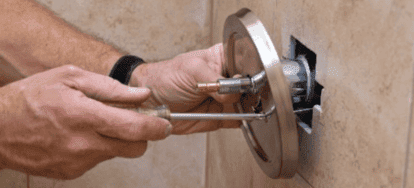
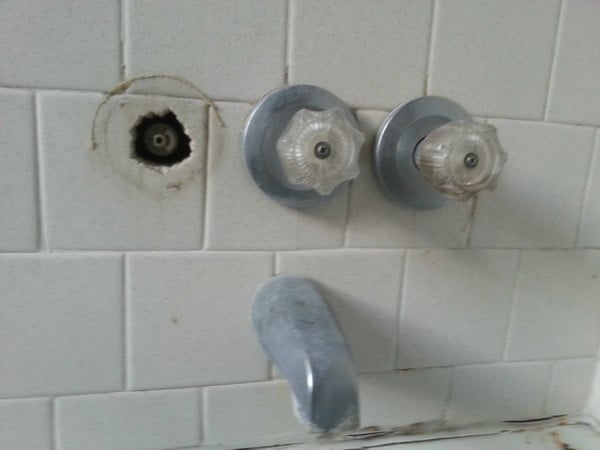
Loosen the threaded sleeve and remove from the escutcheon trim plate. Ensure you turn the screwdriver with anticlockwise motion.
If the escutcheon trim plate is sealed to your bathroom wall, carefully remove the caulk with a sharp knife. Take out the plate from the wall.
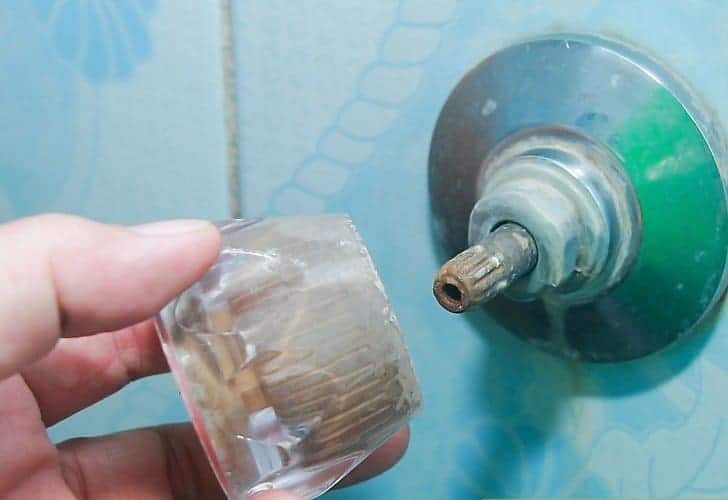
3. Extract the Cartridge

Take out the cartridge by loosening the screws on the mounting flange. Unscrew with anticlockwise movements and pry the plastic cartridge from the valve. Try to bring out the O-rings at the same time as the cartridge.
4. Wipe Out the Interior and Bring A New Cartridge
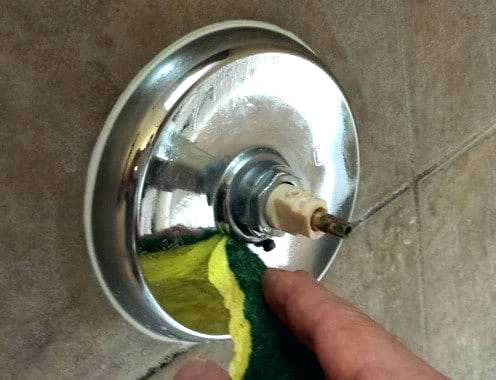
Clean out the interior surface of the valve with a rag. If you notice stubborn stains, scrub them out with steel wool.
Also, swap the old cartridge for a new unit (in the newly cleaned space) and then replace the threaded part and the flange.
5. Add Finishing Touches
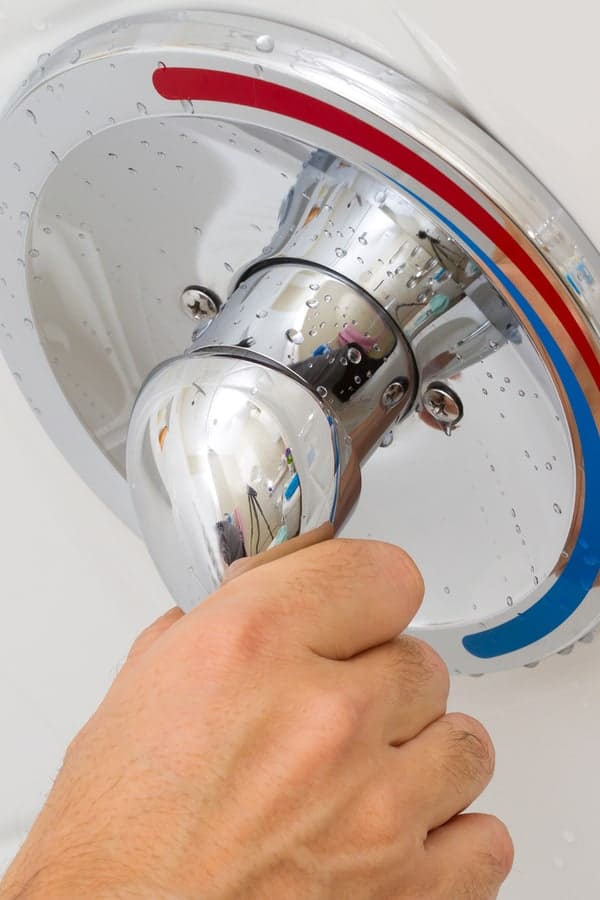
Seal the rubber gasket properly by placing in the right direction. Fasten with four screws and a metal ring. Immediately it’s secured, check for leaks by turning the water on.
If you don’t see any leaks, caulk around the border of the trim. Finally, return the escutcheon trim and handle to their original positions.
Steps to Fix Leaky Single-Handle Faucets
If you want to learn how to fix a leaky shower faucet, you will need to know how to fix the single-handle type.
These variants also have cylindrical valve cartridges that control the flow of water. Typically, these valves feature O rings for this task. When the valves become faulty, it’s ideal that you replace the damaged parts with the following short steps.
- Switch off your water supply
- Find and remove the set screw on the unit. You can find it under the handle of the cap at the beginning of the unit.
- Unscrew the clip on the surface of the cartridge housing and keep in a safe place.
- Pry the cartridge from the unit by using a pair of pliers. Most times, manufacturers supply a cap which you can use to can perform this task. If you cannot use any of the above tools to remove the cartridge, use a dedicated cartridge puller.
- Visit your local hardware store with your current cartridge. Taking your old cartridge along helps, you choose and purchase its perfect replacement.
- Install your new cartridge into the unit you are working on.
- Reassemble all the parts and turn on the water to check for leaks.
Additional Tips for Fixing Leaky Shower Faucets
Use these tips to handle any extra issues you might have with your fittings except your shower filter.
- If your closed shower head still drips water, do not over tighten the faucet. This action can damage the valve, which might lead to further problems.
- Cover the tub or shower floor with rags, especially when you are using the steps on how to fix a leaky shower head. Remember also to cover the drain to prevent tiny parts form rolling in.
- Before you work on a leaky valve, switch off the water supply of your bathroom. If you can’t find the controls for the shower, cut off the entire water supply to your building. Then, drain water from the pipes by opening the bathroom sink faucet.
- Use as less time as possible for your repair project because your household might need to use the water for various tasks. To perform a quick repair on your faulty fittings, keep your tools and the instructions nearby.
Wrap Up
Leaky faucets and shower heads can cause various problems ranging from costly utility bills to damaged bathroom walls. However, you can avoid such issues by knowing how to replace the faucet with the various steps on our guide
Are you tired of the dripping sound from your bathroom? Do you have a faucet that dribbles water even when it’s closed? Use the instructions on this article to resolve these issues with ease.