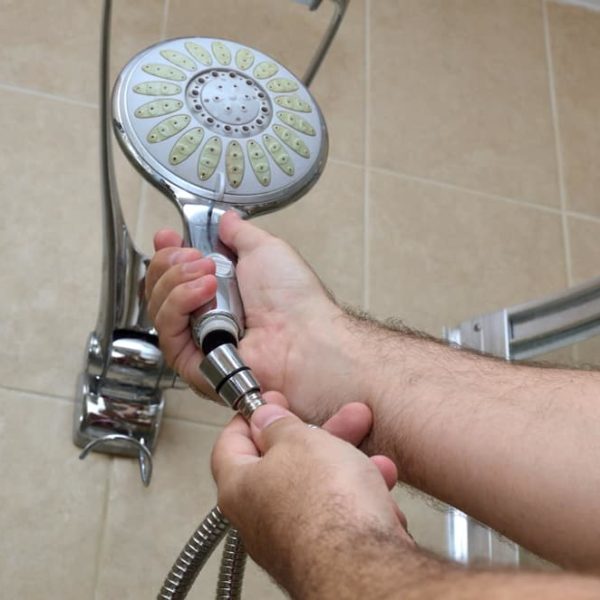
Have you ever think about installing a shower faucet? Maybe it is the right time to provide supreme comfort and unforgettable shower experiences for you and your family. I can tell you that it will be an entirely different feeling from taking a bath in your out-dated, under-equipped tub.
I know that you doubt you can do it without help. Plumbing can look quite confusing, scary, and complicated. Therefore, I will try to help you finish successfully this, at first glance, a quite complicated procedure.
What You Need to Know Before Starting Work
Regardless of all the stories you have probably heard or read about, don’t worry. Investing just a little effort and time can save you a lot of money, and you will learn something new. Plus, you will never have to call a plumber again to do something basic such as replacing a tap.
I will be entirely honest with you. To finish this kind of job, you will need some basic knowledge of plumbing and woodwork and a lot of patience. Take your time, read the faucet manual thoroughly, and take care not to lose any part of the head shower set.
If you have never used some of the tools you need for this job, please look for an adequate tutorial. That way, you will be able to conduct the installing with full understanding.
Necessary Materials and Tools
Materials
- PEX tubing
- A faucet and shower headset
- Drop-ear elbow 1/2 NPT x 1/2
- Four female threaded adapters for pipes
- A board size 2 x 4
- Teflon tape
- Silicone sealant
From my experience, PEX tubing will do an excellent job of connecting since it is convenient and can stand high heats. Therefore, you can directly connect it to a hot water tank and avoid soldering copper pipes as well.
Otherwise, you will have to spend a lot of time soldering, cleaning, and adjusting copper pipes. An added benefit is the prevention of strange sound coming out of copper pipes from time to time.
Tools
- Allen key
- Adjustable wrench
- Crimping tool
- Caulking gun
- Hole saw
- Electric screwdriver
- Hammer
- Screwdriver
- Level
- Wrench
- Screws
- Measuring tape
- Pencil
- Slip joint pliers
How to Install the Shower Faucet
Step 1. Turn off the water supply
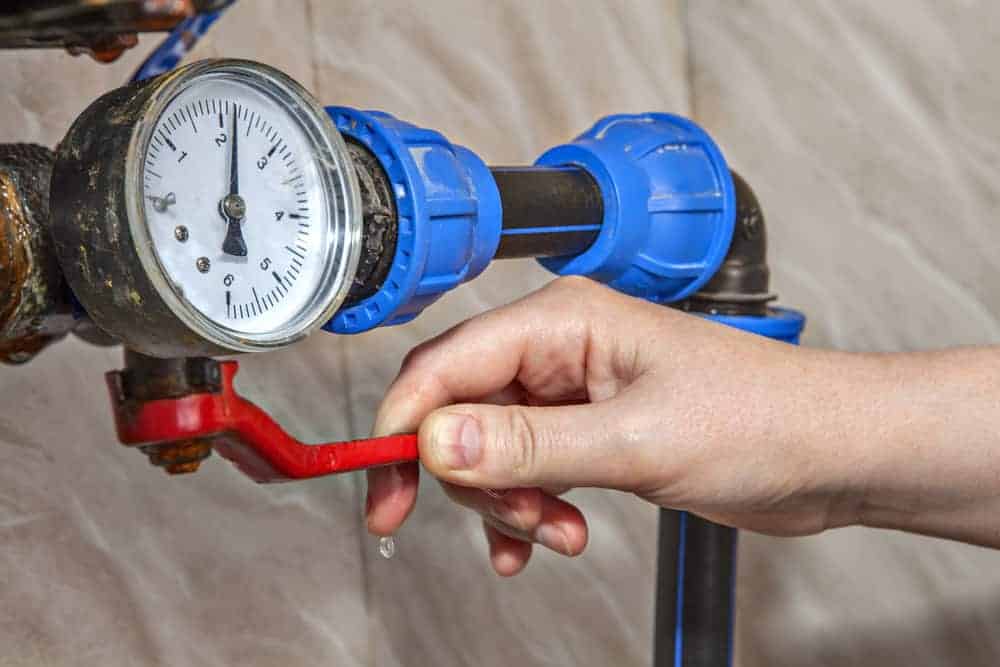
It is always the first step before beginning any plumbing procedure. You want to install the shower faucet, not to make damage or cause flood in your home.
In most cases, you will find a cut-off shower valve in your bathroom. If you do not have it installed, the second option is to look for the main water valve. Since it is installed for the whole house, once you turn it off, be prepared that you won’t have water until you finish the job.
Therefore, you should leave some water supplies previously, just in case someone needs it. Unless you live in a one-floor home, you should let the water from lower levels of the house run out and release the pressure in the pipes. After securing your lovely home, you can get on installing a shower head faucet.
Step 2. Find a compartment
To start installing a shower head faucet, you need to get to plumbing behind the wall. In case you have a particular door for this purpose, you can enter and do it from the other side. Since that option is not hard at all, you may consider yourself lucky because the people built your house were experts.
Otherwise, you have to open the part of the bathroom drywall to start the installation. When making an opening so you could get to the pipes, use suitable tools such as the hole saw, hammer, and regular saw.
Step 3. Mark and measure
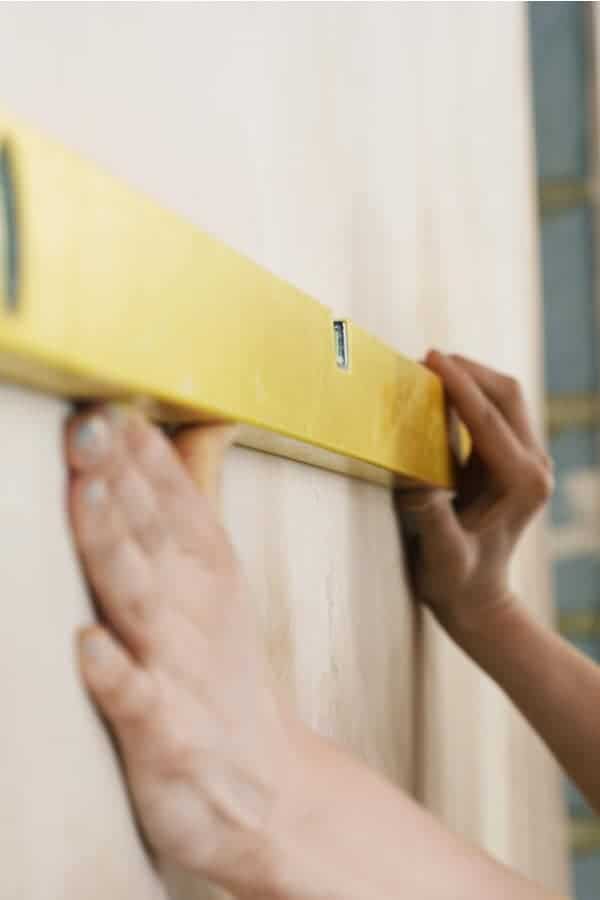
From the other side of the wall, you should mark the height where you want the handle to be. Remember that your kids will use it too, so the handle should not be too high. The ideal height is from 45 to 48 inches (1.15 – 1.2 m) from the floor. Use a measuring tape and pencil for this type of job.
After measuring the height for the handle, you should also measure the height for the showerhead. Adjust it depending on your needs, approximately 72 to 78 inches (1.8 – 2 m) from the floor.
In case you decide to install a rain shower head, you should read the instructions and suggestions for the installation of this kind of faucet. You will probably need to place it higher than the standard showerhead. The goal is to get that special feeling of rain falling on you.
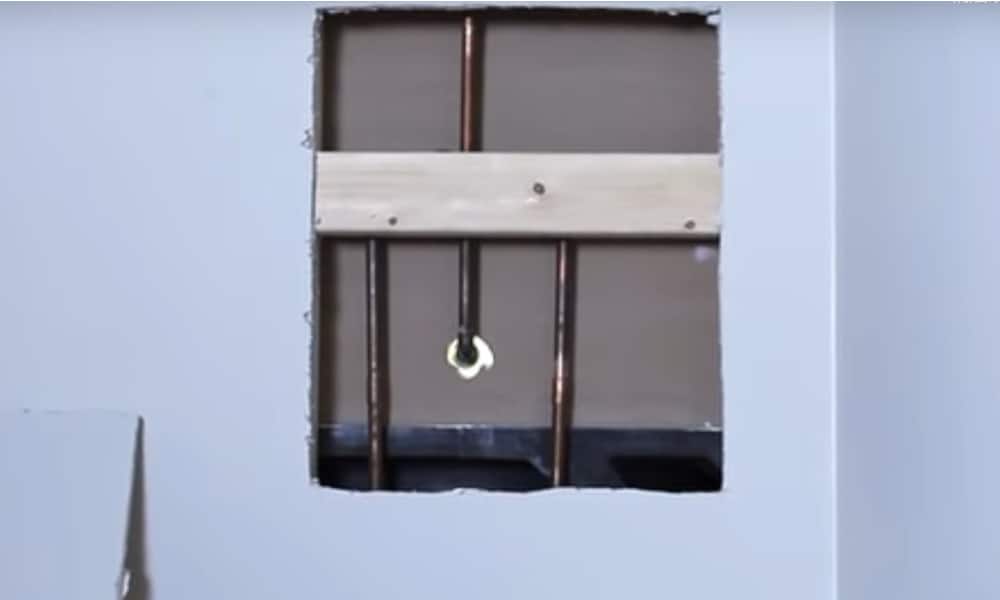
Step 4. Insert a horizontal stud
You should insert the stud vertically between two horizontal ones that already exist in the bathroom wall. Attach it using an electric screwdriver.
Take care to place and fixate the valve to prevent any possible moving. This vertical stud will be the carrier for the valve, and it should be stable. Don’t forget to measure the place for the valve and placed it in the height of the faucet precisely.
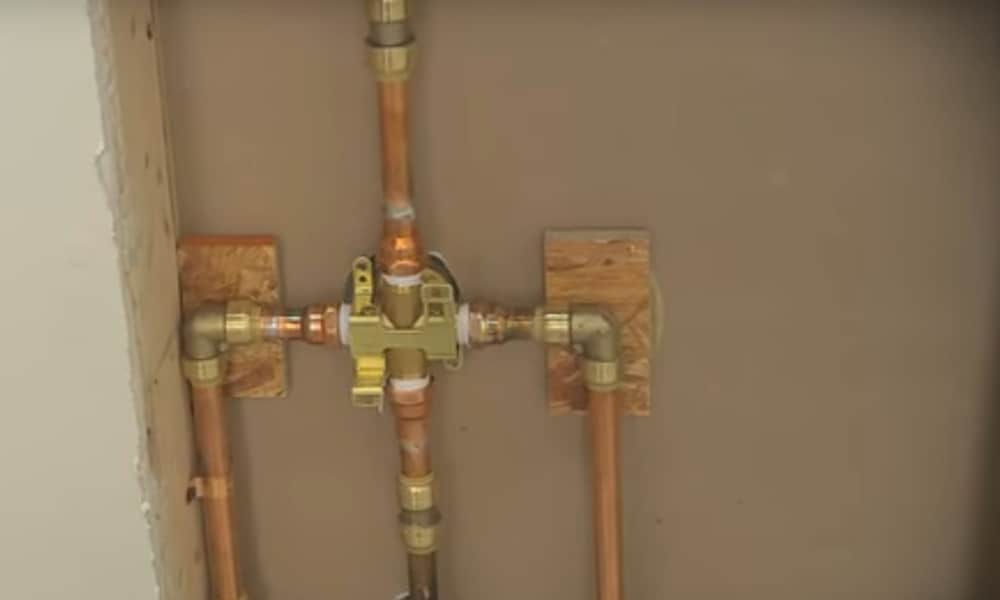
Step 5. Wrap up of the adapters
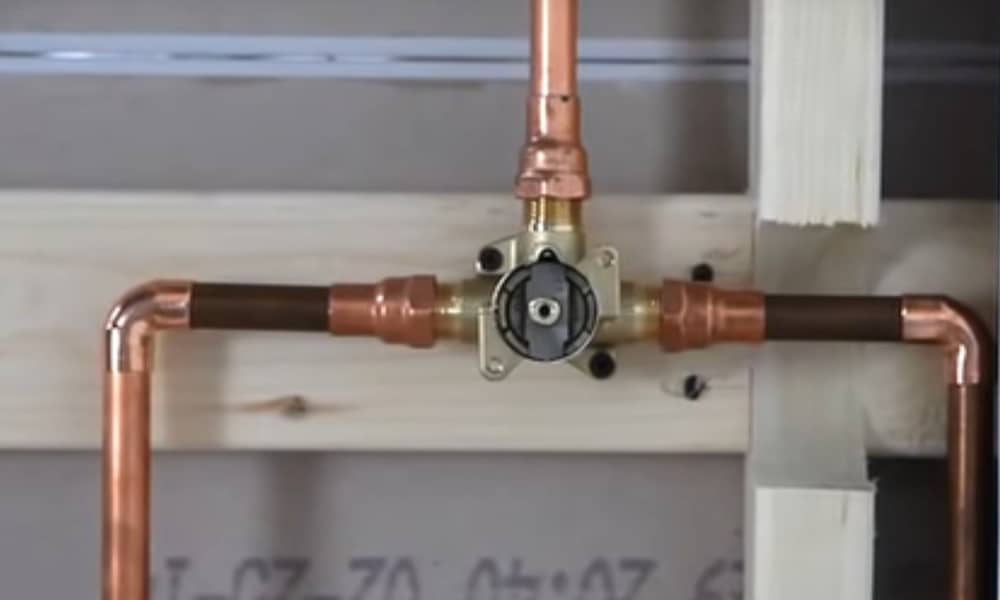
Take care to wrap the end of the adapters by Teflon tape. Once you do that, you can connect a hot water adapter to a hot water pipe with a wrench. Do likewise with the cold water pipe.
Be careful not to mix them. Usually, hot water comes from the left and cold water from the right. According to the position of your hot and cold water supplies, you should connect adapters to pipes from the left and right. That will allow hot and cold water mix in the shower valve and then go up to the showerhead.
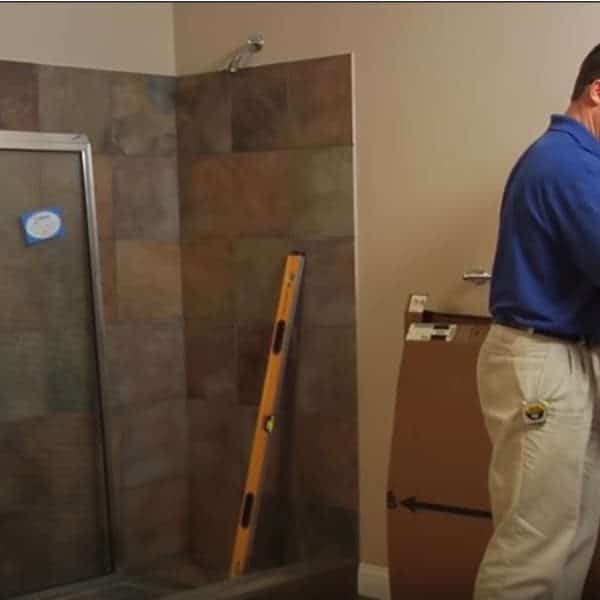
Take care to level everything precisely by using the level before fixing the valve to the stud. Use an electric screwdriver to attach the shower valve in such a way the marked UP indication faces the ceiling.
Step 6. Connect the vertical colon
Now, it is time to connect the PEX tube to UP indication on the valve. If you have finished all the previous hard steps correctly, it won’t be complicated at all.
Wrap up Teflon tape around the upper drop-ear elbow and connect it to the PEX tubing. Again use a wrench to fixate the PEX tube.
Step 7. Set a drop-ear elbow
PEX column is now connected to the drop-ear elbow by using Teflon tape and adapters. Now screw down it to the horizontal stud. It should be screwed down where the showerhead from the other side will be. Also, be sure it is parallel with the valve below. For this job, use the electric screwdriver and fixate it.
To do that correctly, you need to measure the distance between the vertical studs and valve. Then, precisely transfer those specific measures higher to a head shower stud.
Step 8. Drill holes
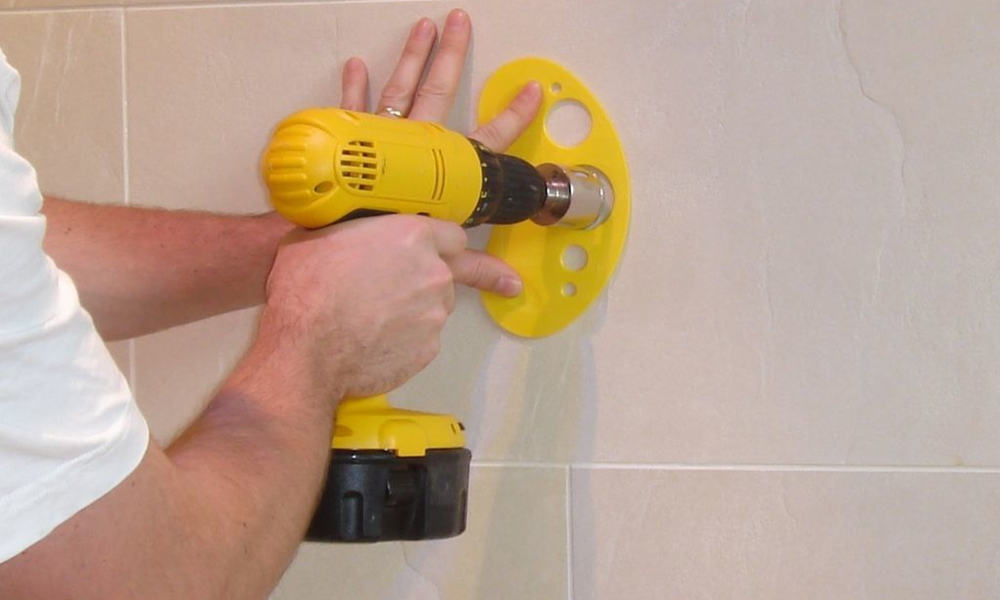
Now, it is time to drill holes for the shower handle and showerhead. Check the measurements carefully because you need to be highly precise. After that, mark the exact points and drill holes with a drill saw.
I like that device because it is precise and makes holes without too much damage to the ceramic tiles. Don’t forget to protect yourself and wear protective glasses while drilling.
Step 9. Install the handle
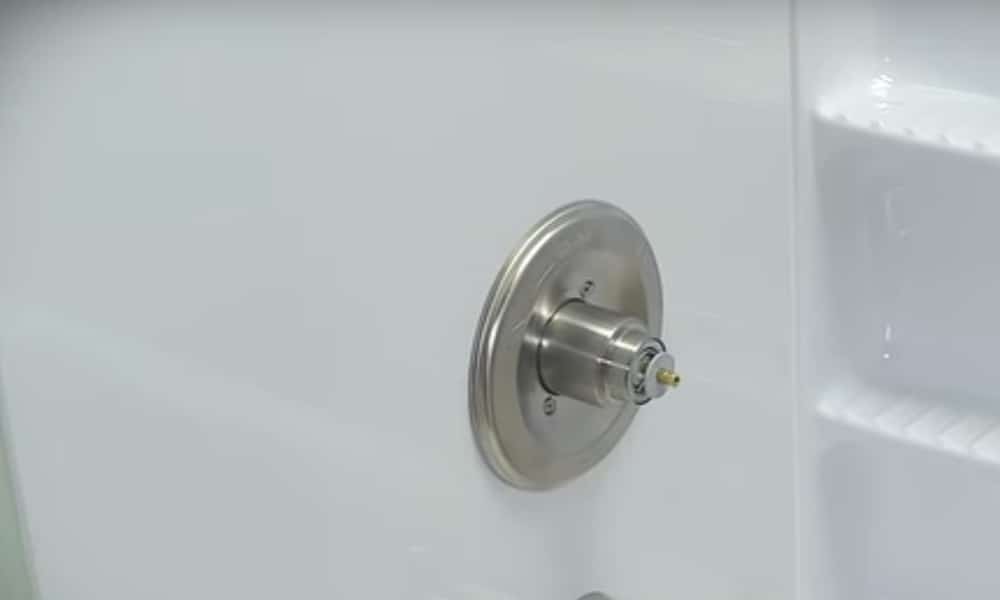
First, remove the protective part connected to the valve. Then put on the decorative disc and screw it to the wall with a screwdriver. After inserting and screwing the handle adapter on the cartridge, you will need the Allen key to install the handle. Take care to direct the handle to the floor when the water is off.
Step 10. Connect fillets
Start by using Teflon tape to wrap out ends of fillets of the upper outlet for the drop-ear elbow. After that, you should connect them to the supply tube of the drop-ear elbow. Turn it gently if you need to fixate the connection a little bit more.
Sometimes, it is necessary to wrap the Teflon tape around the other side of fillets where the showerhead will go. Then gently screw the head shower and tight it a bit more with adjustable screw wrench if necessary. A quarter of a turn will probably be OK.
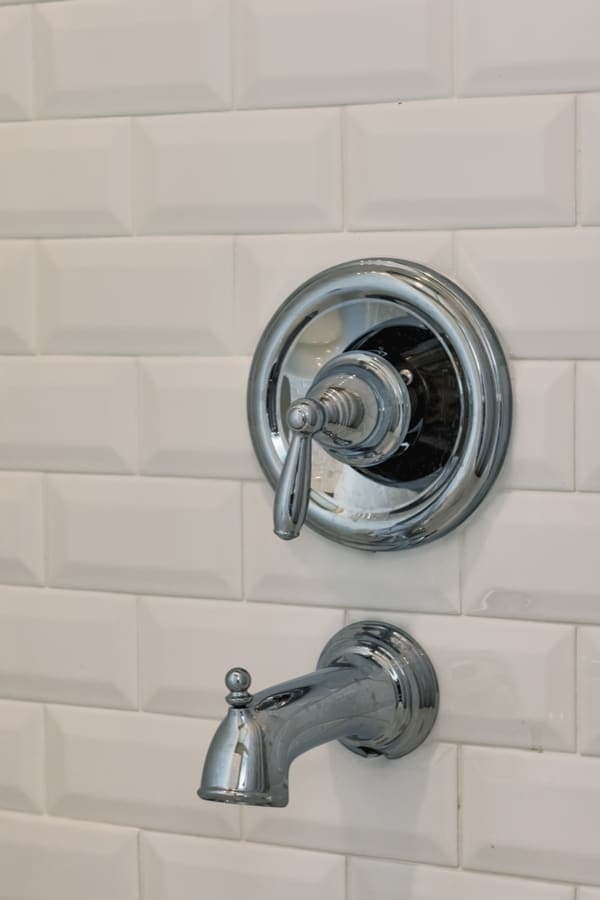
Step 11. Final touch
Fill all holes with silicone sealant by using a Caulking gun, and cover them with decorative plates from the head shower set. That is the right moment to look for other holes to fill in if needed.
Step 12. Turn the water back
When you finish the job, it is time to switch on the valve and turn back the water.
Step 13. That’s it
Before you start using your bathroom regularly, you should check if everything works well. Let the water flow for a while to push out the air pressure. At the same time, you will have enough time to check for possible leaks. If nothing leaks and you have both hot and cold water, you have done a great job.
Conclusion
I can congratulate you from all my heart! Well, I am sure that you are sick and tired of hard work and need a nice, fresh showering. If you think twice, taking a shower will give you more satisfaction because you have done all the job with your own hands!