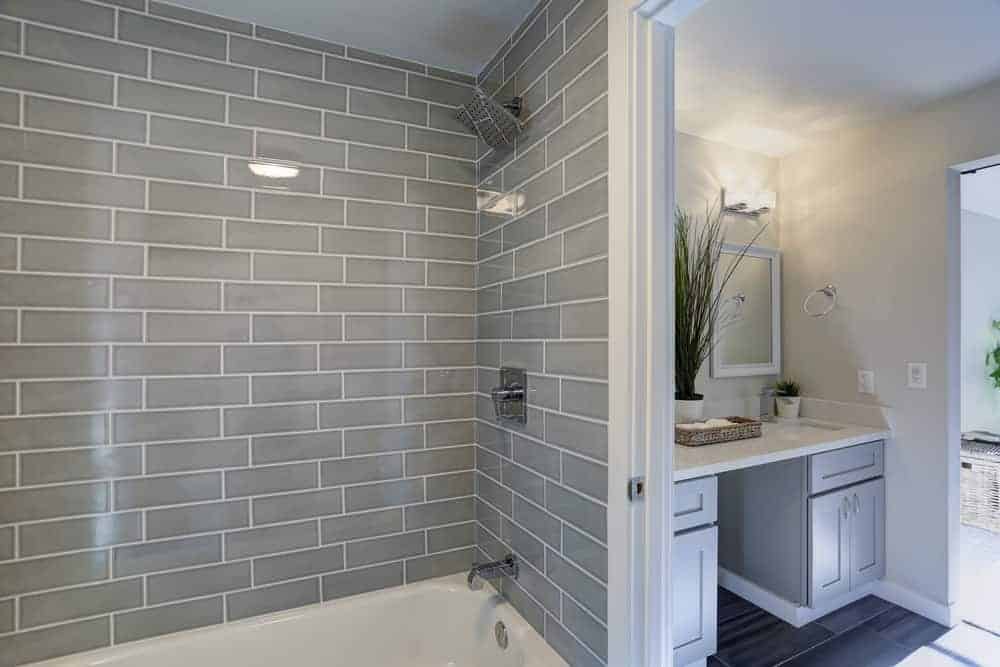
It’s a wonderful feeling stepping into a clean, new bathroom – the shiny fittings and gleaming walls give off an aura of luxury, making it a pleasure each time you go in there to wash.
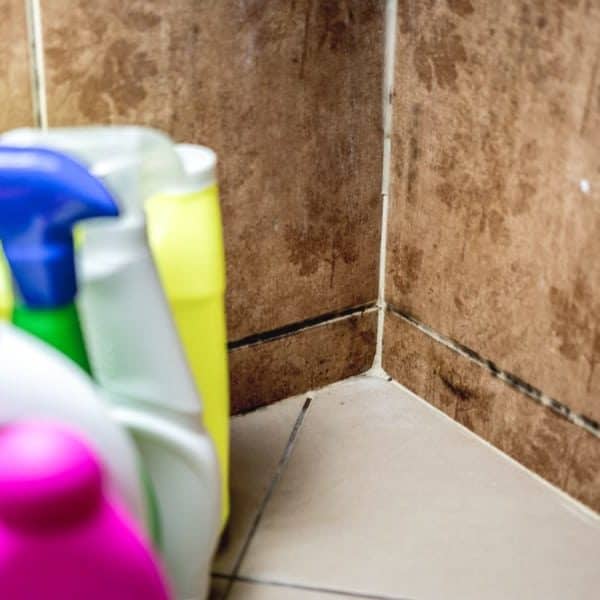
Unfortunately though, it can be a challenge to keep bathrooms looking bright and fresh, and before you know it, your walls are covered with grime, making it all a whole lot less welcoming.
However, it doesn’t have to be like this, so in this post, we bring you all the tips you need for how to clean shower tile – as well as talking about how to prevent your bathroom from starting to look dirty in the first place.
What can you use to clean shower tiles?
When it comes to cleaning bathroom tile, there’s no shortage of specialist products you can buy – but at the same time, there are plenty of basic household products you can use instead that will probably save you a whole lot of cash. So let’s have a look at some now.
1. Bicarbonate of soda
Bicarbonate of soda, also known as baking soda, is something that most people have in their homes. It’s inexpensive, gentle on the environment and is effective for a whole range of household cleaning uses – including cleaning tiles.
Furthermore, it can help absorb bathroom odors, making it an even better choice, and it can even help suck up moisture, making it the perfect option for cleaning grout.
Use cleaning-grade bicarbonate of soda rather than food-grade baking soda – if only because it’s a lot cheaper.
2. Hydrogen peroxide
Hydrogen peroxide is commonly used as hair bleach (hence the expression “peroxide blonde”), but it can also be used for household cleaning chores such as cleaning bathroom tiles.
3. Oxygen bleach
Oxygen bleach is a less common product to find in people’s homes, but it can be used to clean bathroom tiles and more and is less extreme than chlorine bleach.
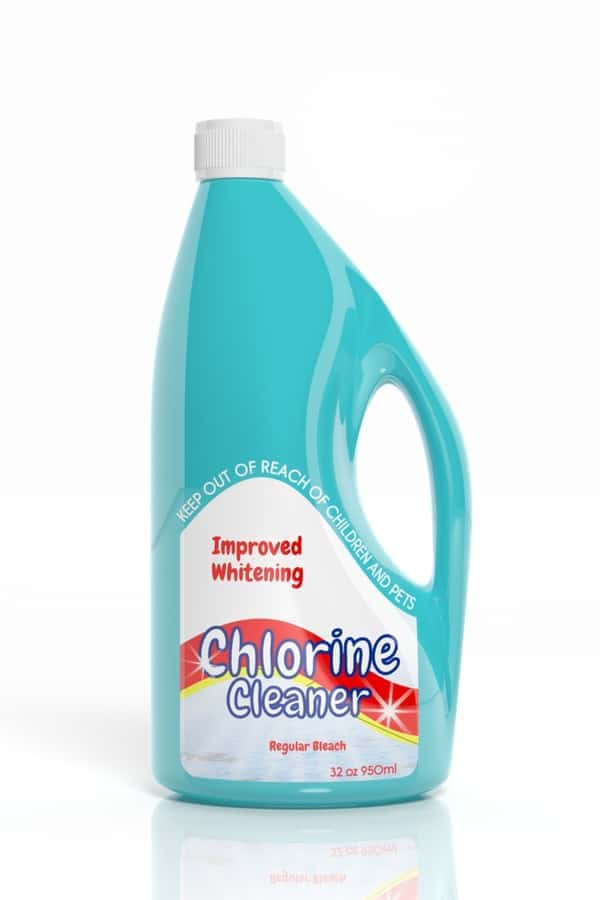
4. Chlorine bleach
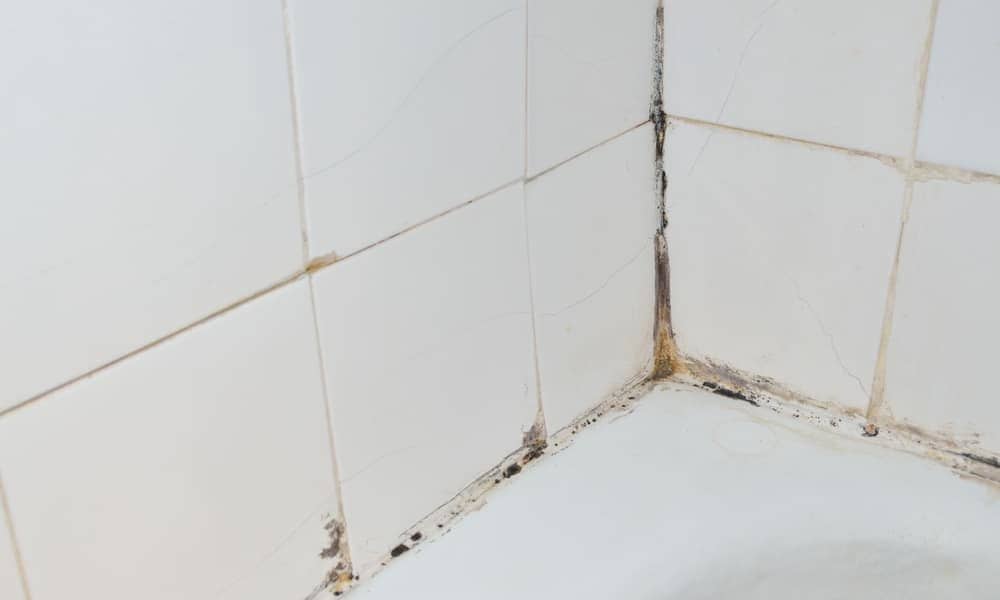
When you have a tough job you need to get done, you can turn to chlorine bleach to power through the dirt, mold and mildew.
However, harsh chemicals like chlorine bleach are not great for the environment, and it can also be harmful to the skin and eyes.
This means you should be careful when using it – and should only consider it as a last resort when other methods have failed.
5. Vinegar (or lemon juice)
Vinegar is a well-known universal cleaning product that almost everyone has at home and that is highly effective for cleaning just about anything thanks to its acetic acid content.
However, when it comes to cleaning tiles, we have placed it last on our list since it needs to be used with caution, and you need to understand its limitations.
When it comes to cleaning the tiles themselves, vinegar is an excellent product to turn to. It’s cheap, environmentally friendly and does a great job of removing soap scum and any mineral buildup from calcium and magnesium in the water.
However, since cement grout is an alkaline substance, vinegar will dissolve the grout rather than just cleaning it.
This means if you clean cement grout with vinegar, you will essentially be stripping away the top layer – which may give you a clean-looking bathroom if you do it once or twice, but after a few times, you will find you have no grout left.
So in short, while vinegar can be used, if you have cement grout, you need to understand the damage it can do and limit its use as much as possible.
The same is also true of lemon juice since it contains citric acid.
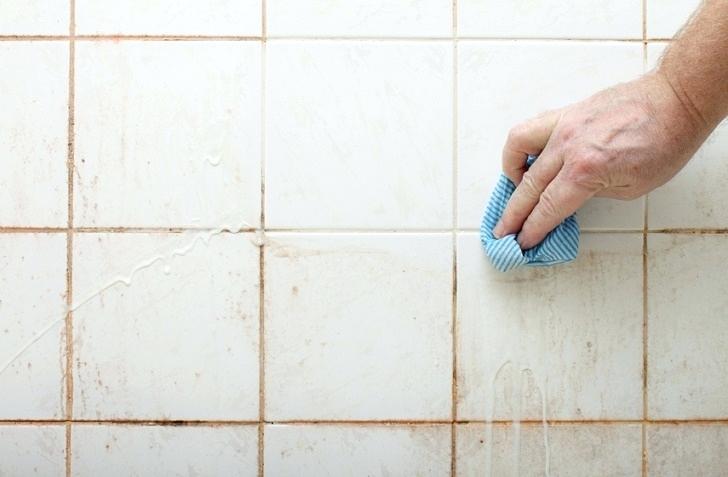
Some suggestions for how to clean shower tile
Here are a few suggestions for how to clean your shower tile walls to keep them looking like new without damaging them.
As a general comment, you should always start with the gentlest method and increase the harshness gradually rather than just jumping in with the most extreme cleaning method available.
This way, you will do the least harm to the environment possible, and you will also run less risk of damaging your tiles.
1. How to Clean Shower Tile with baking soda
Probably the best method to try first, bicarbonate of soda is gentle yet effective at cleaning tiles and grout. Here’s how it’s done.
What you’ll need:
- Bicarbonate of soda
- Cup
- Old spoon or spatula
- Old cloth
- Grout brush or toothbrush
- Sponge or squeegee
Step 1. Mix up a paste of bicarbonate of soda
In a cup, mix up a paste consisting of one part bicarbonate of soda and one part water.
Step 2. Apply the paste to the tiles and grout
Using an old cloth, apply the baking soda paste to the tiles you want to clean. You may also use an old spoon or a spatula to apply the mixture to the grout between them. Apply more in areas that are more heavily stained by dirt, mold or mildew.
Step 3. Leave to work
After applying the paste, you should leave it to take effect. Around half an hour should be enough.
Step 4. Scrub grout with a brush, sponge down tiles
To remove any stains from the grout, take a grout brush or an old toothbrush and scrub the areas where mold or mildew is present. Once this is done, take a sponge or a squeegee and wipe down the tiles and grout with warm water.
If there are any areas of tile where the stains are particularly stubborn, you can also scrub them with the grout brush or toothbrush.
Step 5. Hose down with the shower and inspect
If you have the type of shower you can hold in your hand, use it to wash the walls down – although if you don’t have one, you can skip this step because the rinse with the sponge should be enough.
Inspect the walls to see if you have removed all mold and mildew, soap scum and mineral deposits from the area you’ve cleaned.
If you’re not satisfied with the result, you can repeat the same technique once or twice – and then you can try something a little stronger if it’s still not clean.
2. How to Clean Shower Tile with Hydrogen peroxide

Hydrogen peroxide is more potent than baking soda, but it’s not too bad for the environment and can be picked up cheaply from anywhere that sells cleaning supplies. Here’s how to use it to clean tiles.
What you’ll need:
- Hydrogen peroxide
- Spray bottle dispenser
- Grout brush or toothbrush
- Sponge
Step 1. Mix up hydrogen peroxide and water mix
Mix up a solution of hydrogen peroxide and water with a ratio of 2:1 hydrogen peroxide to water. Pour the mixture into a spray bottle dispenser.
Step 2. Spray onto the wall and leave to act
Use the spray dispenser to spray the solution onto the wall you want to clean, then leave the solution on the wall to act for at least half an hour.
Step 3. Scrub areas with heavy staining
Using a grout brush or toothbrush, scrub areas of grout and tiles where the staining is particularly pronounced or stubborn. You should find it comes off relatively easy, but you may still need to put a little effort into the scrubbing to make sure it all comes off.
Step 4. Sponge down wall
After you’ve scrubbed off all the staining, use a sponge with some warm water to rinse the wall down. If you have a handheld showerhead, you can also use that to wash the wall down.
Step 5. Check the results
Check the wall to see if the staining and dirt have all disappeared. If not, simply repeat once or twice – and then consider moving on to another method.
Tip: You can also add hydrogen peroxide to the paste of baking soda and water in Method 1 to increase its potency.
3. How to Clean Shower Tile with Chlorine bleach
Chlorine bleach is a powerful cleaning agent that should only be used as a last resort. If you use it, make sure you wear the proper protective equipment and that the room is well ventilated before you start cleaning.
What you’ll need:
- Chlorine bleach
- Bucket
- Cloth
- Protective equipment (goggles and rubber gloves)
- Grout brush or toothbrush
Step 1. Read the instructions
When using chlorine bleach, the first thing to do is to read the instructions on the bottle carefully since different products are made to be used differently.
Step 2. Mix up a cleaning solution according to the instructions
Following the amounts explained on the bottle, mix up a cleaning solution of bleach and water. In most cases, it will be about one cup of bleach for each gallon of water – but follow what the instructions tell you.
Step 3. Apply the bleach to the wall with a sponge
Wearing your protective gloves and goggles, apply the bleach to the wall you need to clean with a cloth, paying special attention to the areas with the most stubborn staining.
Step 4. Leave to act
Leave the bleach to act on the staining for at least half an hour.
Step 5. Scrub with a grout brush or toothbrush
Using a grout brush or old toothbrush, scrub the areas with the most stubborn staining. With a little elbow grease, you should be able to clean all the dirt, mildew and mold from the tiles and the grout.
Step 6. Rinse down and inspect
Using a sponge or the shower, rinse down the wall and check it. It should now be clean and fully disinfected – but if not, simply repeat once or twice more until it is clean.
4. How to Clean Shower Tile with Oxygen bleach
Oxygen bleach can be bought in powder form. You can either mix around three tablespoons of bleach with two gallons of water and use it to wipe the wall down with a cloth or you can mix it into a paste like in the baking soda method.
Once applied, scrub the affected areas with a grout brush and then wash down with a sponge.
5. How to Clean Shower Tile with Vinegar
If you choose to use vinegar to clean your wall, simply put some white vinegar into a spray dispenser, spray it onto the wall, leave it to act for half an hour, scrub as necessary and then wash the tiles down with warm water.
However, remember not to use it too often on cement grout – otherwise, you will quickly find the tiles need regrouting.
How to prevent shower tiles from becoming dirty
Of course, prevention is better than cure, so here are a few tips that will prevent your tiles and grout from becoming dirty in the first place.
1. Clean weekly
If you clean your bathroom once a week, mold and mildew won’t have chance to establish themselves, and any dirt stains will be washed away before they become too encrusted.
2. Use liquid soap
Switching to liquid soap can minimize the soap stains left on tiles after washing.
3. Seal grout yearly
Grout is porous, and when combined with the warm, humid conditions of a bathroom, it provides the ideal environment for mold, mildew and bacteria to breed.
However, if you reseal your grout once a year, you will prevent moisture from entering it, and mold, mildew and bacteria won’t be able to grow there.
4. Ventilate your bathroom
Proper ventilation can help reduce moisture and humidity in your bathroom, so opening windows after showering will make your bathroom a less inviting place for mold and mildew to grow.
5. Wipe down walls after showering
Although some people might find this excessive or just too much work, wiping down your shower walls with a towel after each use can help reduce moisture and humidity, again, making it a less inviting place for mold and mildew to grow.
Tips and tricks
Here are a few extra tips and tricks that will help ensure the best results when cleaning your shower tiles.
1. Test on a small area before cleaning the whole wall
Whichever method you choose, start on a small, inconspicuous area first to see how it affects the tiles and grout. This way, if it causes any staining or discoloration, it won’t be right in the middle of the wall where everyone can see it.
2. Avoid using abrasive brushes
When scrubbing your tiles and grout lines, avoid using any kind of abrasive brushes. This is because using an abrasive brush can easily damage your tile or grout, and this in turn can make it easier for mold and mildew to return in the future.
3. Use correct protective equipment
If you are using harsher materials to clean your bathroom, make sure you use the correct protective equipment. This means protecting your eyes with goggles and your hands with rubber gloves since things like chlorine bleach are harmful to skin and eyes.
4. Follow the directions on the bottle
Although we have given you general guidelines here about how to use certain products to clean with, always follow the instructions on the bottle since they will tell you exactly how that specific product is supposed to be used.
5. Prep the bathroom with steam before cleaning
Before cleaning your bathroom, you can prep it by turning the shower temperature up to maximum and leaving it to run for ten minutes.
Make sure all the doors and the windows are closed, and the steam from the hot water that fills the room will make any stains easier to remove.
6. Consider using a steam cleaner
Another option for cleaning tiles and grout is to use a steam cleaner. These can be highly effective tools that do a great job of cleaning your bathroom – just make sure you choose one that is compatible with your tiles and grout.
7. Avoid using acidic cleaning products on stone
If you have stone tiles (for instance granite or marble), you should avoid using vinegar or other acidic cleaners. This is because the acid will corrode them, and after a few times, you will end up permanently damaging your expensive wall.
Several effective methods for cleaning shower tile
As we have seen, there are several highly effective methods for cleaning shower tiles that will leave your bathroom looking clean and fresh, just like new.
Be careful about using acidic cleaners on grout and stone tiles, although they can safely be used on porcelain or ceramic tile – and stick to a regular cleaning schedule to ensure that dirt, mold and mildew stains that develop never get out of hand.