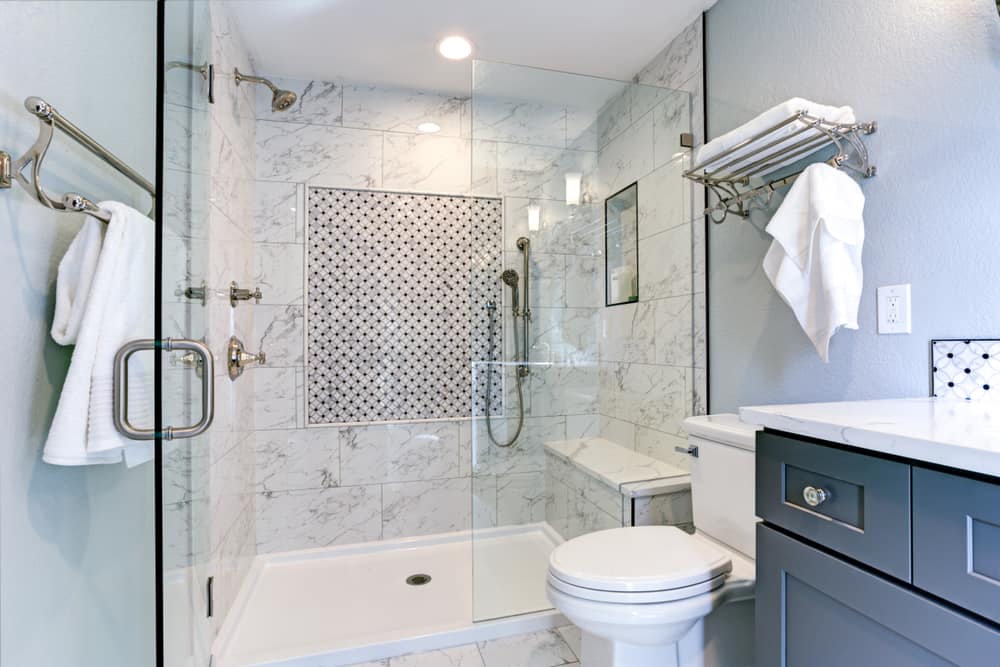
If you look around the web, you’ll find conflicting information about walk-in showers, so let’s begin with the basics. A walk-in shower is a standalone unit that’s not connected to a bathtub. Sometimes, it’s part of a ‘wet room’, meaning the shower isn’t secluded from the bathroom.
But even in this scenario, the walk-in shower will often have a glass door and a curb, to prevent flooding and spillage. It might also have shower curtain rods to stop your shower water from splashing into the rest of the bathroom. But how easy are they to install?
Step 1. Start with the right shower kit
Building your walk-in shower requires two separate kits. The first is a shower kit, which contains:
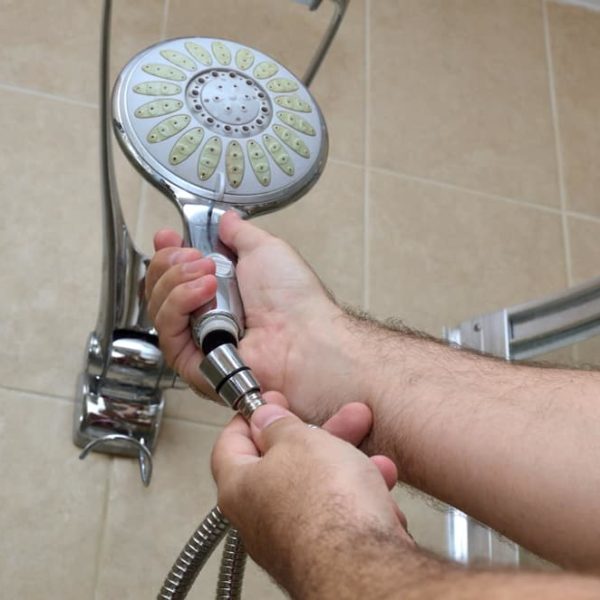
- A shower head
- A shower arm
- A hand-held showerhead
- Faucets
Sometimes, shower kits have accessories like soap dishes, corner beads, and shower walls. The second kit you need is a shower tray. This system is used to install your shower floor, and it contains:
- A sloping shower tray
- An optional curb
- Adhesives (sealants and screws)
- A shower drain
- Water-proofing materials
Wedi Fundo Ligno and KBRS are two popular shower floor kits. Home-owners who prefer the Ligno enjoy its easily applied shower wall panels, while fans of KBRS are impressed by its comprehensive bundling. This includes sealant, liquid waterproof liner, and water-proof fabric.
Another advantage of KBRS ShowerSlope kits is versatility. Other shower trays come with pre-cut holes, so you have to find one that matches your drain position. With KBRS, you can position the drain wherever you want it. This allows wider selections of shower configurations.
Step 2. Gather your tools and supplies
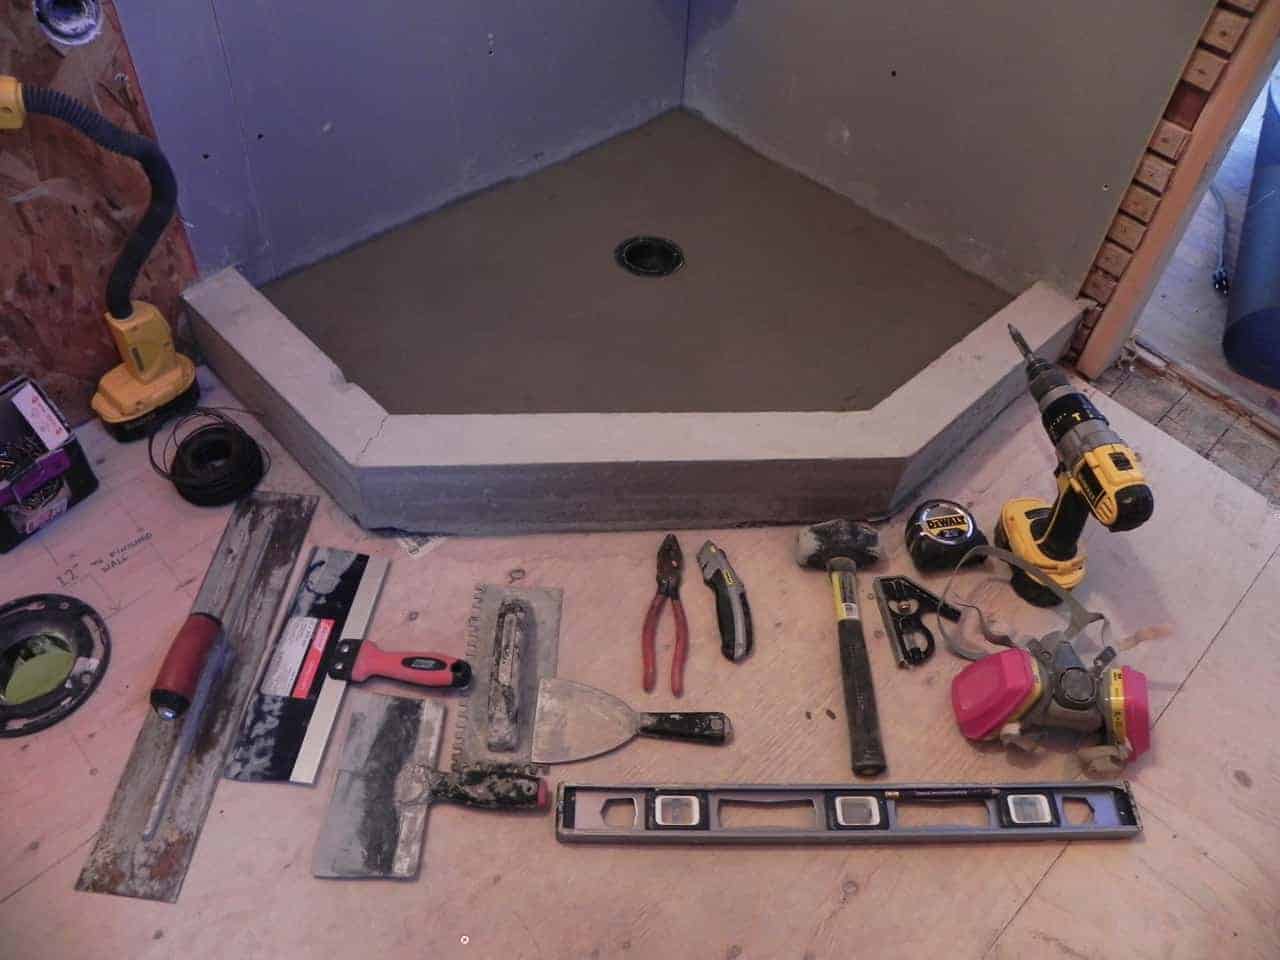
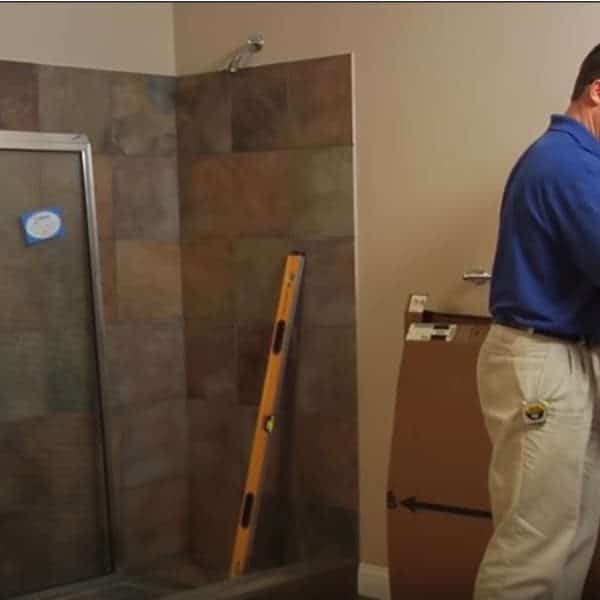
Installing a walk-in shower involves cutting, drilling, gluing, and drying. It can take a day or two, and you have to plan carefully because some sections of the process need to dry overnight. You’ll also need to test your shower floors for leakage. Below are some of the items you’ll use:
- A circular saw for the bulk of your cutting
- An optional hole cutter for the drain
- A reciprocating saw that moves back and forth, just like a manual one
- An angle grinder for the smaller angled sections
- A power drill with spade bits and screw bits
- A chalk line to help you cut straight lines
- A pair of scissors to cut your waterproof fiber mesh fleece
- A tape measure to ensure everything fits snugly
- A hammer to knock wooden pieces into place
- A caliber knife or utility knife to cut your cement board
- A spirit level to keep your surfaces flat
- A caulking gun or sealant gun for your adhesive
- Screws to hold the shower parts in place
- A can of purple primer for your drain
- A palette knife to spread your thin-set
- A paintbrush and roller to apply your liquid waterproofing
- A trowel (which is included in KBRS ShowerSlope kits)
You’ll also need the following shower construction supplies:
- Sand mix to block the gaps in your drain
- Shower tiles or finishes of your choice
- Thin-set mortar for the tiles, shower tray, and drain
Step 3. Check the status of the shower floor
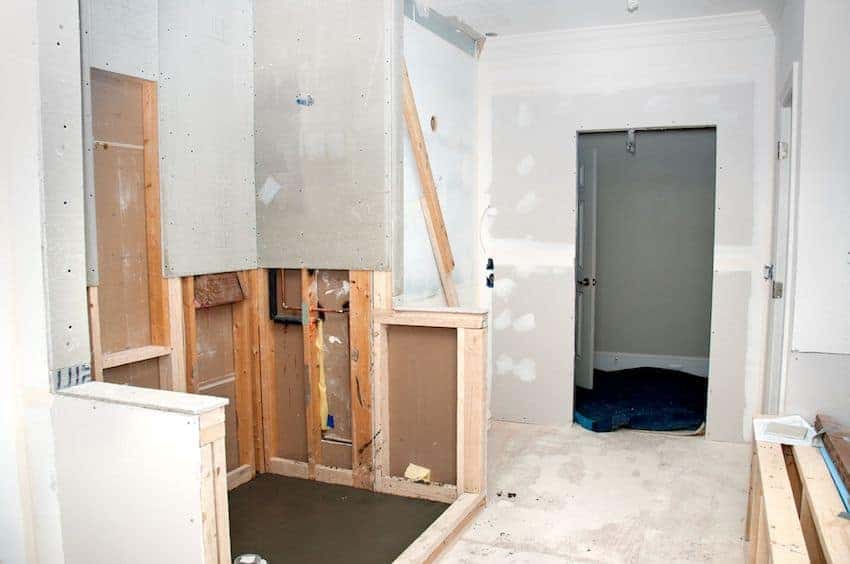
Some shower systems – like the Ligno – need you to sink the tray into the shower floor. In such cases, you’ll have to cut a hole in the shower floor. This floor is made from OSD (Oriented Strand Board). Cut a square that’s the right size for your shower tray, then create a platform.
To do this, inspect your floor joists to make sure they have no bumps or nails. Sand your wooden joists and use a spirit level to make sure they’re flat. Screw some nailer boards to create a sunken section, then screw plywood on top to form a base. Confirm where the drain is located.
Slip the OSD sub-floor back into place. Next, cut a hole in your OSD, making sure it’s the right position, shape, and size for your drain. If you’re using KBRS, your tray doesn’t have to be lower than the shower floor, so you can skip the previous steps and go straight to cutting a drain hole.
Apply purple primer on the drain parts. It cleans off dirt and softens the PVC drain, enabling it to fuse better. Add a line of sealant around the drain, then push the drain into place. Use your hand to tighten the nuts, and press it down for a few minutes until the sealant dries.
Step 4. Apply a coat of thin-set
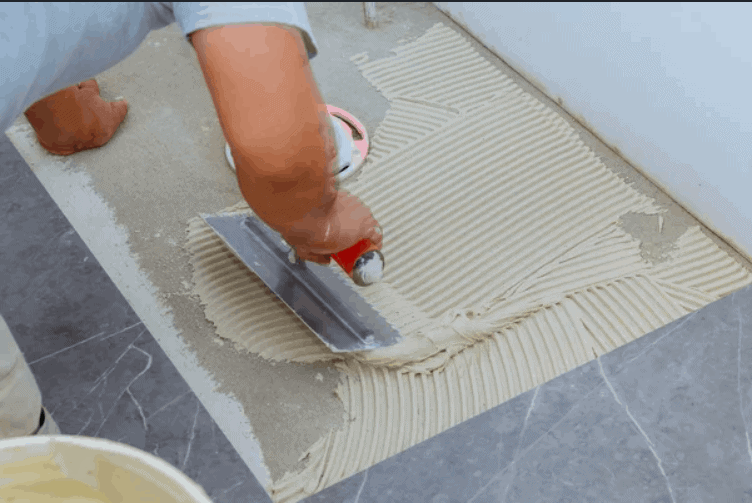
Sweep or wipe your ODS sub-floor to get rid of dust and debris that may cause the floor to wobble. Using a palette knife, spread an even layer of thin-set onto the sub-floor, then trowel it in straight lines. Place the shower tray carefully onto your thin-set stripes and press it down.
Some of the thin-set will spill onto the surface of the drain cover. Use a palette knife to scrape off the excess, and weight the tray down with something heavy like a bag of sand. Check that the floor is even to minimize air pockets. Let the tray dry for about half an hour.
Install your shower walls. If you’re using a Ligno, your shower tray will have channels carved into it. Slip the wall panels into these grooves, and press them into place. If you’re using KBRS, use a power drill to screw the wall panels into position. Cut holes for any fixtures or accessories.
These may include a shower caddy niche on the side or slots for your soap dish. You should also cut holes for your showerhead and faucets, ensuring they align with your plumbing. For a nice finishing touch, you can install a decorative metal bead at the edge next to the drywall.
Step 5. Set up your shower curb
Walk-in showers aren’t expected to have a curb. But many home-owners install curbs because it makes the shower less messy. It also prevents slips and falls, because it keeps shower water safely inside the shower. Besides, KBRS showers come with a convenient self-sealing curb.
Measure the curb to confirm it fits the shower. If it’s too big, mark out your dimensions with chalking line and cut it down to size with a circular saw. Use a caulking gun to apply sealant on the shower-facing side of your curb. At the bottom, apply thin-set to glue it to the floor.
Press the curb into place and hold it down for a few minutes, checking that the fit is tight and snug. This prevents potential leakage. Once it’s dry, scrape off any excess sealant and test the curb using a spirit level. Any sloped could cause accidents and shower leaks.
If you decide to install a shower curb, buy the right kind. KBRS is preferred because it’s resistant to rotting and is made of two materials. Its closed-cell technology means it ‘wraps’ itself around screws and shower doors, instantly filling any gaps that could let water seep through.
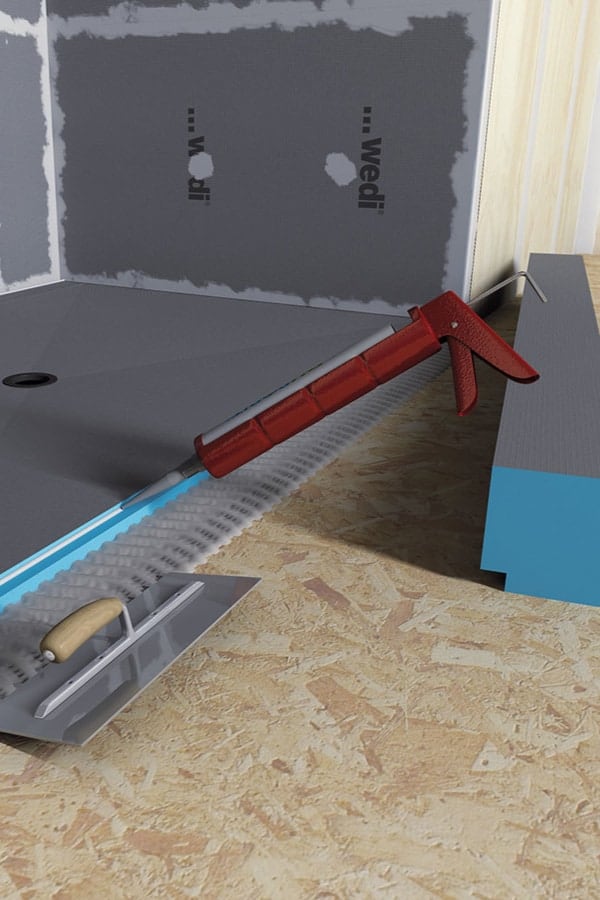
Step 6. Paint on your waterproofing
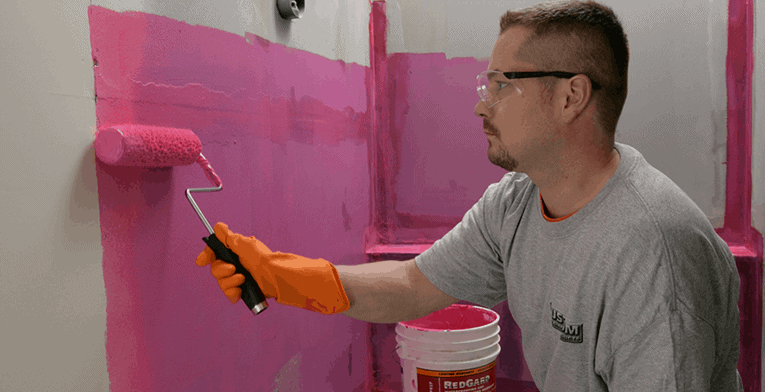
Liquid waterproofing is quick and easy to apply, and it takes thirty minutes to an hour to dry. If you’re using cement board panels or CBUs (cementitious backing units), you can use cement tape to waterproof your corners. Alternatively, use the fiber mesh included in your KBRS kit.
Using a paintbrush, apply a coat of liquid waterproofing on every edge, joint, corner, lay the tape on top of the gel, then paint another layer on top to hold the fabric in place. Make sure there are no hanging bits of fleece and no stay air pockets. Use a roller for the rest of your shower walls.
Let the waterproof liquid dry for at least an hour. If you have time you can leave it overnight before painting on a second coat. When you’re done (and it’s dry), fill the shower floor with water and leave it for an hour or more to check for leakage. This is called a flood test.
Check your drain to see whether there are any gaps, and fill them up with thin-set for faster tiling. Trowel thin-set onto the rest of the floor, then lay your chosen tile or slabs. Start with the walls and finish up with the floor. Finally, install your shower head and faucets.
Shortcut to shower
Installing a walk-in shower doesn’t have to be complicated or costly. Here’s how:
- Buy a shower kit and shower tray.
- Cut a hole in your floorboard and install your drain.
- Apply thin-set and position your shower pan.
- Press it down with heavy items and wait for it to dry.
- Lay waterproof fabric on your corners, edges, and joints.
- Paint liquid waterproof gel on all the walls and floor.
- Apply a second layer of thin-set and lay your shower tiles.
- Install your showerhead and faucets.
Do you like the current style and tile of your walk-in shower? Tell us in the comments!