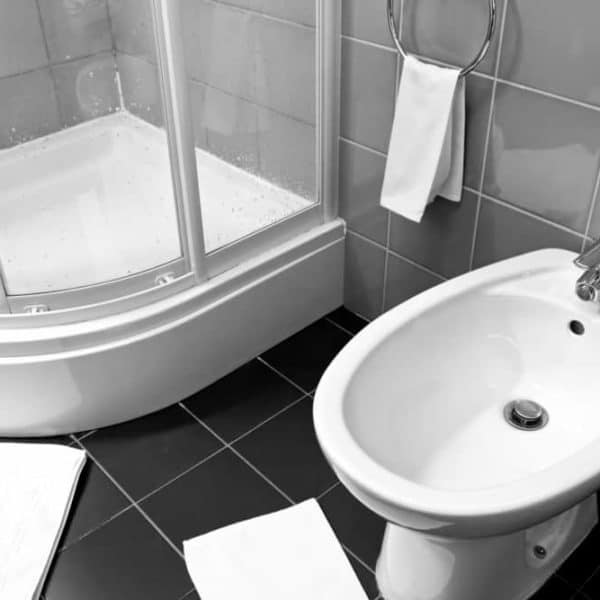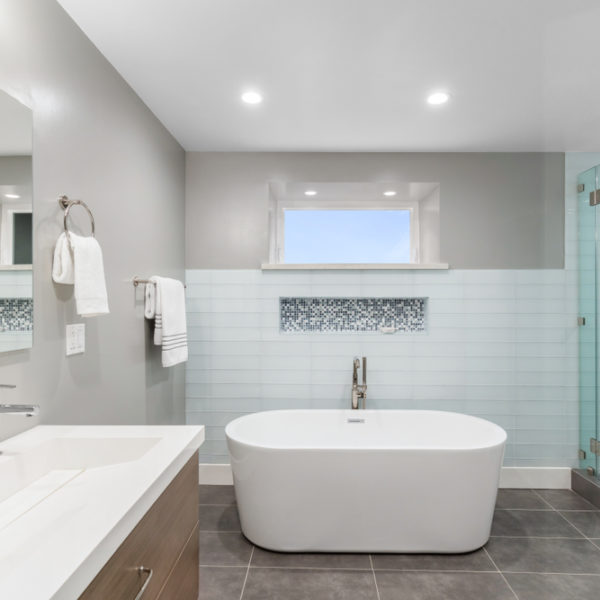
Are you sick and tired of your shower curtain? Maybe you dream about a bathroom looking elegant and chic like in modern home decoration magazines? Have you always secretly desired to have a glass shower door?
If the answers to all these questions are – YES, you are at the perfect place right now. I will try to help you make your dreams come true by giving you instructions to install a glass shower door. In fact, there is a way to change your bathroom forever in only thirteen steps. Let’s start!
Necessary Tools and Materials
Tools
- Caulking gun
- Electric screwdriver
- Hammer
- Hole saw
- Slip joint pliers
- Electric drill
- Drilling bits
- Hacksaw
- Level
- Screwdriver
- Screws
- Sand cloth
- Scissors
- Silicone
- Fills
- Measuring tape
- Pencil
Materials
- A glass shower set with suitable kit
How to Install the Shower Door
If you want to install the shower door with one side fixed, you should always keep in mind that it should be positioned the opposite of the shower head. This way, you can open the sliding door and quickly approach the shower handle to let the water flow before you enter the shower.
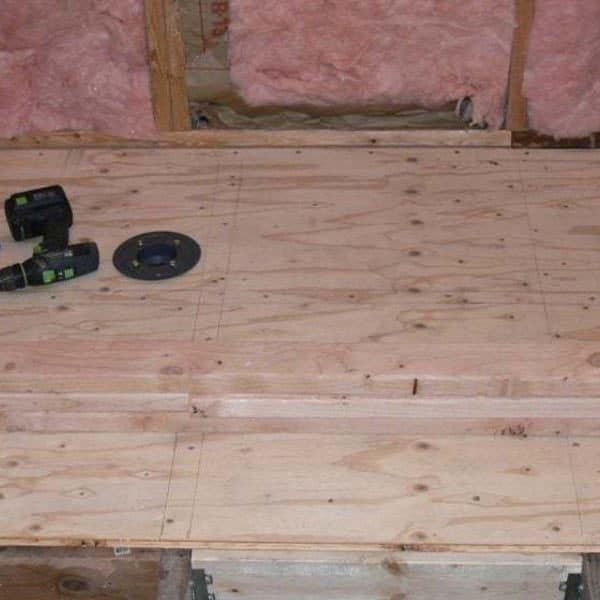
Step 1. Necessary measurements

You are aware that you cannot enter the first bathroom shop and pick out any glass shower door you like at first glance. In the very beginning, you need to do some measurements.
Firstly, determine the position of the door. After that, you should take a measuring tape and estimate the width and height of the walls. Don’t worry if the wall is not the same width from top to bottom. It will be enough to measure the width in several places to determine the withiest part.
Use that measurement to choose the right glass door among the many on offer at the store. You will also need those measured figures for later when you start installing.
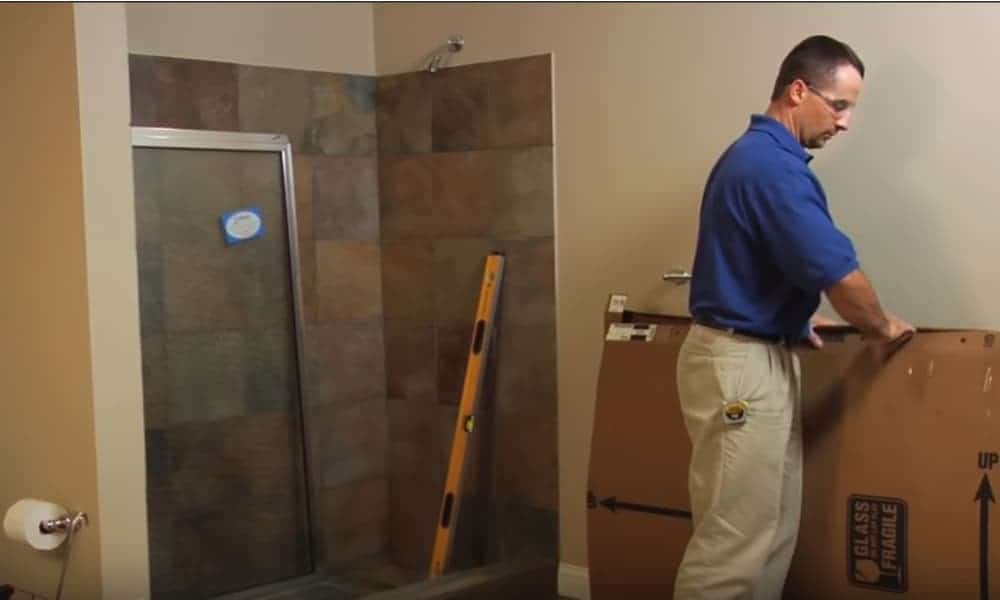
Step 2. Visit the bathroom shop
Pick out the glass door according to your taste and used measurement. Fortunately, the choice is wide because these glass doors come to different sizes, materials, styles, and types.
Depending on your preferences, you can choose a frameless, semi-frameless, or framed door. If necessary, you may ask for advice from the salesperson. He will show you different models regarding the type of your bathroom, walls, and your taste.
Also, you should ask him to show you the difference between the doors in a bypassed and hinged style.
- Bypass doors – The glasses of these doors pass each other without touching thanks to two separate slides.
- Hinged doors – They are similar to standard doors hanging from the side, and you can open them from both sides.
While picking materials for the frame or door handles, you should pay attention to those that will fit your other bathroom hardware. One more thing! Think about the type of glass, and choose clear or textured one depending on your needs and overall bathroom interior.
Step 3. Read the manual

Every manufacturer attaches a precise manual in a box with a glass shower door. You will find the procedure for its installing described in detail.
Carefully read the instructions step by step because not all the door is the same. There may be a difference in the installation of various types.
It is necessary because glass shower doors come as a set of pieces. In some cases, they include the required tools, as well. Take care to keep all the parts in one safe place because you will need all of them for sure.
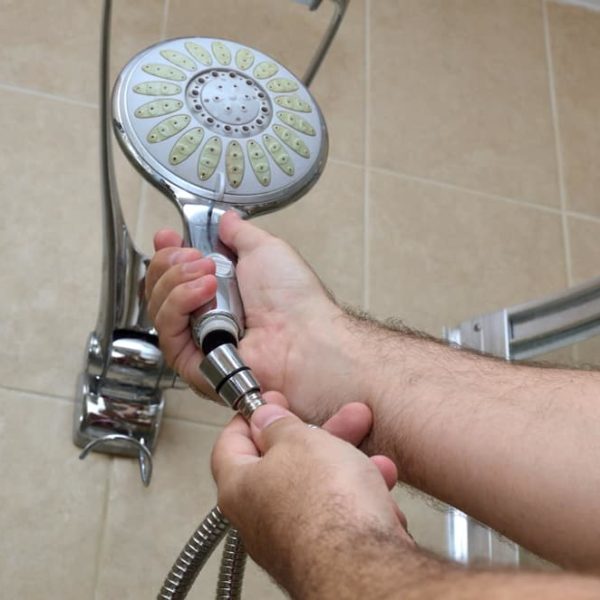
Step 4. The process of installation

If you have chosen the most common, classic sliding door, you won’t have a too hard job since they are not complicated to install. Once you learn to install this type of door, you will become the expert for others.
Start by fixing the two rails onto the horizontal walls in your bathroom over the shower tub. Use the tape for the first part of the job. Then measure the distance between those two rails precisely and adjust the bottom one if necessary.
Keep in mind that not all the walls are even, and you may need to do some cutting and adjusting. Use a hacksaw if you need to cut the rail, but move the rubber inside a bit, to keep it safe.
Then file the rough edges to make them smooth and gentle. Use a classic file or appropriate sandpaper depending on the chosen material.
Step 5. Fit in the bottom rail
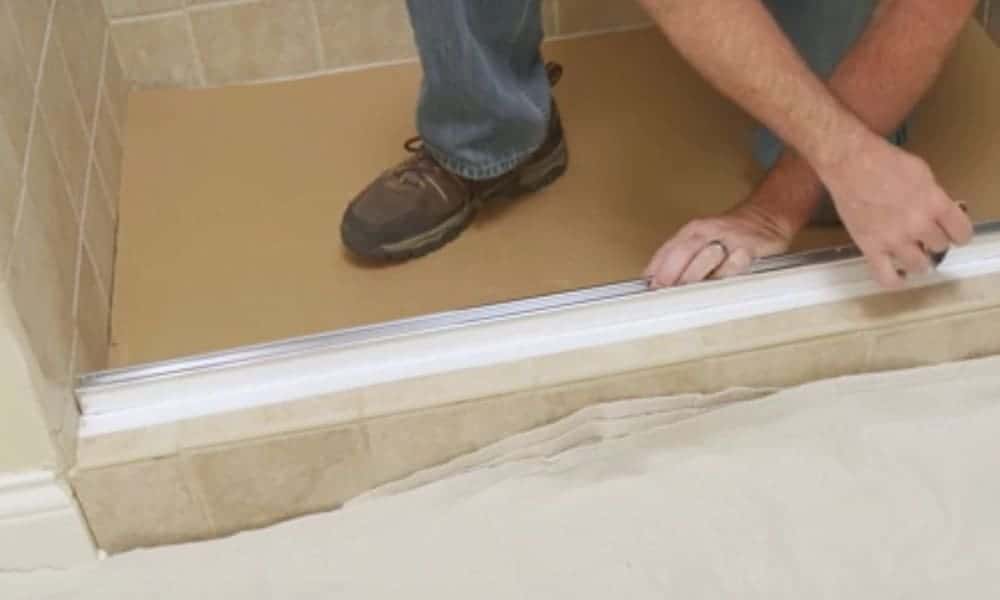
When you have filed the bottom rail, you should put the rubber back in place and cut the extra part with stronger scissors or cutting pliers if necessary.
Position the bottom rail in-between the two wall ones. Make sure you look in the manual which part comes outside because a more significant piece comes from there.
Your sidewalls rails are tightened with tape. That will give you the freedom to move all the tracks a bit, to make necessary adjustments. Usually, it is an excellent idea to center the bottom rail in the middle of the bath curb or step wall of the shower. Take a level and make sure all rails are leveled.
Step 6. Drill the holes
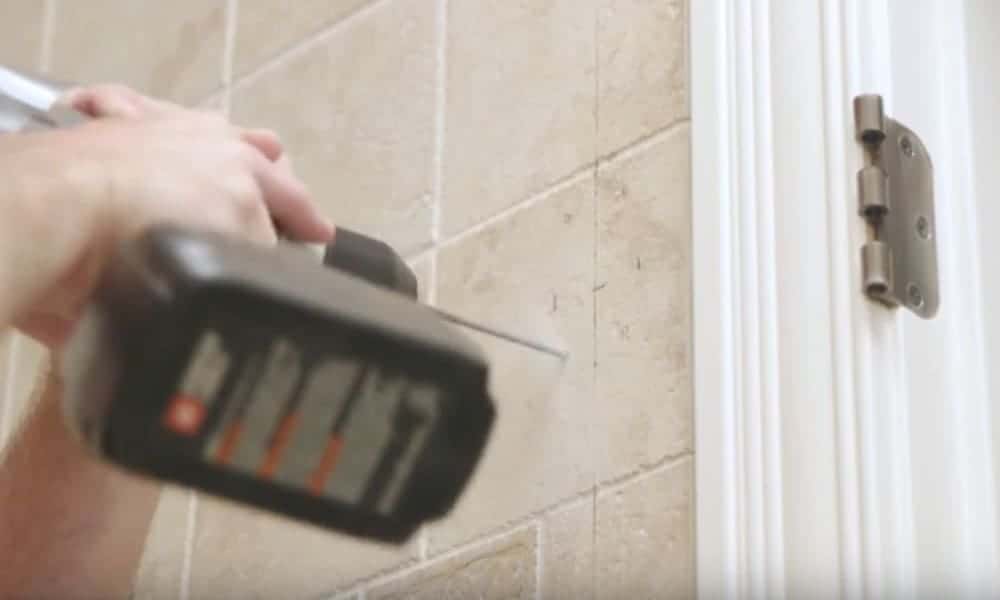
Use a pen and start marking the places for holes. Then, choose a drill bit depending on a particular material. In most cases, you can find an instruction on the label of the box, suggesting which drill bit is suitable for each material.
Before removing the tape from the wall tracks, mark the holes where you plan to drill into the wall. The rails have already got the holes made by the manufacturer. Remove the rails and start with drilling. Every glass shower is different, so there are no rules on how many holes you will need to drill.
Depending on the quality of your wall, you may need anchors for the wall, especially if it is empty or unstable. When inserting the screws into the wall, you could put a clear mold-resistant and water-resistant silicone into the holes.
Step 7. Fixate the bottom rail
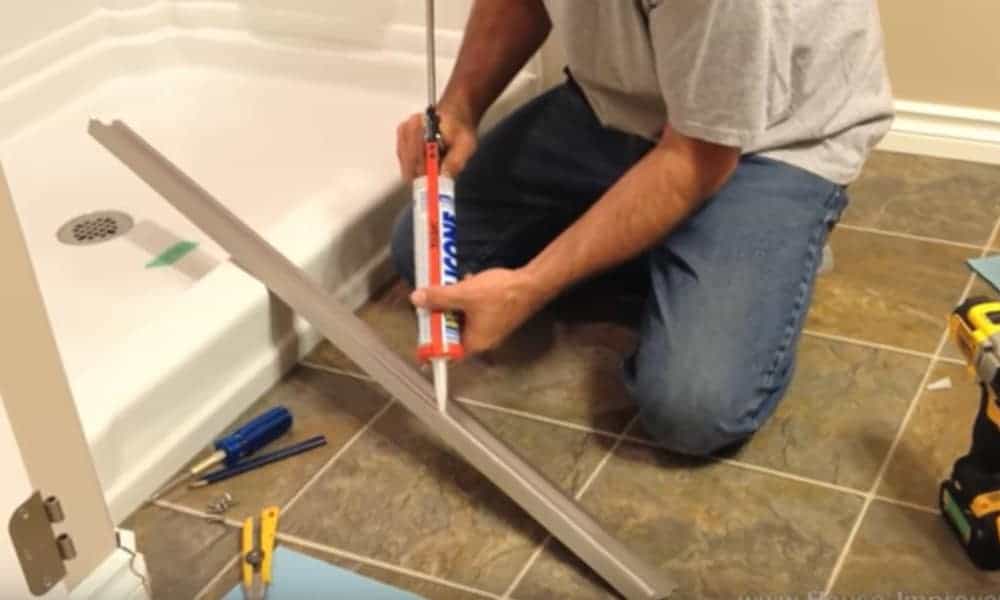
Take caulk gun and apply silicone caulk to the bottom rail so that you could attach it to the bathe curb.
Be careful to implement the bottom rail in-between the two wall rails and press a bit to the floor. If there is extra caulking coming underneath, you should wipe it to have a clean surface.
Step 8. Measure and cut the upper rail
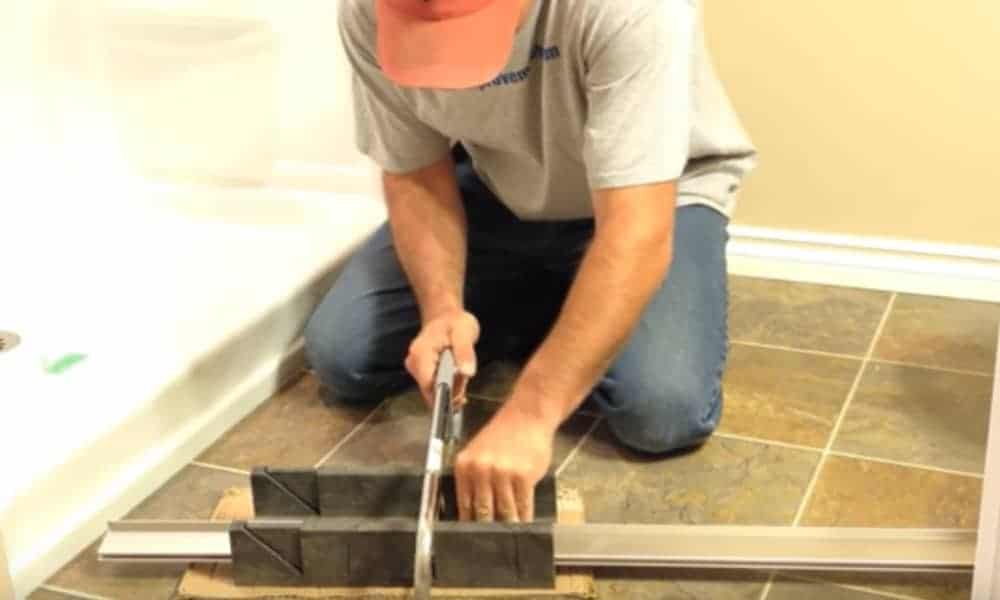
Measure the distance between the horizontal rails at the top. Cut down the higher track if needed.
Be sure to cut 1/6 of an inch (4 mm) shorter, so you can fit it in without using force. After cutting, you should use the file to clean the outside and inside edges. That way, you won’t have any trouble to fit them quickly.
Step 9. Fixate the upper rail
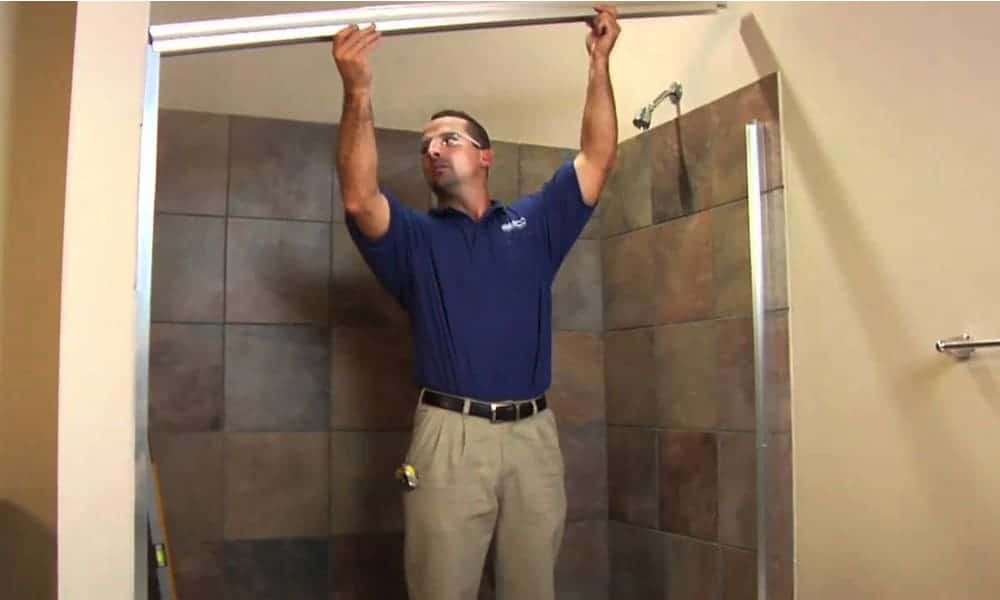
Slide down the higher track onto the two wall horizontal rails. It should fit perfectly. Take a drill and start drilling from the outside and inside through both rails.
That way, you can attach them one to another. You should do this to both rails. Always use stainless screws, so you could avoid rusting from high moisture and water, which are present in the bathroom.
Step 10. Put and adjust rollers
Slide doors usually have the rollers. Put them in the appropriate place of the door.
Often, you need to change the height of the door, depending on the position of the roller. Put rollers on their position according to the manufacturer’s instruction on both doors. Make any adjustments if needed.
Step 11. Install the handle
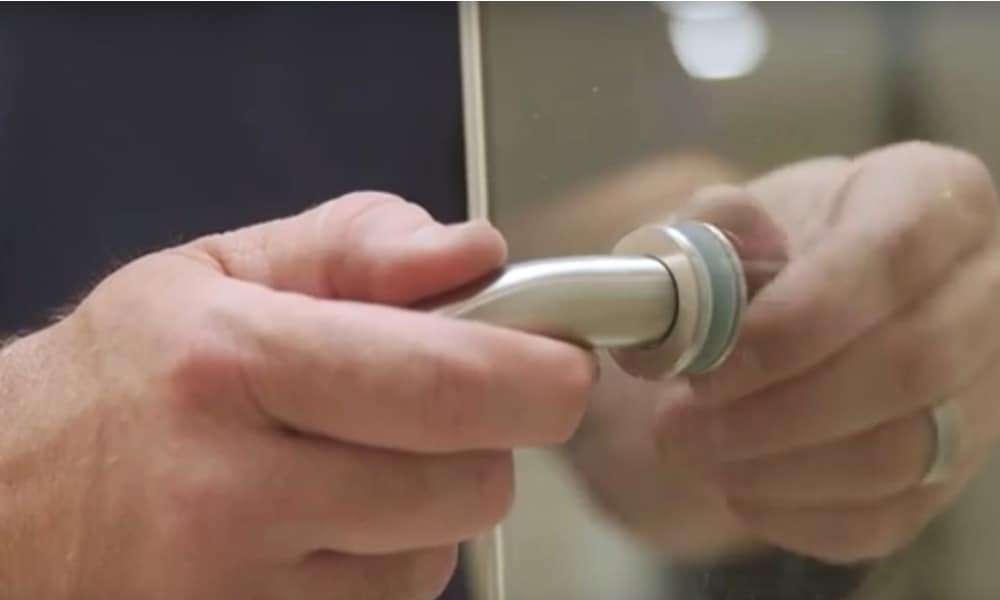
You can choose various shapes of handles depending on the type of doors. Pick out those you like the most and install them. Don’t worry! It is not a big deal at all.
Step 12. Hang the door
Gently hang the door from the upper rail and take care to set the rollers into the grooves. You will know that everything fits well when they click on.
Then insert a guide into the bottom rail. You will find this particular piece in the glass shower set. It will fit under the door, closer to the inner shower door. If it doesn’t fit perfectly, you need to take down the shower doors and adjust the rollers until a guide slides in.
Fixate the guide in the middle of the bottom rail from the inside. You should use a drill and suitable stainless screw from the set.
Step 13. Final Touch
The glass shower doors may quickly break if you are not careful. Therefore, many of them come with bumpers or door protectors. You need to implement bumpers to the rails or doors because they will endure the central part of the impact whenever you slam the door.
Bumpers are usually included in the shower door set, so you need to follow the instruction for installing. Use clear silicone to go around inside and outside of your shower frame. After that, take off the extra silicone with your finger. Take care to make everything nice and smooth.
Conclusion
The only thing you should do after the successful installation of your new glass shower door is to be patient enough. Wait for 24 to 48 hours to let the silicone dry off. Then take a shower to test the doors for leaking. Congratulations!