When you first get a cast, a lot goes through your mind. You may feel awkward and self-conscious as you figure out how to walk, eat, or commute with your cast. But what about the shower? Well, getting your cast wet will cause a stink, possible infection, and expensive repair.
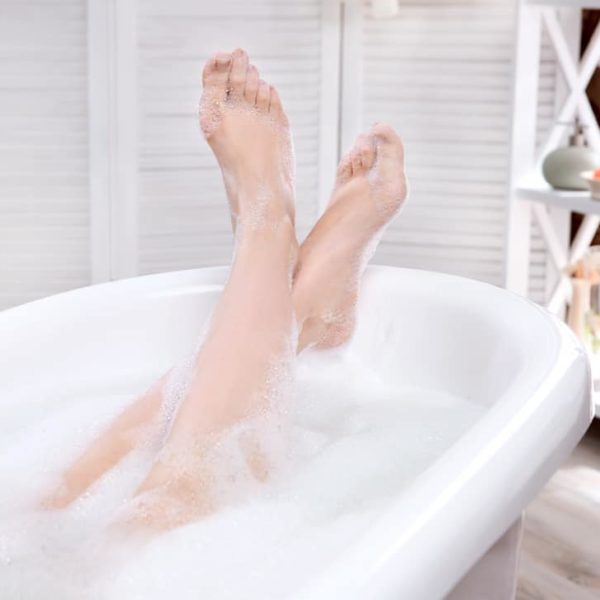
Luckily, there are lots of different ways to keep your fracture dry. It’s best not to submerge the cast, so avoid baths if you can. But whether you prefer a clawfoot tub or a red summer hydrant, we’ll give several suggestions on how to shower with a cast.
Tip 1: DIY Shower Wraps
Start by looking around the house to see what makes a good substitute. You can re-purpose any plastic sheeting material. This includes plastic wrap (sometimes called cling film). This stretchy food-grade plastic is easy to wrap around a cast. You can also use non-stretchy plastic options.
These include bread bags, garbage bags, cellophane, or any form of plastic wrapping. Your kitchen and bathroom are good places to hunt down these plastic wrappers. You can repurpose beauty product packaging as well. See-through plastic is best because it’s easier to spot a leak.
Tip 2: Strong Tape
Whether you get a cast or splint will depend on your doctor’s decision and which body part you’ve injured. So keeping the cast dry will probably involve some kind of malleable waterproof plastic. It has to be held in place though, so you need waterproof, skin-safe tape.
Duct tape is great, but only if you can keep it off your skin. Medical tape is better. Horse tape is a good choice because it’s self-adhesive. You can buy it any vet store, and some hardware shops have it too. Avoid regular crafting tape – they get less sticky once they’re wet.
Tip 3: Stretchy Restraints
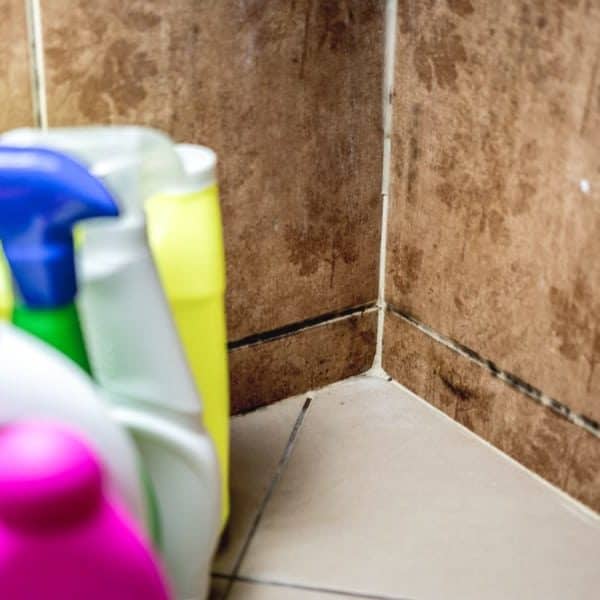
Plastic tape isn’t always waterproof, and moisture can slip through any gaps or scratches. Plus, if you use hard water and you don’t have a shower filter, limescale and chemical residue could damage the plastic. In that case, you can hold your plastic cast cover in place using rubber bands.
You can also use make-shift elastic bands from old toys, kids’ clothing, or scrunchies. As a last resort, you could hold the plastic bag in place using string, shoelaces, or fabric strips torn off old rags. Just be sure the knot will hold the plastic in place without affecting circulation.
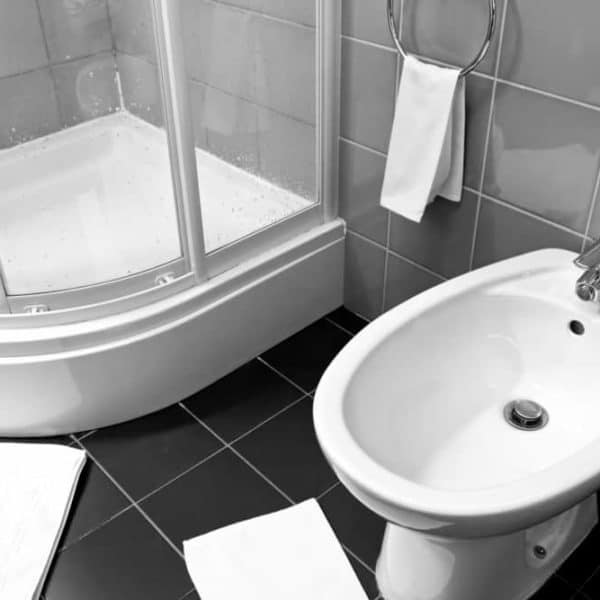
Tip 4: Safe Seats
The most common casts are arms and legs. If your cast is on another body part, you’ll probably need a bath-time nurse for sponge baths. But if it’s on your arm or leg, some grab bars and a shower seat will do. Alternatively, place a stable stool or waterproof chair in the bathroom.
This temporary chair should have firm non-slip feet to prevent accidents. But since a cast stays for 6 weeks or more, it’s worth investing in a dedicated shower chair. They’re designed with extra grip, so they don’t slip on tubs or tiles. They also have comfortable seat padding.
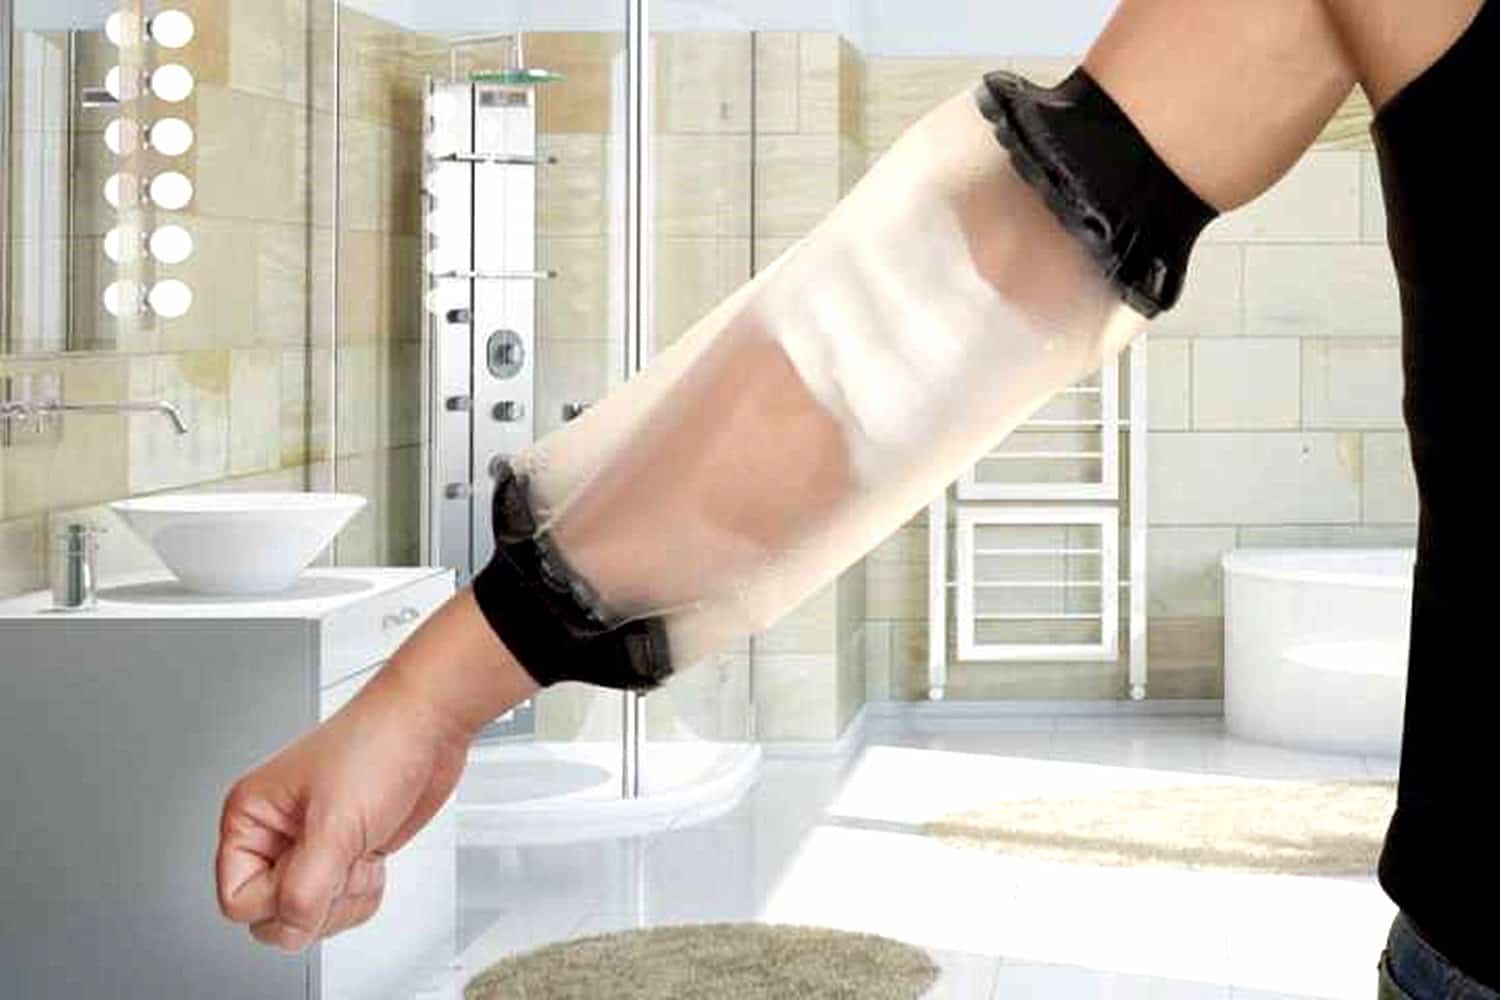
Tip 5: Long Gloves
Your local medical supply store might have options you hadn’t considered. Start at the vet store And ask for a pair of OB/GYN Gloves or Vet Gloves. They’re disposable and long-sleeved, for … medical purposes. They’ll stretch to your shoulder and you can tape them in place to stay dry.
You can also buy Field Gloves. They look exactly like Vet Gloves, but are often colored, and have elasticated hems. But you can’t always find them unless it’s harvest season. Also, while these options are helpful for finger protection, they’re not much good if your cast is on your foot.
Tip 6: Suction Products
In that case, you’ll need something like a Shower Boot. It’s large enough to slip over prosthetics, and it has self-adhesive horse tape attached to its upper end. If you’re willing to spend more, you can buy a suction-based product like Seal Tight. It’s a non-latex product, so it’s safe for allergies.
Seal Tight has a non-latex sealing ring topping a polyvinyl bag. The sealing diaphragm cinches your skin, keeping both water and air out while letting your leg cast breathe. It’s re-usable as long as the diaphragm retains elasticity and the bag remains un-punctured, so check regularly!
Tip 7: Vacuum Sealing
Suppose you’re attached to your rain showerhead so you want wider waterproofing. Larger showerheads make it harder to stay dry because the water splashes over a wider surface. In such cases, buy something like DryPro. It’s a cast and wound cover that keeps your dressings dry.
DryPro uses a pump to create a vacuum seal around your cast, and it’s designed to fit your arm, leg, or waist while swimming or showering. The vacuum seal grips your skin so there’s no tape required. And the leg-specific models have non-slip textured bottoms for safety.
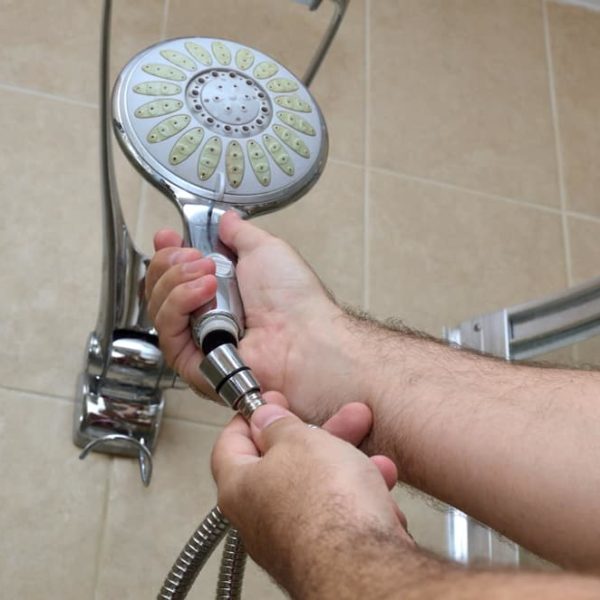
Tip 8: Change the Showerhead
Your cast will be in place for six weeks or more, so it’s worth installing a flexible showerhead. This handheld shower faucet will make it easier to maneuver, especially if you’ve installed grab bars and a shower chair as well. It can keep your wounded limb dry while also elevating the style status of your bathroom. Install it carefully so it doesn’t block your shower door.
Tip 9: Careful Positioning
As much as possible, no matter how tight your tape and plastic is, keep the cast out of water. If you’re soaking in a bathtub, hang your cast over the side of the tub. Or elevate it on a bench, plank, or lip. For the shower, keep your cast outside the direct water stream.
Be careful as you exit the tub as well. Often, droplets of water will slide back down your arm or leg. This moisture could slide under your cast, even if it’s stayed dry for your entire bath or shower! To avoid this, dry the arm or leg and keep it raised as you leave the tub or shower. This ensures water drips away from the cast instead of trying to slip under it.
High and Dry!
The most important thing is to keep your cast away from moisture. If it gets even a few droplets, you could develop an infection. Keep your cast higher than your heart. This reduces swelling and stops water from slipping back into the cast. Other tips include:
- Cover the cast with waterproof materials.
- Secure the cover using adhesive tape, elastic casings, or rubber bands.
- Keep your cast elevated when you’re getting out of the water.
- Dry your cover before removing it. This prevents accidental leakage.
Do you have any fun drawings or autographs on your cast? Show us in the comments!