Installing a gas cooktop is always a daunting task because of the risk involved. Be it electric current, flare gas, or just dealing with fragile equipment, the risks are numerous. The question that pops up continually is, can I install a gas cooktop myself?
Well, I’m here with some good news. This installation is not as daunting as you think it to be. Just handle each step carefully from the first to last, and you’ll see how easy it is.
Below we highlight these necessary points to take on how to install a gas cooktop. You will also learn how to replace the cooktop without any impediment effectively.
How to Install a Gas Cooktop
You should follow these steps carefully to avoid damage or injuries.
Needed Implements and Equipment
Installing a gas cooktop will be easier for you when you have a complete toolbox and equipment. Getting them helps you avoid back and forth movements to the store, thereby wasting time and energy.
Toolbox
- Multi-sized screwdriver
- Allen wrench
- Duct twister
- Cleaning rags
Equipment
- Dark metal duct and fittings
- Rear connector fittings
- Adaptable gas line
- Leak sensor
- Fair Teflon tape
Step 1: Ensure You Have an Installed Gas Line
A gas line supplies the liquid gas that blazes the gas cooktop burners. If you want to repair a gas cooktop or put a new one, you need to put the gas line into consideration.
In the case that you don’t own one already and you wish to put a gas cooktop, follow the steps on how to install a gas line provided below. But if you find it challenging to handle, you should call in a professional.
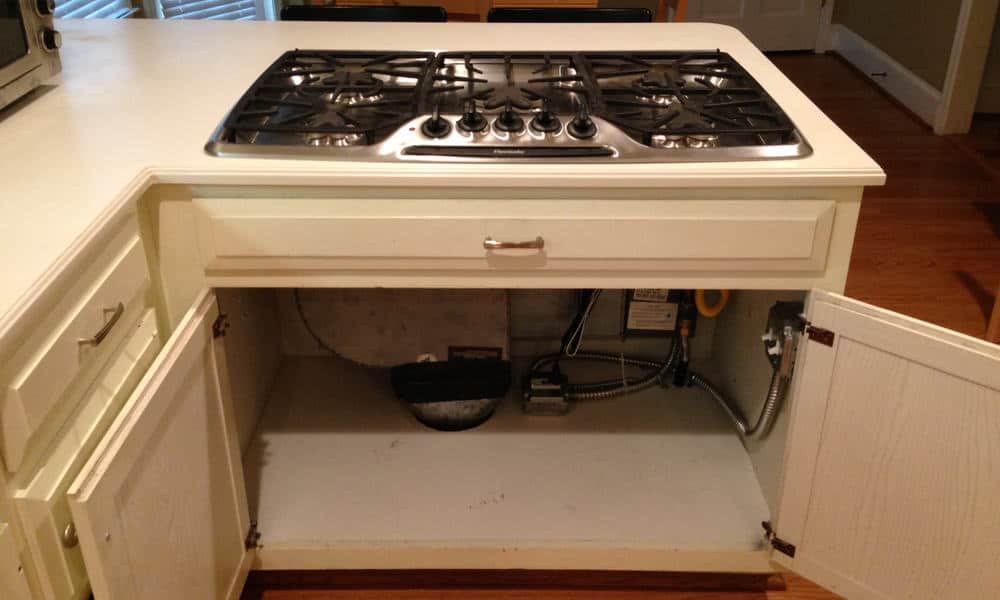
Step 2: Take Out the Unit Door and Everything in It
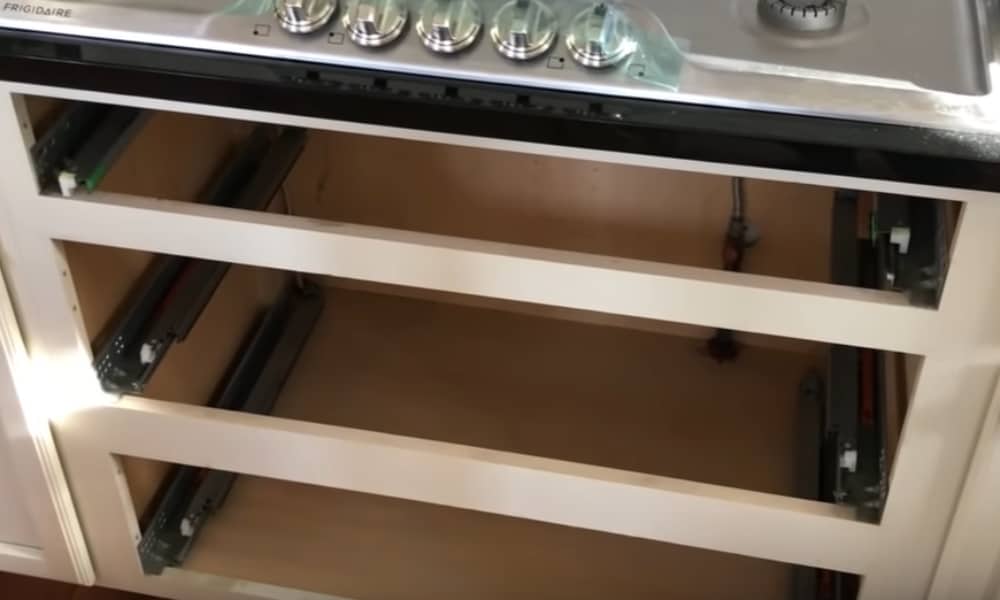
To easily gain entry to the area below the cooktop, you need to take out the doors of the kitchen unit. You can do this by loosening the screws that attach the door hinges. Also, you should take out other things to properly expose the gas line and pipe.
Step 3: Shut Down the Gas Line Valve to Cut the Flow of Gas
The valve is at the top of the adaptable gas pipe, and it controls the flow of gas from the shaft to the cooktop. Spin the component so that it forms a T sign with the line and completely shuts off the gush of gas. Depending on the gas positioning, the valve point to the path of flow when it’s open and crosses it when closed.
If your gas cooktop has lighting wires that ignites the fire in the burners, carefully detach these wires. Ensure that you properly close off gas flow so that it doesn’t flare when you disconnect the pipe and cause inhalation or fire outbreak.
Step 4: Flare the Gas in the Pipes
A little quantity of gas is caught in the pipes after you have switched off the valve. So you should open up your burners and flare the remaining gas in the pipes to empty it. Be careful not ignite any kind if flick to avoid fire outbreak.
Use the range hood vent to expel the gas in the kitchen atmosphere and improve ventilation.
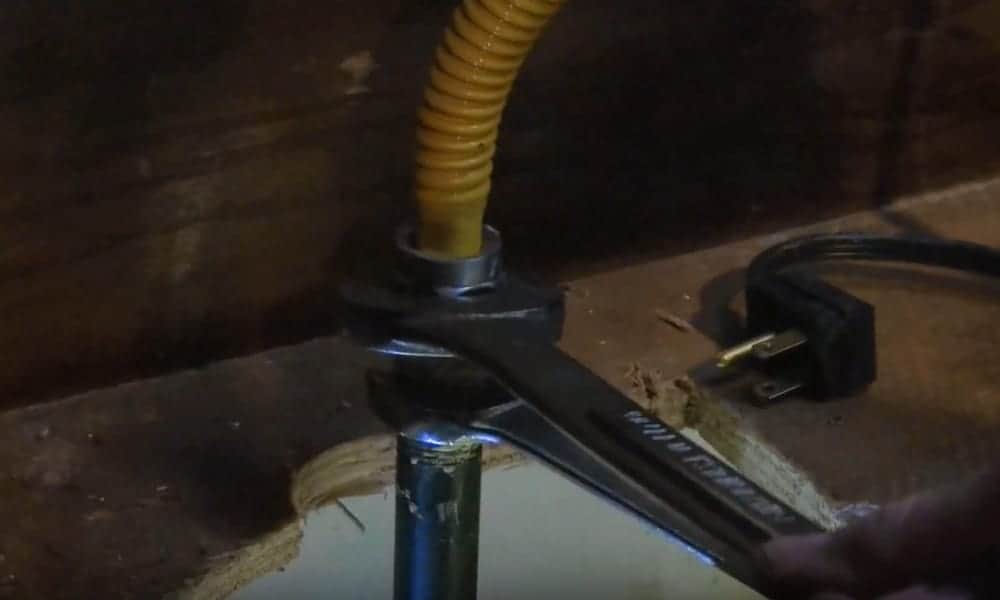
Step 5: Disentangle the Adaptable Gas Tube off the Wall
Use the Allen wrench and the twister to disentangle the adaptable gas tube from the wall. Connect the Allen wrench to the screw on the gas tube and fix the twister on the wall pipe. Afterward, fasten it on the wall pipes to hold it firm then spin the Allen wrench on the gas tube in an anti-clockwise motion.
Keep twisting the wrench on the gas tube in anti-circular until the tube it disconnects from the wall pipes. For some wall pipes with a unique fitting that runs in the middle of the adaptable gas tube and wall pipes, ensure it’s not damaged. Don’t remove the fitting during the loosening of the screws.
For a smooth movement of the cooktop, you should detach the burners and other items fixed on it before you continue. Loosen the nuts of the framework that holds the cooktop from beneath it to unshackle.
Afterward, force the cooktop up from the underside to the top side. Keep the cooktop aside careful not damage the attached tube.
Step 6: Detach the Tube
You may want to use the tubes on the former cooktop on the current one, so it is essential that you detach it. Loosen the nuts with the Allen wrench and twister separately and fasten them (the wrenches) to the new cooktop and flexible tube. Twist in an anti-clockwise manner to loosen the nuts on the adaptable tube.
Connect the tube on the current cooktop by smearing duct adhesives on the strings. Evenly apply it and be cautious not to allow any it gets into the tubes, so it doesn’t cause a blockage. Ensure that the adhesive properly binds this tube to the cooktop to avoid leakage, and then tighten the tube to the cooktop.
Tighten the gas pressure control switch to the strings and hang the tubes on the control switch. Most cooktops have the gas pressure control switch to stabilize the flow of gas. Use a brush to smear the adhesives on the strings before attaching the control switch.
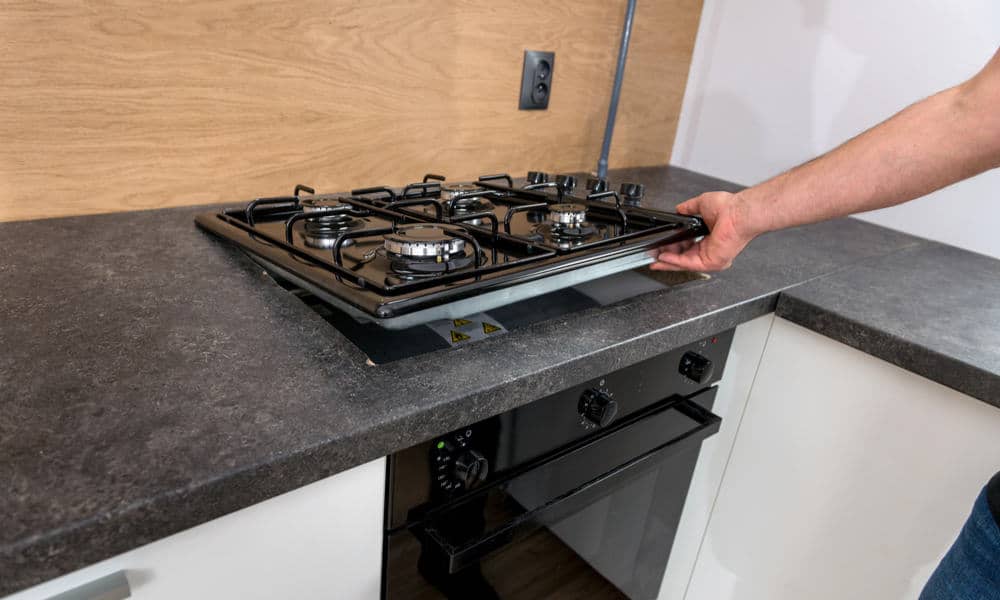
Step 7: Mount the Cooktop on the Counter
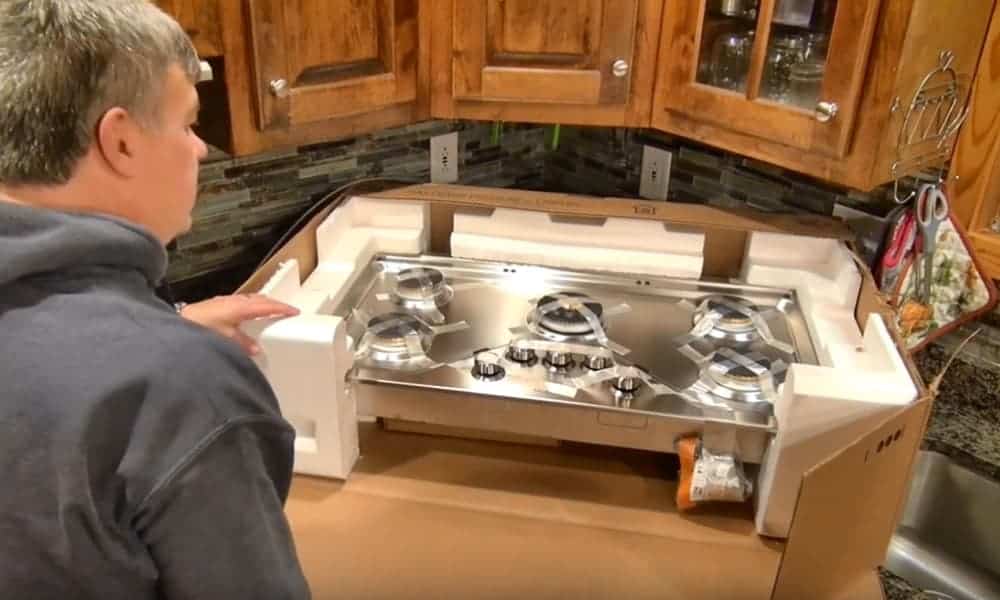
Mount the cooktop on the counter, taking great care not to spoil or dent any part of the valves beneath it. Endeavor to pass the tube into its hole before setting the cooktop on the counter, and then connect the flexible gas tube to the wall pipes.
Rub a little quantity of adhesive on the cords fitted to the wall pipes and connect the adaptable tube with a twister. Ensure that the pipes are very tightly jammed and add enough glue on the entire surface of the cords to avoid leakages.
Now is the time to examine the connection for leakage, and you will do this with foamy water. Stroke the soapy water on the surface of the connection with a scuffle, ensuring that it’s well rubbed.
Spin the valve so that its hands are in the path of flow to release air on the pipes. Then look out for swells of foam or scent of gas as any of the two signs indicates that there is a leakage in the junction. If you sense any, shut off the gas flow and loosen the junction, smear more of the adhesive and tighten them back.
Run the water combination test to evaluate the connections, if it still leaks, apply more adhesive until it stops.
Step 8: Test the Gas Burners to Check Procedure Success

Once you’ve confirmed that there are no longer leaks from your leathery water experiment, switch on the valves. Allow the gas to pass the ducts to the burners for a while before igniting a fire. Ensure that the range hood is working before you flick on the fire so that it can expel the scent of gas to avoid a fire outbreak.
If the flick doesn’t ignite after a while, switch it off. Then after some time, switch on again until it starts working.
Once you’ve ascertained it is fully functional, attach the framework of the cooktop to complete the process. Fix back the kitchen unit you took down before and pack all the things you brought out inside.
Safety Precautions for Installing a Gas Cooktop
- Allow air to properly circulate in the area of installation for the gas cooktop
- First, install the kitchen units and range hood vent before the gas.
- Ensure that the minimum space requirement contained in the manual for installation is met. This ensures a smooth process and reduces the risk of fire to the barest minimum.
- The equipment often comes with an appropriate valve and gas pressure control switch, ensure to fix this part correctly. Also, fix them in a way that it can be reached easily by the owner to control and the equipment after installation.
- Ensure that the drywall area around the cooktop is resistant to heat and that the cooktop is held by heat resistant glue. If the glue is not heat resistant, it could dissolve and cause the cooktop to fall.
- Install the cooktop separate from other gadgets like the dishwasher, garbage disposal, or blender, so that heat from it does not spoil them.
- The electrical cable and adaptable gas tube should not be in the way of any of the cabinet’s opening doors so that it’s not stressed or cut.
- Also, ensure that these cables and tubes do not rest or touch any hot part of the cooktop. This safety precaution is of utmost importance so that the heat from the cooktop doesn’t melt the rubber tubes or cables. The reason is that this could lead to gas leaks or even a bridge in the electrical connection.
- Avoid using an adhesive that is not heat-resistant or not instructed on the manual.
- Ensure that all duct attachments are sealed using glue or an adhesive prescribed by the manual or one ratified by the manufacturer. This is to avoid any possibility of explosion due to gas leaks.
- Endeavor to carry out the soapy water test for leaks before using the cooktop
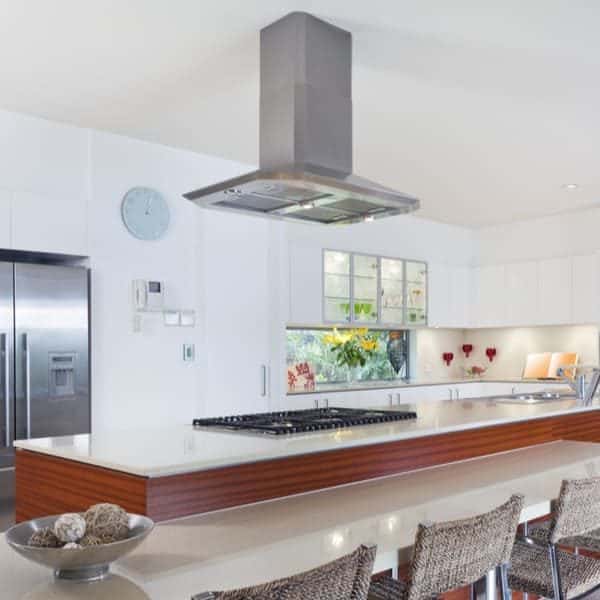
Recommended Safety Space Requirements
There should be a space between the gas cooktop set and the range hood on the top area. The installation manual should have this recommended space limit from the manufacturer. In the case that it does not have it, the minimum space between combustible items and other gadgets is 760mm.
If there are many gadgets under a range hood, you should create ample space for safety. You can station a cabinet at the end side of a gas cooktop or either side of the vent.
Wrap Up
Take great caution when you want to set up a gas cooktop in your kitchen. The same measures on how to install an electric cooktop but this time with extra care. Considering its unstable nature, you should handle gas related installations with a professional around in case anything goes south.
But that shouldn’t be necessary if you abide judiciously by the above-listed steps and safety measures. Always remember to
- Switch off the gas valve before uninstalling an old gas cooktop
- Ensure the adhesive applied on pipe connections are airtight
- Make sure you observe the appropriate space requirement for gas equipment
- Try and abide by all the safety precautions in this guide
We’ll attend to all your questions in the comment section.