A toilet paper holder has several components. These include two iron frames, two rolling holders, four tightening nuts, four wall fasteners, and one paper holder spring. The two holders assist the paper holder spring on which the toilet paper hangs.
When installing a toilet paper holder, use the template provided to spot the position of the holder on the wall. Then, make four nut openings on the wall. Two for each brackets, and fasten it on the wall using the nuts. You can now insert the toilet paper on the paper holder spring.
However, to get this done properly, follow the steps below on how to install a toilet holder.
Steps on How to Install a Toilet Paper Holder
The following steps if taken correctly ensures a smooth process when mounting a toilet paper holder
Step 1: Mark out the Spot
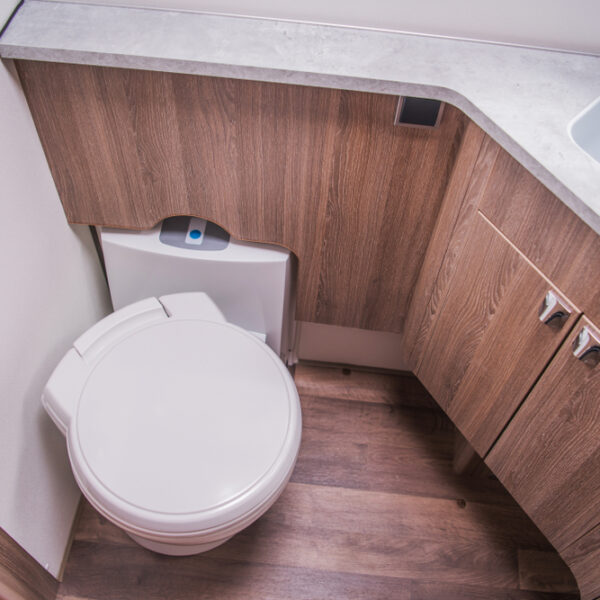
Before we get down to business, you need to know where is the best place to hang your toilet paper holder. Since it should be handy in the toilet, you should install the paper holder in a place where the hands can reach easily.
Also, you would want to consider how high to mount a toilet paper holder. It should be at a reasonable height away from the ground to prevent the toilet paper from touching the ground.
You can install it at 0.25m from the left or right side of the toilet and about 0.66m above the ground. Ensure you add a plank before tightening on a drywall
Step 2: Trace Out the Position of the Holder with the Template
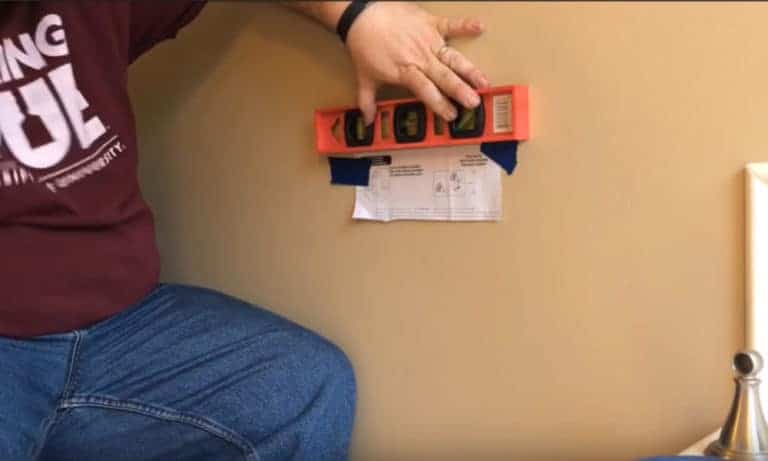
The whole package of the paper holder comes with a template paper through which you trace the position of the bracket on the wall. Just place the template on the wall and ensure it’s on a straight line with a leveling tool.
Using a marker, trace the two points on which you will screw the bracket to the wall, as shown by the template. The template must not be a detached sheet or could be described at the back of the package.
Step 3: Mark out the Position of the Buckles
Now, here is how to install a toilet paper holder in a wall. Just in case there’s no template guide, you can still drill holes accurately on the wall. For instance, if you are changing the position of a toilet paper holder, you need to mark out the four points on the wall using a ruler for accuracy.
First, get the actual dimension of the existing paper holder from left to right, then top to bottom. With these dimensions, go to the new intended position and make the holes using the same measurement.
Step 4: Making Openings on the Wall for the Bracket Screws
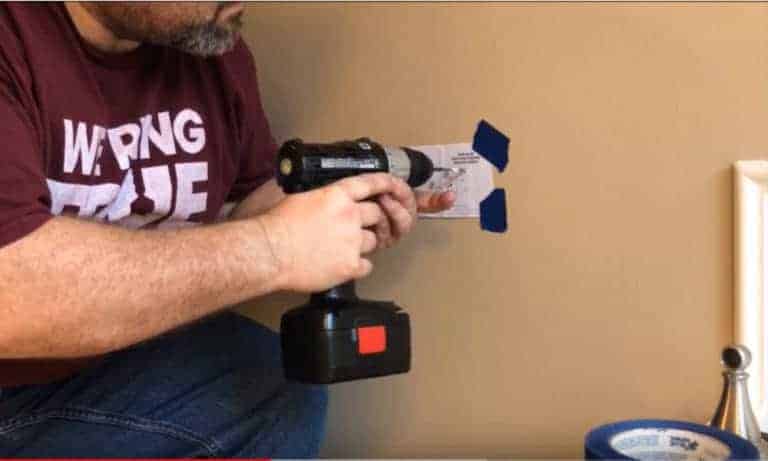
When you have moved the dimensions to the new position on the wall, Mark it out with a pencil. Lift the frame of the holder to these points you have marked and then punch a small hole with a pointed instrument. Ensure you punch these holes at the four points to enable your drilling to be precise.
Step 5: Make Openings with Tinier Width than the Nuts
Once there is no plank on the drywall for clasping the nuts, make an opening that is tinier than the nuts. Make four openings on the exact points you punched holes with the sharp instrument, according to your dimension.
Ensure that the openings are not as deep as the length of the nuts. That means if the nuts are 2cm long, make the holes1.5cm deep. You can do this by comparing the sizes of the drill bits to the length of the nuts until you get the appropriate drill bit.
Also, ensure that it’s tinier than the nut in wideness and you drill each of them into the punched holes. Bend down to avoid parallax errors.
Step 6: Fix in the Wall Planks for Firmness
You may have to fix in a plank on the wall before fastening the nuts. This process will enhance the firmness of the toilet holder. Just use the drill machine with bigger bits to make holes for the plank on the wall, and then nail the plank to the wall. Ensure that the opening is long enough for the nail before driving it inside with a mallet.
Now fix in the bracket of the paper holder on this plank and fasten the nuts into it. You should know that this is the best practice when drywall is concerned, to avoid falling off the holder from the wall. With such guides, it’s easier to know how to install a toilet paper holder into drywall.
Ensure you purchase rubber fasteners if they are not included in the toilet paper holder package. You can get it at the Drywall compartment of any regional hardware shops.
Step 7: Fasten the brackets Nuts into the Wall and Fix the Rolling Tool
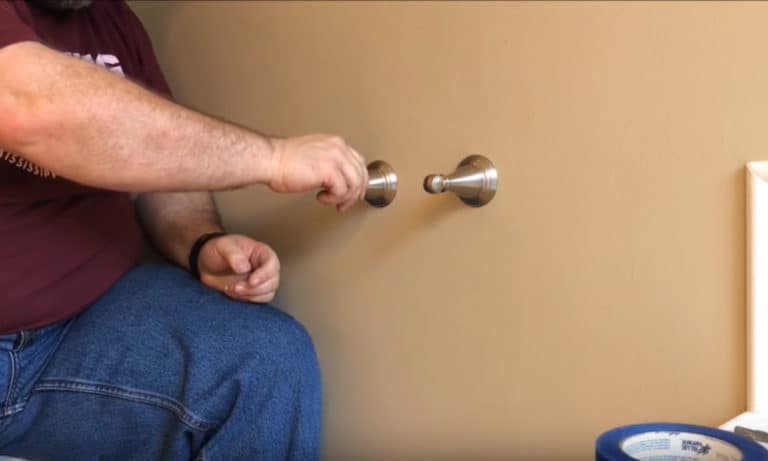
Place the brackets on the plank already inserted on the drywall and screw in nuts into the holes. Ensure the holes on the plank align with the ones made on the wall before driving the nuts. Tighten them until they hang the brackets in place and fitting on the wall.
Ascertain the number of screws provided in the packaging and know the kind of head they all have. The number of screws determines the number of openings, also look for a matching screw handle for the nuts. Use the most aligning screwdriver for the screws, so it doesn’t damage the frame.
Then fix in the roller holding device into the bracket mounted on the wall. Look at the marked ends to ascertain which end goes up. Clip into the two terminals of the bracket; gently push it into the bracket.
There is a 1.3-cm round notch at each end of the roller holding device where the iron clasp goes in, ensures this notch is faced up.
Afterward, move unto to the next step of tightening the set nuts. This depends on if the nuts were provided; if not, then there is no next step for you. But if it came with one or both, fasten them into the roller holding device to hold it unto the frame.
These nuts are usually of the same heads with the frame nuts just closely similar to the one on the bidet toilet seat, but you could also check to be sure.
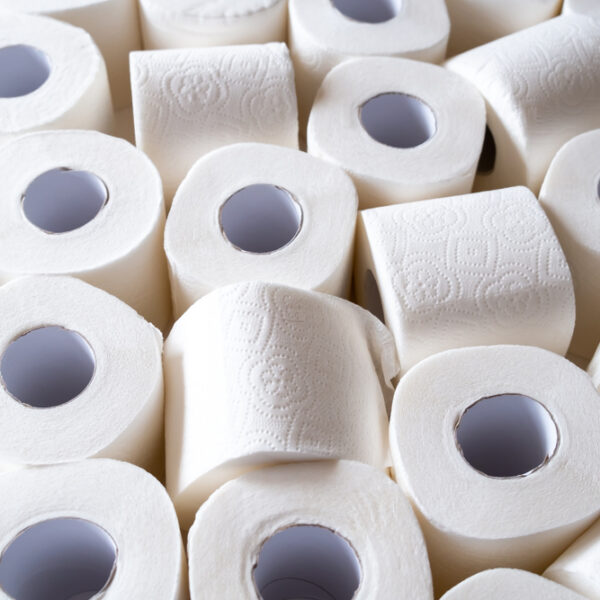
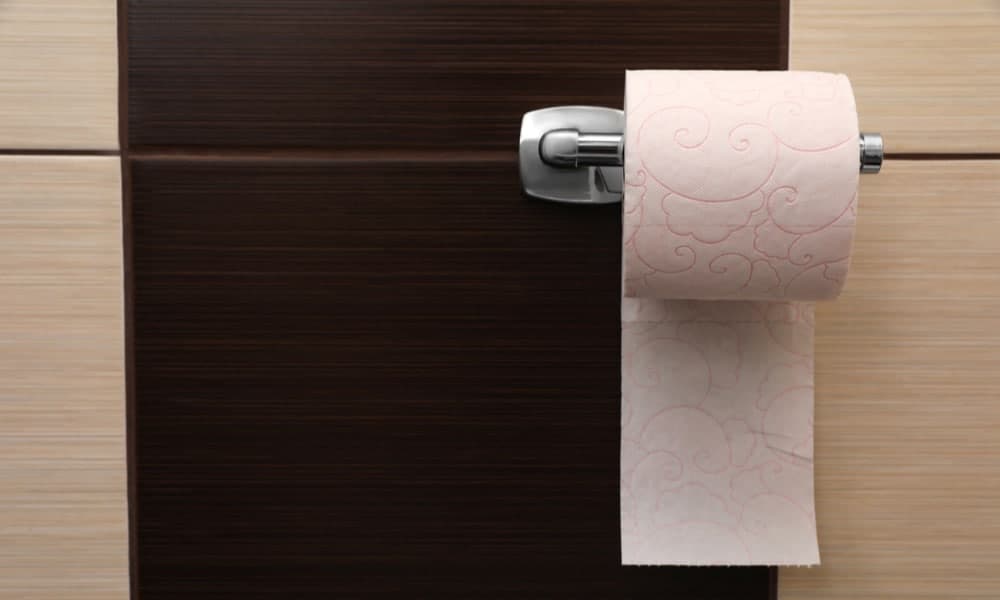
Step 8: Put the Toilet Paper on the Paper Holding Spring
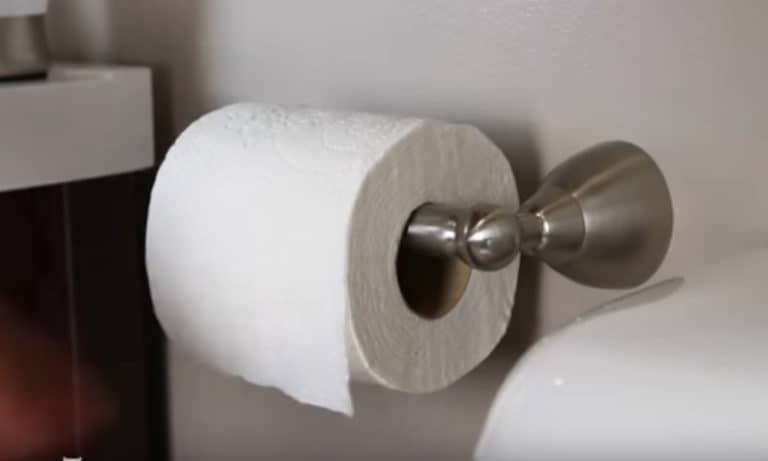
Insert a toilet paper roll on the paper holder spring by gliding the carton roll onto the rolling device. Now push the ends of the holding spring into the sockets on the frame of the toilet paper holder.
Ensure that it fits in perfectly. To do this properly, pay intention to the locking sound as it indicates the ends are secured well into the sockets.
Afterward, pull the toilet paper and ensure it rolls freely. There it is! You have installed a toilet paper holder perfectly.
Wrap Up
The toilet paper holder ensures convenience and is a necessity for any bathroom. These eight steps on how to install a toilet paper holder will guide you towards a stress-free process to set it up. Adhere strictly to them, and you’ll have your paper holder installed in no time.
Always ensure that:
- You put a plank on the drywall before driving the frame screws, so that they don’t fall off and damage the wall and paper holder.
- Ensure that when drilling holes you do not drill the same size of the screws
- Make sure that you fit all screws tightly, so they can hold the toilet paper
If you have any questions, you can leave a comment below.