Are you stuck with trying to repair or replace your shower drain?. If it is your first time, don’t worry. You don’t need to use the services of a plumber or handyman. When you have the right tools and cleaners, drain removal becomes easy.
Is your shower drain faulty and need repair? Do you need to replace your shower drain but don’t know how to go about it? So many reasons can make you want to replace your shower drain.
It might be shower be leaky, corroded, or even stained. Of course, when a shower drain becomes old, it gets unattractive and unwanted. Here, you will learn the steps to remove the shower drain.
Easy DIY Steps on How to Remove Your Shower Drain
The following tips will show you steps to remove your shower drain. It’s possible to remove the shower drain without bringing out the shower pan.
The shower pan is at the base of your shower. The whole standing area in your shower is the shower pan. Hence, it’s challenging to leave them off before getting to the shower drain.
Thus, it’s easier to avoid the shower pan when trying to remove the shower drain.
Step 1: Check the Drains for Clogs
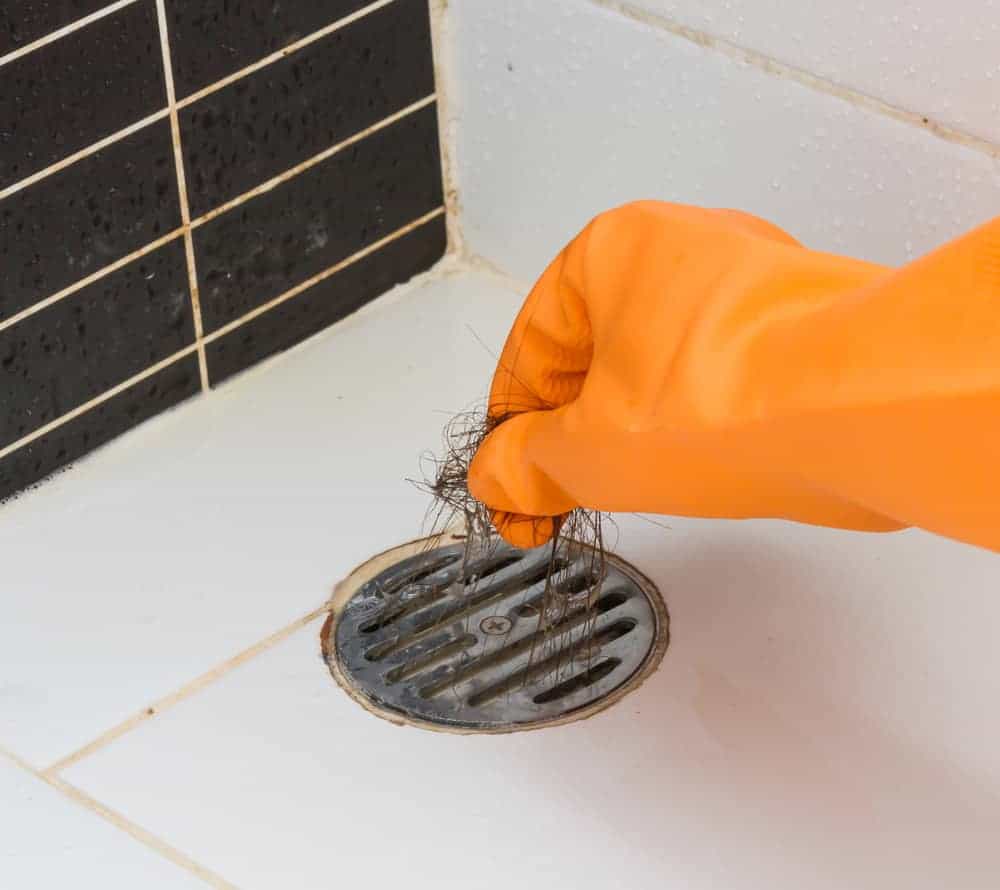
Its bad practice to let your drains all clogged up. You can’t remove the drain when it’s clogged. Thus, you have to check for clogs. You can do this by watching the water drain out from your shower.
When your drains get clogged, the following steps will help you clear the clogs:
- Get a drain snake to help you remove the clogs
- Throw in a handful of baking soda into a bowl of hot water and pour down the drain
- Pour in a mixture of warm water and vinegar into the drain
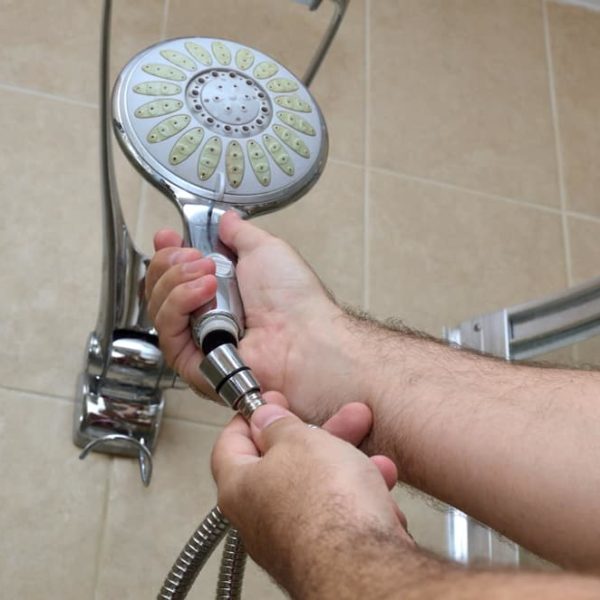
Step 2: Lubricate the Shower Drain
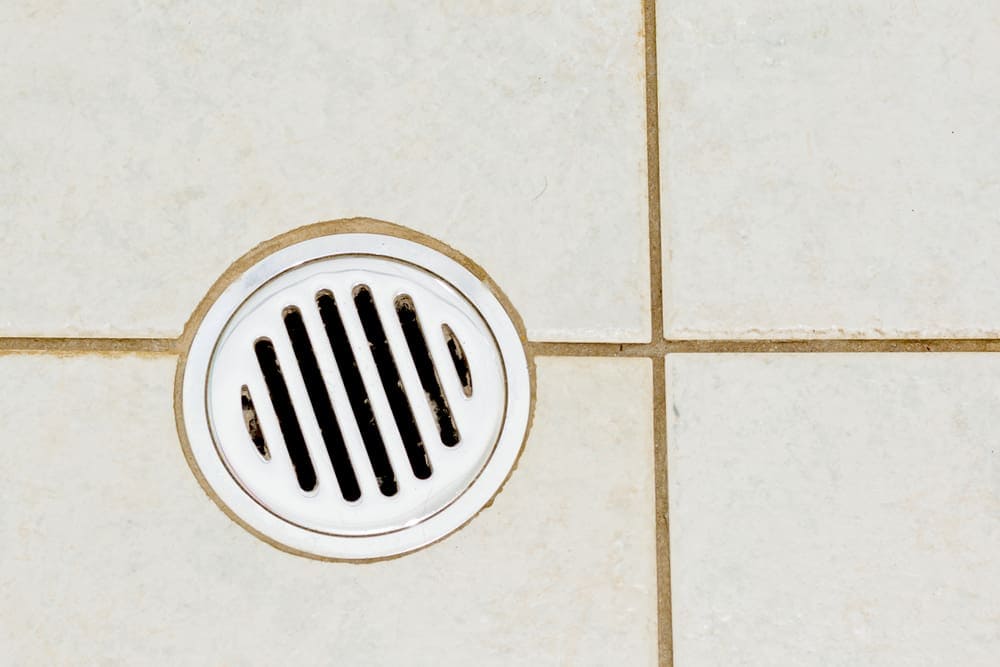
Like every other mechanical part, drains do get old and rusty. Thus, you may find it difficult to remove the drain even when you get the screws out. Hence, you would need spray-lubricants like PTFE, WD-40, and silicone lubricant.
For very rusty drains, you should get the WD-40. Never try to use fat or grease as lubricants as they will clog your drain.
You need to dry up the drain before using a lubricant. Use a dry towel to clean up the drain so that the lubricant will be enough.
Use the lubricant on the shower drain area. Ensure to use the right amount of the lubricant, so it gets into the drain. Allow the lubricant to sip into the drain for about 5-10 minutes. Attempt removing the drain now and watch it come out.
Step 3: Seamlessly Loose Off the Drain after Screwing It Off
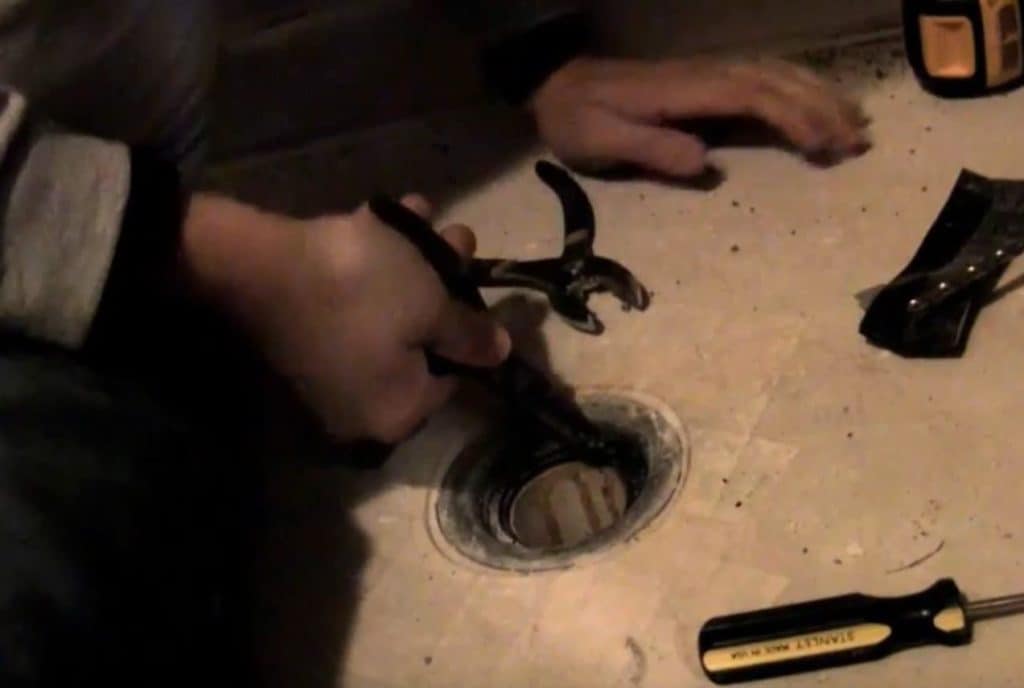
While most shower drains come screwed in, some drains have no screw in them. Check for screws if present, get a screwdriver to help you lose the screws.
To learn how to remove old shower drain, you must understand how to install the drains.
Get a screw can, so you don’t drop the screws down the drain. You can keep the can away from the drain somewhere around the shower.
To pull out the drain from its seat, you would need two nose pliers for each of the drain openings. Hold each of the pliers on your hands and pull out the drain from its seat. Do this, so you don’t scratch your shower walls.
Ensure to hold the pliers and pull the drain. Sometimes you may have to twist the drain for it to come out from its seat. Twist and turn until it comes out. Apply more lubricant if you feel the pipe is rusty.
It’s difficult to lift out the drain from the shower base completely. You must first figure how to remove the shower drain stopper before you get the drain.
Hence, you would need to pay proper attention, so you don’t mess up the process. Once you completely turn out the drain from its hole, you should pull it out.
Step 4: Pull Out the Shower Drain
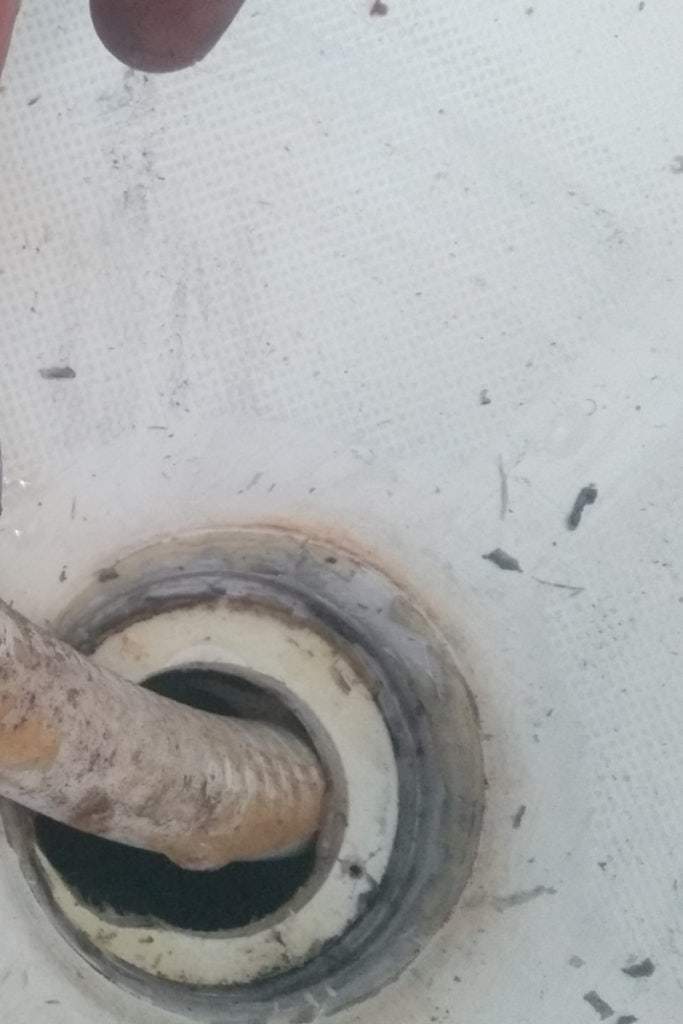
You can pull out the drain from its hole when you notice it has come out of its socket after turning it a few times. But, you will need it to come out clean. Thus, you have to re-tighten a few times, and then pull out with a strong single grip.
To avoid damaging the drain, hold the pliers around the drain clip. Do not apply too much force on the pliers, or else you would destroy it. Avoid damaging the drain while it’s still stuck in its socket. You may not be able to replace it again.
It’s essential you lift out the drain from its socket, so you do not damage the drain in the process. Once you notice any resistance, do not apply further force, so you don’t damage any component.
For cleaning out the drain, you need the right grip to pull it out, so you don’t damage it. If you are replacing the drain, you have to inspect the old drain for rust and clog. If it’s neither too rusty nor clogged, you don’t have to replace it.
In a situation where you have to replace the drain, ensure you clean out the socket first. Then, screw in the new drain into the cavity. Remember, you don’t have to tighten it too much, or you would struggle bitterly when loosening it in the future.
Step 5: Exchange or Fix the Drain
To avoid the increase of drain monsters in the future, you will need a shower drain hair catcher. You may have to learn how to remove a shower drainer stopper. Not all shower drain catcher fits each design of the drain cover. Furthermore, some can avoid clogs from passing through the plumbing system in the future.
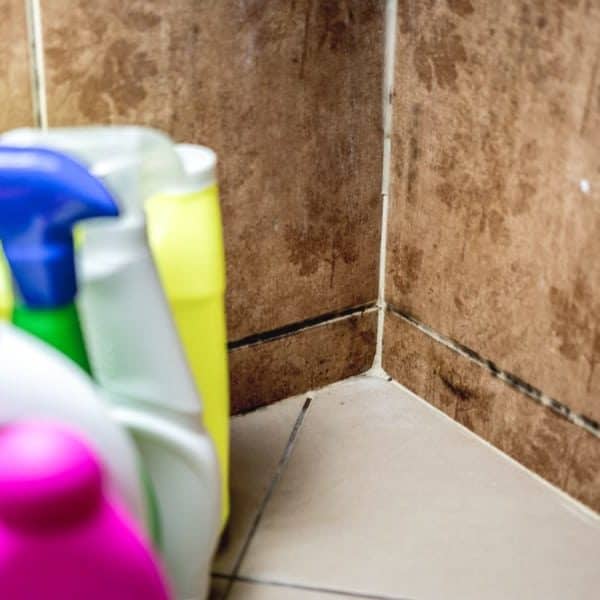
At times, the rust can be too much to amend. In such cases, the services of a plumber will be handy. They will figure out the size and brand of the drain that can replace the faulty drain and fix it in your shower.
Things to Keep in Mind When Removing a Shower Drain
Finally, make sure you check the tips below before trying to remove the shower drain.
- First, ensure you have all the needed equipment available. You wouldn’t want to start working and realize some tools are not available. A lubricant is important, depending on the style of the drain. Also, you would need a screwdriver, and a pair of pliers.
- In a situation where the drain is too rusty and clogged, a plumber can fix it. If the damage is too much, it is better to leave the work to a handyman, especially when it is your first time.
- Ensure to check the existing pipes for leaks or cracks before you install a new drain. You should seek the help of a professional plumber in cases of leaks/cracks.
Wrap Up
Having a shower with too much water stagnant water is never a pleasant sight. Always check your drains for a clog. Whenever you notice consistent poor water drainage in your shower area, change your drains.
You have to remove the drains to prevent it from breaking into its socket.
All you need to follow the steps to remove shower drain. For one, you need a screwdriver, pliers, and enough lubrication. Finally, do not force the drains out. You may ruin it and your entire shower floor when you apply too much force. Good luck!