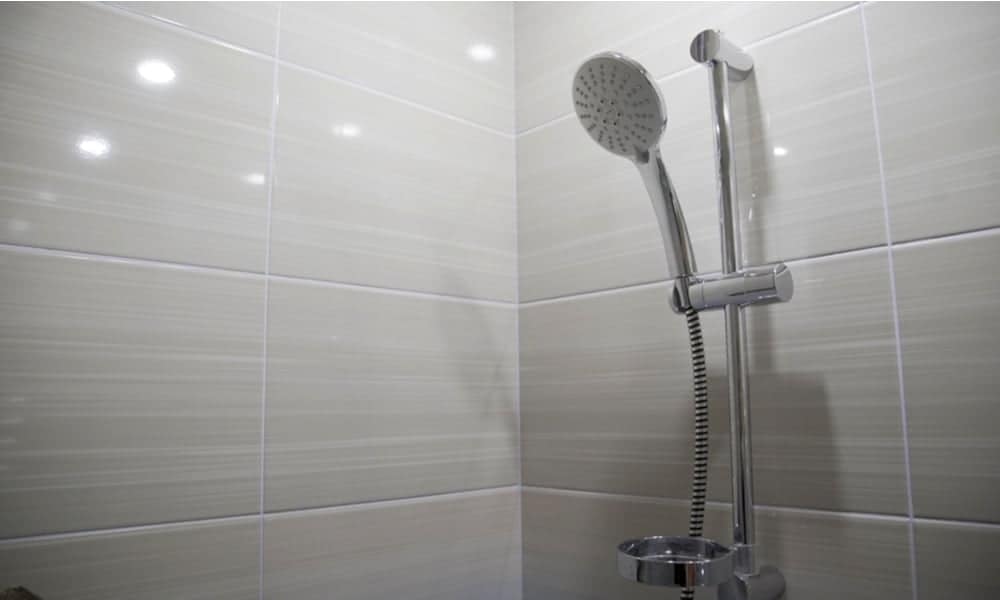
If you’ve splashed out on a new shower, tiling around it can save considerable expense. And you’ll also have the satisfaction of having done it all yourself.
But if you’ve never done it before, it can be daunting. Don’t worry! Our guide to how to tile a shower is here to help.
We’ll take you through the process step by step, with pro tips for a perfect finish.
Tools for tiling a shower
To prepare the shower wall:
- Waterproof membrane
- Vapor barrier of your choice
- Cement backer board
- Composite shims
- Utility knife
- Screwdriver
- Screws
- Caulk
- Waterproof tape
- Hole saw or hole cutter
- Bathroom filler – if required
- Exterior primer – if tiling over filler
For tiling:
- Tiles of your choice – buy 10% more than needed for the area you’re going to cover to allow for cutting
- Chalk, pencil or sharpie
- Thin-set mortar
- Bucket
- Sponge
- Notched trowel
- Tile scorer
- Tile cutter
- Tile file
- Grout
- Grout float
- Spray-on grout sealer
How to tile a shower
Step 1: Prepare the area around the shower
If you’ve got old tiles in place, the beset approach is to strip the wall right back to the studs.
Whether you’re fitting a new shower tray or not, make sure the tray has a waterproof membrane underneath. If it doesn’t, fit one now. This will prevent any moisture that leaks from the bottom of the shower causing problems inside your ceilings or floors.
Now install the vapor barrier of your choice, fixing it across the stud frame. Leave a gap at the top of the barrier to allow in air. This will stop any trapped moisture from causing the frame to rot.
Step 2: Build the new wall
Cement backer board is a great choice for your new shower wall. It will resist moisture and mold, and it’s strong enough to take the weight of tiles.
Use your utility knife to cut the board to fit, then screw it onto the stud frame.
You’ll need the board to be flush with the tile lip of the shower tray. If you need them, use composite shims to bring it out the right level.
You’ll need to leave a 0.5-inch gap between each board. There also needs to be a gap between the shower tray and the bottom of the boards. Seal these gaps with caulk, then cover with waterproof tape.
Now take your hole cutter or hole saw and make the holes needed for your shower. Check your shower installation instructions carefully to make sure you position the holes correctly.
If there’s a gap between the new and existing walls, fill that with bathroom filler.
Pro tip: If you’re going to need to tile over the filled area, paint the filler with exterior primer. That will allow the tiles to stick to it securely.
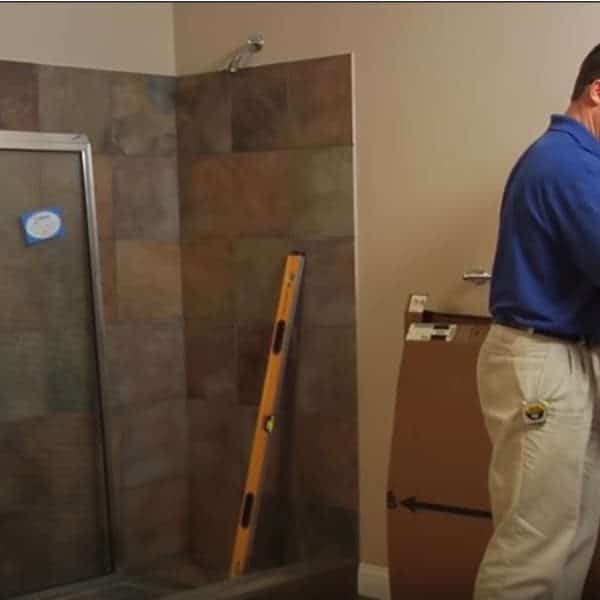
Step 3: Mark up your tile layout
Tile layout is always important, so take your time getting it right. It’s particularly important if you’re using accent tiles, or if your shower walls aren’t perfectly square.
Start by measuring up one tile’s height from the bottom of the backing board and deducting 0.5 inches. Mark that height on the wall with chalk, pencil or a sharpie. Now use the spirit level to draw a line at that level around the shower enclosure.
This line will be the guide for the top of the bottom row of tiles. It will give you a 0.5-inch overlap behind the tile lip on the shower tray.
Plan your layout so that you always have cut tiles on the inside corner of the shower stall.
Pro tip: Avoid positioning joints near the corners of the shower enclosure. Doing that will mean you don’t need slivers of tiles in the corners, and will avoid poor joins.
Step 4: Mix the thin-set mortar

Mix up the thin-set mortar in a bucket. It needs to be thick enough to set in place easily, but not so thick that it dries out quickly. If you aim for a peanut butter consistency, you won’t go far wrong.
Leave the mortar to stand for seven minutes before mixing it for a second time.
Pro tip: Invest in a mortar mixing tip to attach to your electric drill. This will make mixing a far easier job. It will also give a smoother and more consistent mortar.
Step 5: Lay the first row of tiles
Use a damp sponge to moisten the cement board. This will stop it from drawing all the moisture out of the mortar too quickly.
Now spread the mortar onto the cement board and place the tile on top. Place a tile spacer or cardboard shim underneath the tile. This will leave a space between the shower tray lip and the bottom of the tile.
Start by positioning a tile in the center of the row so that there’s a symmetrical pattern. Press it firmly into position and give it a little twist as you release it. Add the next tile, remembering to insert spacers so that there’s an even gap between tiles.
Use a spirit level across the front, as well as the tops, of the tiles to make sure they’re level. If you need to cut a tile, smooth the edge with a tile file. Then wipe it with a damp sponge to remove dust and tile fragments before laying it.
Pro tip: If your tiles are larger than 8 inches square, “back buttering” will make the process easier. This is simply spreading a thin layer of mortar on the back of the tile before laying it.
Don’t use too much – a dot in each corner and one in the middle will be enough. Wipe off any excess with your finger or a cotton bud. You can see how to do it in this YouTube video.
Step 6: Repeat with the next row
Start by positioning a tile on top of the previous row and marking its height. As before, draw a line using your spirit level to give you a guide to work to.
Use spacers all around the tiles to keep them level. This will also make sure that your grout line stays nice and even. Keep checking with the spirit level as you work.
When you’ve finished tiling, leave the mortar to set for at least 48 hours.
Step 7: Start grouting
Mix up your grout in a bucket and leave it to stand for about seven minutes. Remove the tile spacers from the area you’re grouting, then moisten it with a damp sponge.
Place some grout on the join and smooth it into position in a diagonal motion with the grout float. When the grout has started to dry, wash off the excess using a damp sponge and the same diagonal motion.
Check the instructions for your grout to see when to do this. It’s usually between 30 and 40 minutes after the grout has been laid.
When you’ve finished, leave the grout to harden. This will take about three days.
Pro tip: Even after wiping off the excess grout, you may find you’re left with a film on your tiles. Wait until the grout is properly cured, then clean the tiles with bathroom cleaner.
Step 8: Protect joins
Sealing the grout will stop it from degrading when it gets wet. The easiest way to do this is with an aerosol grout sealant. Spray it on, wipe away any excess and leave it to dry. Check the instruction on the product to see how long it needs to dry.
When the drying time has elapsed, test it by dropping water onto the treated area. If everything has worked as it should, the water will form a bead on top of the grout.
Next, use waterproof caulk to seal any exposed joins around the shower tray. Try to match the speed at which you pull the trigger to the speed you move along the join. If you’re not happy with the result, just wipe off the caulk and reapply.
Pro tip: When applying caulk, hold the nozzle at an angle and keep it moving quickly for a neat finish.
Extra tips for DIY tile shower
Make sure you use caulk between the top layer of tiles and the ceiling. That’s because the ceiling will move relative to the walls over time. Unlike grout, caulk is flexible, so it won’t crack or flake off when that happens.
You can use KERDI board instead of cement board for your shower wall. Check your local building codes, but in most cases, you won’t need to put a vapor barrier behind it.
And if you choose a ceramic tile for your walls, pick one that’s the same color from front to back. If the edge of the tile chips, you won’t notice it the way you may do with clay-based tiles.
Ready for a freshly tiled shower?
That brings us to the end of our guide to how to tile a bathroom floor. We hope it’s given you the confidence to tackle this job yourself. With proper preparation and care, you can get great results.
We’d love to hear from you – whether you’re planning to tile your shower or have done it already! And if you’ve got your own top tips, please comment and share them.