Plumbing work is expensive, and replacing a sink can cost up to $1,000 if carried out by a pro. However, if you have the necessary skills, this is something you can attempt yourself – and if you want to try, here’s our step-by-step guide for how to replace a bathroom sink.
If you want a preview of some of the things we’re going to be talking about, you can check out this video before reading on.
Materials Required for installing a bathroom sink
- Sink
- Silicone caulking
- Pipe wrench or slip-joint pliers
- Putty knife
- Bucket or bowl
- Towel
- Hammer and chisel
Step-by-step guide for replacing bathroom sink
Here are the steps you need to follow to replace a bathroom sink. These are general guidelines, but there are many different types of sink, so in some cases, you might have to adapt these instructions to fit your specific hardware.
Step 1. Shut off the water supply
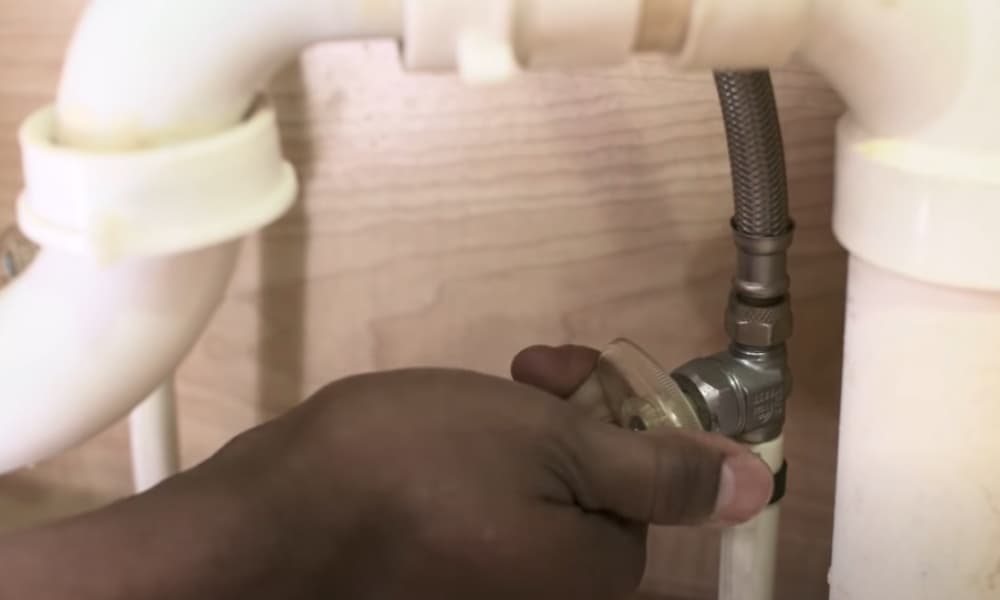
The first thing to do is to shut off the water supply. To do this, look for two valves beneath the sink. Turn them to the closed position and turn on the faucet to see if the water is still flowing.
If no water comes out from the faucet when you test the hot and cold water, you can proceed to the next step. If water still flows, you haven’t successfully shut off the water supply so try again. If it still doesn’t work, try turning the supply off at the main.
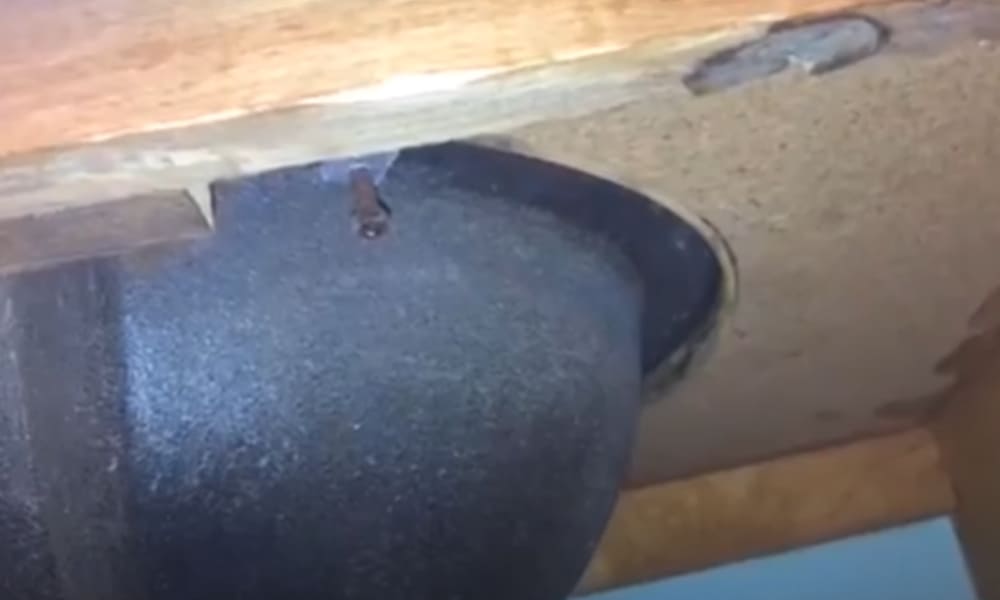
Step 2. Disconnect P-trap section of drainpipe

When you have turned off the water supply, you need to disconnect the P-trap section of the drainpipe. When you do this, some water may come out, so it’s best to place a bucket underneath before you start. Also, have your towel handy to mop up any splashes.
Loosen the nut – you may be able to do this by hand or you may need to use a wrench or pliers to get it off.
Pro tip: You don’t usually need to completely remove the P-trap, but this could be a good opportunity to take it out and give a clean while you can.
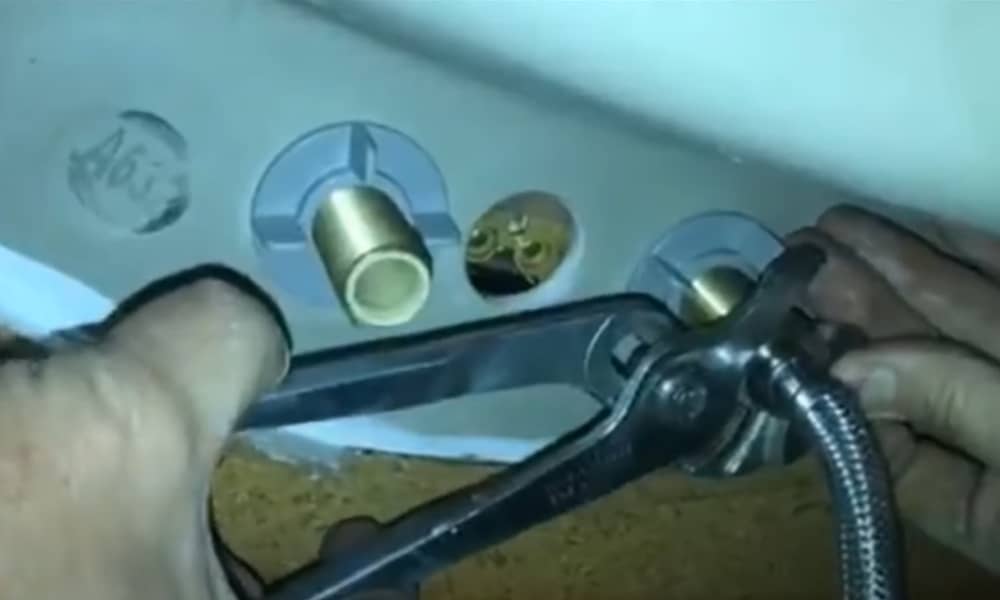
Step 3. Disconnect water lines
Next, disconnect the water lines. Again, you will probably need to use your wrench or pliers for this.
Step 4. Remove clips or bolts
Depending on which type of sink you have, it may be held in place by clips or bolts. If this is the case, you should also remove these now.
Step 5. Remove caulking or sealant
If you have a countertop-style sink – such as a drop-in or an undermount – it will be sealed with caulking or sealant. If this is the case, take your putty knife and cut around the caulking or sealant to free the sink.
Step 6. Remove the sink
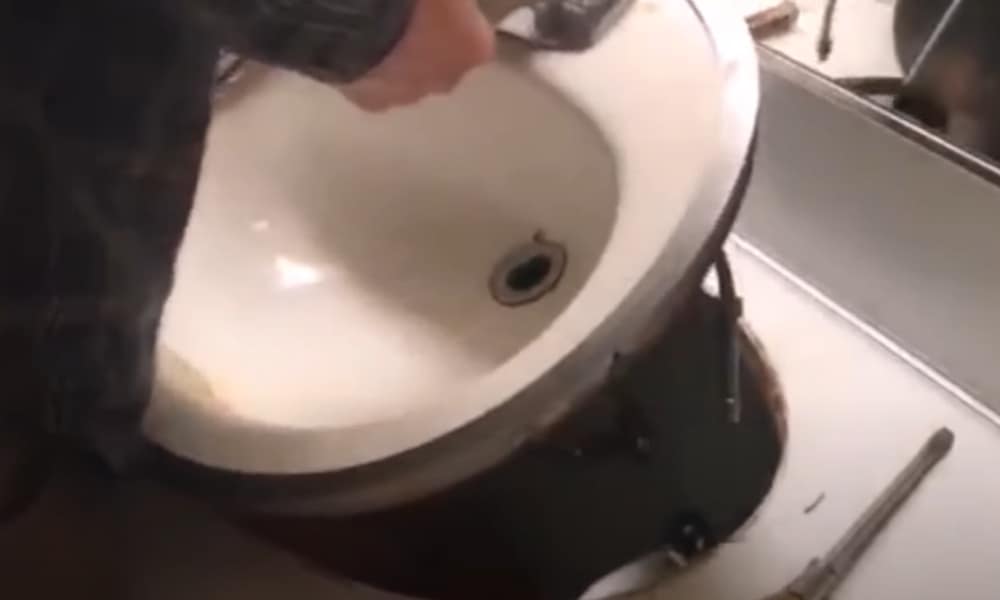
The sink should be completely detached now, so if you have a drop-in or undermount sink, you can remove it ready for the new one to take its place. Drop-in sinks should be lifted out of the hole while undermount sinks should be removed from underneath.
Pro tip: To fit a new sink, you will need to know its dimensions, its width (from side to side), length (from front to back) and depth (top to bottom).
To make sure you buy a new one with the correct dimensions, it might be a good idea to wait until you remove the old one so you can measure it accurately first.
If, on the other hand, you want to install a sink that has different dimensions, this will involve adjusting the size of the hole in the countertop. This is a more complicated procedure, so you might be better off seeking professional help instead of trying to do it yourself.
Step 7. Install the faucet

With both drop-in and undermount sinks, it is easier to install the faucet before fitting the sink into place. Most people will probably choose to buy a new faucet for installation with the new sink.
If this is the case, it will come with detailed instructions for installing it, so follow these to complete this step.
If you are planning to reuse the faucet from your old sink, pay attention to how it is attached when you remove it so you can remember how to fit it to the new sink.
Step 8. Put the sink in place
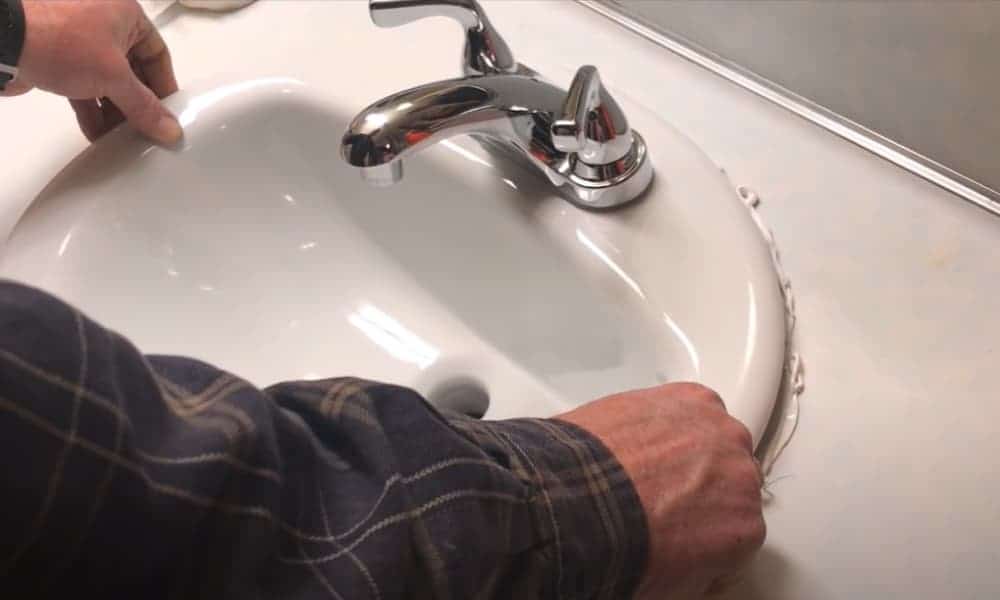
Now it’s time to place the new sink in the countertop. If you have a drop-in sink, put some caulking around the sink on the underside of the rim before fitting it in place. This is to create a watertight seal that will prevent water from dripping down through the gap.
If you have an undermount model, on the other hand, you should apply the caulking to the top of the rim before fitting it.
When the sink is in position, you should fix it in place with any clips or bolts, as necessary.
Pro tip: This is a more difficult step with an undermount sink, especially if you are working alone. This is because a drop-in sink will just sit in place whereas an undermount sink needs to be held or it will simply fall.
For this reason, it’s best to find someone to help you with this step if you are installing an undermount sink.
The best way is to fit it in place and then secure it with a piece of wood and a bar clamp. This will allow you to complete the installation with the clips or screws that will hold it in place without the sink falling out when you let go of it.
Step 9. Leave for 24 hours
When the sink is in position and fixed with all the necessary clips and screws, you should leave it for 24 hours. This will allow the caulking or sealant to dry before you move onto the next step.
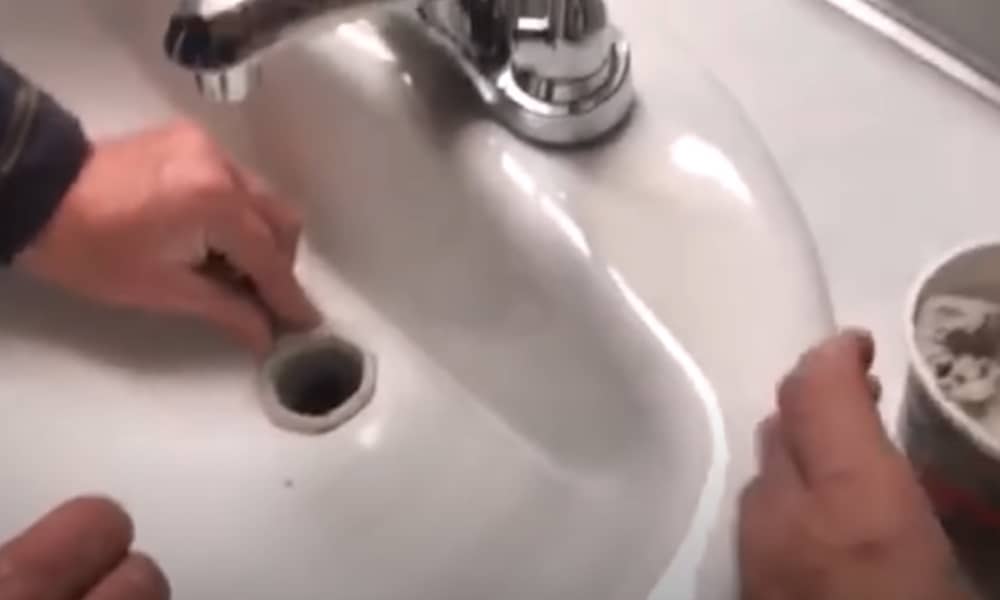
Step 10. Install the drain
When the caulking has dried, you can now fit the drain. If you have bought a new drain, it will come with detailed instructions for installation, in which case you should follow these carefully to fit it.
If you are reusing the drain from your old sink, like with the faucets, pay attention to how it was fitted when you remove it so you can remember how to put it back when you install it with your new sink.
Pro tip: If you are installing a drop-in sink, you can do this step when you install the new faucets in step #7 instead of waiting until you have fitted the sink into place. This will probably make things easier for you.
Step 11. Apply caulk
If you are installing a drop-in sink, you will now need to apply another layer of caulk around the sink on the outside where it meets the countertop. Once this has been done, leave it for a further 24 hours.
Pro tip: It might not be strictly necessary to wait for 24 hours after applying caulk – but it is highly recommended since this gives it plenty of time to dry completely, sealing the gaps.
Step 12. Reconnect the P-trap and water lines
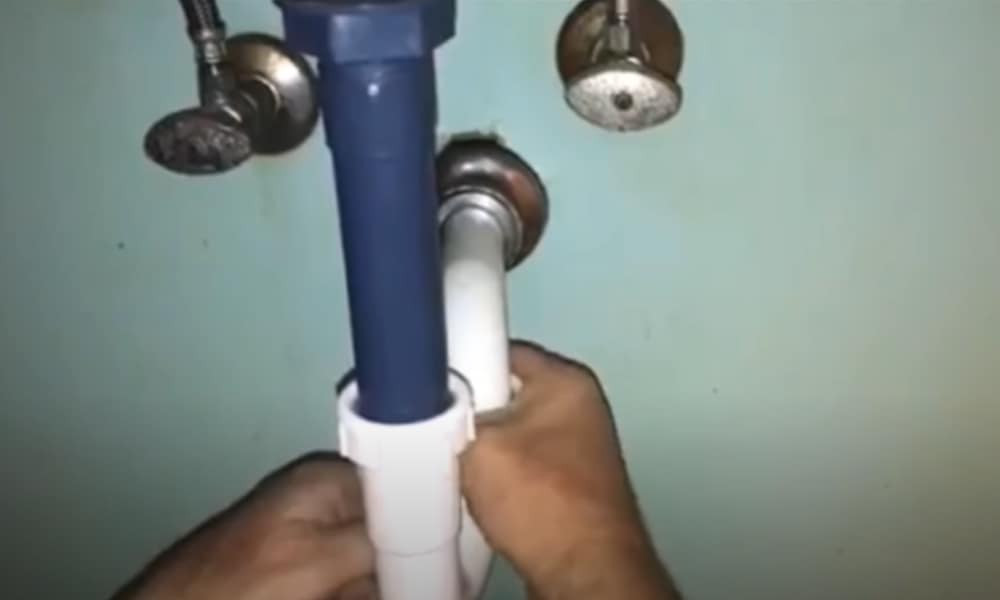
You can now reattach the water lines and P-trap. This should be a simple operation that entails simply screwing the nuts back into place. You can use your pliers or wrench to help if necessary.
Step 13. Test
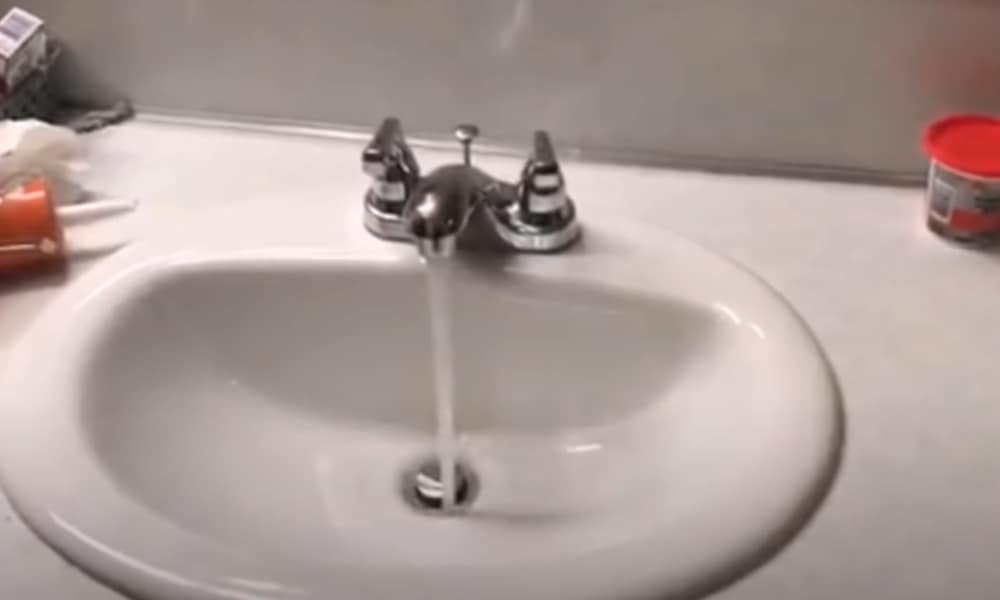
When the P-trap and water lines are connected, you can turn the water back on and test the faucet. Try running both hot and cold water, and if everything works correctly and there are no leaks, you have successfully replaced your bathroom sink!
Pro tip: You are best off having a bucket in place below your sink for this step – just in case!
Extra pro tips
Here are a few extra tips that will help you replace your bathroom sink successfully.
Differences for pedestal, wall-mount, and other sinks
The instructions we have given you here are as general as possible, but they are most relevant to replacing drop-in or undermount sinks. If you are installing another type, you can follow this general plan, but some steps may be slightly different.
In particular, with pedestal sinks, you need to be very careful with all your measurements. Make sure you leave enough space between the sink and other items in your bathroom.
For example, you should make sure you will have enough space for cupboard doors to open fully after installation.
For more information about pedestal sinks, you can check out this video.
Removing a sink if it is glued in place
Some drop-in sinks may be glued in place. If this is the case, you may need to use a hammer and chisel to free it from the countertop.
Know your capabilities
Replacing a bathroom sink is not a particularly difficult task if you have the necessary skills. However, depending on the nature of the work you plan to do, sometimes there can be complications – for example, changing the size of the hole that accommodates the sink.
For this reason, you should be realistic about your DIY capabilities – and if you think the job might be too difficult for you, you should consider calling in a pro instead.
Basic sink replacement is relatively simple
As we have said, if you only need to do a basic sink replacement job, the work required isn’t so complicated, and you should be able to manage by yourself. However, in situations where the work might be more complicated, you might be better off paying for a pro to do it.