A new vanity is a great way to update your bathroom. But before you can install it, you’ll need to remove the old one.
If you’re not sure where to start, we’re here to help! Our guide will take you through every step of how to remove a bathroom vanity. And we’ll tell you everything you need to know to complete the job successfully.
So step this way, and get ready to tackle your next bathroom project!
Tools for bathroom vanity removing
- Adjustable wrench
- Tongue and groove pliers
- Electric screwdriver or drill with screwdriver bits
- Utility knife
- Bucket
- Rag
- Flat-ended pry bar
- Thin block of wood
- Duct tape
How to remove a bathroom vanity
Step 1: Turn off the water
You’re going to need to disconnect some pipework, so start by turning off the water. There’s usually a valve that will stop the flow of water to the vanity unit only. In some cases, there’s one valve, in others, there’s one each for the hot and cold water.
If you can’t find a valve under your bathroom sink, turn off the water at the main valve instead. That’s usually somewhere near where the main water pipe enters the property. It’s often under your kitchen sink, or sometimes in a garage.
Wherever it is, turn the valve anticlockwise as far as it will go to stop the water flowing.
There’ll still be some water in the pipes. Turn on the faucets in your bathroom sink and wait for it to drain out. This will also release the pressure in the system.
Pro tip: If you struggle to remember which way to turn valves, screws or nuts, try thinking “righty-tighty”. In other words, turn to the right – clockwise – to tighten them up.
Step 2: Disconnect the supply tubes
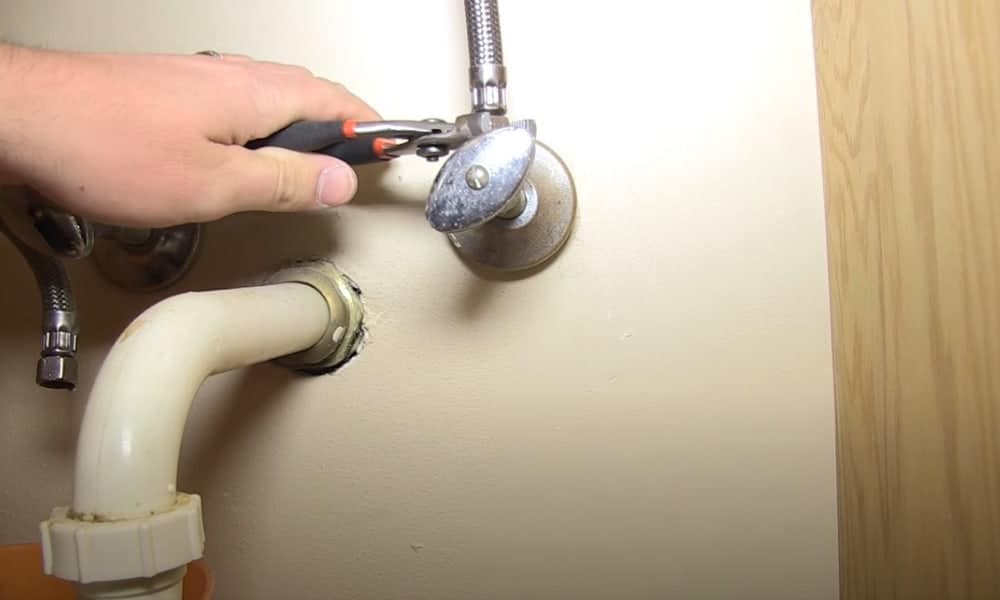
With the water off, the next step is to disconnect the tubes that run between the faucets and the valves.
Start by placing a bucket underneath the valves to catch the water that will drip out. Now look for the nut on the supply tube. Take your adjustable wrench and loosen it up. When it’s loose enough, disconnect the supply tube from the valve by slipping it off the end.
If you’ve used the shutoff valve for the sink, now’s the time to check that it’s worked properly. If water is still dripping from the valve, you’ll need to turn it off at the mains.
Pro tip: It can be difficult to use an adjustable wrench in the tight space beneath your bathroom sink. Use it to give the nuts a couple of turns, then loosen the nuts the rest of the way by hand.
Step 3: Remove and drain the P-trap
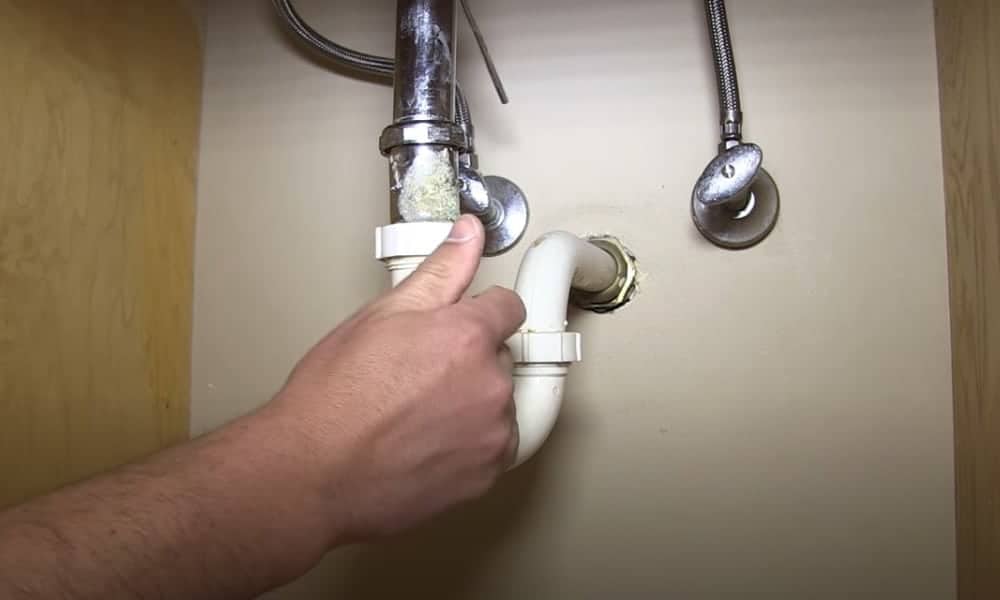
The p-trap is the bit of pipe under your sink shaped like the letter “j”. To remove it, you’ll need to loosen two nuts. One sits at the end of the sink pipe. The other nut is on the elbow piece which connects to the pipe leading to the wall.
In some cases, you may find that you can loosen the nuts with your fingers. If that doesn’t work, use tongue and groove pliers to do it. Turn the nuts anticlockwise, then slide them off the pipes, over the threaded ends.
With the nuts gone, you’ll be able to remove the p-trap. Do it carefully – it will be full of water, which you’ll need to empty into your bucket.
Pro tip: When the p-trap has been removed, stuff a rag into the end of the pipe leading to the wall. That will stop any noxious waste gases from the sewer traveling into your bathroom.
Step 4: Remove the mirror if you need to
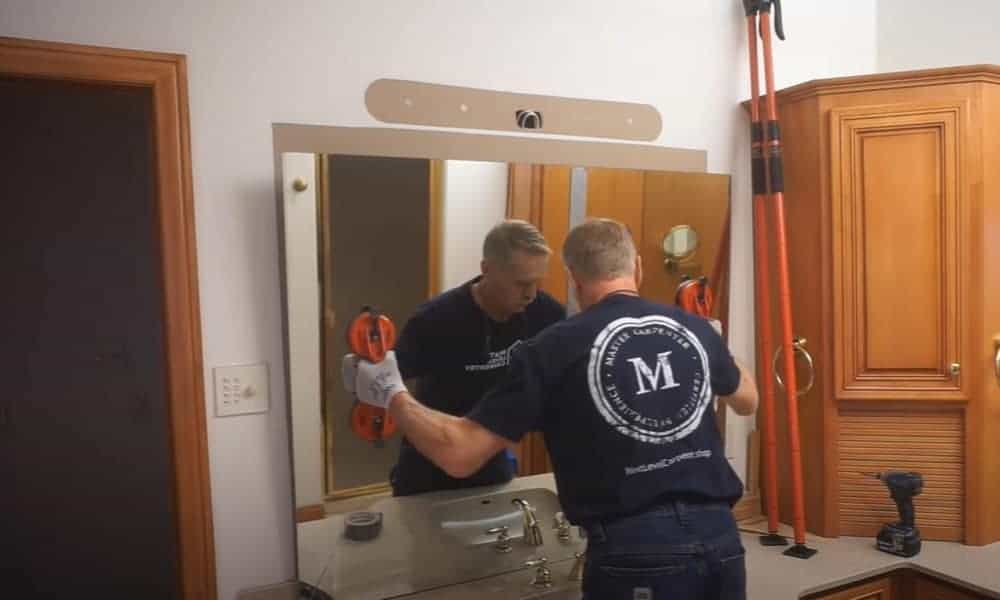
Whether or not you need to remove the mirror depends on how it’s fixed to the wall. If it’s glued there, it’s best to leave it in place. But if it sits on top of the vanity unit, take it down. Otherwise, you risk damaging it when you remove the vanity.
Use your screwdriver to remove the clips at the side. Next, loosen those at the bottom but don’t remove them. Finally, get someone to hold onto the mirror whilst you remove the top clips. Carefully lift the mirror up and away from the wall and vanity.
Pro tip: Cover the mirror with duct tape to protect yourself from injury if the glass breaks during removal.
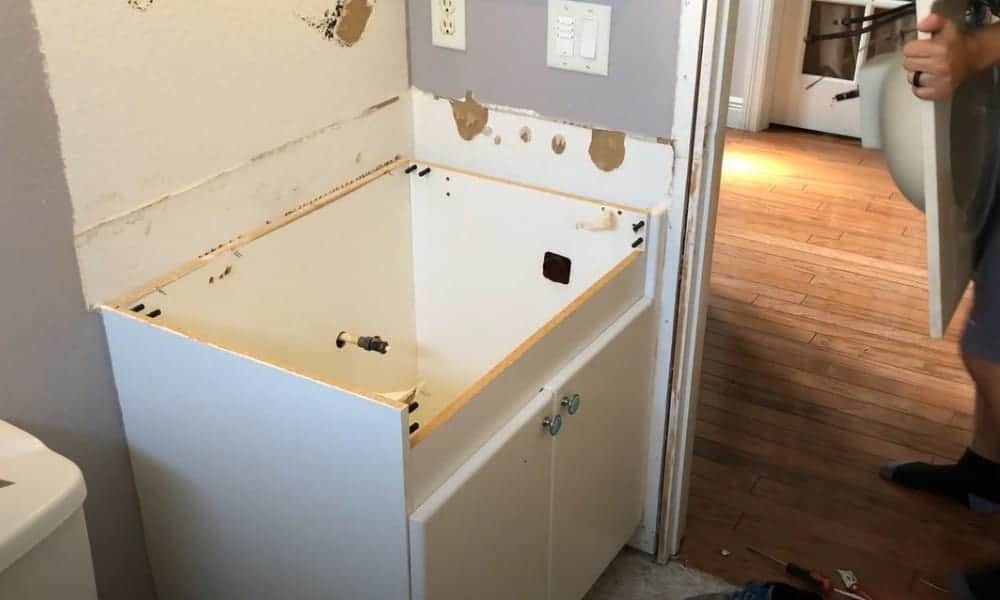
Step 5: Take off the vanity top
The top of your vanity will be sealed to the walls using caulk. Take your utility knife and cut through that seal. This YouTube video shows you how it’s done with a particularly large vanity unit.
You’ll probably find that there’s caulk between the cabinet and the wall too. If that’s the case, use your utility knife to cut through that as well.
It’s usually easiest not to remove the faucet. You can do so later if you want to change it. Instead, start by looking underneath the countertop. You’re looking for any brackets or clips joining the top to the cabinet. If there are any, take your screwdriver and remove them.
Now try to move the countertop, lifting it up at the front edge. Pull it upwards and out from the wall. Take care as you move it so that you don’t damage the walls.
If you find that the countertop doesn’t move when you pull, it’s probably glued in place. You can use a pry bar to try to prise it apart from the cabinet. Alternatively, leave it where it is – we’ll get rid of it alongside the cabinet in the next step.
Step 6: Take out the cabinet
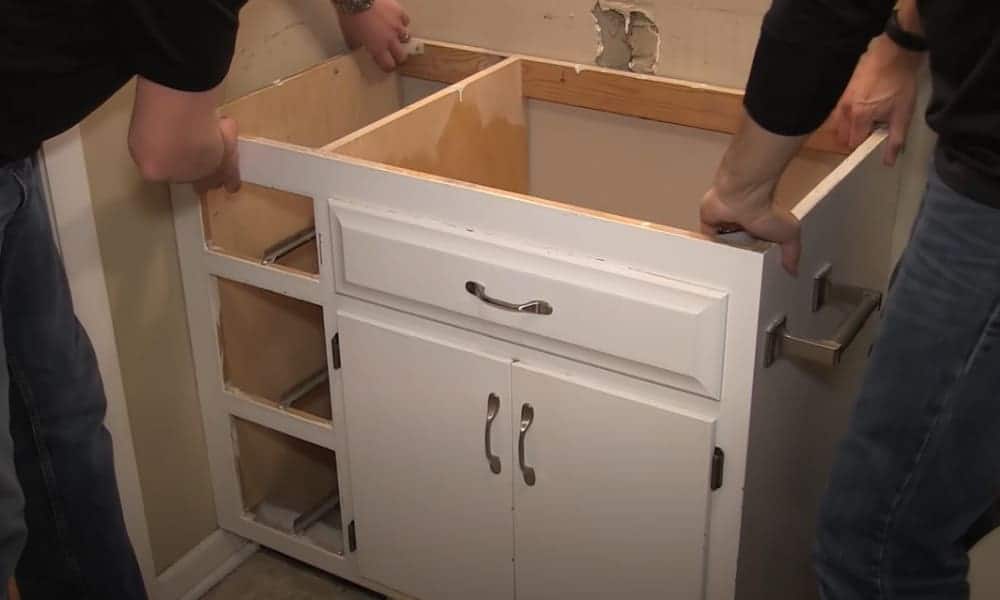
You’ve already cut through any caulk fixing the cabinet to the walls, so now you need to check for screws. Take a look at where the cabinet touches the wall. In most cases, you’ll find there a few screws, which can easily be removed with your screwdriver.
If you’re unlucky, the cabinet may be held in place with nails. If that’s the case, you’ll need to use your pry bar to lever the cabinet away from the wall.
When all the fixings are removed, you’re ready to pull out the cabinet. If your cabinet has a back panel, be particularly careful as you do this. You’ll need to avoid damaging the valves – or even turning them on! – as you move it.
Pro tip: If you need to remove nails, place a narrow block of wood behind the head of the pry bar. This will prevent it from damaging your wall as you work.
Step 7: Clean up the area ready for your new vanity
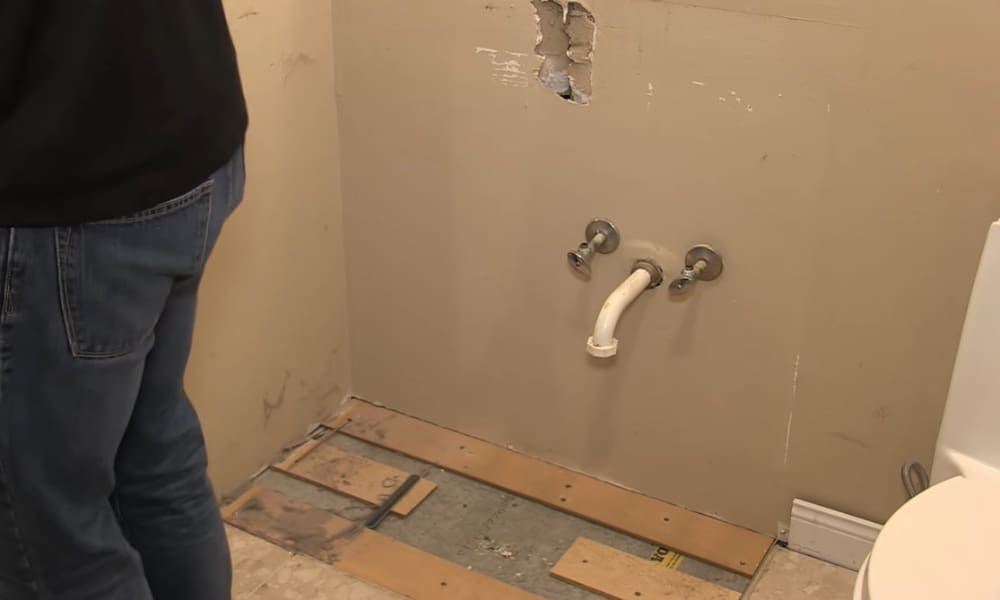
You’ll probably find there are some bits of caulk sticking to your wall. Clean these off using your putty knife, taking care not to damage the drywall.
If your new vanity is narrower or shorter than your old one, more of your wall will be visible. So you’ll need to be particularly thorough in cleaning and patching up any damage.
If any of the dry wall is less than perfect, score around it with a utility knife. Peel off the paper on the surface, then sand it smooth. Add spackling compound in thin layers, letting each layer dry before applying the next. When it’s level with the surrounding wall, sand it smooth and prime it for painting.
Step 8: Get rid of your old vanity
It’s a good idea to make a plan for getting rid of your old vanity unit before you start work. If it’s still in usable condition, consider offering it for collection online. Someone else may be able to put it to good use, and you won’t have to worry about disposal.
If it isn’t usable as a vanity unit, consider whether you can recycle the parts for other projects. If not, take it to a local waste facility. If you don’t have transport, some local authorities will arrange curbside pickup, sometimes for a fee.
Extra tips
The areas around vanity units are often tiled. If that’s the case in your bathroom, you may need to get rid of the tiles too.
To remove old tiles, start by using a grout scraper to scrape the grout from the joints between them. Once the grout has gone, the tiles will be easier to remove and you’re less likely to damage your wall as you do so.
Now slide your putty knife behind the first tile and wiggle it around. If the tile is stuck fast, use a hammer to gently tap the handle of the putty knife.
When all the tiles have been removed, it’s time to clean the wall to get rid of any adhesive. Use your putty knife to do this, just as you did to remove the remnants of caulk. And as before, take care not to damage your wall as you work.
Time to wave goodbye to your old vanity unit!
There it is – everything you need to know about how to remove a bathroom vanity! We hope you’ve enjoyed our guide, and that it’s given you the confidence to try this for yourself.
This is a project that doesn’t need any expensive tools or specialist expertise. Just prepare carefully, take your time, and you can get results just as good as if you’d paid a professional.
Whether you’re just starting out as a DIYer or you’re a seasoned pro, we’d love to hear from you! Why not take a moment to share your experience and top tips? Thanks for stopping by!