A leaky or dripping faucet is a real pain, and it wastes water too. But getting in a plumber can be expensive – so why not try replacing your faucet yourself?
It isn’t as difficult as you think! Our step-by-step guide to how to replace a bathroom faucet will help you get it sorted in no time.
So roll up your sleeves, and let’s say goodbye to that annoying drip!
Tools for replacing bathroom faucet
Start by assembling the tools you’ll need for the job. They are:
- Basin wrench
- Adjustable wrenches
- Bucket or large basin
- Rags
- Towel
- Tape measure
- Sponge
- Putty knife
- Plumber’s putty
- Plumber’s tape
- Soap or bathroom cleaner
- New faucet – don’t buy this until you’ve removed your old faucet and taken a good look at your sink!
How to replace bathroom faucet
Step 1: Turn off the water
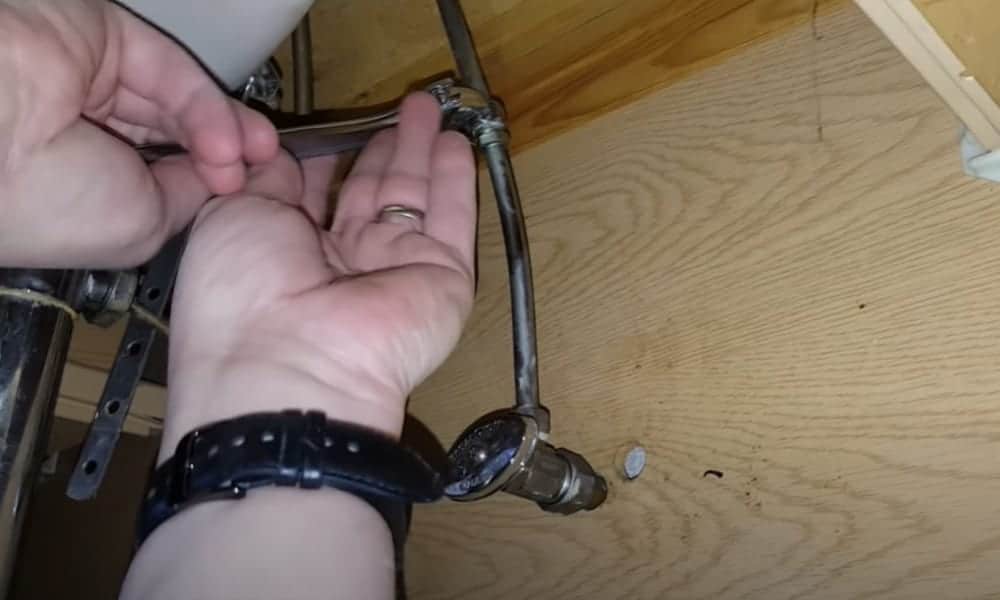
Start by removing the faucet that’s in place already. The first step to avoid a flood is to turn off the water supply to the bathroom sink.
To do that, you’ll need to find the shut-off valve. In some cases, there’ll be only one, in others there’ll be one valve for hot water and one for cold. You’ll usually find it underneath the sink. Turn it clockwise to shut off the water supply.
If you can’t find the valve for your bathroom sink, you’ll need to turn off the main valve instead. This is often beneath your kitchen sink.
There’ll still be some water in the system, so drain that by turning on the faucet. Keep it open until the water comes to a stop.
If you have a cupboard under your sink, now’s the time to clear it out. When it’s empty, place a towel under the pipes beneath your sink. That will prevent any damage to the cupboard when you remove the faucet.
Now place your bowl or bucket beneath your pipes. Things are about to get messy!
Step 2: Disconnect the p-trap and supply tubes
You’re now going to remove the p-trap. This is the curved pipe that’s shaped like the letter “j”. It’s attached to the other pipes by two nuts at either end. Loosen them by turning them counter-clockwise with your adjustable wrench.
Don’t be surprised if some water comes out. This is perfectly normal, and it’s what your bucket is there for.
Next, you need to disconnect the tubes that attach the faucet to the water supply. Look for the nuts that attach the hoses to the supply. Take your adjustable wrench and turn the nuts counter-clockwise to loosen them.
Now loosen the nuts that attach the hoses to the faucet. Repeat the process you used for the first set of nuts, but this time use the basin wrench.
Pro tip: It can be awkward using a wrench in a confined space. Make your life simpler by using it to turn the nuts a couple of times. After that, you’ll be able to use your fingers to unscrew them the rest of the way.
Step 3: Remove the old faucet

Most faucets are attached by locknuts which are located under the sink. You might need to get out your flashlight to spot them.
When you’ve found them, loosen them by turning them counter-clockwise using your fingers or the adjustable wrench. Now slide them and the washers off the tailpieces of the old faucet.
Your old faucet is now ready to be removed. Take hold of it and pull it straight up through the mounting holes. If there’s a gasket, remove that too.
Step 4: Clean the mounting holes
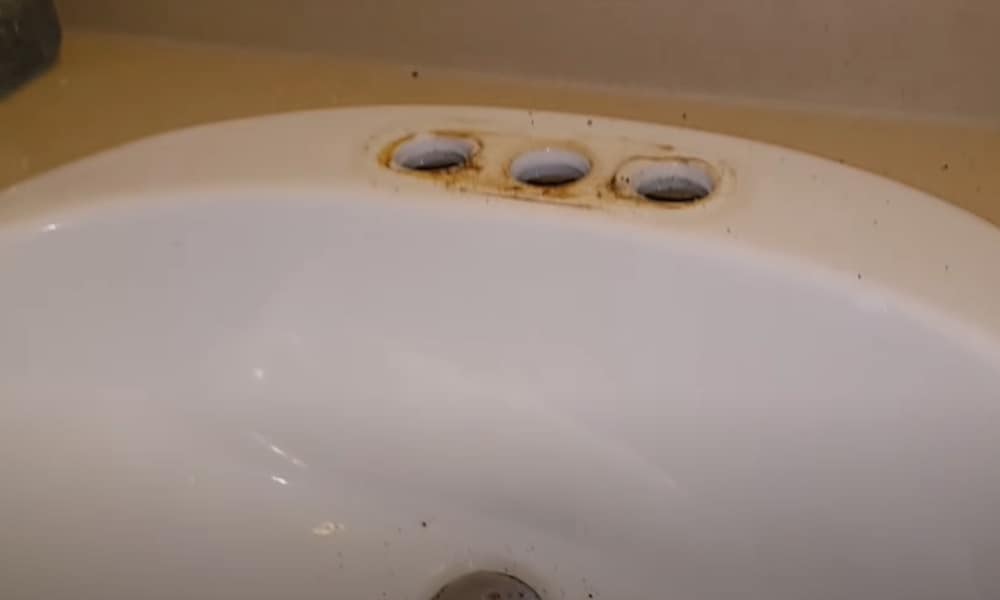
Depending on your sink design, it will have either one or three mounting holes. Clean these out using soap and water or bathroom cleaner.
Then rinse the area and towel it off. Leave it to air dry completely while you go shopping.
Pro tip: Use mineral spirits to remove any traces of sealant around the mounting holes.
Step 5: Buy your new faucet
Now you’ve removed your old faucet you can establish what kind of replacement you need to buy.
Take a look at the mounting holes in your sink. Are there one or three?
If there’s one hole, you’ll need a faucet that comes in a single piece. It will have one handle to control both the hot and cold water.
If there are three holes, measure the distance between them and note it down. If you have a three-hole basin, you may need either a center-set or split-set faucet.
With a center-set model, the model comes in a single piece, like a one-hole faucet. But in this case, there are two separate handles for controlling the hot and cold water.
With a split-set faucet, the spout and two handles are all separate from each other. These kinds of faucets are also known as widespread faucets.
This YouTube video takes you through the different kinds of faucet and shows you how to choose the right one.
Step 6: Make everything watertight
To make sure your new faucet is watertight, you need to install a gasket. This is a piece of plastic or rubber that creates a seal between the sink and the faucet.
Position the gasket under the faucet so that the valves and tailpipe go through the holes in the bottom.
If your gasket is made of plastic, make sure that it snaps tightly onto the faucet so it’s securely sealed.
If you didn’t have a gasket as part of your faucet package, don’t worry. Simply spread a thin layer of plumber’s putty on the sink and place the faucet on top.
Pro tip: Wind plumber’s tape around the threads on the faucet tailpipe to lubricate the joint and create a tighter seal. Make sure the tape doesn’t extend beyond the end of the tailpipe.
Step 7: Put the new faucet in place
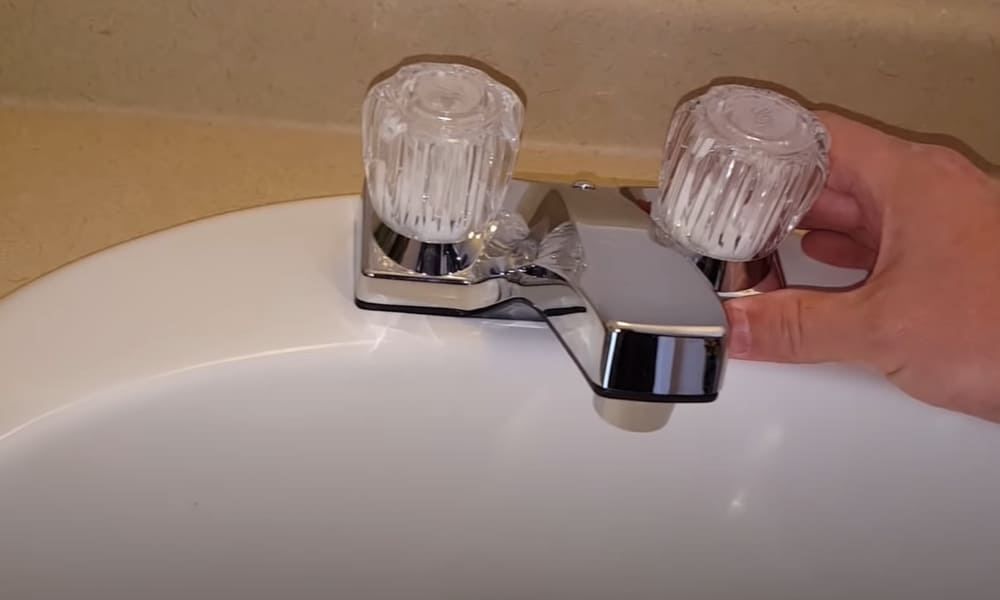
Line the faucet up with the mounting holes in your sink, using both hands to hold it. Take care that the valves and tailpipes are lined up with the corresponding holes before putting it in place.
Now slide a washer over each tailpipe and twist on the locknuts by hand. When they’re as tight as they’ll go, use your wrench to give them another quarter-turn.
Don’t be tempted to tighten them too far! It’s easy to damage the faucet or sink.
Depending on what kind of faucet you’ve got, you may need to install the handles separately. If that’s the case, follow the instruction manual that came with your purchase.
Step 8: Reconnect the hoses and p-trap
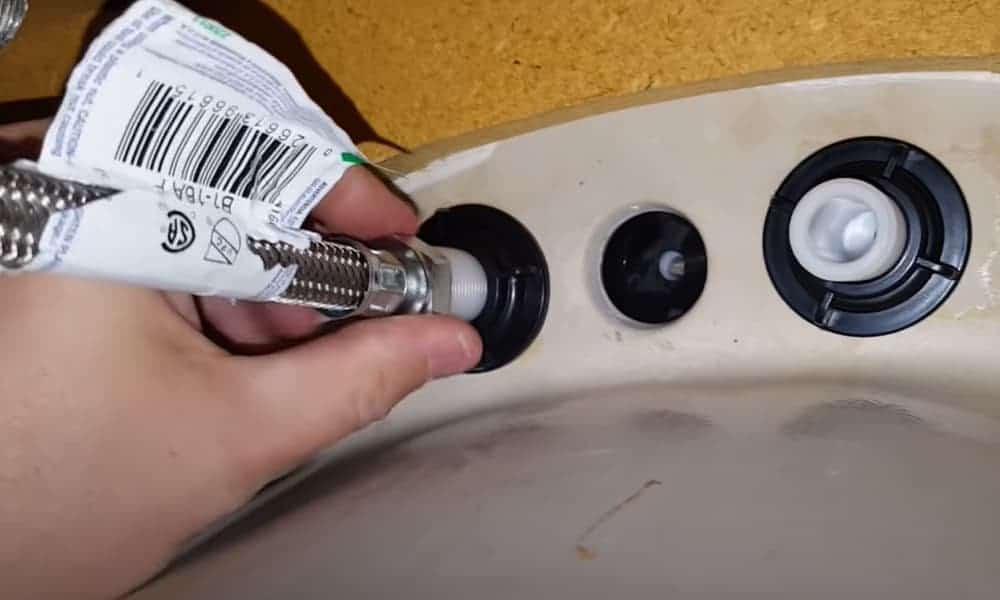
You’re nearly there! Now it’s time to get those hoses connected so the water can flow again.
First of all, find the hoses that will attach to the faucet. Slide each one onto the tailpipe, tightening the nuts with your fingers. When they’re as tight as they’ll go, give them an extra quarter-turn with your wrench.
If you have copper pipe with threaded fittings, hold onto it as you turn the nuts. If it twists as the nuts tighten, it can become distorted or snap altogether.
You’ve still got that j-shaped p-trap to re-install. Put in back into position and tighten the two nuts at each end. To avoid leaks, aim to have the p-trap overlap with the vertical pipe by about an inch.
Pro tip: If you want even more protection from leaks, consider buying a p-trap extender. That will create a bigger overlap with the vertical pipe for added security.
Step 9: Test whether everything’s working
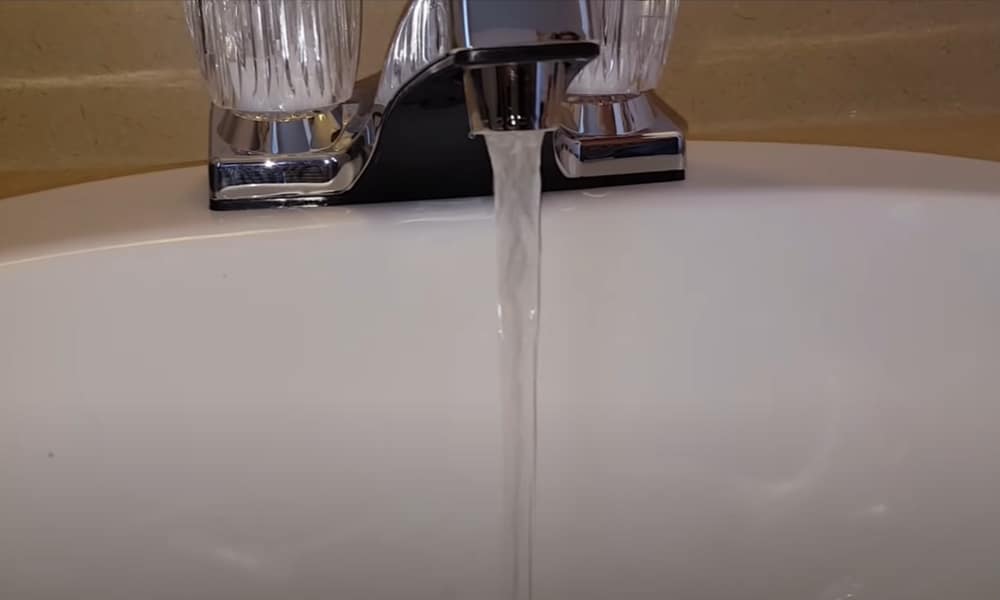
It’s now time to check that your new faucet is working as it should do.
Turn the shut-off valve or valves back on, and open up your faucet. Let it run for a couple of minutes to flush out any debris from the mechanism.
If you’ve got a cupboard beneath your sink, keep the door open and watch for any leaks or drips. If there are any, tighten the nuts until the water stops leaking.
Extra Tips
If you have a three-hole sink but have fallen in love with a one-hole faucet, don’t despair! Some one-hole models come with escutcheon plates that will cover the other two mounting holes. Measure the area covered by the holes in your sink and make sure the plate will be the right size for your sink.
Check what’s included in the package with your faucet before you buy. If it doesn’t include a gasket, make sure you have plumber’s putty on hand to create a watertight seal.
If you’re handing a faucet with a shiny finish, take particular care during installation. A careless knock can easily cause scratches.
Time for your new bathroom faucet!
We hope our guide to how to replace a bathroom faucet has given you the confidence to tackle this challenge. With a few simple tools and a bit of patience, you’ll be able to give your bathroom a new look. And you’ll never again have to worry about getting in a plumber to fix a leaking faucet!
If it’s inspired you to take up your tools, please comment and let us know. And if you’ve already replaced a bathroom faucet, why not share your hints and tips? We’d love to hear them!