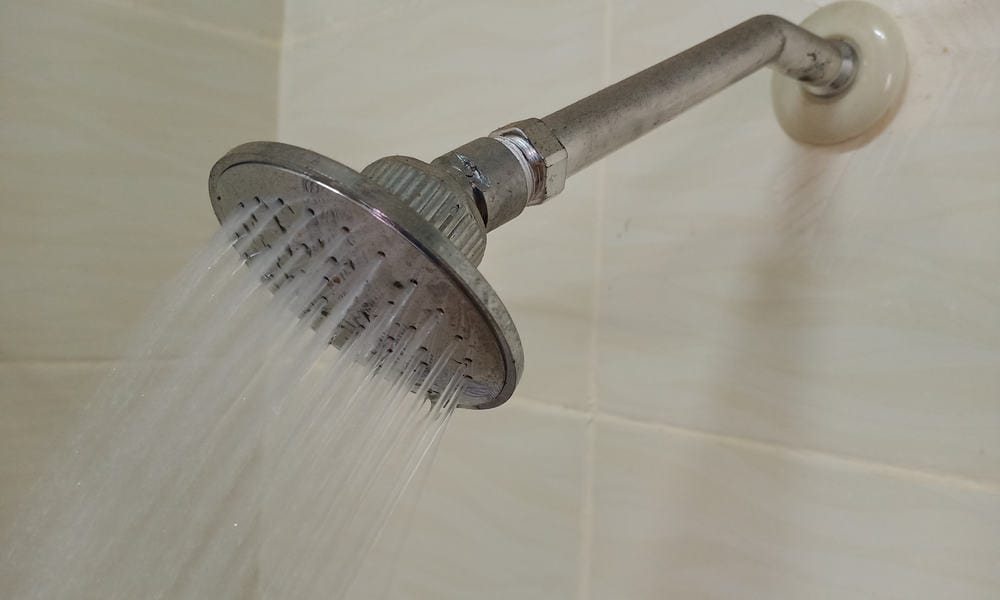
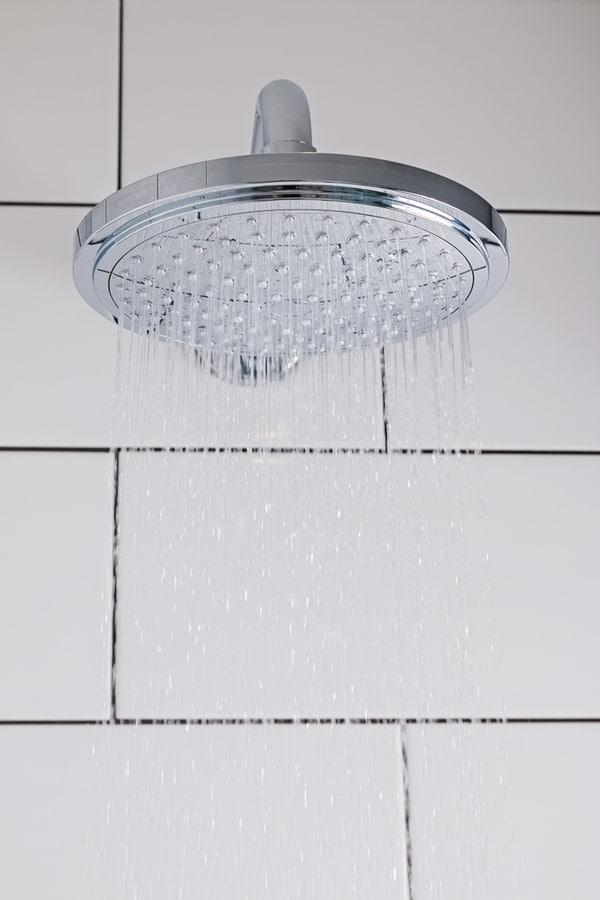
The rain showerhead, inspired by falling rain, delivers a gentle spray of water. It makes your bath time more fun and enjoyable.
However, rain showerhead comes as one of the types many find difficult to install. Luckily, in this article, we’ve put together great steps to install a rain shower head without hassles. But before we head to the step by step instructions, let’s give you a great insight into a rain shower head.
What Is a Rain Shower Head?
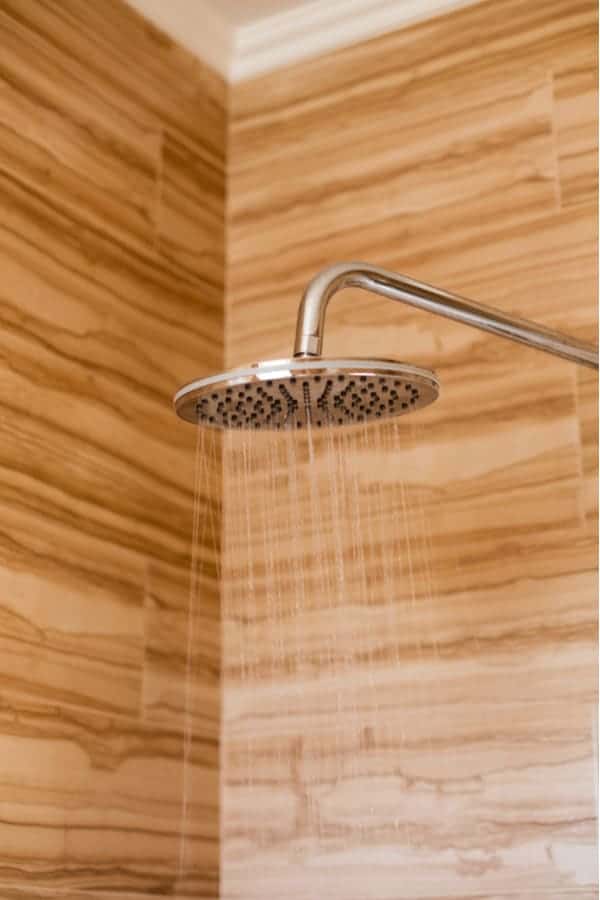
The rain shower head is commonly known by many different names, which include a downpour shower head, rainfall shower, and overhead shower. It delivers a gentle stream of water right above your head and body, making the bathing more fun and refreshing.
As the name suggests, the rain shower head disperses water more like the natural rainfall. They are mainly of two different types; these include the wall-mounted and ceiling mount. Both of these kinds of showerheads rain down water in a gentle way.
These rain showerheads come in metal or chrome material, but in this present day, there are also some made of plastic. Notwithstanding, depending on your choice and budget, you can go for models with higher-finish that will add more beauty to your bathroom.
Now you have known about a rain shower. Let’s give you the easy ways of how to install a rain shower head.
How to Install a Rain Shower Head

When it comes to installing a rain shower, the position you want to mount it also matters a lot. The reason is that it is unlike the traditional shower head, which is easier to adjust any time when bathing.
In the case of rain showerhead, you have to mount it above your head, so that the water fully covers your body, making it easier to shower and rinse comfortably.
Tools Needed to Install a Rainshower Head
Before the step by step instruction, there are essential tools you’ll need to have handy to make the task easier. These tools include
- Shower Head
- Pre-installed rubber sealing washer
- Safety Goggles
- Terry cloth
- Teflon Tape
- Adjustable wrench or pliers
- High chair or ladder
How to Install a Rain Shower Head
Step 1: Take Out the Old Shower Head
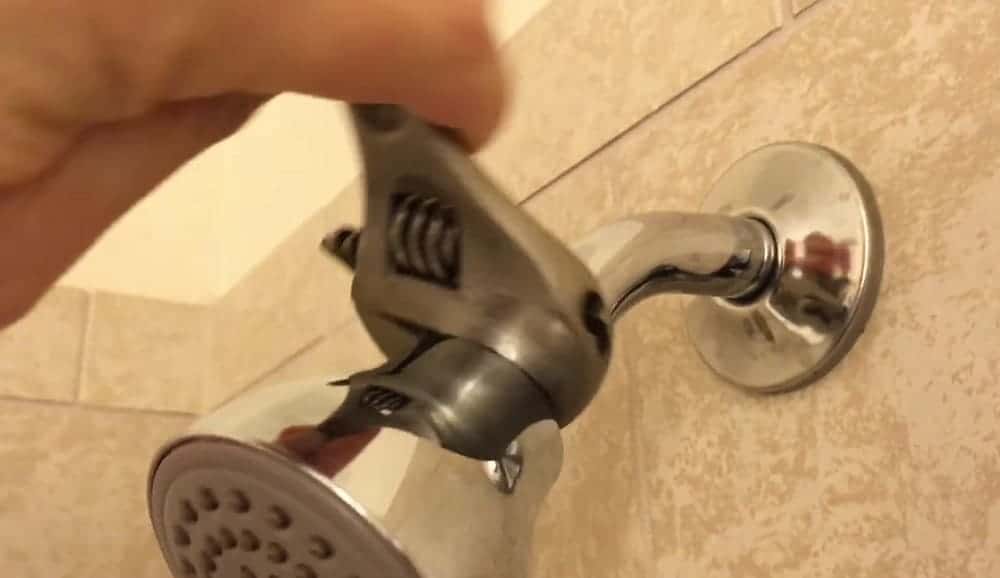
You can easily remove it by hand, but depending on how long the rain showerhead has been installed, you might need to use an adjustable wrench.
Hence, if you find it difficult to remove, rotate the showerhead with an adjustable wrench in a counterclockwise direction to unscrew it.
Step 2: Keep the Shower Arm Clean and In Good Shape
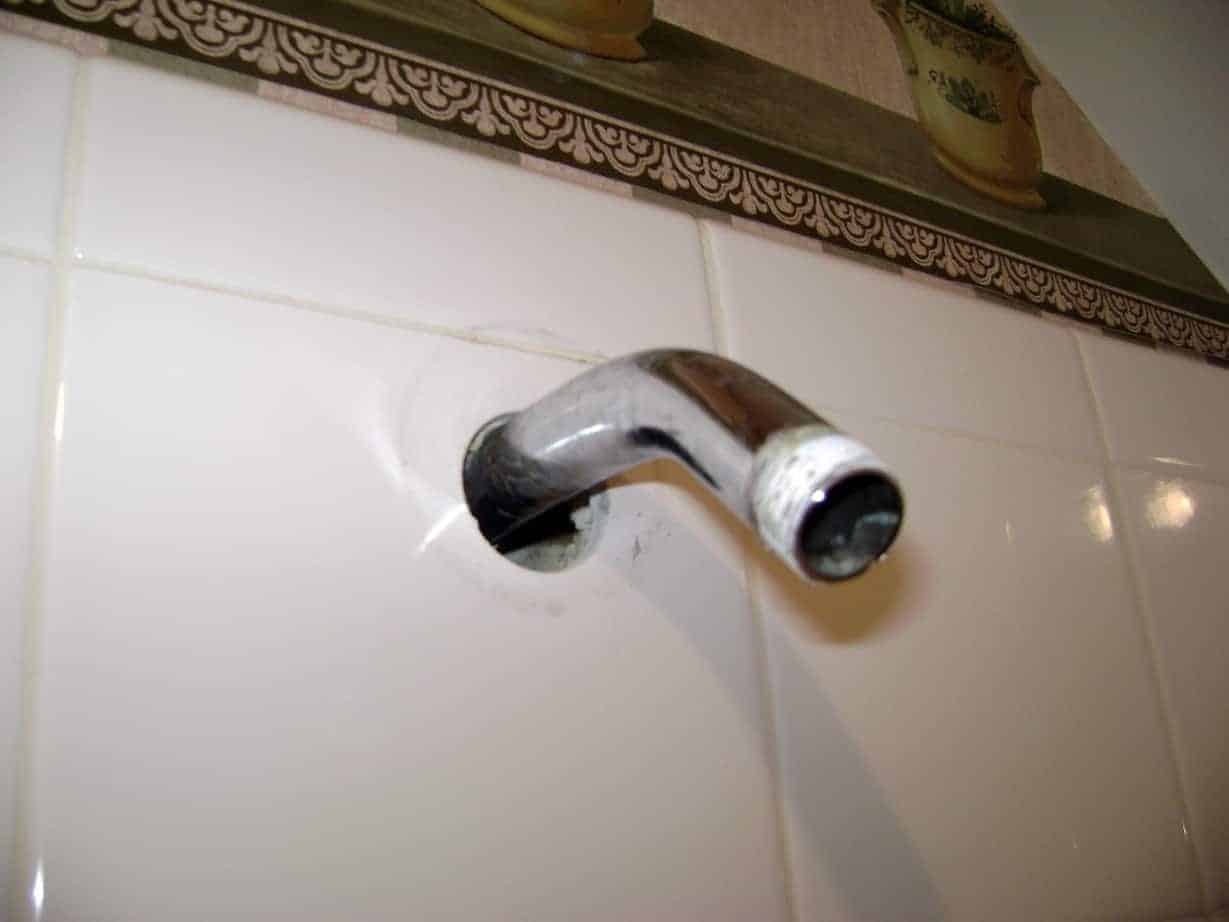
After you have removed the head, check the shower arm threads for any debris and old Teflon tape.
If you find any, remove it and clean them off thoroughly. It’s best to use a microfiber cloth when cleaning the thread because it removes Teflon tape perfectly and works great to pick up tiny grits.
Once you’re done cleaning, check if it is corroded or leaking. For damaged threads, it will be best you replace it entirely so you can have a comfortable shower experience any time.
Step 3: Time to Add New Teflon Tape
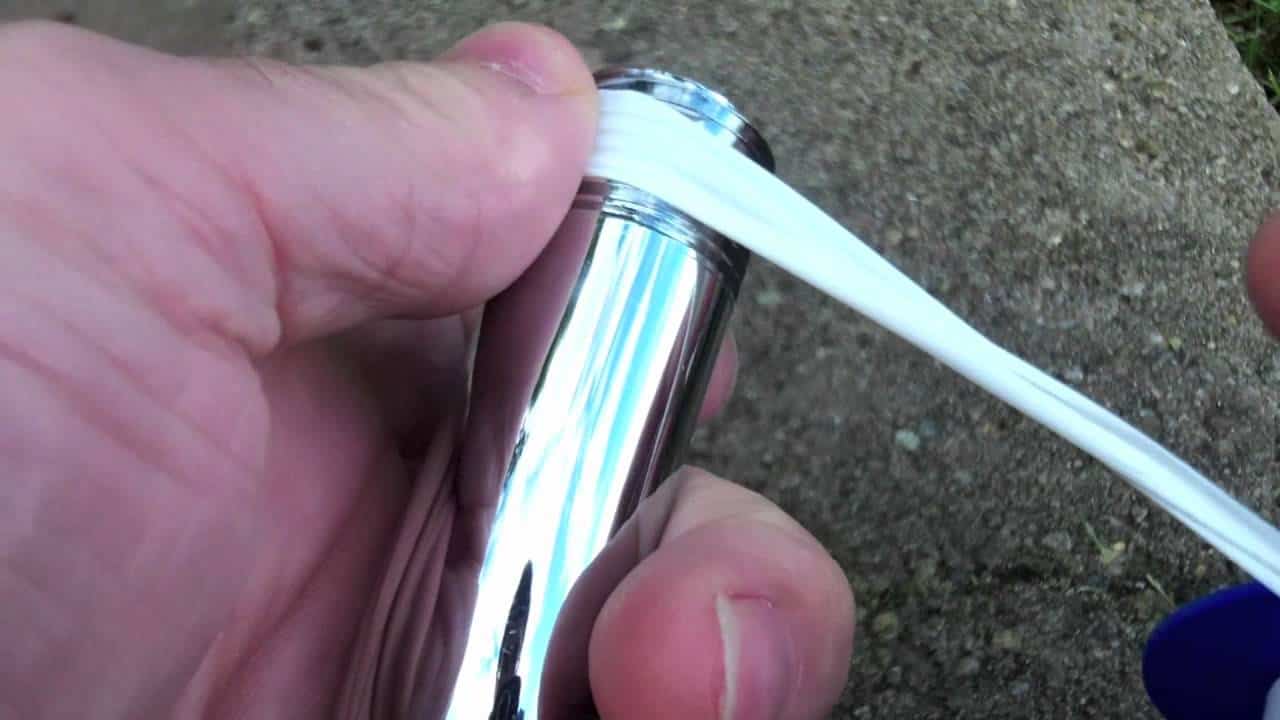
Since you have removed the old Teflon tape, you have to replace it with new ones. The reason is that this tape helps to protect the shower from leaking after installing the showerhead.
Now apply the new Teflon tape about 3-5 turns on the thread and tear the end part. Use your hands to smooth it out to keep it leveled to the thread.
Keep in mind that when applying the tape, you should go in a clockwise motion so that it doesn’t come off when you attach the head in the same direction.
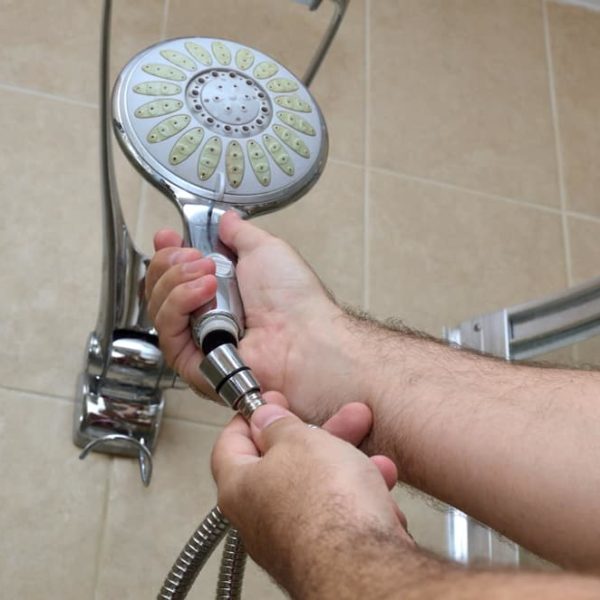
Step 4: Connect the Showerhead
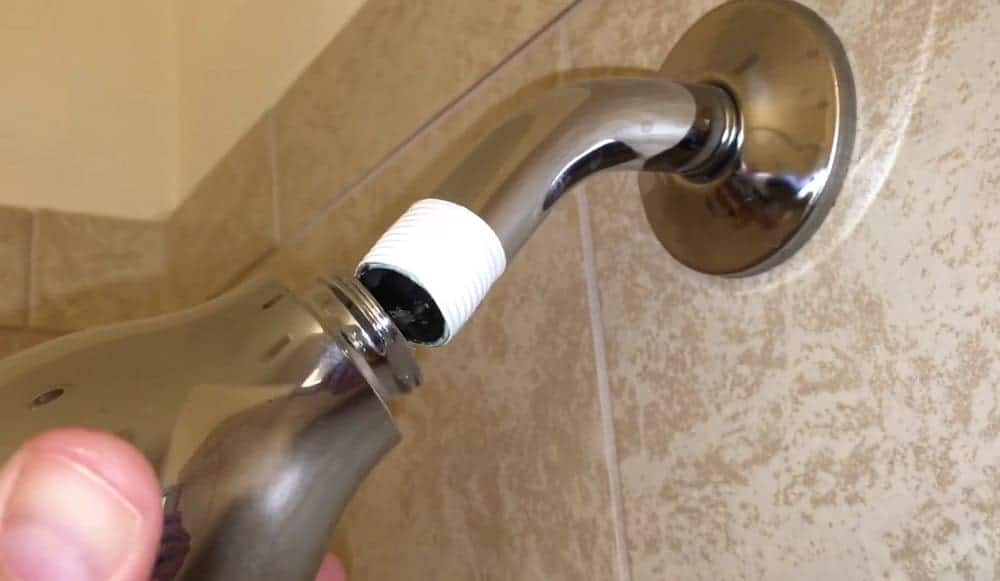
As said earlier in the tools needed, we’re using the rubber sealing washer that comes with the showerhead. This tool helps to make the showerhead stay watertight and secured on to the thread. Ensure you place it properly before installing it.
After that, reconnect the shower head and tighten it down with your hands. You can employ a chair or ladder to make things easier for you.
Step 5: Tighten the Showerhead On To the Thread
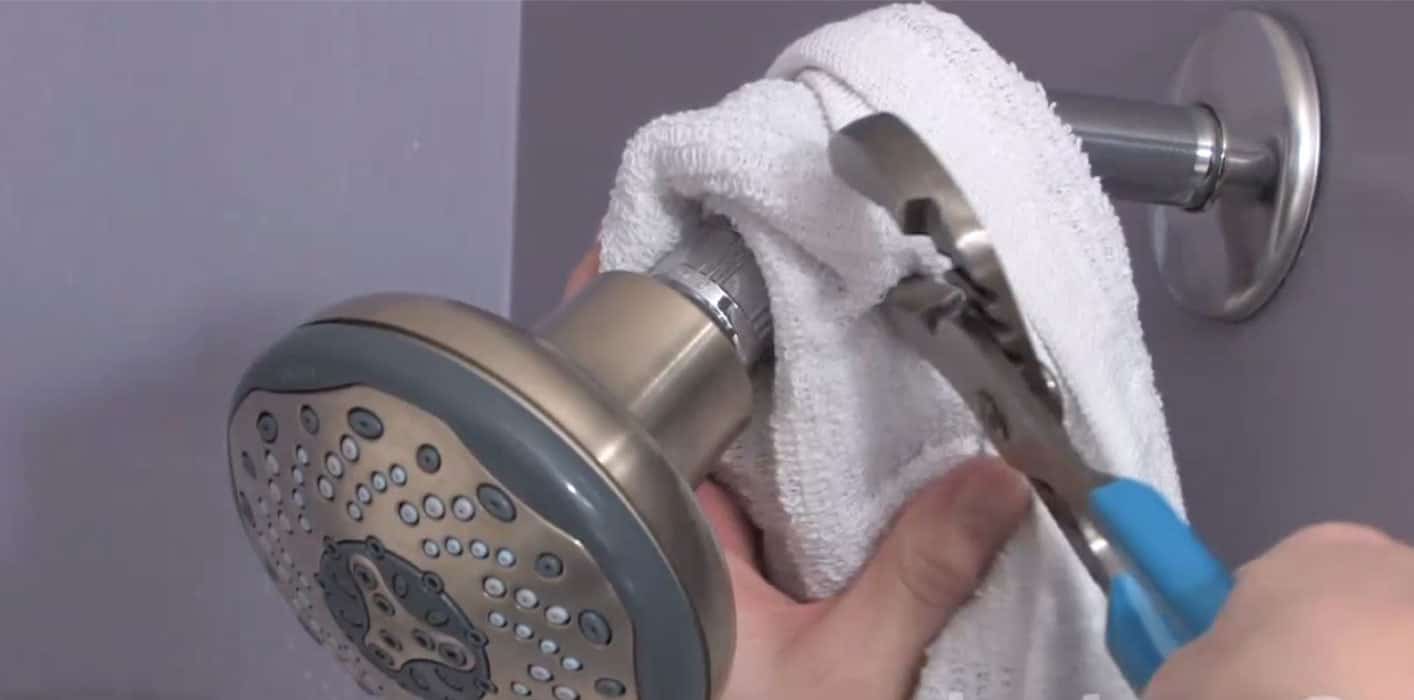
You will need to get the adjustable wrench handy to tighten down the shower very well. But make sure you wrap the threads with a terry cloth, so it doesn’t damage the finish when tightening the showerhead.
Once you have done that, now use the adjustable wrench to tighten down the showerhead. However, don’t over-tight or force it so that it’s easier to remove in the future.
Important Advice When installing a Rain Showerhead
Keep the Bathroom Clean
Once you have installed the showerhead completely, take out all the tools used and the rag too. Get a container, or you can use the box of the new shower head to place all the old items. It’s advisable to keep all the pieces removed in case of future remodeling or repair in another bathroom.
Inspect the New Head for Water Leakage
You should test the new head for leaks by turning on the shower. If you notice any leaks, make sure you tightened the head properly. In some cases, you might have to remove the showerhead, add more Teflon tape, reconnect the showerhead again, and tighten it down with a wrench.
After tightening the head, check if the plumber’s tape is sticking out. If it is, ensure to install the tape correctly. Then check the arm connection and wall outlet for any leaks.
If you have carried out everything as earlier said and it still leaks, it could be that the shower arm is old or damaged. Hence, you need to replace it or recheck if the showerhead is cross-threaded.
Other Tips
If you have an old, worn-out shower arm and you want to install a new one. First, install the new shower arm before you place the shower head as this will allow you to tighten the new arm to the wall outlet easily.
Furthermore, the size and the amount of nozzle of the showerhead is also a key factor to determine the amount of pressure. In general, a smaller shower head with fewer nozzles delivers good water pressure than the large size types. Hence, depending on your choice, you should go for one that best suits your needs.
Things to Consider before Installing a Rain Showerhead
There are essential key factors to consider before investing in a rain shower head.
Size
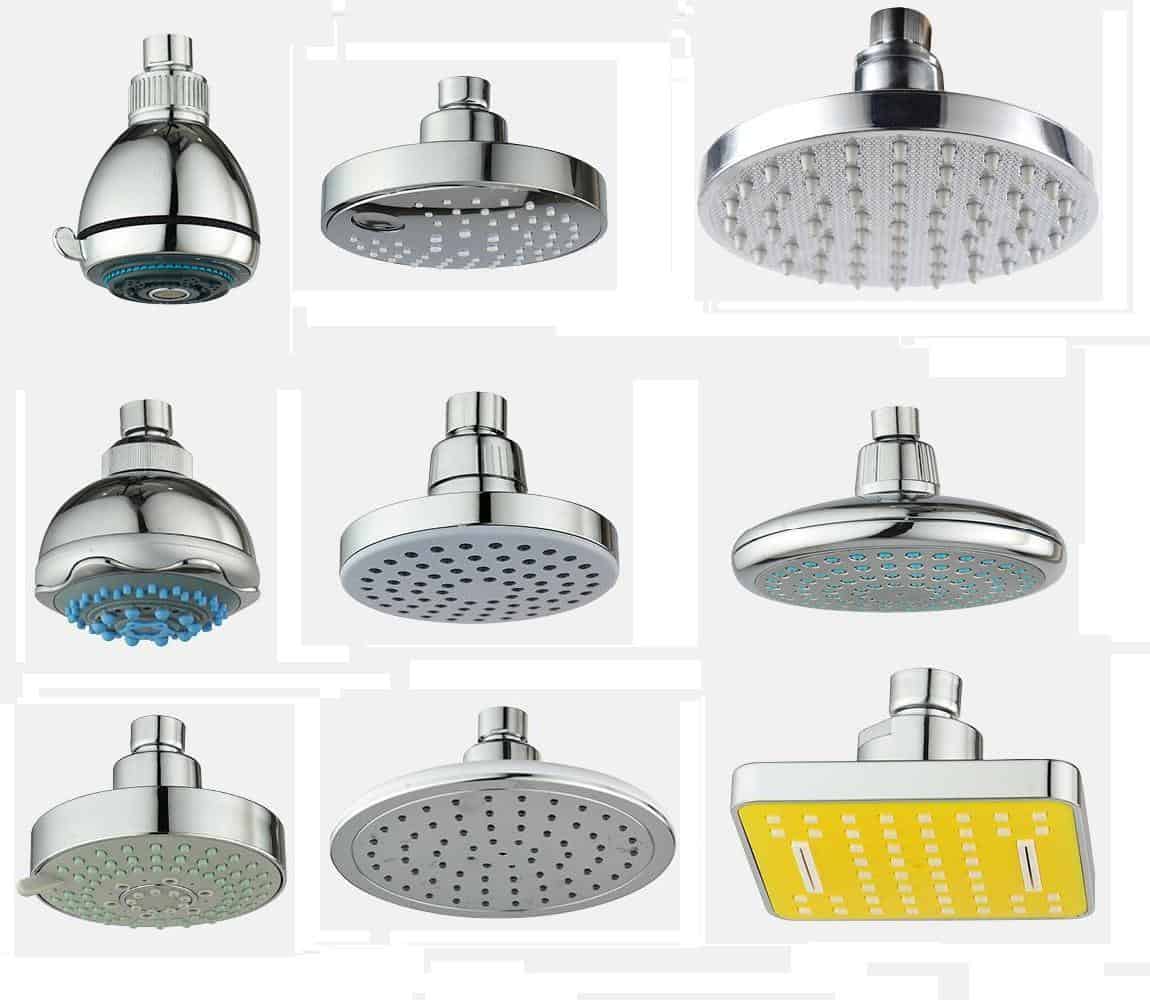
The size matters a lot, because rain shower heads are meant to deliver a gentle stream of water that can fully cover your body. Hence, before you invest in one, you should check the faces and the diameter of the rain shower head. Compare it with standard rain shower head, which is anywhere from 6 to 12 inches wide.
Furthermore, the showerhead should fit your shower stall or bathtub perfectly. The reason is to prevent the showerhead from spraying water on to your floor when you turn it on.
Shower Head Height
Regardless that rain showerheads are mostly ceiling mounted so that you can enjoy rainfall experience, there is a potential height issue when installing it. For a perfect ceiling mount showerhead installation, the shower stall ceiling has to be high enough. You will also need more pipes to make the project turn out perfect.
Furthermore, there should be at least a foot clearance from the shower head depending on how tall is the person using the shower. In other words, the showerhead should have a minimum of 3 inches above the person’s head so that there is some space for the “rain” to fall.
Water Pressure
Check the shower head for low water pressure because it needs enough force so you can enjoy your bath time. If the pressure isn’t sufficient, you have to consider buying a rain showerhead that comes with a water flow adjustment feature.
If you have hard water, it’s advisable to go for a metal showerhead with coating. The reason is that showerhead with such material last for long and doesn’t get corroded or tarnished easily.
Also, if you desire a steady water flow when showering, installing a rain shower head might not be a good option.
Types of Rain Shower head
The rain shower head is mainly of two different types- the wall mount rain showerhead and ceiling-mount rain shower head.
Although they come in different styles and shapes, the main feature is the size and the way they deliver water. Now let’s give you great insight into these types.
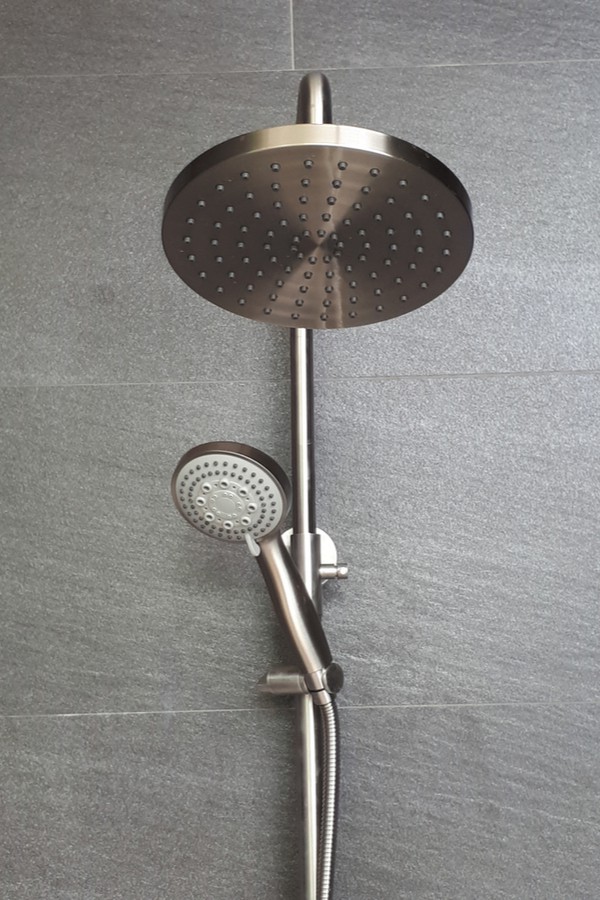
Wall-Mount Rain Showerhead
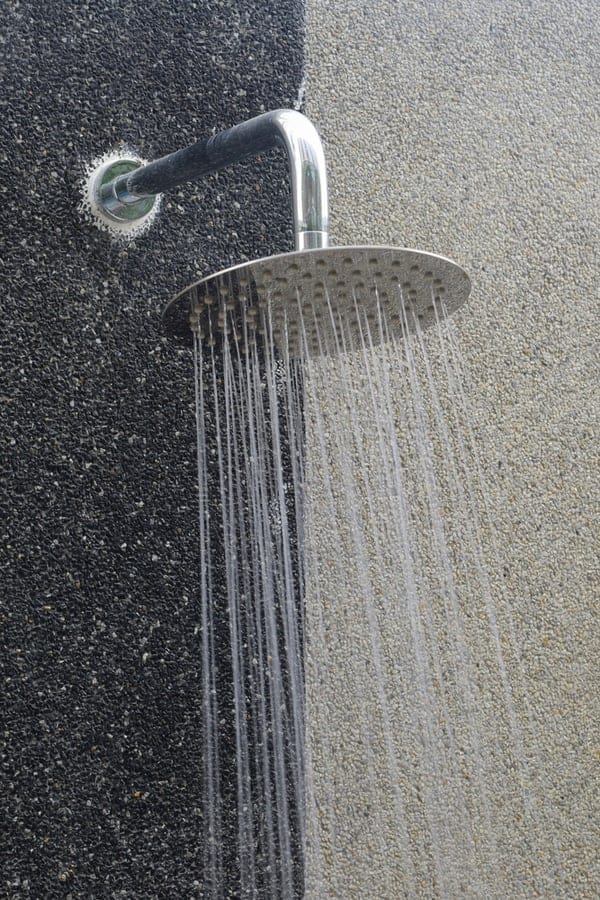
These types are attached to the shower arm coming out from your shower wall, and they come in small sizes compared to the ceiling mount shower head. The commonly known wall mount rain showerheads have ½ female IP threads, which fit perfectly with the male IPS thread of ½ inch.
Today, with the increase in popularity of showerhead, many makers now produced wall-mounted models, which allow you to attach it to the existing shower pipe behind the wall easily. Some also allow you to add more shower arm to give your bathroom a spa-like feel.
Ceiling Mounted Rain Head
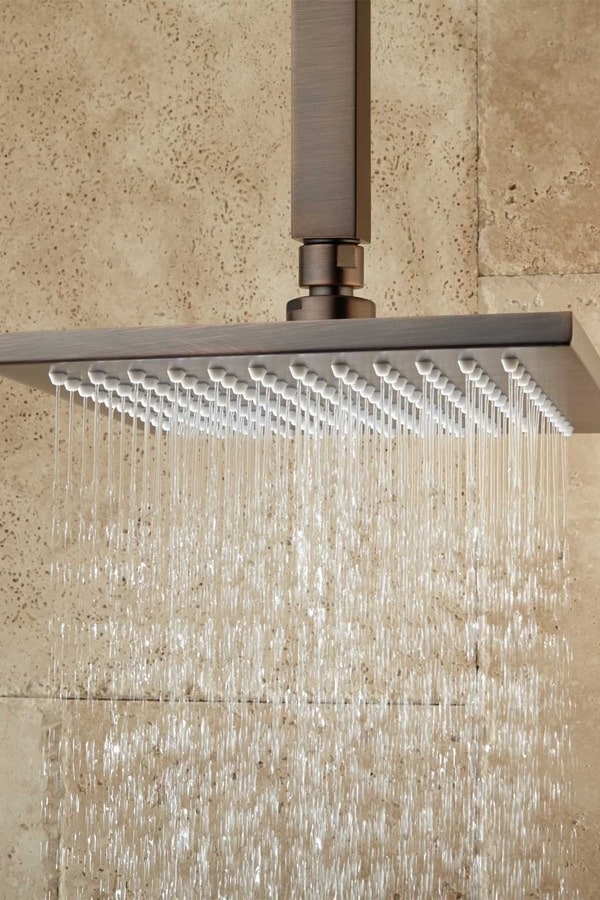
Ceiling mount Rain showerhead gives your bathroom a luxurious look and allows you to fully embrace that rainfall experience. You can install these types on to a shower arm projecting down from the ceiling or fixed directly to the ceiling. They come in large compared to the wall mount rain showerhead.
If your bathroom does not have a shower arm coming down vertically from the ceiling, you will need a professional plumber to install it. The reason is that this requires a lot of experience. However, if you don’t want to spend extra cash on hiring a professional plumber, then you should consider the wall mount shower arm.
Final Word
With everything mentioned above, it’s certain you have gotten great insight into the rain showerhead and its installation process. Whether you want to install the rain shower head on to the shower arm on the wall or ceiling, they both follow the same step-by-step instruction.
However, you should also consider the factors mentioned above and follow the steps carefully when installing the showerhead. If you find it hard to get this done, you can check out the video in this article or leave a comment below. We’ll love to help you out.