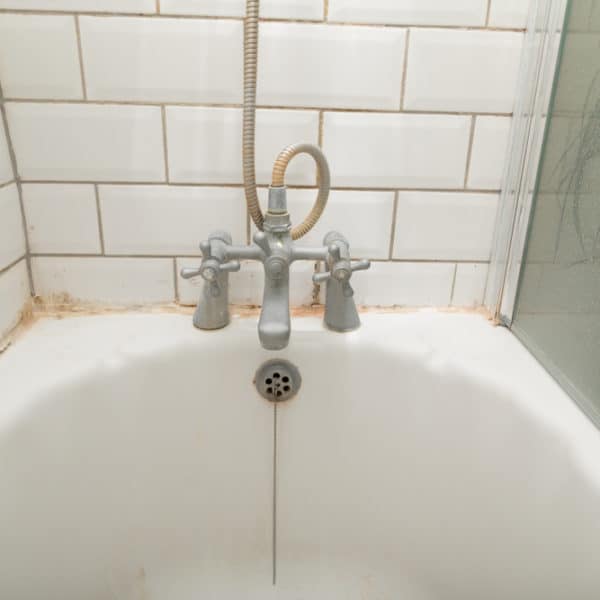
The caulk around a bathtub only has a limited lifespan, and eventually, it will need to be removed and replaced. Also, if you are fitting a new bathtub in your bathroom, it will need to be caulked to prevent water from getting into the gap between the tub and the wall.
While you can pay a professional to caulk your bathtub for you, with a few inexpensive tools, it is actually one of the easiest DIY jobs there is. So, if you feel like having a go yourself and saving yourself a bit of cash, here’s our step-by-step guide for how to caulk a bathtub.
If you want to see some of things we’ll be talking about, you can check out this video before you read on.
How to Caulk a Bathtub
Part 1 – Removing the old caulk
If you are re-caulking an old bathtub, the first step is to remove the existing caulk. This is a very important step and shouldn’t be skipped. While it’s possible to simply apply caulk over the old caulk, this will give you very poor results.
If you don’t remove the old caulk, you won’t solve any issues with mold or mildew and the new caulk won’t last as long.
Obviously, you can skip this part if you are applying caulk to a new comfortable bathtub.
Here’s how to do it.
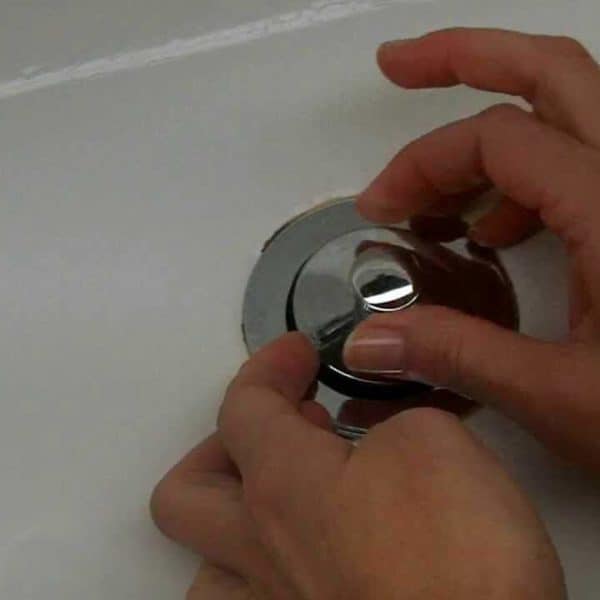
Step 1. Cut the old caulk with a knife and scrape off
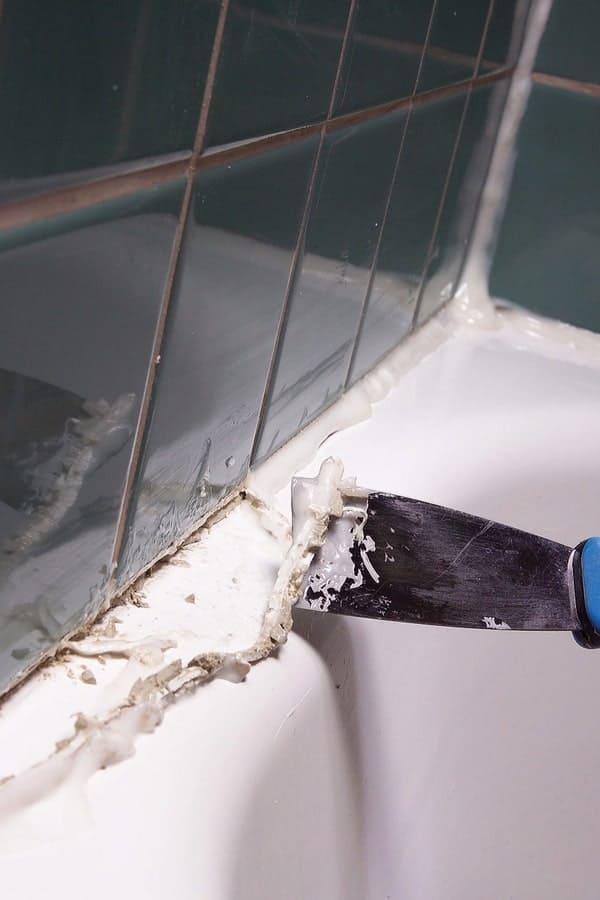
Take a knife and cut the old caulk along the line of the wall. If you can, it’s best to use a knife with a plastic blade since this won’t damage your bathtub.
Once you have cut along the wall, you can use the knife or a scraper to scrape the old caulk off. Using short scraping strokes is most effective and will allow you to remove the caulk in larger pieces.
Once you have removed the main part of the caulk, go back and check to see if you have missed any. If you find any spots that you missed, go back and scrape them off with the knife or scraper.
Step 2. Remove any remaining caulk with caulk remover or denatured alcohol
You will probably find that there are still some suborn spots of caulk that you can’t remove simply by scraping. For these, you will need to use specialist caulk remover.
Follow the instructions on the caulk remover to apply it. Once it has done its work, scrape off any remaining caulk you find.
If you don’t have access to caulk remover, you can use denatured alcohol. Soak a rag in the alcohol and leave it placed on the caulk for up to two days. This will soften it up, making it easy to remove.
Step 3. Treat mold and mildew with bleach or another similar product
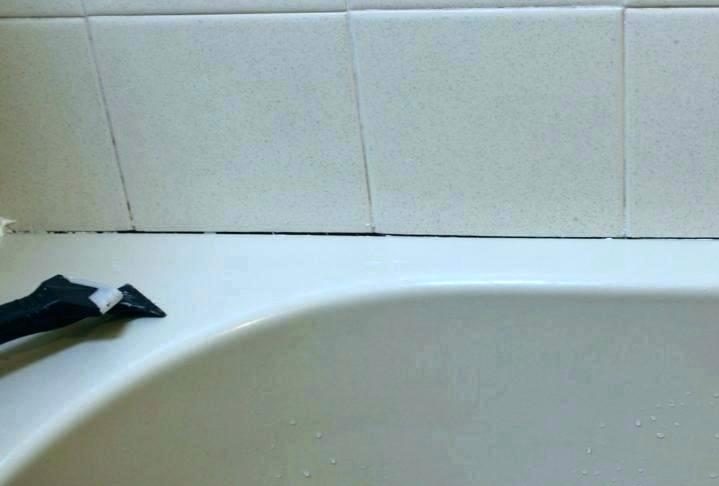
Before applying the new caulk, you need to make sure there is no mold or mildew left in the gap between the bathtub and the wall. You can use bleach or any other mold-killing solution to do this – scrub along the gap with a stiff scrubbing brush and leave to dry.
Part 2 – Applying the new caulk
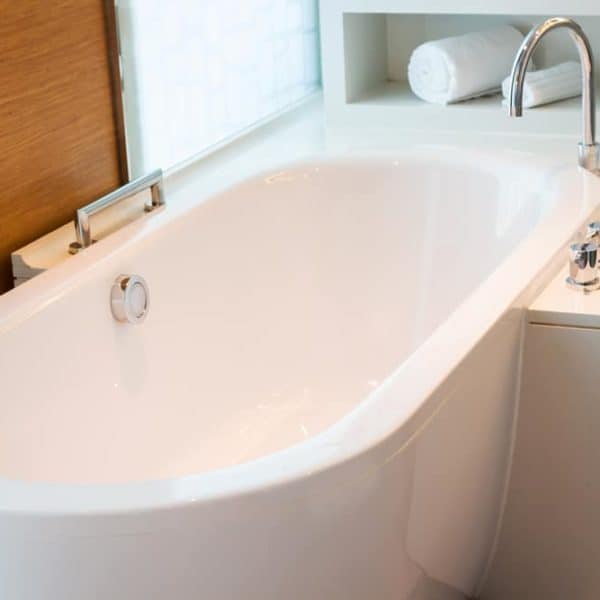
Once the old caulk is completely removed and the surface is dry, you can think about applying the new caulk. Here are the steps to follow and these steps apply to any kind of bathtub that is attached to the wall, including walk-in bathtubs, corner bathtubs and so on.
Obviously, with freestanding bathtubs, caulking is not required.
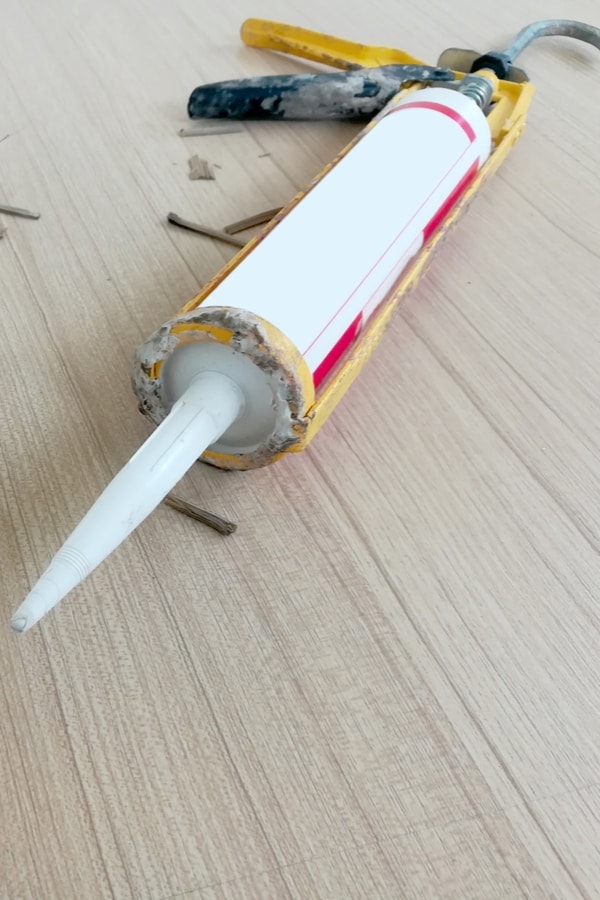
Step 4. Buy the correct caulk and caulk gun
There are different types of caulk, and one of the most basic errors is to buy the wrong one for the job. Caulk for bathtubs is usually labeled “kitchen and bath”, and this is the type you should go for.
When choosing caulk, you have two options, silicone and latex – and each has its advantages and disadvantages.
Silicone caulk lasts longer but is more difficult to apply – and it is also more difficult to remove when you want to re-caulk your bathtub. Silicone is probably a better option for more experienced workers, and it works better with fiberglass bathtubs.
Latex caulk is more forgiving and easier to work with but will need to be replaced sooner. However, it is easier to remove when the time comes. It is probably a better choice for novices, and it also works better with ceramic bathtubs.
Also, consider buying a good-quality application gun. They don’t cost much more, but they do deliver the caulk more uniformly, giving you better results.
Step 5. Apply tape
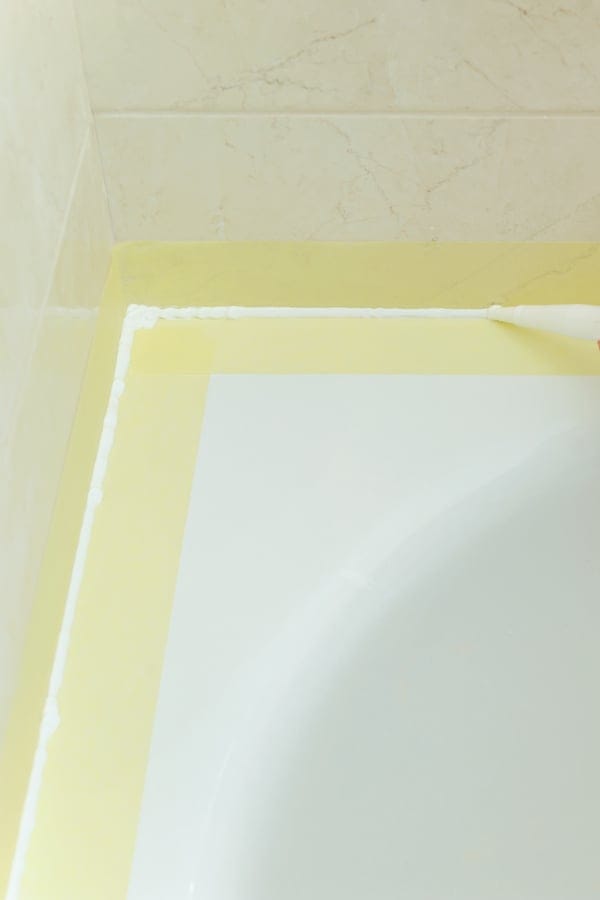
For the casual DIYer, one of the secrets to success when applying caulk is the use of painter’s tape to define the area where the caulk will go. You should place tape along the tub and along the wall in a straight line with a gap equal to the largest gap between tub and wall.
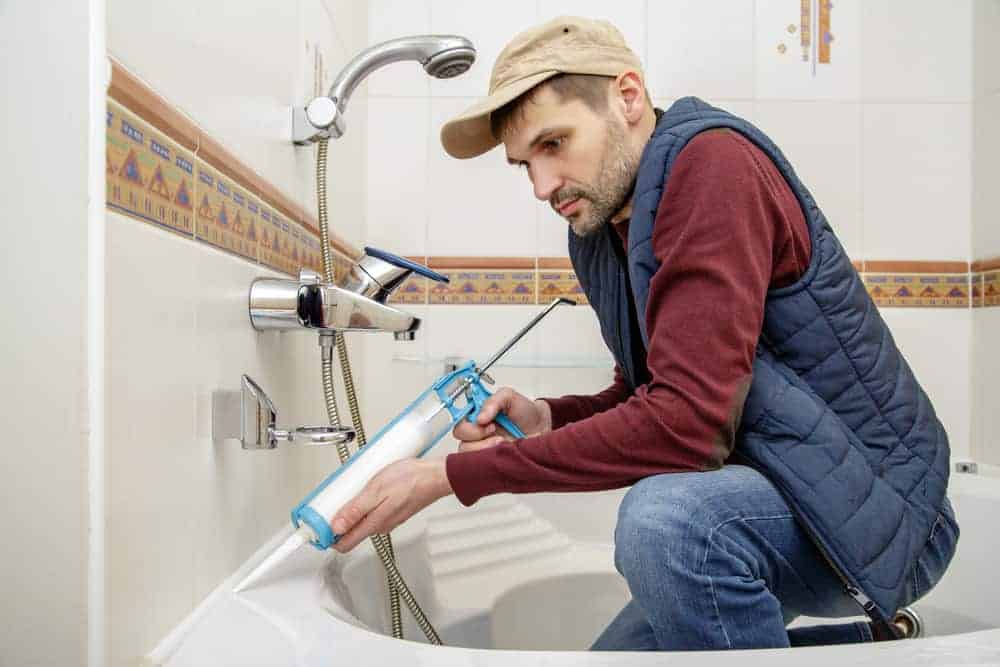
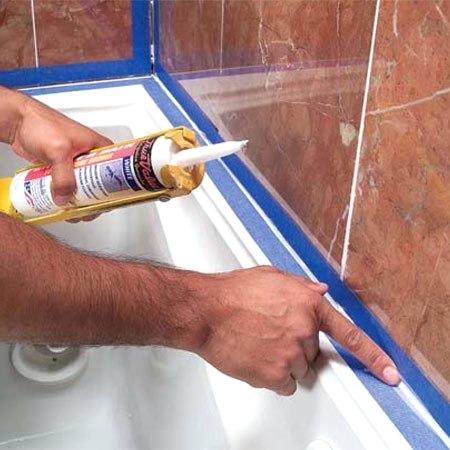
Step 6. Apply the caulk
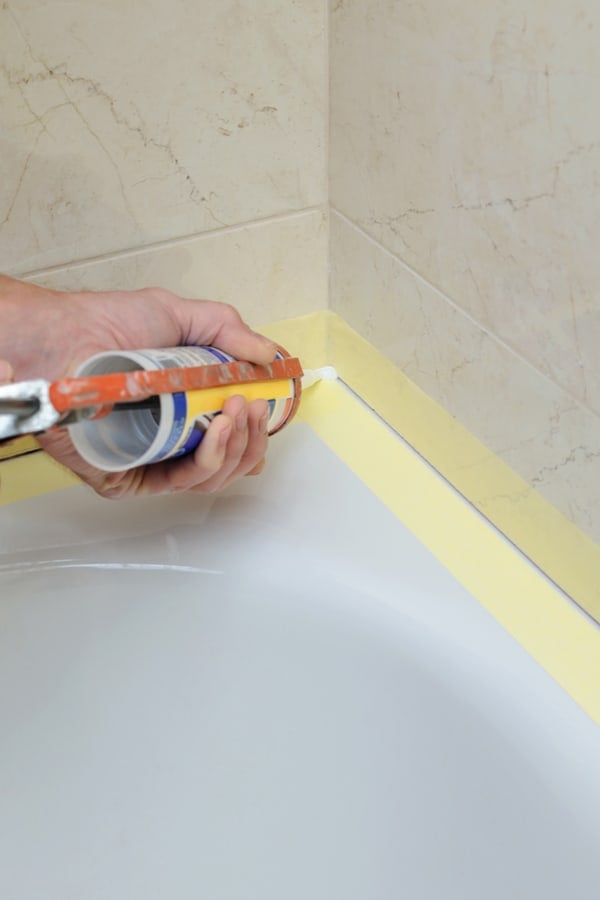
With the tape in place, you now need to apply the caulk with the caulk gun. When you cut off the end, make sure you cut it off so that the hole is the same as the width of the gap. If the hole is too big, you will end up applying too much caulk.
You can pull the gun or push the gun – each technique has its merits – but the key is to do it with a steady speed and pressure to make sure you have an even layer of caulk along the joint.
Step 7. Smooth with your finger
The simplest way to smooth the caulk is to wet your finger and wipe it along the line of caulk to create the desired concave shape.
Step 8. Remove the tape and smooth any lumps
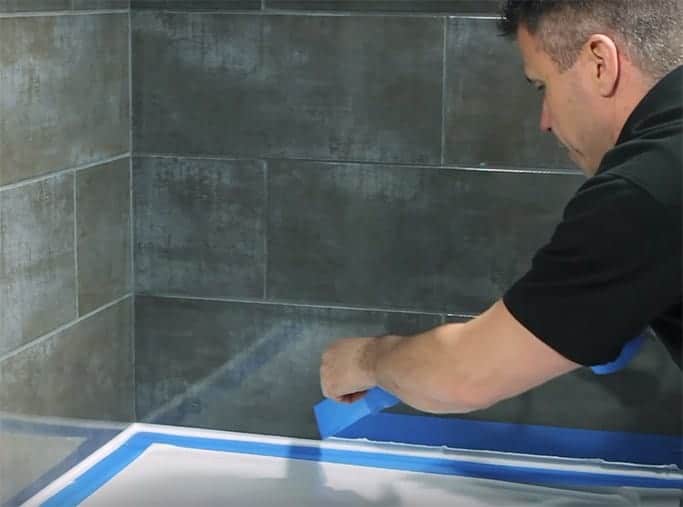
Remove the tape and, while the caulk is still wet, check for any obvious areas where there are any lumps or where the caulk is otherwise not smooth. If you find any, smooth them with your finger.
Step 9. Leave the caulk to dry
Leave the caulk to dry for the amount of time specified on the packaging. After this, your bathtub is ready to use.
A simple job that even beginners can do
Re-applying caulk to a bathtub is a simple job than even DIY beginners can do. As long as you have the right materials and tools, there is no reason why you should need to call in a professional.
Re-caulking your bathtub will allow you to deal with any mold or mildew that has started to form and will leave your bathtub looking like new again. And with this guide, you now have all the information you need to get started.