Are you looking for an affordable and easy way to remodel your old or worn-out corner bathtub without breaking the bank?
Or do you want to know how to refinish a bathtub yourself, thus saving you the cost of hiring a professional?
Well, you don’t have to worry because in this article we got you fully covered.
The Benefits of Refinishing a Tub
If you’re to consider replacing your old or worn-out bathtub, this could lead to more cost, time, or setbacks. The reason is that when removing it, there is a higher possibility of damaging the bathtub surround tiles. Hence, you have to fix that too after replacement.
Also, some people cherish their old bathtub or even find it hard to choose a better one that will blend with their bathroom décor. For this reason, they will prefer to keep the tub rather than replacing it.
Well, if you don’t want to go through the hassle of replacing your bathtub, the best way is to refinish it. Yes, it is, refinishing your tub is an easy and affordable alternative to a full replacement. The best part is that homeowners can carry out a DIY bathtub refinishing without the help of a professional.
Surely, with the right tools, thorough cleaning, and a bit of scraping, your bathtub can look new again. So what are you waiting for? Read on as we bring you great guide and steps on how to refinish a bathtub by yourself.
Materials Needed to refinish the bathtub
Before we proceed on the steps, it will be best you know the essential tools to have handy when refinishing a bathtub. Here are the essential tools below
- A palm sander and sandpaper
- Spray gun
- Putty Knife
- Bathtub Chemical cleansers (used to strip the tub clean)
- Chemical bonding agent
- Painter tape
- Razor scraper and sandpaper
- Ventilation fan
- Ep-acrylic top coat
- Masking tape and plastic or paper( You choose to use newspaper, or plastic to cover the rest of the bathroom)
- Caulking
- Bathtub cleaner
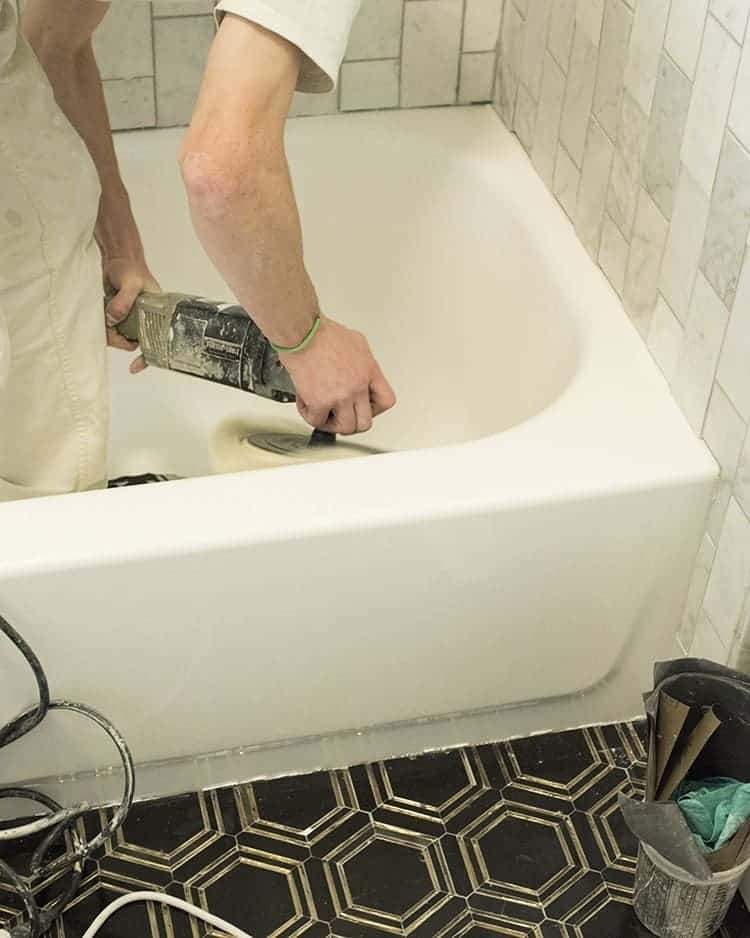
How to refinish a Bathtub
Step 1. Open all windows and doors
As you should know, the fumes from the bathtub chemical cleaner can be dangerous to health.
Hence, it is always best to you ensure to open the doors and windows of the bathroom. If there are any door and window in the room closeby, you should also open it.
Furthermore, if the window in the bathroom isn’t wide enough, add a ventilation fan to increase the airflow.
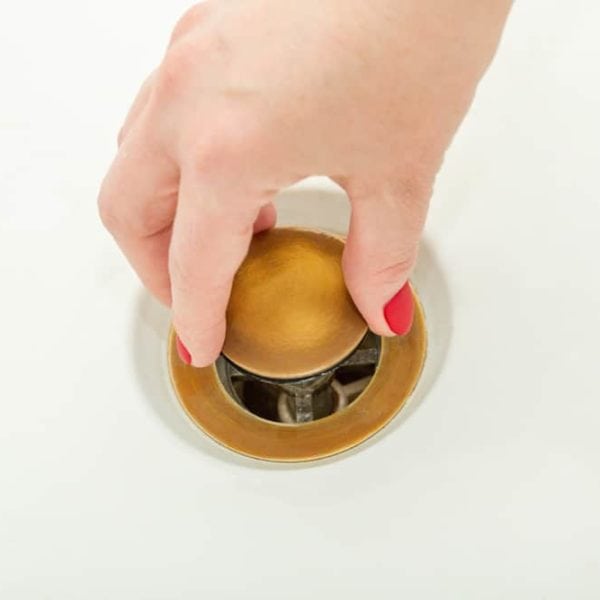
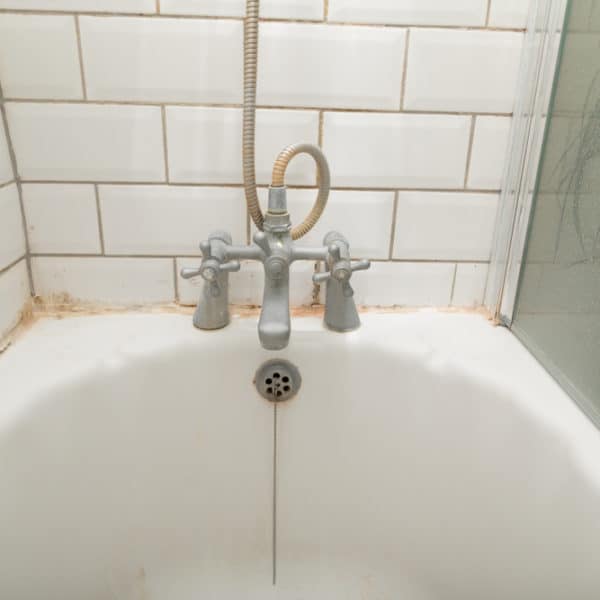
Step 2. Remove All the Caulk Sealing the Tub
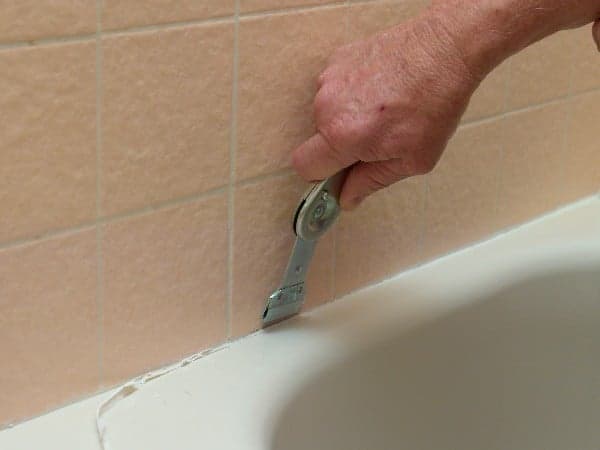
Before you start the refinishing your bathtub, ensure to remove all caulk sealing the tub. This caulk usually joins the tub to the floor and the walls. However, some might be sealing the shower glass doors in strips at one end at the tub.
Now, to remove the caulk easily, you will need to get putty knife handy. Use the edge of the putty knife to slice into the caulk just as if you want to split it apart. Continuously, slice the caulk several times lengthwise until it becomes loose enough.
Once you noticed it is weak, force it up and remove the caulk with the putty knife. After removing most of the caulk, there is every possibility that there will be a thin layer or large deposits of caulk remains. To remove this remain, you will need a razor blade and sandpaper.
Now, slant the razor blade into the tub surface and slide it into the caulk. Continuously slide it into the caulk to remove the remains. But if any proves stubborn to scrape up with the blade, use grit sandpaper to remove it with ease.
However, keep in mind that carrying this out requires a lot of patience and time because it is undoubtedly one of the hardest tasks. Also, when you’re removing the caulk, it is best to rinse it off continuously, so you know how far you’ve gone.
Step 3. Apply Bathtub cleaner to entire Bathtub Surface
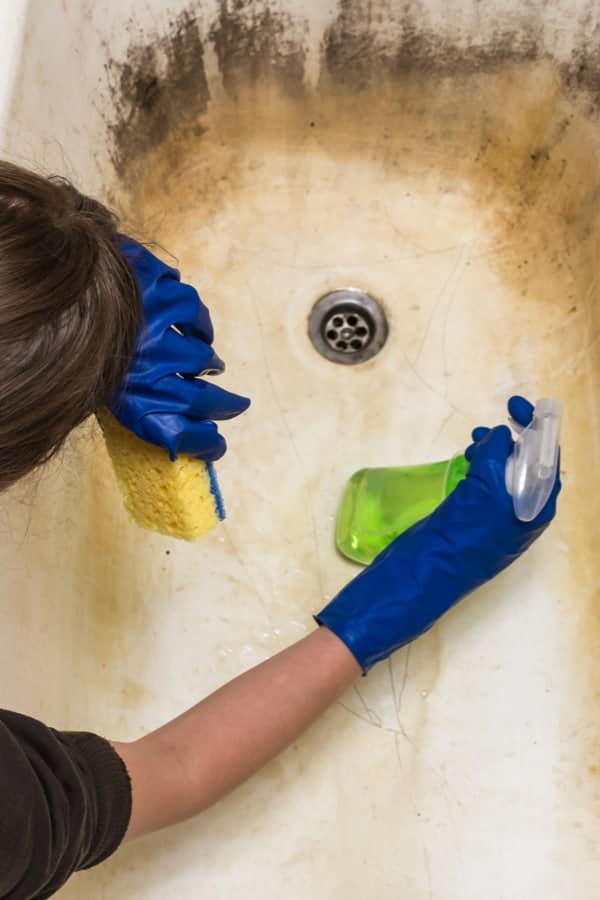
Once you have removed all the caulk, use a spray gun to apply bathtub cleaner all over the tub surface.
Then scrub and wash the tub thoroughly with a sponge or clean rag.
Ensure to do this repeatedly to remove all the soap scum and grime from the tub. After that, rinse the tub and make sure it is clean before moving on.
Step 4. Check Thoroughly For Any Leftover
After you finish rinsing, take your time to inspect the tub for any leftover caulk, grime and soap scum.
The reason is that if there is any leftover in the tub, this can make the new finish not to seal well.
Hence, if you find anything, you should scrape or clean it off immediately before moving to the next step.
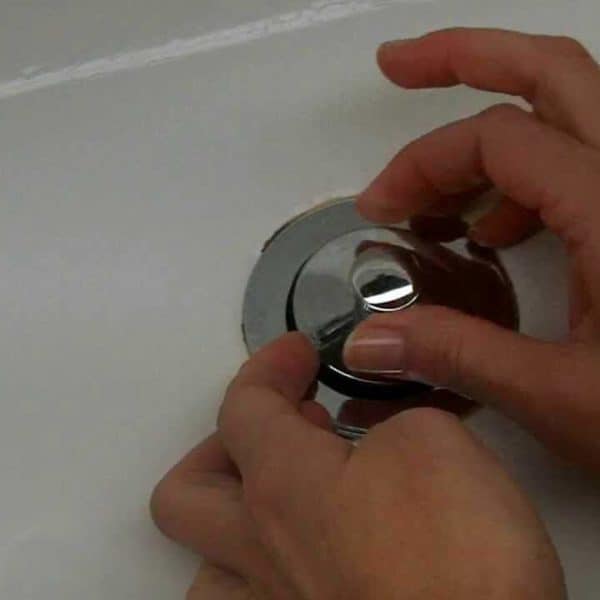
Step 5. Masking and Covering the bathroom Hardware and Wall

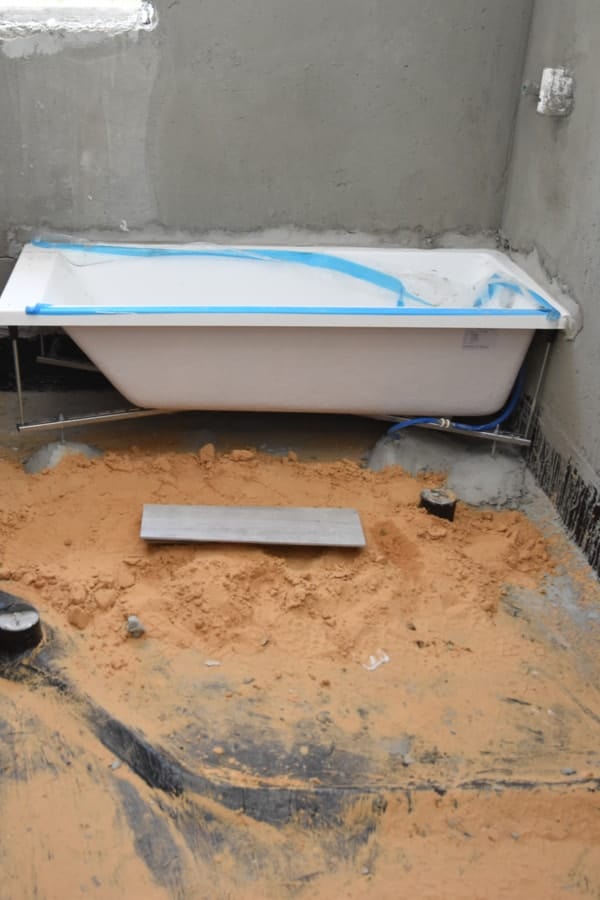
As you should know, some bathroom doesn’t have freestanding tub or fixtures housed within a painted housing. If that’s the case of yours, or the bathtub is placed within a plaster, or wooden housing, use of a painter tape to cover up the tub’s edges. This is to help prevent the new finish from reaching anything other than the bathtub.
If you’re using a freestanding tub, you can neglect this step above. However, you will need to cover every other thing in the bathroom with plastic except for the tub itself. These include covering the sprout, handles, shower head, bath nozzle, and bathtub chair any other things.
After you have finished covering the necessary things, you can use a painter tape to make the plastic stay secured in place. Also, since the wall isn’t a part of the bathtub, you should ensure to cover it up too. You can cover the wall using plastic with the aid of painters tape or masking paper.
Keep in mind that if the wall of the shower is also a part of the bathtub, it is best to refinish them altogether. Hence, you don’t need to mask the wall.
Step 6. Apply Bonding Agent
If your bathtub is made of iron, you will need to apply some bonding agents to make the reglazer or new finish adhere in place. You can get bonding agents for iron tubs from either a local hardware store or online store.
After purchase, ensure to read and follow the procedure on the agent carefully for perfect results. Also, keep in mind that before you apply the new finish, you should make sure that the bonding is very dry.
Step 7. Mix the Reglazer or New Finish According to Instructions
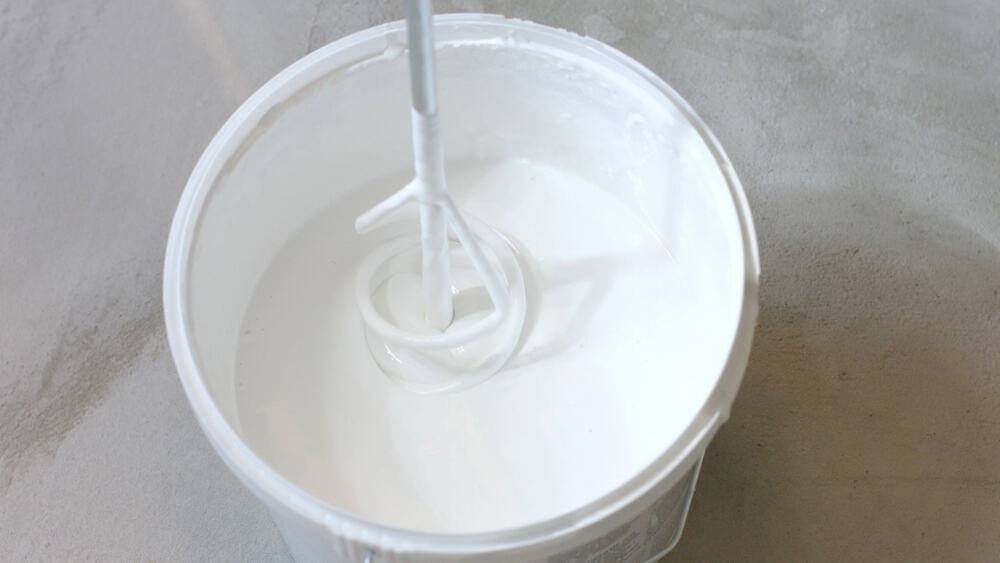
Reglazer or bathtub finish is the substance (like a thick paint) you apply to make the tub surface look as good as new. Some come in cans that allow you to easily spray them, while others need you to mix and apply the finish using paintbrushes or rollers.
If yours requires mixing, you’ll need to read and follow the procedure on the product carefully to achieve a good mixture. Also, since there are many different reglazer or finish on the market, make sure you buy the one meant explicitly for bathtubs refinishing.
Step 8. Apply the New Finish over the Tub surface
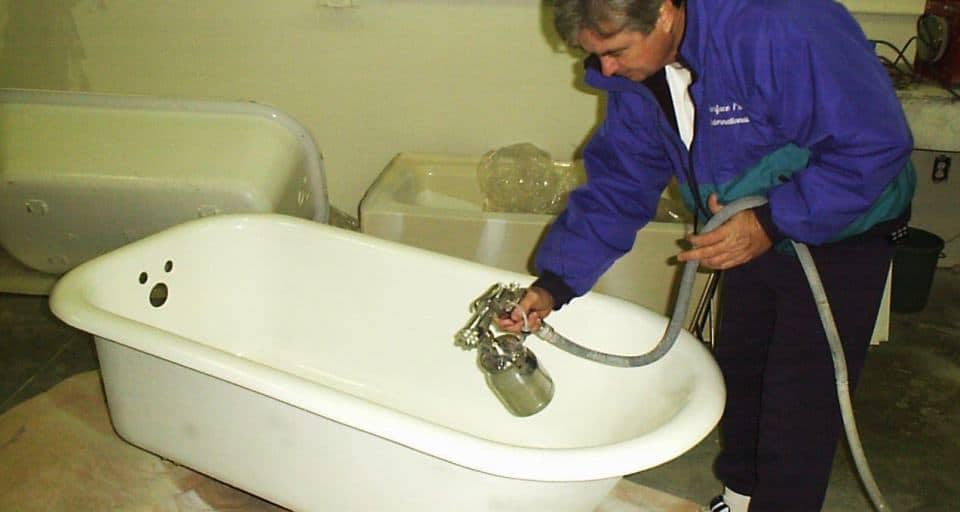
For those that will be using the spray-on finish, hold the can at a close distance to the tub. Then spray the finish from left to right repeatedly without backtracking to produce overlapping coats. If yours is the mixed type, roll it in a single direction repeatedly to achieve the same result.
Keep in mind that when applying this coat, you have to ensure it covers of the tub surface very well. Also, avoid touching the finish after you apply it over the tub because this can create permanent marks.
Step 9. Leave It for Few Minute to Dry After Each Coating
Before applying an extra coating of the finish or glaze to the tub surface, it’s best to leave it for at least 10-15minute to cure. During humid days or If your bathroom isn’t well ventilated, you may have to wait extra more minutes. The reason is that allowing the coat to cure before applying the next helps them seal properly.
Keep in mind that you have to coat the tub three times before leaving it to dry completely. But you shouldn’t have to wait for each to dry completely before applying an extra coating.
Furthermore, whether you’re painting or spraying, don’t forget to use the left and right procedure repeatedly when applying each coat. Ensure the coat covers all over the tub.
After you’re done coating it three times, leave it to dry for at least 24hours or a day. Make sure all windows and doors are open, and the ventilation fan is running to increase the airflow. This is to allow the coat to dry faster.
For no reason, you should touch the new finish or pour water on the tub. Also, don’t use the bathroom or the toilet in it for a full day as the fume can affect one’s health.
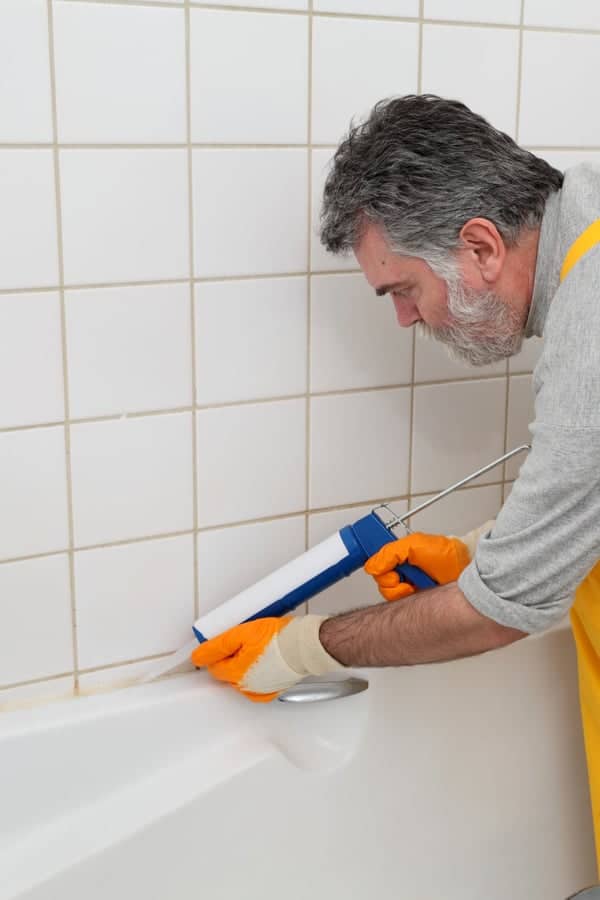
Step 10. Recaulk the refinished bathtub
Once the tub is completely dry, take off all the tape, paper, and plaster you used to protect the hardware and walls.
But before you remove them, it is best to read the instruction on the bathtub finish you used to know how long it needs to cure before reusing the tub. This process is to prevent you from messing up the finish when removing the tape because some part might not have dried well.
After you’re have uncovered completely, apply the caulk along with all the places you removed the caulk before. You should avoid using silicon when recaulking because it does not seal well with bathtub finishes. Instead, use a non-silicone caulk with anti-mildew properties.
It’s best to use a squeeze tube to apply the caulk. After you have applied the caulk, put on a latex glove and press the caulk into the crack to create a smooth finish. Ensure to hold your hands flat on the tub to smooth the caulk.
Give the caulk enough time to dry well before you use the bathtub. Read the instruction the caulk you purchased to know how long it needs to dry before you use the tub again.
Reason You Should Refinish Your Bathtub
Makes the Bathtubs Last Longer
One of the advantages of refinishing a bathtub is that it makes it last longer.
Surely new tub lasts for a few years, but since you won’t want to remove your beautiful old bathtub, it is best to refinish it.
That way you save more money on replacement cost and enjoy your old tub just like before.
Cherish the Old Bathtub
If you’re the type that has an old porcelain tub that looks beautiful, you might want to refinish it instead of replacing it.
Many believe that the new tub might not look as beautiful and durable like the older one they already have.
Some also find it hard to choose the one that will match their bathroom Interior décor. Hence, they prefer to stick to the older tub.
Cost of Refinishing
Replacing your bathtub can be very expensive compared to refinishing.
The reason is that, for you to replace the tub, some of the tiles bathtub surround will need to be removed.
Not only that, but you might also have to remove and update some other materials, and plumbing at the corner bathtub. Most times, even the flooring is affected, thus need to be replaced as well.
For this reason, to carry out this replacement task takes about one or two weeks.
Also, since you have to purchase a new one and hire a contractor to do the job, all this could cost you over $2000. Having said this, you certainly won’t want to spend such a huge amount of money.
Make the Bathtub Easy to clean
It is hard to keep a worn-out or old bathtub clean and shiny due to stains, soap scum, residue, etc. Since you won’t want your tub to look unpleasant and always dirty, it’s best to refinish it. Refinishing your bathtub makes it look good as new and more comfortable to clean.
Restore Worn-out Bathtub
Using bathtub cleaners on tubs with chips and scratches will increase the problem. As you should know, a bathtub with too many chips and scratches looks unpleasant to use. Also, this makes the tub hard to clean because even after washing, it will still show stain in a very short time.
For this reason, it’s best to repair the tub instead of cleaning it regularly. Refinishing comes easy to carry out, but it requires a bit of cleaning, scraping, and some patience. Many homeowners can even do it themselves with just a little bit of help.
Final Word
Hopefully, with steps provided, you will certainly find it easier to refinish your old bathtub with ease on your own. All you have to do is to follow the steps carefully, and you can make your tub look new again. The most important guide when refinishing is to:
- Get the handy materials needed for the refinishing task.
- Recoat the new finish three times after you have removed all the caulk and wash the bathtub.
- After refinishing, ensure you recaulk all of the seams that you removed the caulk from earlier.
If there is any other thing you find confusing, or you will like to add you can leave a comment below.