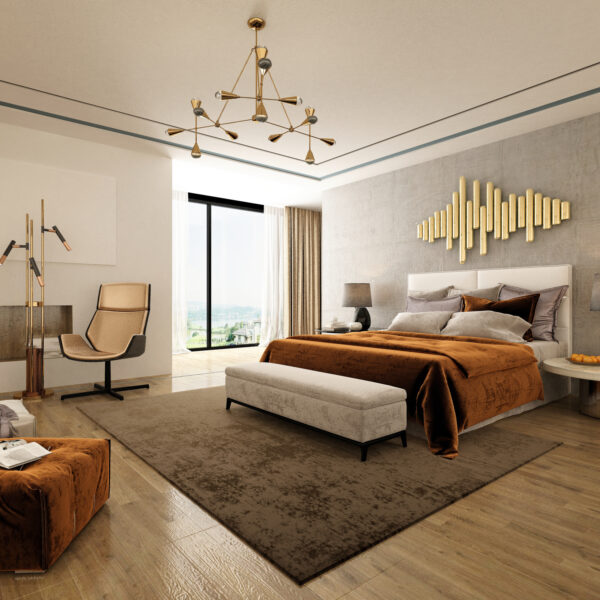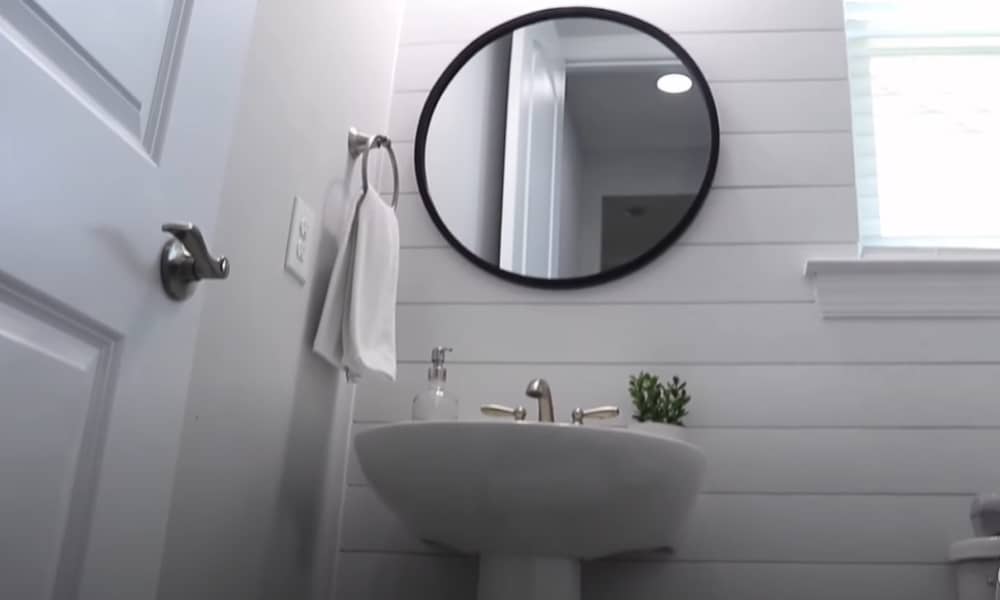
If you renovate your house and want to achieve a rustic, farmhouse style, you should consider installing a shiplap in a few rooms, for example. That way, you will create a cozy and warm atmosphere in your space, plus add some interesting texture to the walls. The best thing is that you can do the job on your own.
To get the full effect, there is no need to cover every wall. In fact, you can change the appearance of your rooms by including only a small portion of it. Since this style can apply to any part of your home, you can install the shiplap in the bathroom, as well. It sounds compelling to me. What do you think?
The History of Shiplap
Vikings were the first ones who used shiplap to create their boats ages ago. They connected wood planks by strong and water-resistant seals and used them as the main component in shipbuilding. Hence the term ‘ship’ in the name of this material.
The planks they used had specific rabbet cuts on edge, which enabled well-built, solid links between them. These cuts were crucial for precise overlapping.
Use of Shiplap in the Architecture
Due to its efficiency and low cost, shiplap has become popular in housebuilding, including farmhouses, cottages, barns, and sheds as an excellent option for protection from wind and rain.
In the very beginning, people used shiplap on the outside walls. Later, they start installing it inside their houses to create a coat between the exterior and the framing.
In those times, people used low-expensive fabric, such as muslin, to cover the interior shiplap. It was an excellent base for wallpaper as finishing decor. People who live in houses made at the beginning of the 19th century often discover a well-preserved shiplap underneath the plastering when renovating them.
Shiplap vs. Wood Paneling vs. Tongue and Groove
Redecorating the house and applying wood panels on the wall by nailing them or sticking them to the wall is not the same as installing the shiplap. If you choose panels, you need to cut them precisely in a specific way. They need to have a rabbet angle on both edges to overlap when you connect two panels.
So, if you pick out to stick the panels to your walls, you will actually get a faux shiplap. However, the differences between them are barely noticeable.
The third option is the tongue and groove. In this case, the joints of the panel are different. They have a cut (tongue) on one side and a groove on the other one. Basically, you need to insert these two edges precisely to create a stable connection between panels.
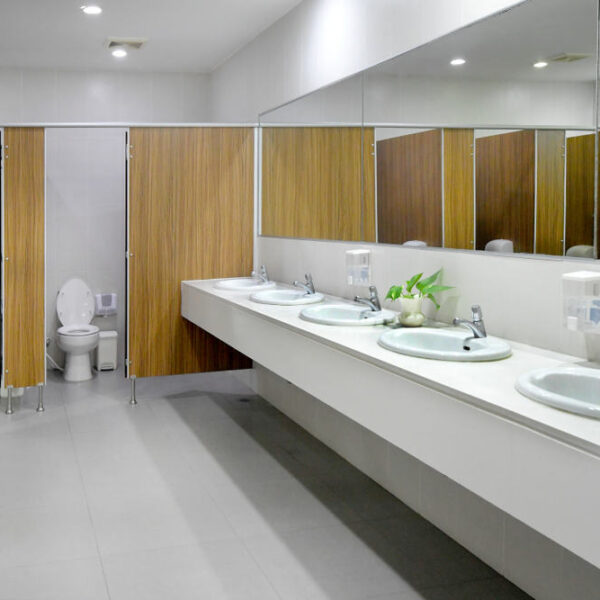
Installing the Shiplap in the Shower Cabin and Bathroom
Thanks to modern technologies, you can find specific PVC planks suitable for installation in the shower cabin. Although they have no rabbeted edges, the final look will give an impression of a shiplap. The essential thing here is that these panels contain a waterproof layer and can protect your wall completely.
Also, you probably won’t have a problem to install the shiplap in the bathroom, as well. You can do it by yourself, but keep in mind that you may need to remove the toilet or sink, depending on the wall you want to put panels on.
The Best Type of Wood for Shiplap
The most common type of wood used for the shiplap you can find on the market is inexpensive pine. You can also choose plywood or cedar, which are better choices if you plan to install a shiplap in the bathroom.
What you need to pay attention to in such a case is the protection of the wood from getting wet. It will be easier if you have already had proper ventilation in your bathroom since it will lessen the chance for mold to appear.
Steps to Install Shiplap in Bathroom
Prepare the wall
Before beginning, you should remove everything from the wall, including the baseboard on the bottom, light switches, and even the toilet if it blocks the access to the wall.
The wall needs to be clean and dry, and it is the right time to do caulking and fix all existing cracks and holes when necessary. Preferably, you should paint the wall before installing the shiplap in the bathroom with paint resistant to mold and mildew.
The next step is to mark the studs, the part where you want to nail the boards. It will be ideal to use a device that helps in finding studs. When you finish with prepping the wall, make needed measurements, and check the way you should cut the panels.
If you plan to install a shiplap on the part of the wall, you should pick out the equal boards. However, if you want to cover a big wall, it will be better to cut them in different lengths. When you install the panels alternately, you will achieve the authentic look and avoid monotony.
Prepare the boards
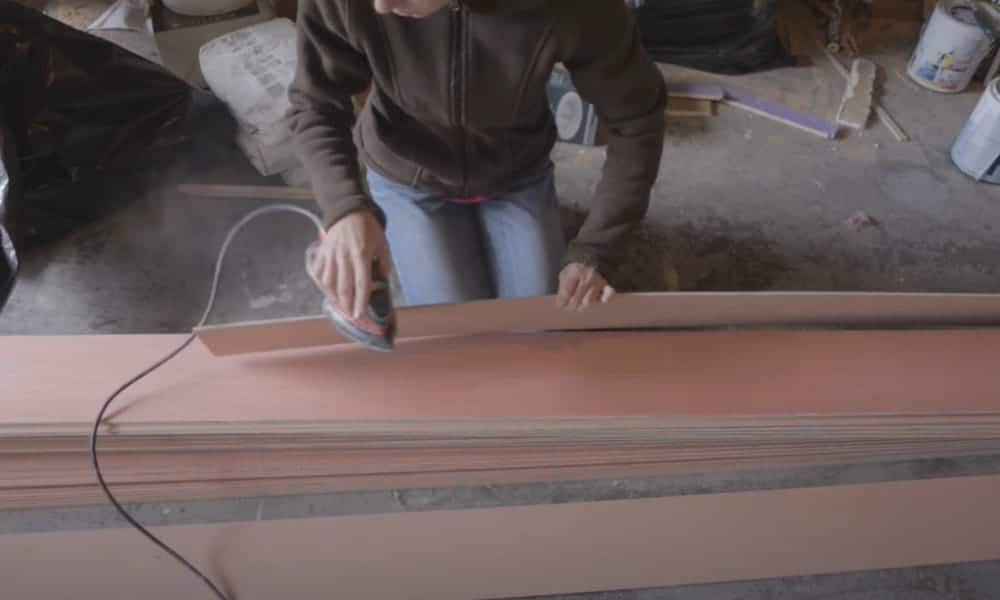
Most stores cut the boards according to your measures. However, be prepared to do some cutting during the process to align the corners or around the pipes. Since wood is a good absorbent, the crucial thing is to sand the board edges before applying the primer. Then prime the front of the board and edges.
Keep in mind that wood needs to acclimate to space where you want to place it. Therefore, you should check if it is necessary to leave it for a few days to rest before you start working. If that is the case, you should lay the panels flat on the floor or some other even base. Then, let them adjust to the temperature and humidity of your bathroom.
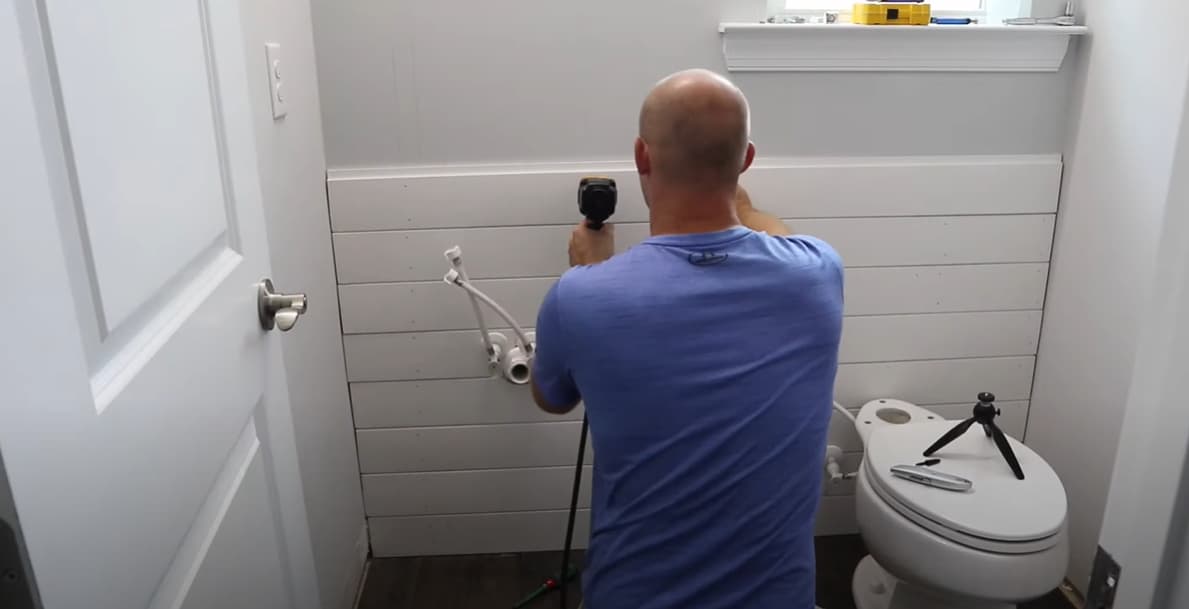
Installation

If your calculation is precise, you can start installing boards from both the bottom or the top of the wall, depending on your preferences. Still, if you know that you need to split the last panel so it can fit in, it will be better to begin the job from the top. That way, that cut piece will be less visible on the bottom.
Make sure to level the first board correctly and nail all remaining ones into the proper studs. Each nail is 2 inches (5 cm) long. Also, you can decide if you want to leave the head of nails visible or not.
Always use tile spacers or coins to make the space between the boards and make them equal everywhere. Cut and custom the boards wherever is needed.
In case you want the shiplap in the bathroom to be in your shower cabin, avoid finishing work at once. Take your time and let the caulk and silicone harden correctly. On average, you shouldn’t apply more than five or six rows a day.
Finish
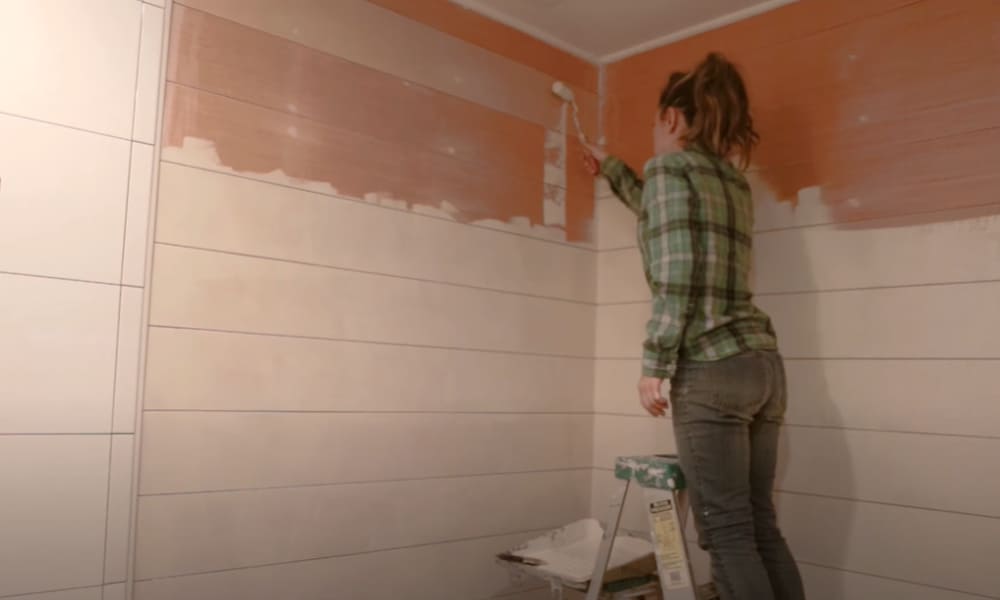
If you are not in a rush, leave the shiplap to rest and set it correctly. That means leaving caulking the corners and necessary spots for tomorrow. After sealing the nail holes, you should sand them.
You may find it quicker and more comfortable to paint the boards before installing them. However, in case you can’t install them right away after they dry, you should wait with the painting until you finish the job.
Also, keep in mind that you need to repaint boards if you damage the paint during the process, which will prolong the work. In the end, don’t forget to remove the color from the gaps before it dries regardless of whether you use roller, brush, or sprayer.
Positive and Negative Sides of the Shiplap in Bathroom
The excellent side of installing shiplap in the bathroom includes inexpensive material, quick applying, and easy maintenance. By using this wall coverage, you will open up your space and create a feeling of comfort necessary for this room. If you are creative, you can play with the colors and change your decor by adding different shiplap from time to time.
As for the negative sides of this style, you may face mold. It can develop behind your shiplap in the bathroom after a while. Also, wood is a natural material, and it can succumb to moisture over time without proper maintenance.
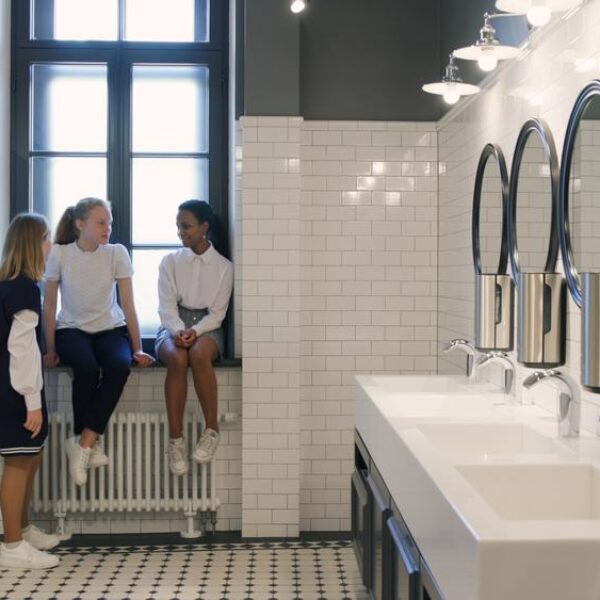
The necessity of regular cleaning the gaps between the panels is one of the most common complaints about shiplap in the bathroom. You need to dust it often and use a vacuum cleaner for hard to reach spots. If you are not sure you want that obligation, you can install boards on the bottom half of the wall only.
Also, if you are not skilled enough or don’t pay attention to details, you should hire a professional to apply the shiplap in the bathroom. Otherwise, you may have problems with uneven edges, corners, and unleveled gaps.
Summary
Installing the shiplap in the bathroom is a useful way to create a rustic but contemporary atmosphere in your home on your own. Plus, DIY projects are an excellent way to express your creativity and make your home more practical without spending too much money.
Go for it!