When you’re laying bathroom tiles, you want to wait 24 hours for your thin-set to dry. This process is called curing. The next day, you’ll want to grout your tile. This fills in the joints and makes your walls and floors more attractive. Be sure to do it within a day, to avoid damage.
If you wait two or three days, your thin-set will be stuck on your tile, and it’ll be harder to remove without cracking your tile. The grouting process looks easy, especially on YouTube. But it does need extra care. Here are some tips to keep in mind.
1. Always read the instructions, and put safety first
Instruction booklets seem long and boring, but they can save your life. They also offer quick tips and shortcuts. In terms of safety, grout and skin don’t go well together, so if any spills onto your skin, wash it off before it dries. That stuff hurts more than duct tape when you try to get it off.
You don’t want any in your eyes or orifices either, so wear wraparound goggles. Work in a well-ventilated space, because some of the ingredients in grout can be toxic when inhaled. If the bathroom has no windows, fans, or air conditioning, wear a breathing mask while you work.
2. Confirm the type of tile you’re using
This will affect the steps involved, as well as the grouting material you use. For example, natural stone and other porous tile require sealant. This stops your grout from getting stuck inside the tile pores. Once that happens, it’s almost impossible to remove without damaging your tile.
Meanwhile, glazed tiles are more sensitive to scratching and cracking, so you want to be sure any grout you use is un-sanded. On the other hand, sanded grout is thicker and stronger, so it works best with tiles that have wider grouting gaps. Sanded grout is best for joints larger than 1/8 inch.
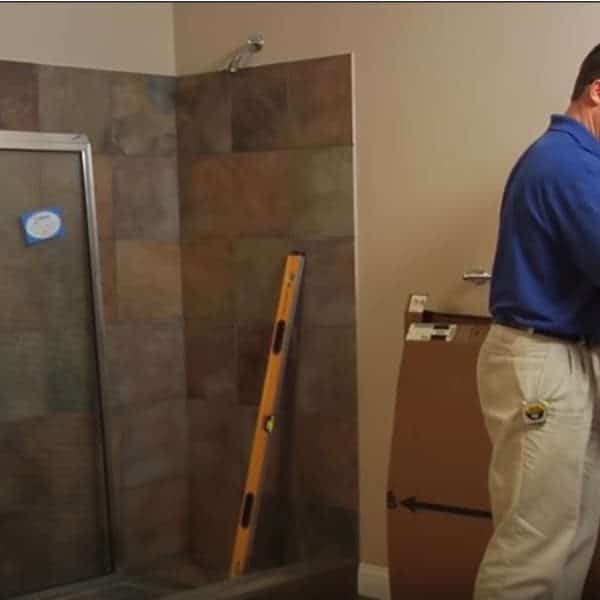
As you’re verifying the tile, check its levels. You want it to be flat and smooth, without any lippage. (That’s the term for protruding tiles.) Check the seams, and if there’s any leftover thin-set, scrape it off gently using a palette knife. Be careful not to crack the tile in the process.
3. Gather all your materials ahead of time
Grout dries up in about half an hour, so if you keep running around looking for forgotten tools, you’re making things harder on yourself. Watch a few grouting tutorials and make a list of all the items you’ll need.
These include:
- A pack of waterproof grout (in powder or liquid form)
- A spirit level (to check that your tiles are flat)
- Sealant or caulk
- Waterproof tape
- A sealant gun or caulking gun
- A grout float
- An optional mixing drill
- An optional trowel
- An optional grout finisher
- Plastic mixing buckets (it’s easier to clean dry grout)
- An optional dust mask (for mixing powdered grout)
- A clean lint-free rag or microfiber cloth
These items are all available at your local hardware store. The attendants can guide you on what quantities you should buy. As you finish using each tool, clean off the grout while it’s still wet. It’ll save you hours of work and elbow grease. NEVER pour used water down the sink – it clogs.
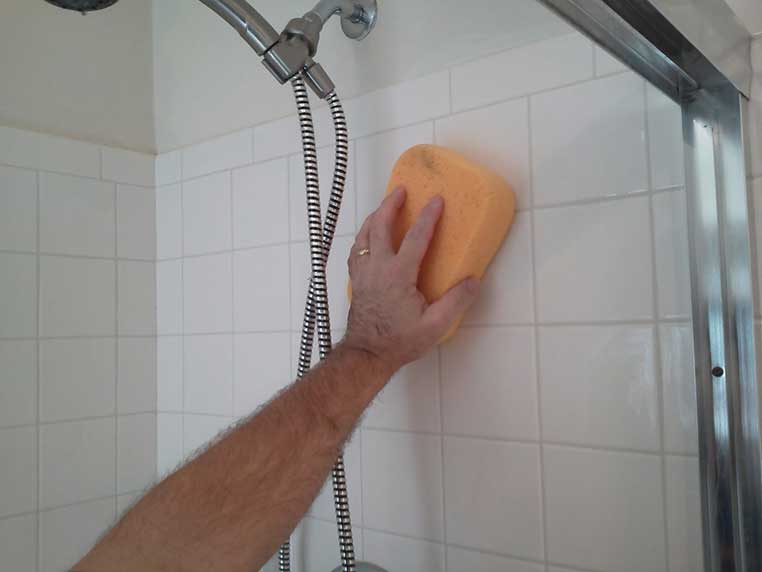
4. Pre-clean the wall with a moist sponge
This gets rid of any dirt or surface dust. If you don’t remove it, it will prevent your grout from smoothly lying on your tile. This can cause bumps and air pockets that look unattractive, and make it easier for your grout to scrape off unintentionally. Let the water dry before you begin.
5. Choose the right grout and sealant color
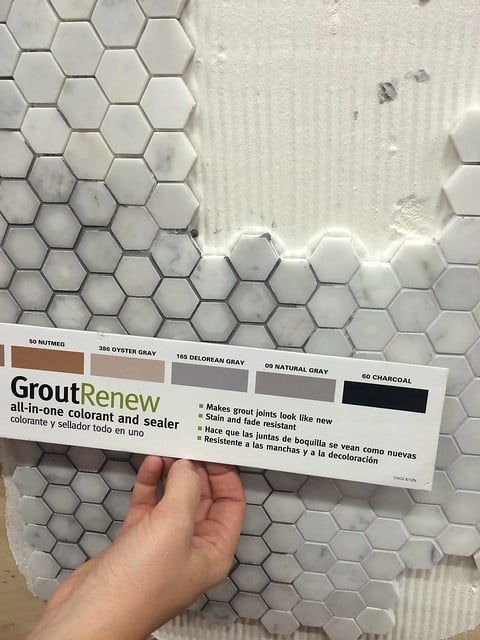
You want something that makes your tile pop, so you can choose the same shade or something with a pleasant contrast. In addition to grout, you’ll apply a bead of caulk or silicone sealant at the edges and corners. Your sealant should be the same color as your grout.
Some experts say you shouldn’t put grout into your corners and edges. Others say it’s fine, as long as you cover the grout with a sealant to reinforce the joint. Either way, be careful when working with those corners. It’s easy to cut yourself on the sharp edges of your tile.
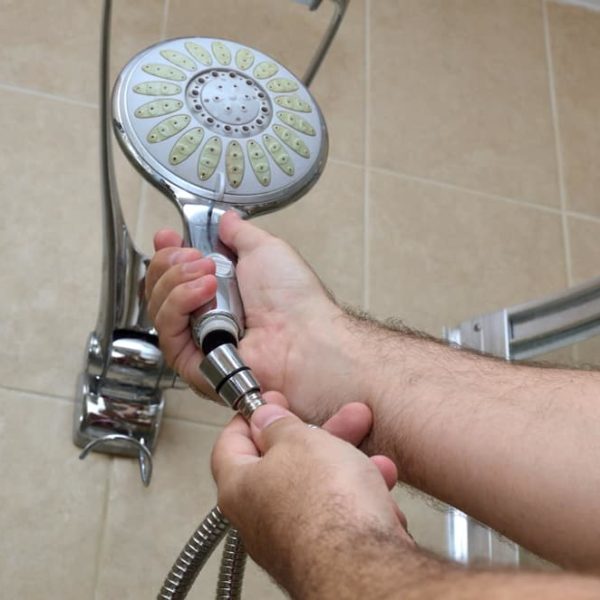
You should also be careful while grouting the areas around your shower head and faucets. Those tiles have sharp edges too, as well as curves and unexpected angles. It’s easy to knick your fingers or to get grout stuck on the spouts and faucets, so take extra precautions.
6. Mix your grout to the right consistency
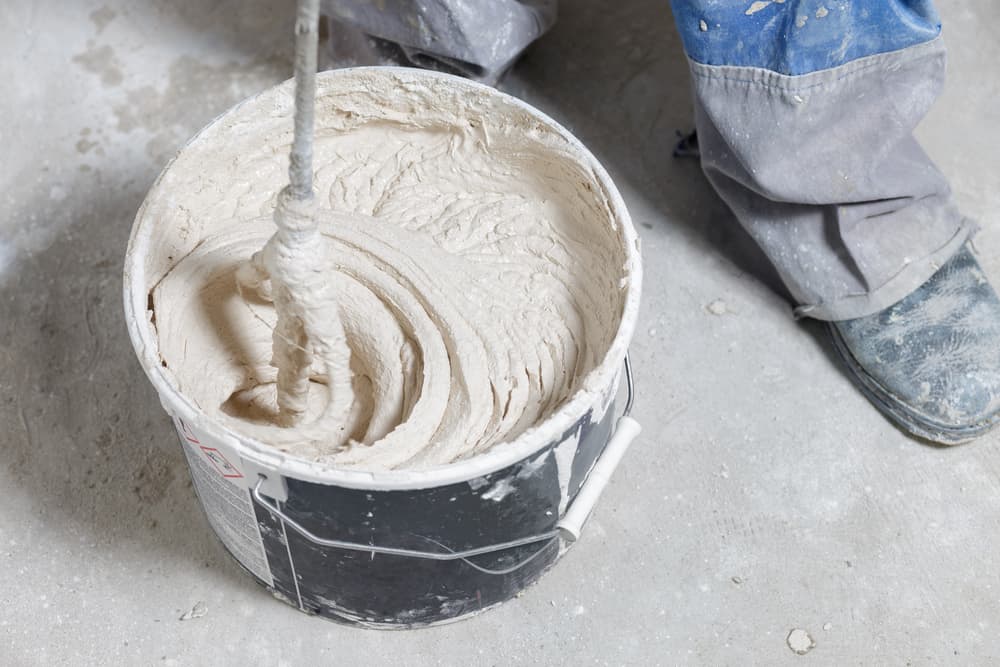
If you’re using liquid grout, it comes pre-mixed and ready-to-use. If you’re using powdered grout, you’ll have to mix it yourself. Shake the bag to ‘dry-blend’ it, which spreads your grout color more evenly. You can choose to mix your grout powder with water or liquid additives.
Examples of additives are grout maximizer, grout enhancer, or grout boost. These additives reduce stains and strengthen the color. Ask whether your grout is mold-resistant. Use a trowel or mixing drill to make your grout. Mix for 2 to 5 minutes until you get the right texture.
Some people describe this texture as ‘mayonnaise’ or ‘thick peanut butter’. Don’t over-mix. The longer you stir, the more air bubbles get infused into your grout. Mix your grout twice, pausing for 10 to 15 minutes between mixes. This pause is called slaking. It holds your mixture together.
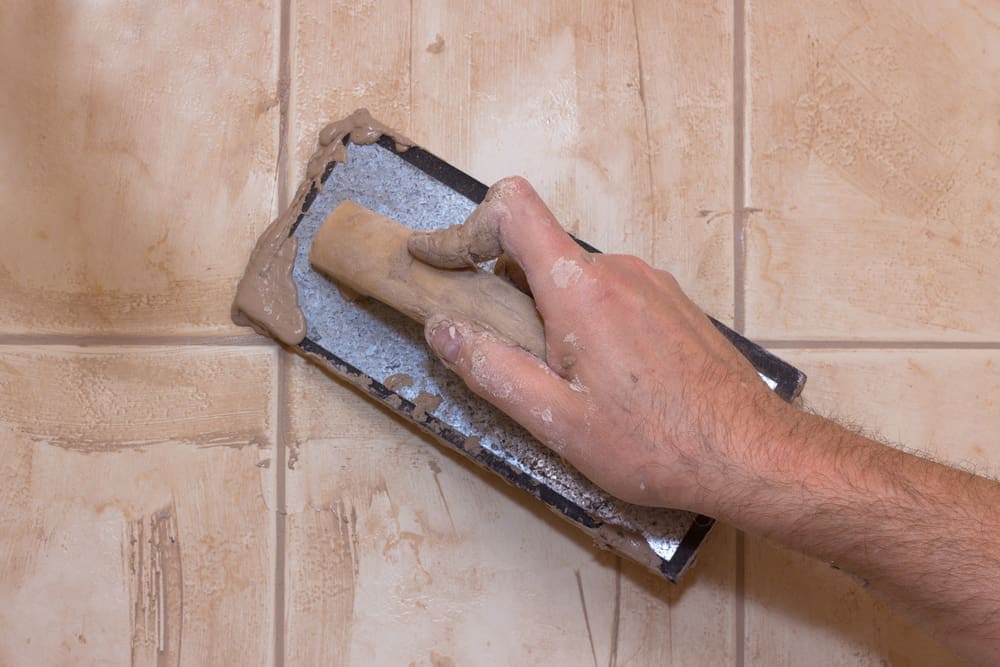
7. Apply your grout diagonally
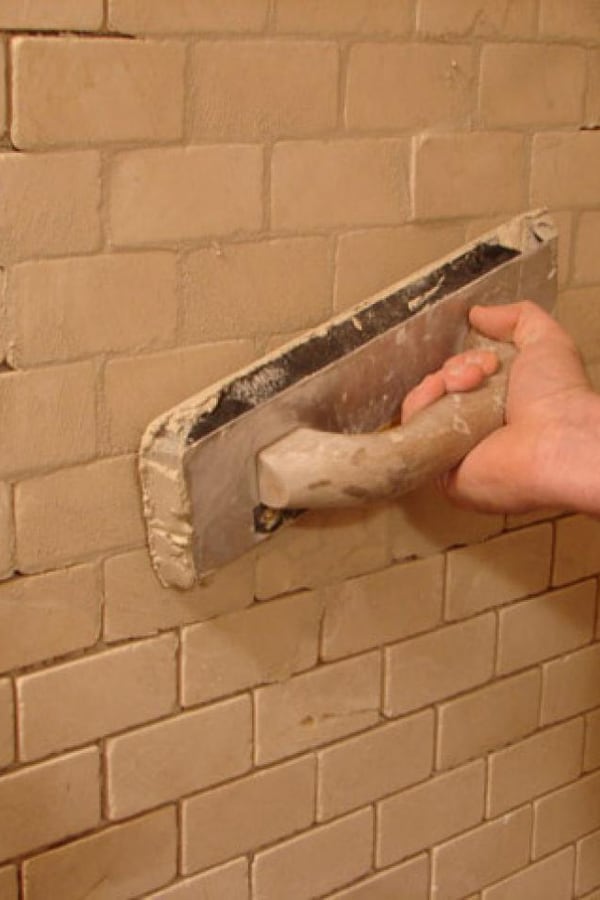
Using your grout float, lay your grout onto the tile at an angle. Grouting at 45° prevents your grout float from getting stuck in your tile joints. It also ensures your grout is packed solidly into tile joints. Remember, grout dries and sets in about half an hour, so work in swift small sections.
Some users prefer to only grout the seams and joints. This works with larger tiles. Other users would rather grout the whole wall. Use the style that works best for you. Pass the grout over the tile several times. The first few swipes apply the grout. The rest remove excess grout.
8. Give it time to dry
It takes 20 to 30 minutes for the grout to fully set. If you’re unsure, press the grout gently with your finger. It’s sufficiently dry when your finger stops leaving dents in the grout. At that point, use a grout finisher (or just your finger) to smooth out the seams. Be careful with corners.
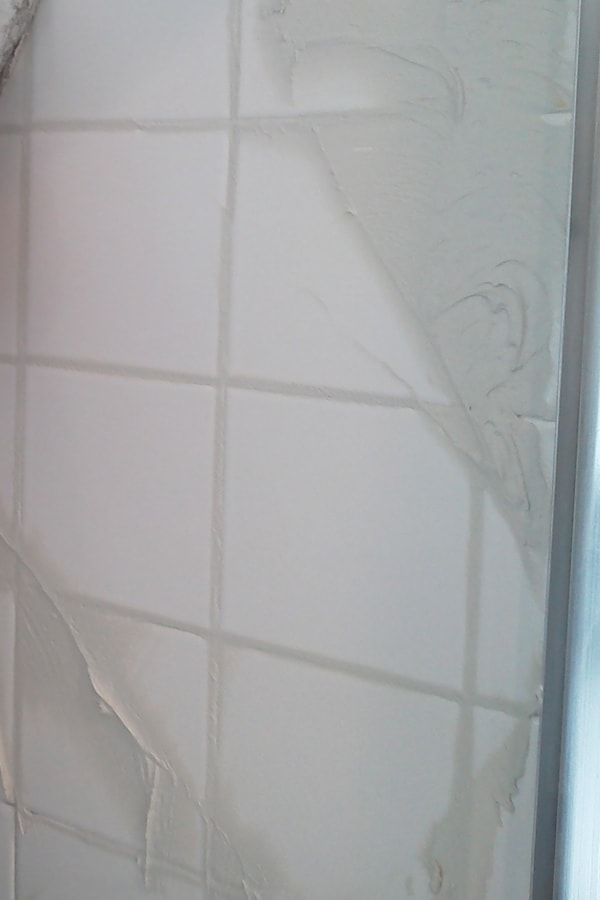
9. Sponge off the mess
Dip a sponge in clean water and squeeze it out. You want it damp, not dripping because excess water can cause efflorescence in your grout. Meaning the water will ‘pull’ salts and mineral deposits to the surface of your grout, leaving unpleasant flaky sediments on your tile.
Gently sponge your tile, holding the sponge flat against the tile surface. Don’t press or scrub, as this will scrape off the grout. Rinse the sponge after every few swipes, and change out the water after every few meters. Never dump your used water down the sink, as it can cause nasty clogs.
Do several sponge swipes, letting the wall dry between rinses. While the tile dries, check if there are any holes or gaps. If there are, put a little grout on your finger to refill the gaps. A clever way to check for holes is to shine a (smartphone) flashlight. The holes won’t reflect the light.
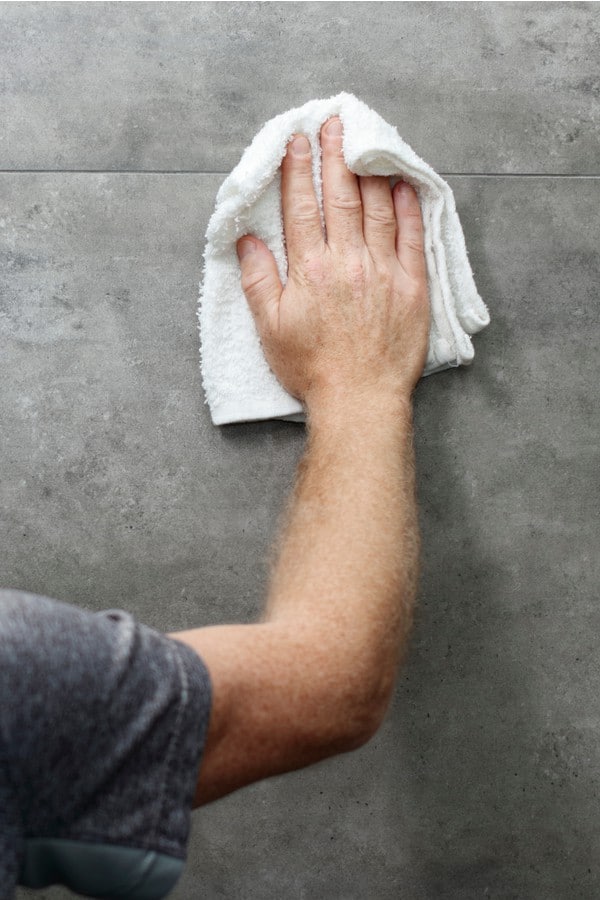
10. Buff away the haze
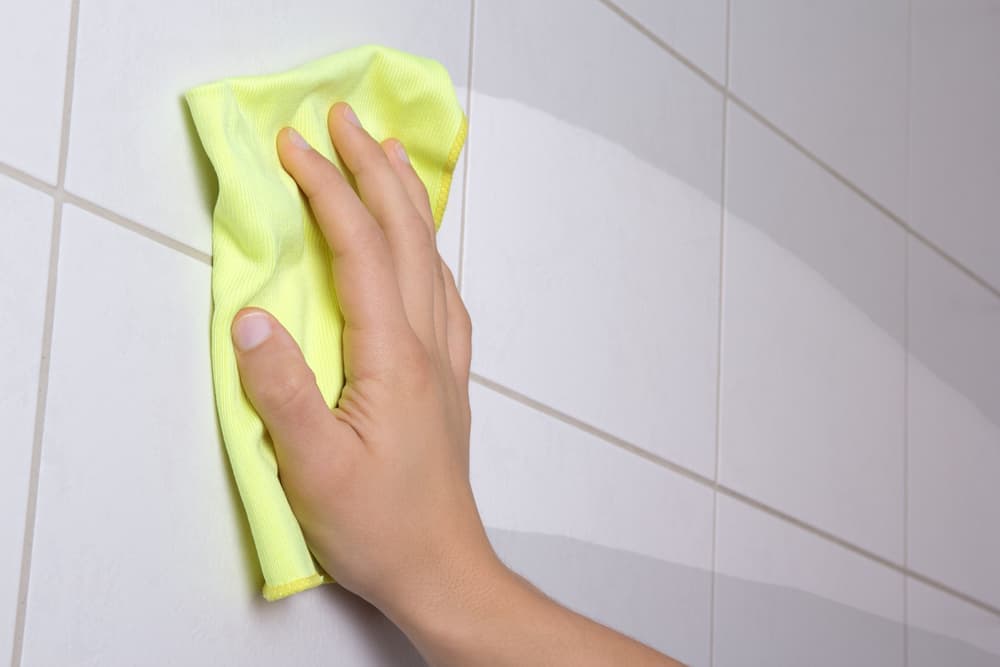
The flat sections of your tile don’t need grout on them. So after you’ve cleaned off the excess, wait an hour or two, then inspect them. They’ll usually have a hazy film of leftover grout. Use a soft microfiber cloth or strong paper towels to wipe off this haze. The fabric must be dry.
11. Seal your corners
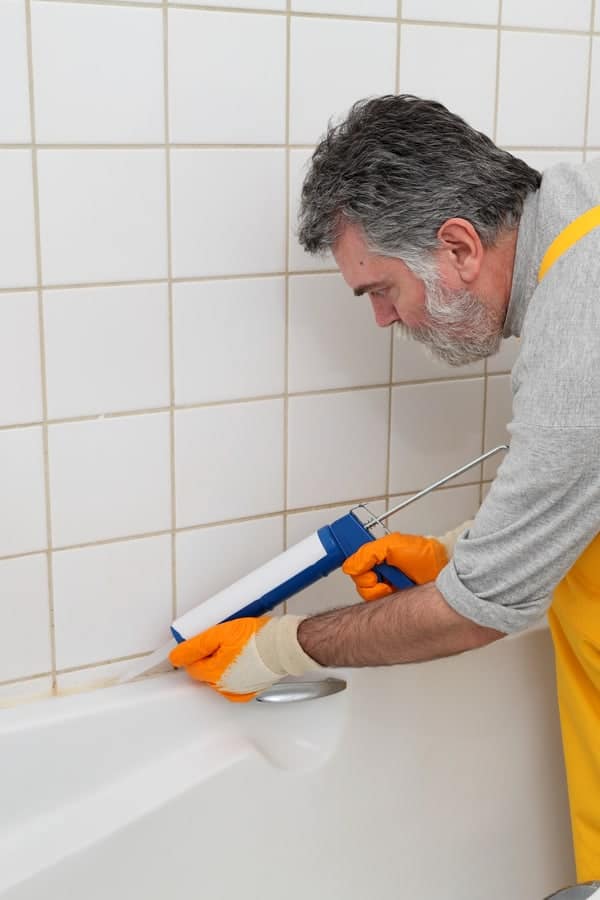
This provides additional waterproofing. It also protects the shower floor and wall beneath your tile, because the tile itself can shift during normal use. This movement could be caused by a variety of things – extreme temperatures, natural shifts in the earth, or accumulated shower steam.
Put waterproof tape on either side of the corner, then use a sealant gun to carefully apply a bead of sealant on the edges and corners. You can also apply sealant where the tile meets the untiled sections of your wall or floor, or where the tile meets your shower caddy, niches, and shelves.
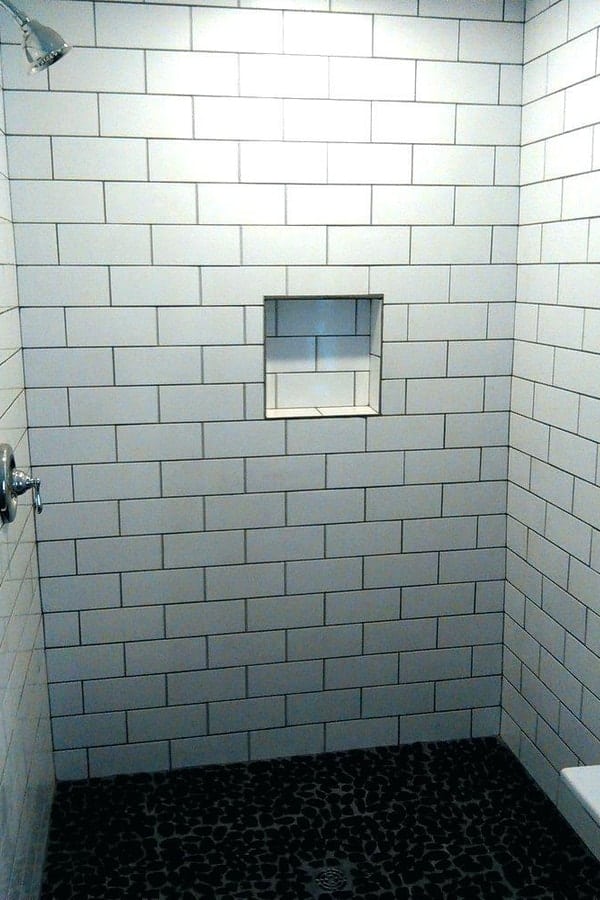
Tiled, sealed and grouted
Grouting seems like an afterthought, but badly done grout mars the prettiest tile. Instead of enjoying the shapes and texture of your tile, your eyes keep getting drawn to those flaky imperfections. Do-overs are costly, so grout it right the first time.
- Protect your eyes and skin, washing any spills immediately.
- Grout sets in half an hour, so apply it quickly.
- Wipe with a damp, non-dripping sponge to remove excess grout.
- Buff the tile with a dry, soft cloth to get rid of the hazy film.
What color grout did you choose for your shower? Show us in the comments!