Is your bathroom looking old an unpleasant? Do you want to give it a completely new look? Then look no further – we have prepared a special article to show you how to retile a shower at ease. Even if you have never done that before, sticking to this guide will make this job fairly easy.
Bathrooms are usually the most used rooms in the house. Especially if you are expecting guests or relatives that you haven’t seen for a long time, you might want to make your bathroom look bright and shiny.
Retiling a shower will not only remove the old and broken tiles but will also add a completely new look to the whole bathroom. We will explain to you how to do that in a few very simple steps.
Also, for more detailed info on how to retile the shower, be sure to check out this video before reading our guide. It is more than an hour-long but it can save you lots of time by learning you how to avoid some crucial mistakes.
Step 1. Removing the Shower and the Shower Handle
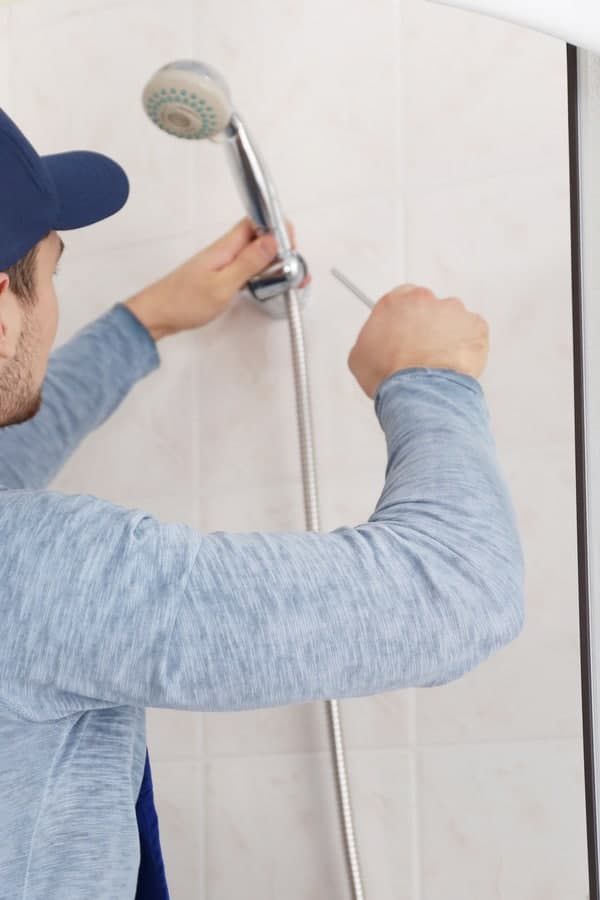
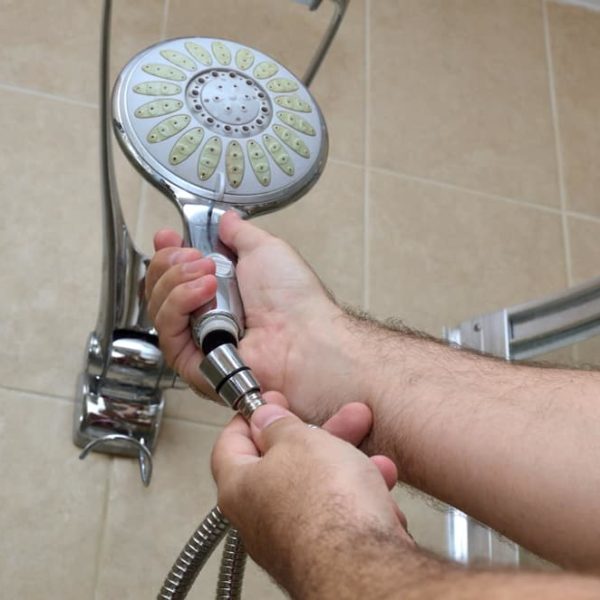
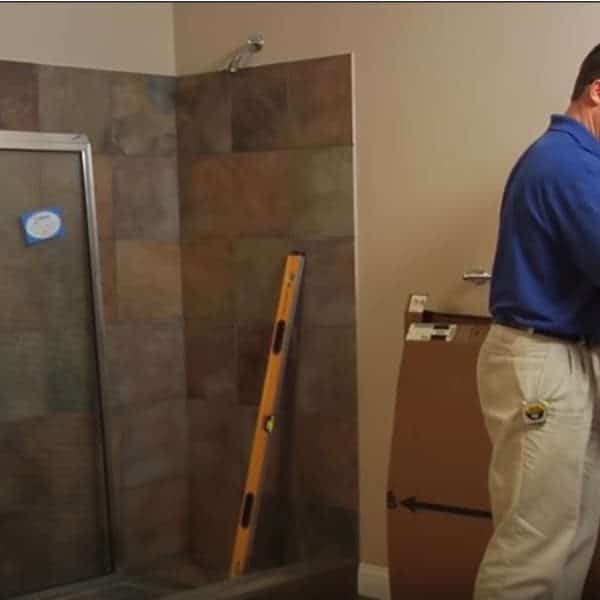
The first thing that you should do is, of course, to remove the old tiles. However, before starting with that, you need to remove the shower and the shower handle. Note that removing these items might require a screwdriver or even a drill, depending on the model that you have installed.
Step 2. Covering the Floors
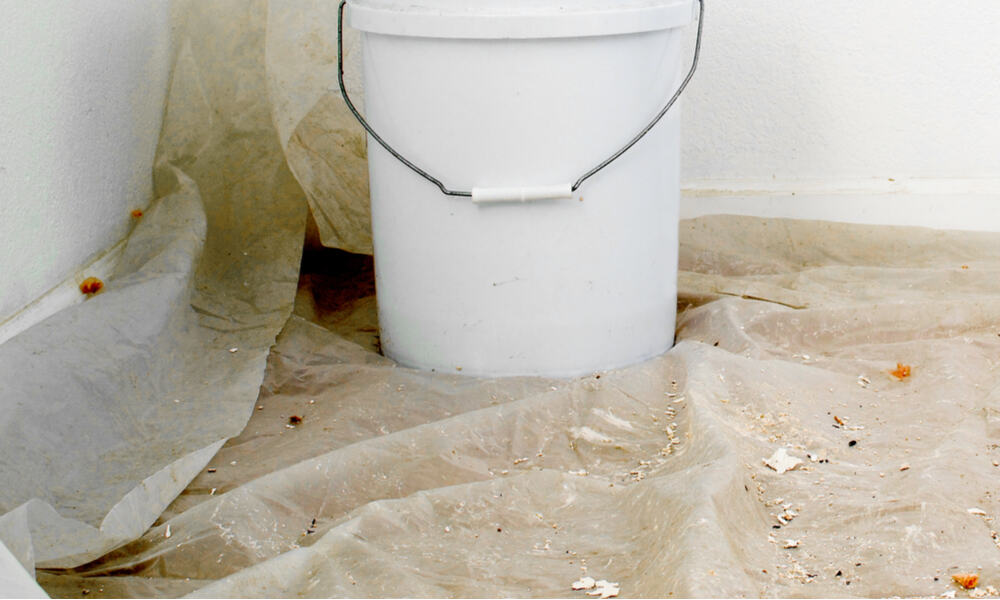
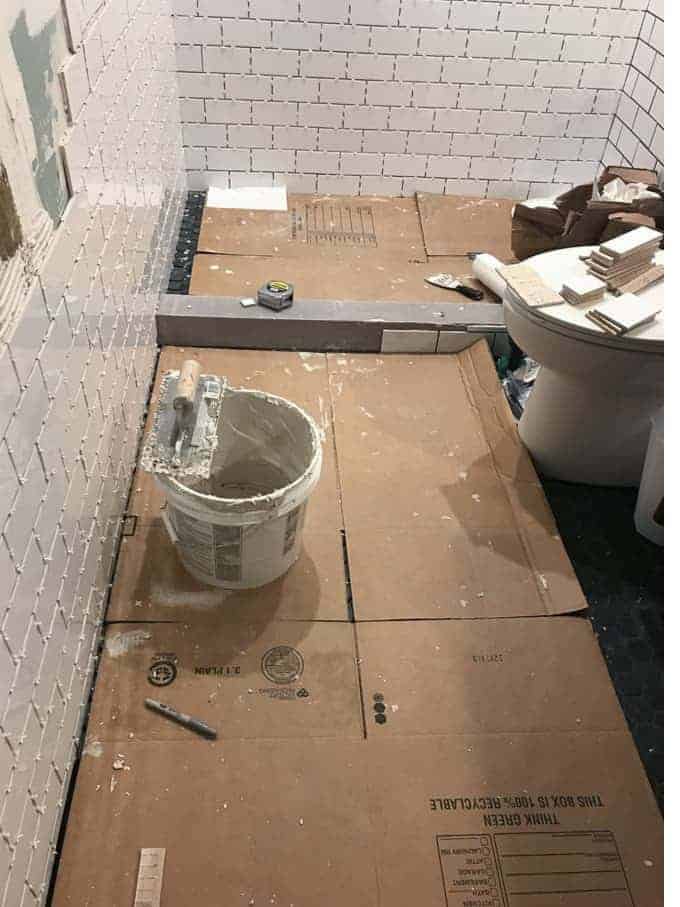
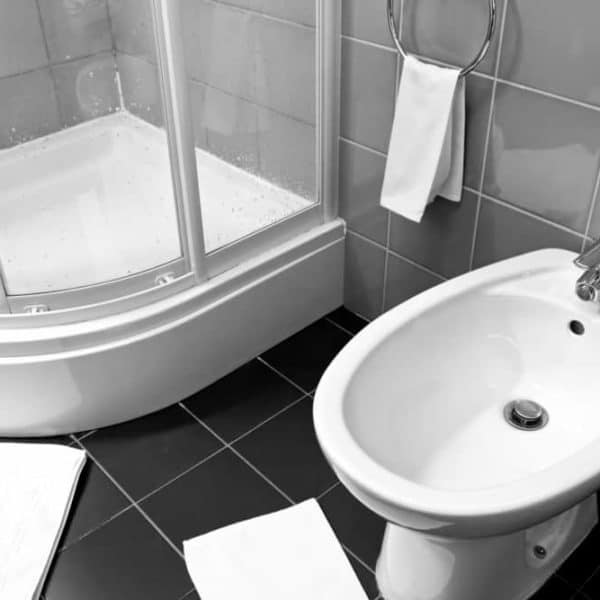
You also need to cover the floors. When you start working, pieces of tiles will be falling down, and you don’t want to damage the floor of your shower pan. The best way is to use multiple towels, or if you use some thin material, you should cover it with more solid material, such as the cardboard.
Step 3. Removing the Tiles
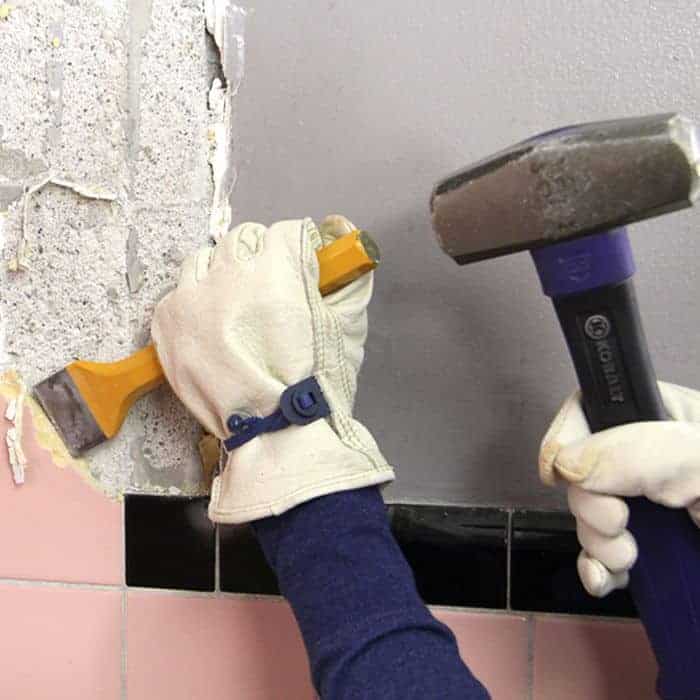
After the shower floor is covered, you can start taking off the tiles. Use a hammer and a chisel, and start from the bottom, moving to the top. Once you get near the wall or ceiling, be very careful. You don’t want to ruin a wall or a ceiling.
Remove tiles by gently pressing chisel on the side of the tile, and push it out with the hammer. At first, you should start gently, but as you move on, you will realize what is the optimal way to do it. Sometimes you might also need to use a putty knife instead of a chisel, but you will notice that by yourself.
Basically, the goal is to take each piece individually. As you work, some pieces might crack and fall off, but focus on taking them one by one. This will minimize any possible damage done to the walls. A utility knife can also be very handy throughout the whole process.
Step 4. Preparing the Walls
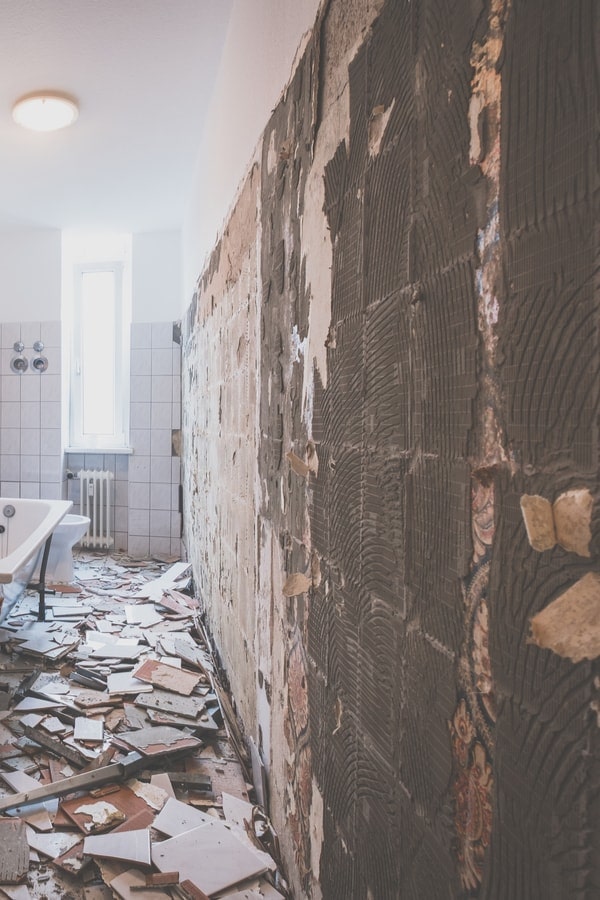
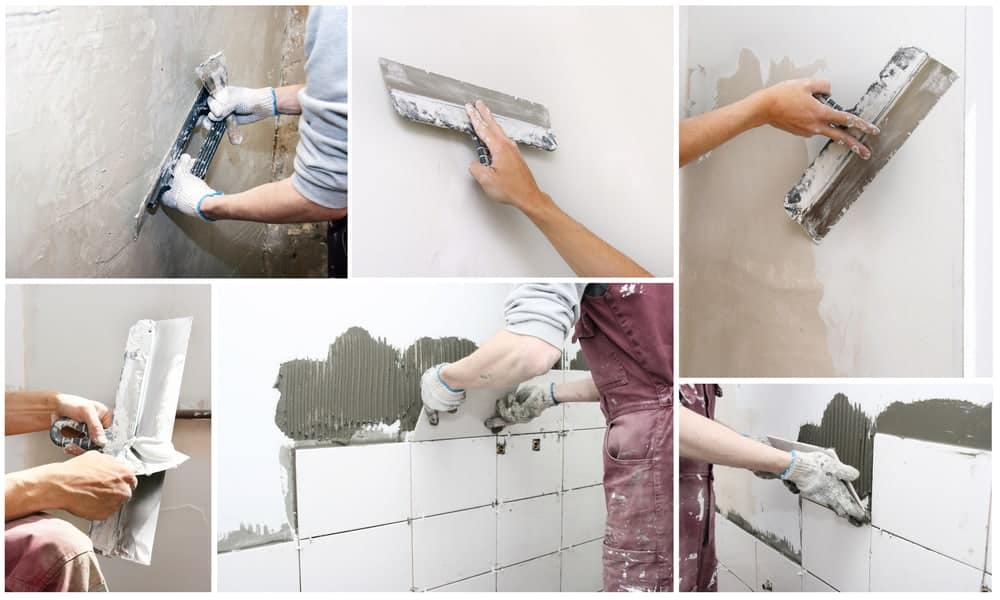
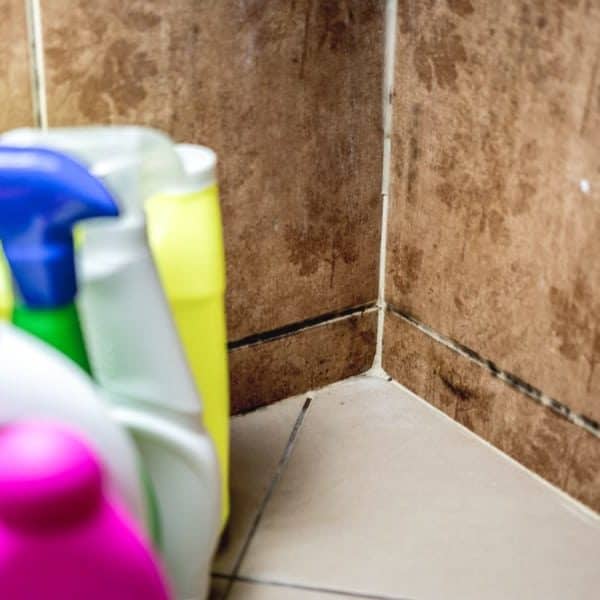
Assuming that you have taken off all the tiles, the next step is preparing the walls. The fact is that every wall that had tiles needs to be smooth and completely flat. If there is even a small piece of mortar, it will lead to non-proper retiling.
If the wall is not completely flat, then you won’t be able to put the tile at the right angle. Even worse, you might notice that when it’s too late and might have to do part of the retiling again. You might even need to break the tiles that you already put in place.
After the walls are prepared, you need to measure the width of the first wall that you will start working on. Then, find a middle and draw a line from the bottom. This is where you should start working.
Step 5. Retiling
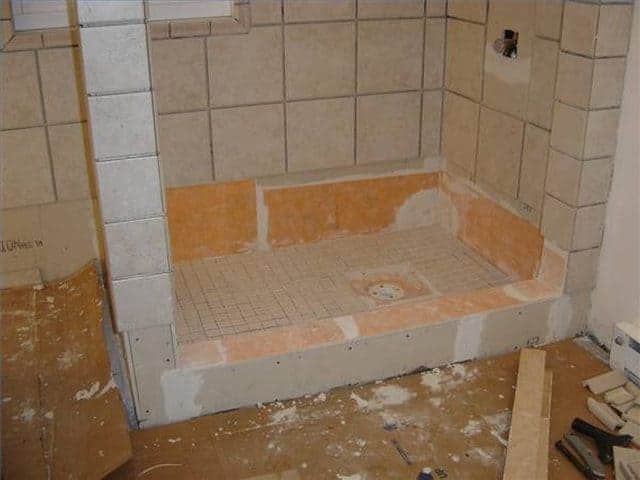
Next, we are going to retile the shower. The first thing that you should do is to measure the wall. This will help you decide the total amount of tiles that you will need, so you won’t have to buy unnecessary tiles. Also, most stores will offer to cut you some tiles needed for edges.
You should start by covering the bottom half of the wall with mortar, and spreading it with a trowel. Put the first two tiles on the bottom, on the left and right side of the line that you drew earlier and aim at the very end of the wall on both sides.
As you reach the end, you might need to cut the tiles to fit perfectly. However, if you are not comfortable with cutting them by yourself, you should go to the nearest Home Depot and ask them to cut the tiles according to the needed dimensions.
Also, as you place the tiles, don’t forget to put spacers between them. They should be put in order to leave the room for grout that you will put the next day. When you finish the whole row, repeat the same until you reach the top. When everything is finished, you can take a rest and continue tomorrow, since the mortar should be set overnight.
Step 6. Adding the grout in between the tiles
This is the final step and it requires adding the grout in between the tiles. First, remove the spacers from the mortar. Then, you need to spread the grout over the walls and press it between the tiles with a trowel.
You can also use a sponge to remove any excess grout. However, you have to do that quickly since the grout will harden and glue to the tile. It will be pretty difficult to remove it once it has already glued to your new tiles.
You should grout all the lines except the vertical lines that go along the walls. Also, the horizontal lines that go along the floor should also be excluded. You should leave the grout for 24 hours and then fill the rest lines. However, you should wait around 48 hours before using the shower.
The Calculation
Before even starting to work, you should do a calculation and understand how much money you will need. To do this, you first have to know how much a single tile costs. If you go for the cheapest opinion, which is ceramic tiles, you will have to pay $2 on average.
On the other hand, you might aim for the stone tiles, which are slowly becoming popular nowadays. They cost between $3 and $12, depending on the quality and size. There are also brushed steel, bronze, and copper tiles, but their prices can vary a lot.
Some useful tips on how to retile a shower
As you can notice, retiling a shower is not an insanely complicated process. With this guide, you will be able to do it even if you have never done anything similar before. However, as soon as you start working, you might notice that things can become a little bit complicated.
It is mainly because there are tons of small tips and tricks that most of the people who do that on a daily basis already know, but you don’t. On the other hand, you can’t know that since it is usually learned over time through experience and repeated work.
However, you don’t have to worry. We will provide you with a few tips and tricks that will make the job a lot simpler for you. Be sure to check them out.
- As already mentioned, you should shut off every possible water supply, to avoid being sprayed in water all over yourself. Then, when removing the grout between the already existing tiles, you might want to use an electric grinding tool. It will make the job much faster and easier.
- Be sure to consider your safety first. You should wear protective glasses, have long sleeves, and gloves. When you start working, the broken pieces of tiles will fly in all directions at various speeds, and you don’t want to get hurt.
- Note that when removing mortar from the walls, you should get rid of it completely. The rule of thumb is that the more and the better you remove the mortar, the better will the new mortar apply. Once you are sure that the surface is completely clean, you should wash it with water to remove all the dust and particles, leaving a perfectly clean surface.
- When putting new tiles, you should measure the height and draw a chalk line just above the height of each tile. A mortar should be applied below the chalk line and that will help the next layer of mortar hold the materials properly.
- Another thing to note is that when everything is finished, you should apply a coat of grout sealer. This will ensure that the grout holds well. If the grout doesn’t hold well, it might erode from the water and ruin your work.
- Also, when changing the tiles, you might want to look for a new shower head, and shower doors, that will match the look and color of your tiles, for the complete experience. Note that a shower caddy is also a very small piece of decoration that can greatly improve the look of your bathroom.
- For more tips, be sure to check out this video. It is very well explained and you will definitely learn a few useful tricks.
Conclusion
As you can see, retiling a shower doesn’t have to be a scary process. You just have to make sure that you do everything slowly and patiently since when the mortar and grout hardens, there is no going back.
Just make sure that you cover the shower pan, and that the walls are perfectly clean before starting to work. If you follow the guide carefully and apply the mentioned tips, you will have no problems retiling your shover.
Have you tried retiling your shower yet? Have you encountered any problems? Please let us know in the comments below…

