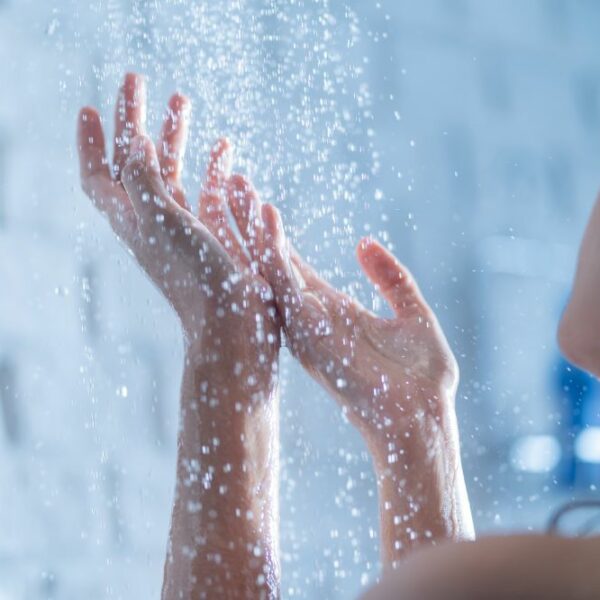
Steam showers are a thing of beauty and comfort. After a long day of work, the steam-surround in your shower can be pricelessly relaxing. You used to need to go to a health spa to get such luxury. Nowadays, you can build yourself a steam shower or remodel your old shower into a steam shower. To build a steam shower, you will need:
- A steam generator
- A steam-proof shower
In this guide, we’ll show you the steps to build a steam shower and everything you might need. Before we start, let’s discuss how a steam shower works.
How Does a Steam Shower Work?
Modern steam showers generate steam using a steam generator. The controls for the steam generator are located inside the shower stall for easier access. Once activated, water is fed into the steam generator and boiled, the resulting steam is then transferred into the shower stall via a pipe. Inside the stall, the steam may be dispersed with a steam head that is fixed to a wall and near the floor.
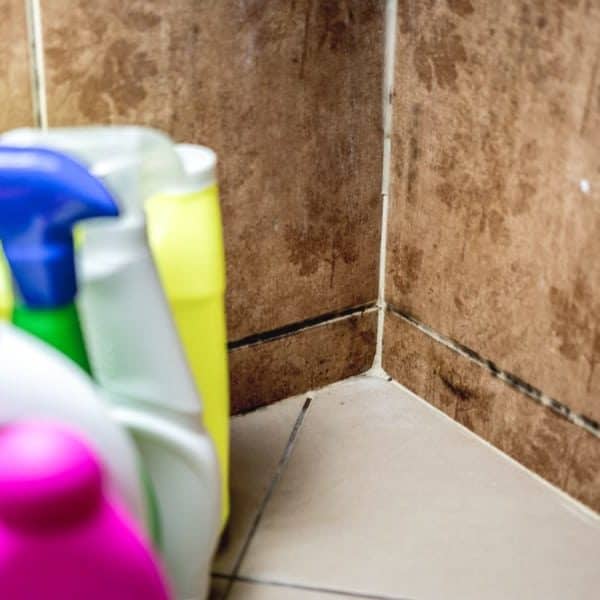
The shower must not only be water-proof; it must be steam-proof as well to prevent mold formation outside the stall. The shower door should be locked tightly to prevent steam escape, so you do not consume more electricity than you need.
Now that you’re up to speed on the magic of steam showers, here are the steps to build a steam shower:
Install a Steam Generator
Steam generators come in different sizes, and they can be purchased from different manufacturers. These are our recommendations for installing the generator:
1. Steam Generator Power
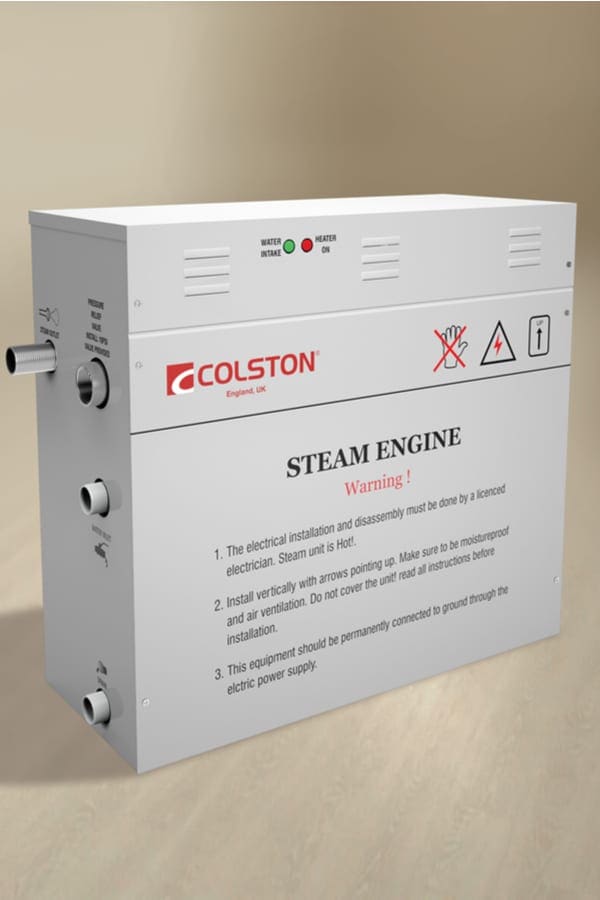
Steam generators usually require 240 volts, a 40 Amp line, and a dedicated circuit breaker to operate. Make sure that your power supply for your steam generator is GFCI protected, and the power supply is disconnected at the circuit breaker installation.
We recommend that a professional electrician handles the installation for safety purposes. Steam showers are great, but you should be prepared to pay higher electricity bills.
2. Steam Generator Location
They may be installed within 25 feet away from the shower. You can install it in your basement, walk-in closet, or attic if that’s convenient, but you should ensure that it is not exposed to extreme temperatures. The steam generator may need maintenance, so it should be placed at an accessible location. Lay pipes from your water supply into the generator where it will be heated. You can set up a drain around the generator, but this is not compulsory.
Allow at least 12 inches of space around the generator for proper ventilation and easy access. The generator may not be placed in the shower. Follow the instruction manual from the steam generation manual to direct the flow of steam into the bathroom.
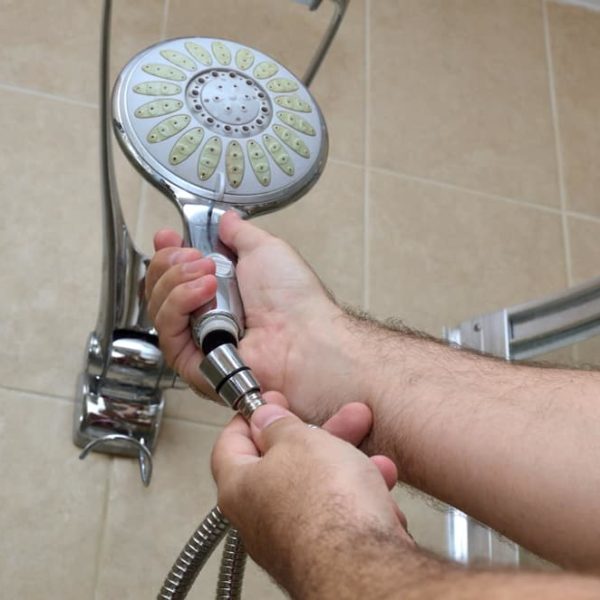
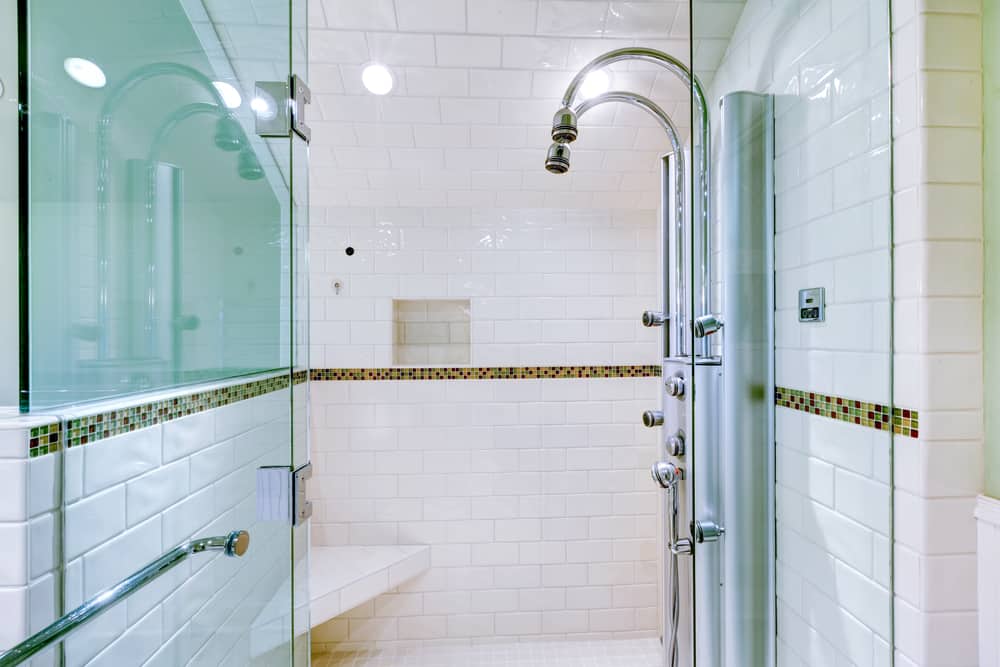
3. Steam Generator Controls and Shower Head

Your steam head should be 6” to 12” from the shower floor after tiling, so make appropriate calculations beforehand. It should not be placed near the shower door or shower chair. The steam controls should be placed near the intended shower chair or shower bench position. We don’t recommend installing the controls directly above the steam head because the control reads the temperature of the shower.
Attach the necessary controls and steam head temporarily, switch on the power supply, and test the generator. If all goes well, then it’s time to work on the bathroom.
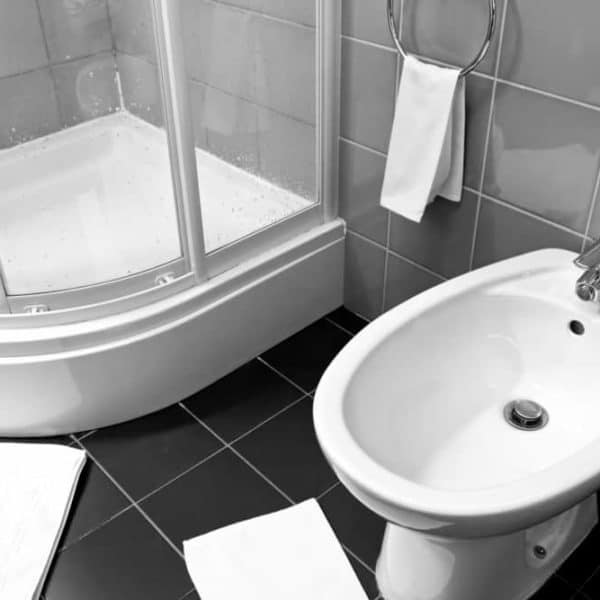
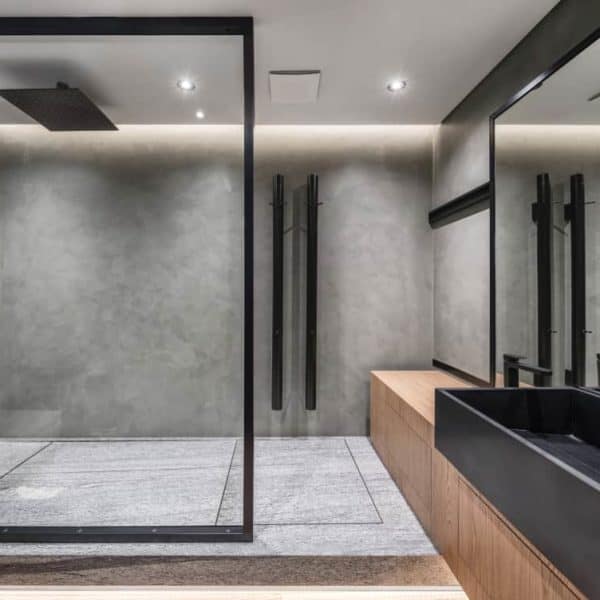
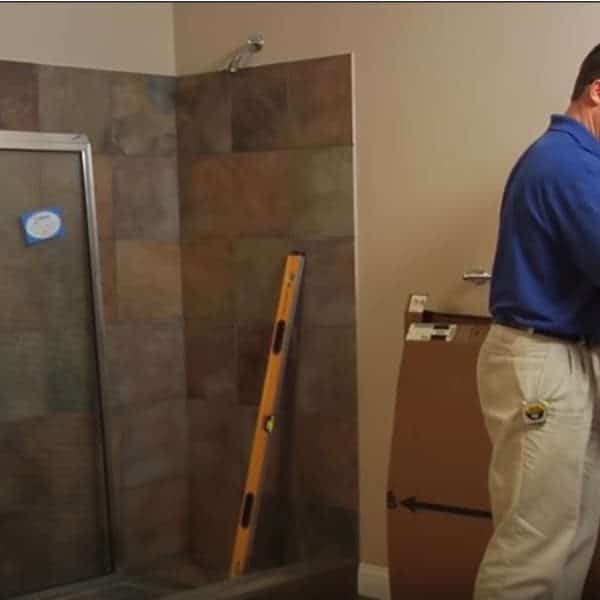
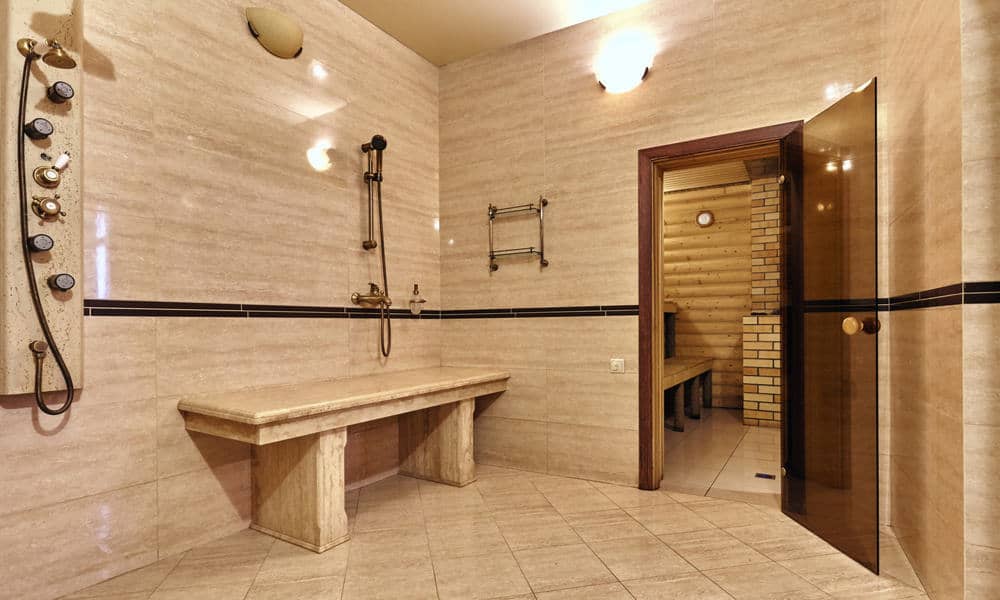
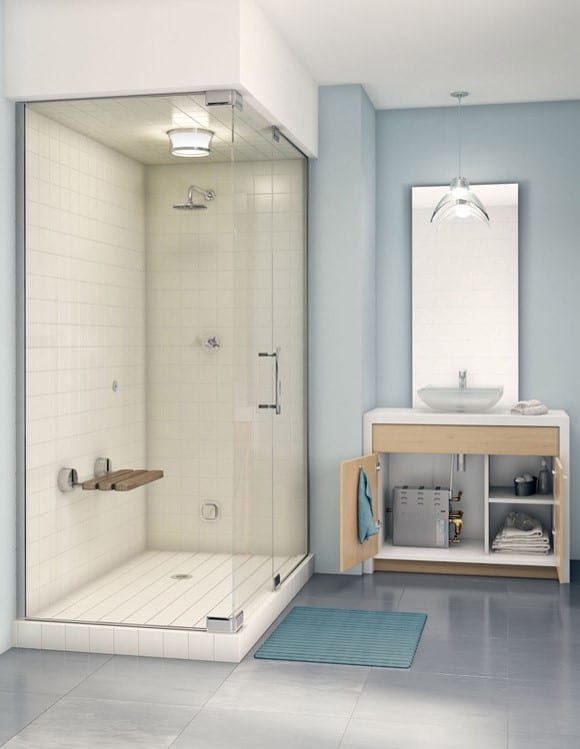
Build a Steam-Proof Shower
A steam-proof shower is insulated against water penetration and steam penetration to avoid mold or mildew buildup. Building such a shower requires additional knowledge, which we will share in this guide. As an alternative, you can buy a steam shower unit. They are way easier to install and can be done by anyone.
4. Size and Location
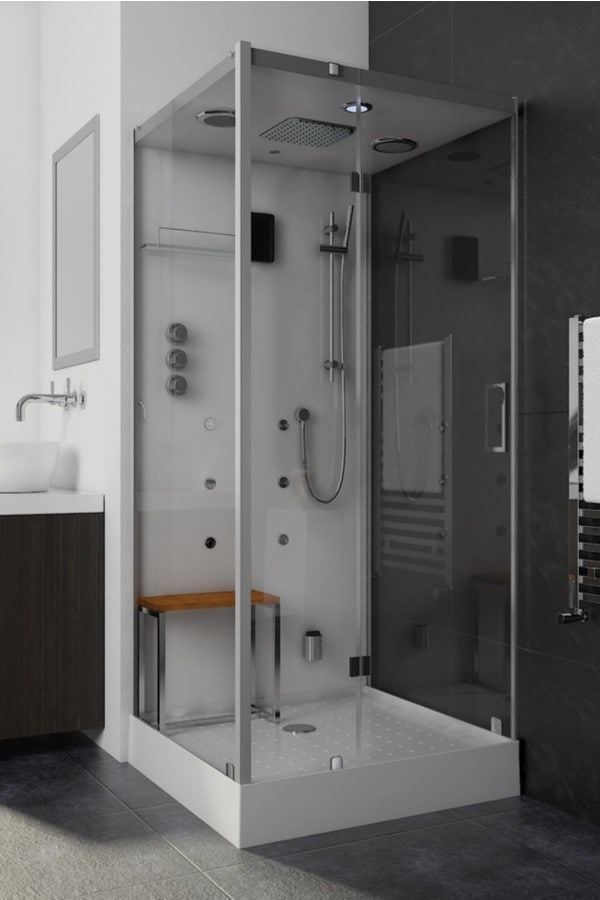
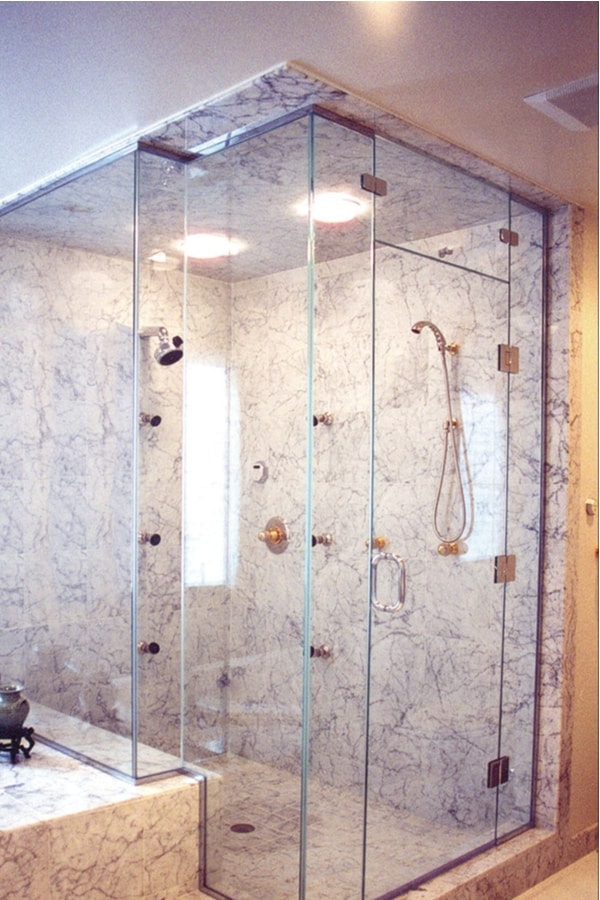
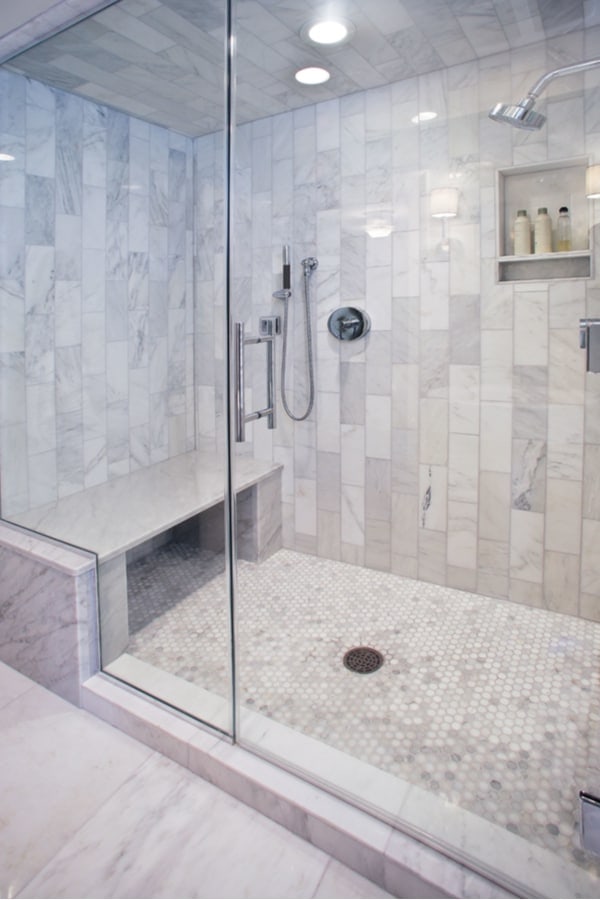
Your steam showers should accommodate you easily, but it should not be so large that your generator works extra hard to steam it up. Our recommended dimensions are 3’ x 3’ x 7’; it should not be higher than 8’. If your shower is higher or wider, you may need a more powerful generator that produces more steam and uses more electricity.
To prevent heat escape, we would not recommend a window. However, if you need it, choose a window that has a high R-value and adjust your steam generator choice to match. The shower should not be built close to outside walls, so minimize external temperature interference.
5. Framing
The steam shower walls need to be framed and insulated to prevent moisture buildup. Wood stud and fiberglass batt insulations are popular, cheap, and effective. Construct the studs so that the fiberglass batts fit into it firmly to avoid spaces on the sides. Cut the fiberglass insulation batts gently with a utility blade as compressing it reduces its effectiveness. Make allowance for wiring and plumbing without exposing the insulation.
Make sure all the studs and plumps are level across the surface so the wallboards can be laid on it without issues. Cement board, Kerdi boards, or other approved substrate should be screwed onto the stud with appropriate screws. If you want a wall niche to hold shampoo, soap, and other shower accessories, choose a location on the wall and mount the niche following the manufacturer’s recommendation. Make appropriate holes for other shower controls for the shower speaker, shower head, and handheld shower head. All openings will be sealed later on.
6. Ceiling
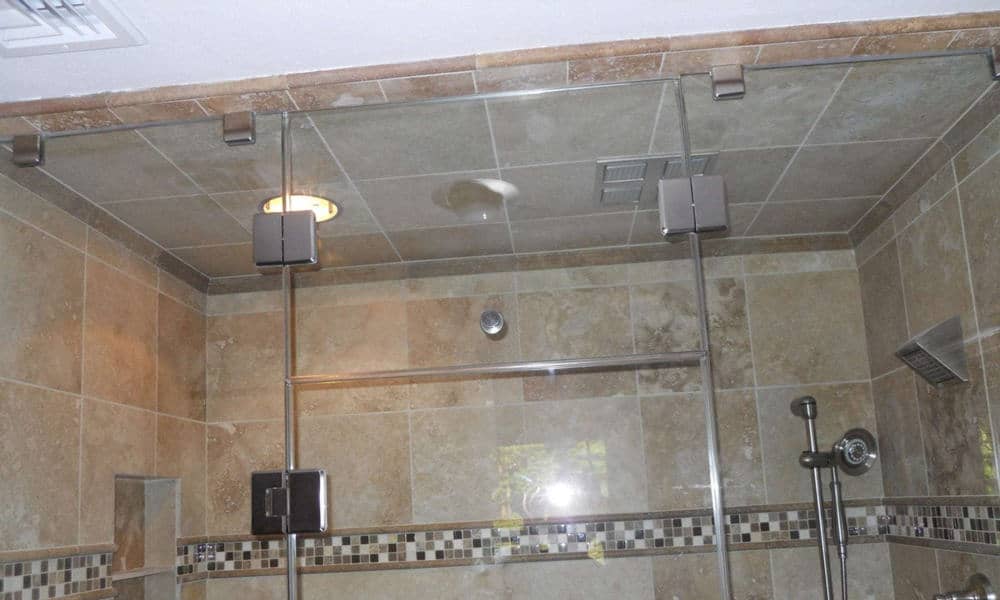
The ceiling can also be insulated for additional heat retention in the shower. Most importantly, the ceiling should slope to a 1:12 ratio, so the condensed steam does not trickle onto your head and shoulders as water. The slope allows the water to gently runoff onto the shower walls, although grout lines might be in its way if you tile the ceiling.
Your lighting fixtures must also be appropriate for steam showers, and they should be made vapor-proof by sealing them. Ensure that they are connected to a power source with a GFCI, so they are disconnected if moisture seeps into them.
7. Walls
If you used Kerdi boards for your walls and ceiling, you need to waterproof the seams, corners, edges, and screws with Kerdi bands and seals. Unmodified thin-set mortar is used to hold the bands and seals in place. If you used cement boards, you could vapor-proof the walls with a vapor barrier.
8. Floor
The floor can be made of cement and sloped towards the drain, or you can use a pre-formed and pre-sloped high-density foam floor with ¼ per foot slope. An unmodified thin-set is used to hold the foam in place. You may want to add anti-skid strips on the floor to prevent slipping especially if you have children.
9. Bench
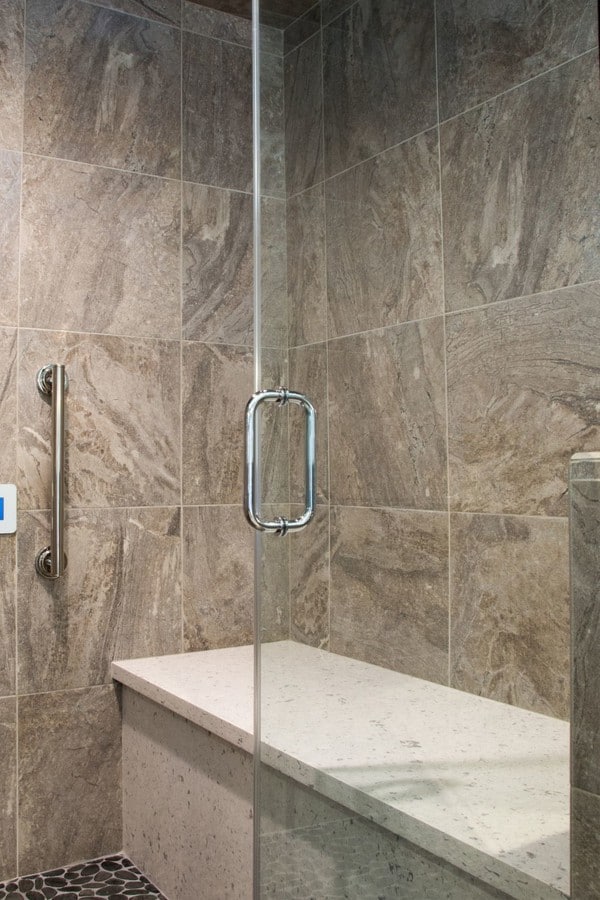
You need a shower chair or shower bench in your steam shower for bather comfort. If you’ll add a bench, install the bench before the vapor membrane is laid on the shower floor and walls.
Benches can be made of wood, block or other materials, and they should be covered with Kerdi boards or cement boards. Slope the shower seat so condensed steam can run off without forming a puddle. If you have a small shower, you can buy a fold-up shower seat with a moisture-resistant coating.
10. Vapor-Proofing
The acceptable permeability rating for a steam shower vapor-proofing material is below 0.5. Many products meet this requirement, but it doesn’t hurt to double-check. Some products need to be taped and mudded. Apply the membrane on the floor, wall, and ceiling of the shower.
Start from the floor and move up to the upper layer, so it overlaps the lower layer. An unmodified thin-set is again used to hold it in place. Rub across the layers to remove any air pockets under the membrane. If you have a bench installed, cover it completely to vapor-proof it. Kerdi-DS, TruGard, and RedGard are examples of trusted vapor-proofing materials you can buy.
11. Tile
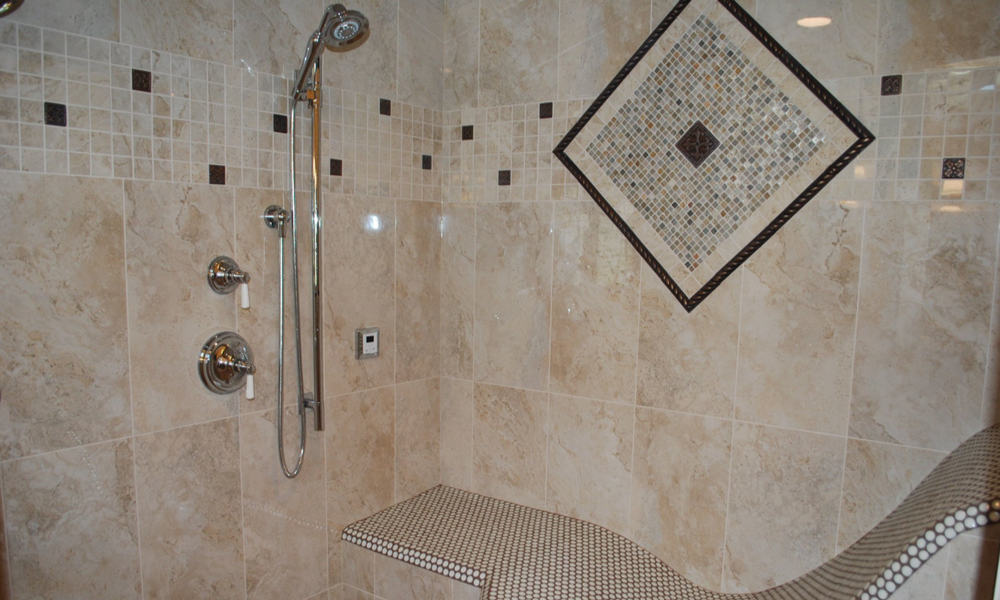
Not all tiles are suitable for steam showers. Tiles made with porous materials like shale, concrete, or marble absorb the heat generated in the shower. This means your generator had to do more work to give you your desired temperature. The best tiles for the job are made with non-porous materials. Acrylic, stone, and ceramic tiles do not absorb heat, so there is more heat in circulation inside the shower.
Another factor to consider before choosing your tile type is the amount of heat it can withstand. Steam showers can heat up to 100° Celsius, so it’s best to get manufacturer suggestions making a choice, especially if you want tiles made with plastic.
To install the tiles, spread a uniform layer of thin-set on the floor and lay the tiles as usual. Cut out the drain hole from the vapor-proofing material. After the thin-set has dried, proceed to tile the wall and the shower seat. You can add cardboard to protect the floor tiles from thin-set spills and tools.
When you’re halfway through the walls, give the thin-set some time to cure before proceeding up to the ceiling. Use boards to hold large tiles in place on the ceiling. Apply grout and seal it.
12. Shower door
The steam shower door does not have to be air-tight, but it must be watertight. Order a door to fit the measurements of the door opening and fits your taste. Allow three days for all caulk, thin-set and other installations to cure and set before experiencing your steam shower for the first time.
Conclusion
Let a professional review your design for your steam shower, especially if this is your first time. As there are many more technical parts, read all instruction manuals thoroughly before making any installations. If you would like to share your experience with building your own steam shower or if you need some guidance, leave us a comment below.